Cupcake Packaging: 3 Ways to Make a Gift Box + a Ready-Made Template

Content
Packaging for cupcakes, muffins, cupcakes, and other pastries plays an important role. It not only helps preserve the integrity of the baked goods during transportation but also adds aesthetic appeal.
This article will teach you how to assemble a cupcake box, how to beautifully package cupcakes without a box at home, and how to make your own cupcake box using a template and step-by-step instructions.
How to assemble a cupcake box?
Cupcake boxes are typically sold unassembled. Assembly can sometimes be challenging, especially for larger boxes holding 6, 12, or more cupcakes. I offer step-by-step instructions for assembling the most popular cupcake boxes, saving you time and frustration.
Assembling a 4-cupcake box
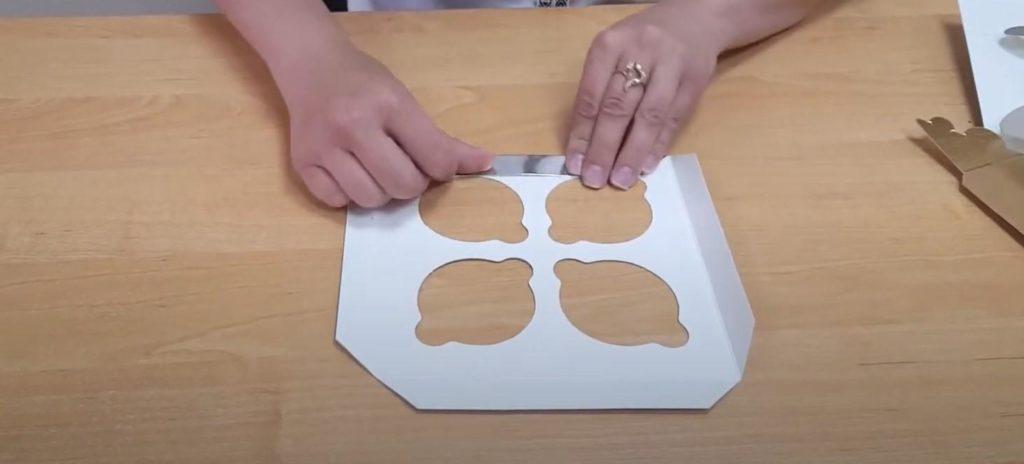
Step 1
Take the cupcake section and fold the edges in on all four sides, as shown in the photo.
Step 2
We do the same with the main part of the workpiece - we make folds on all sides.
Step 3
We check that all the slots are cut completely. We begin assembling the box, inserting the tabs into the slots on the outside of the future box.
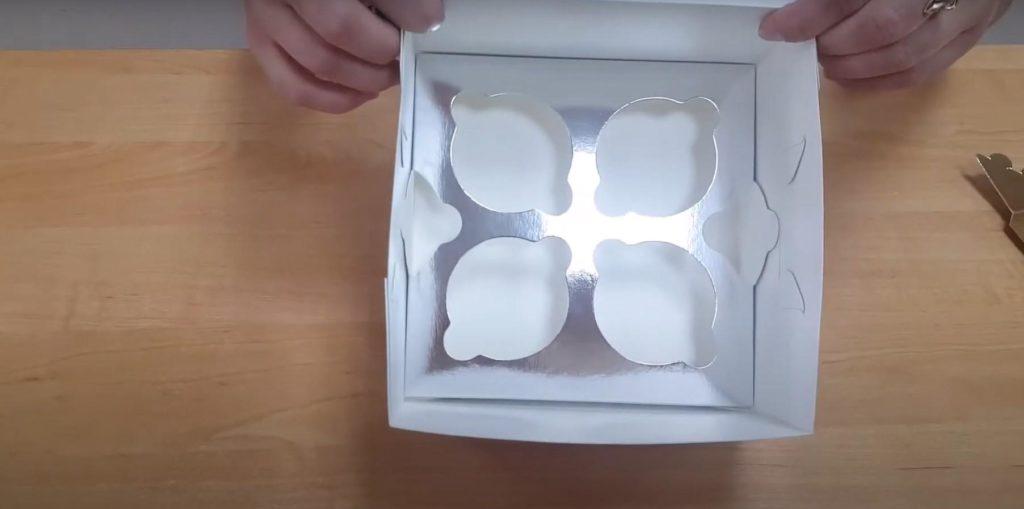
Step 4
We assemble the lid by inserting two pairs of ears into the corresponding holes.
Step 5
We insert the bottom into the resulting box with the silver side up.
Step 6
We close the box by inserting the side ears into the corresponding slots.

Pastry box for 6 cupcakes
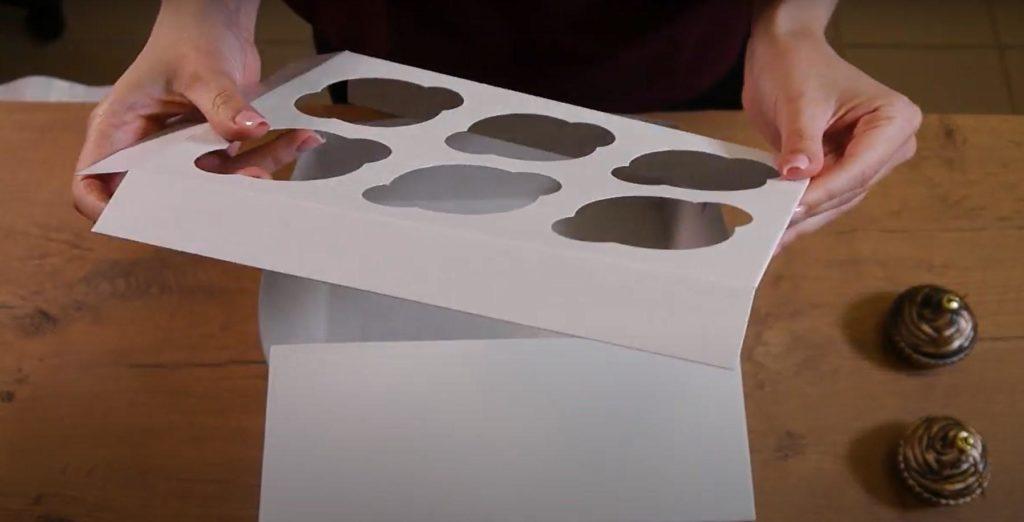
Step 1
We bend the workpiece along the edges that have folds.
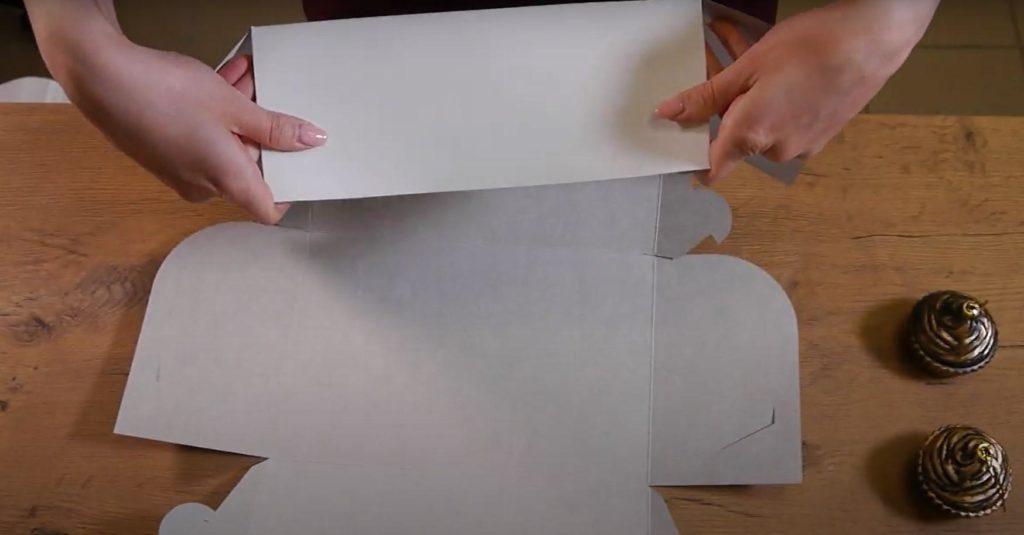
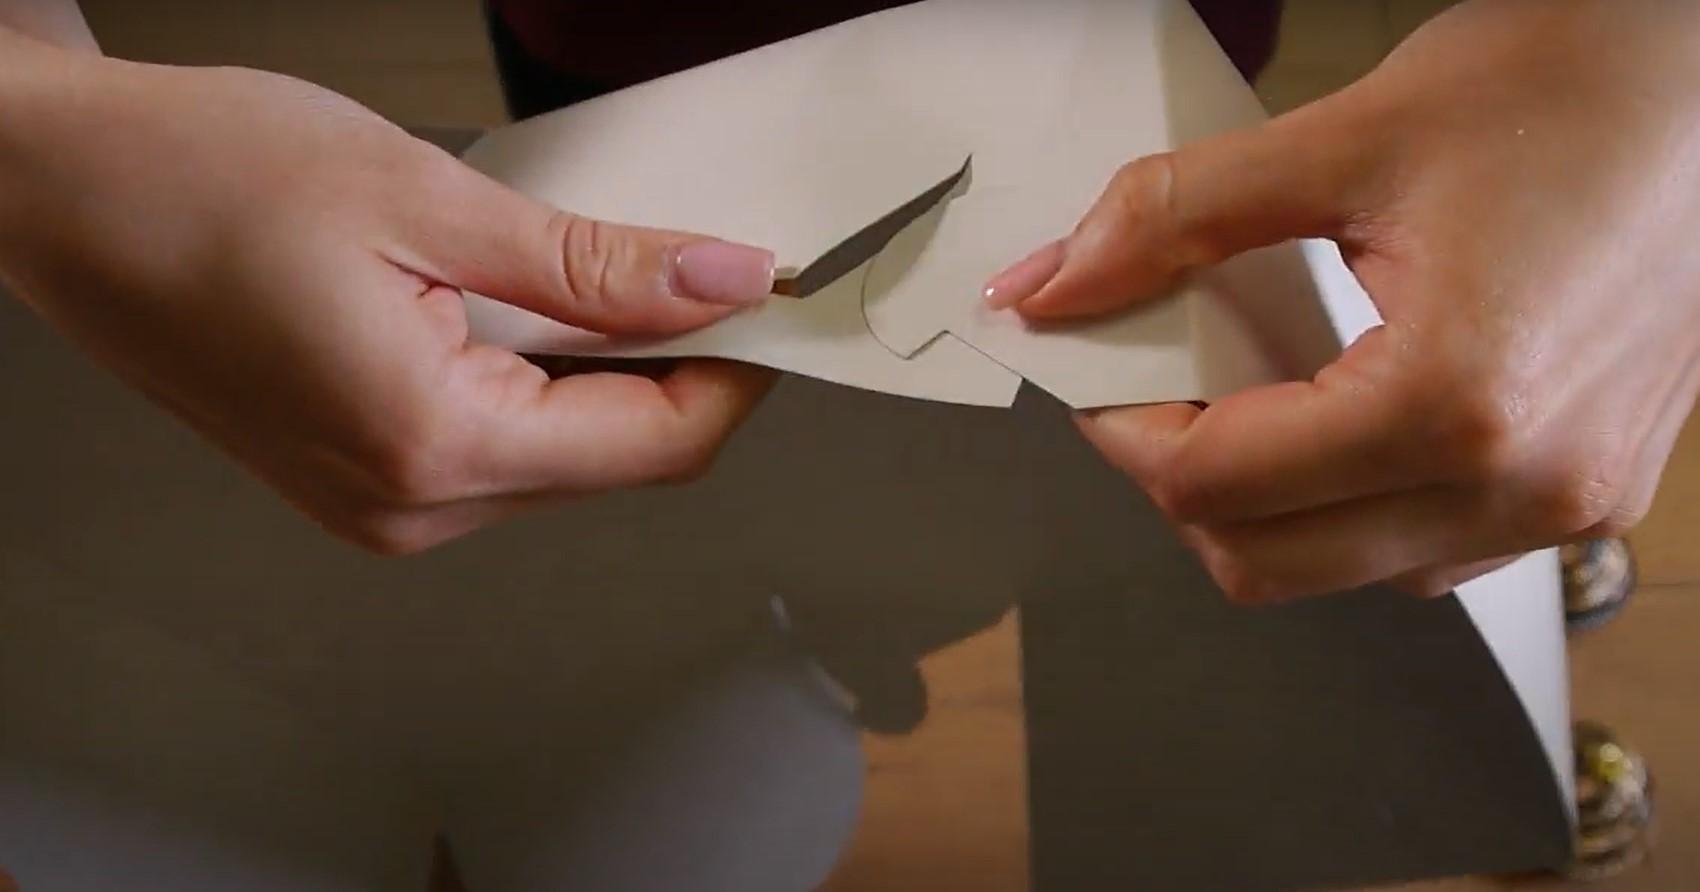
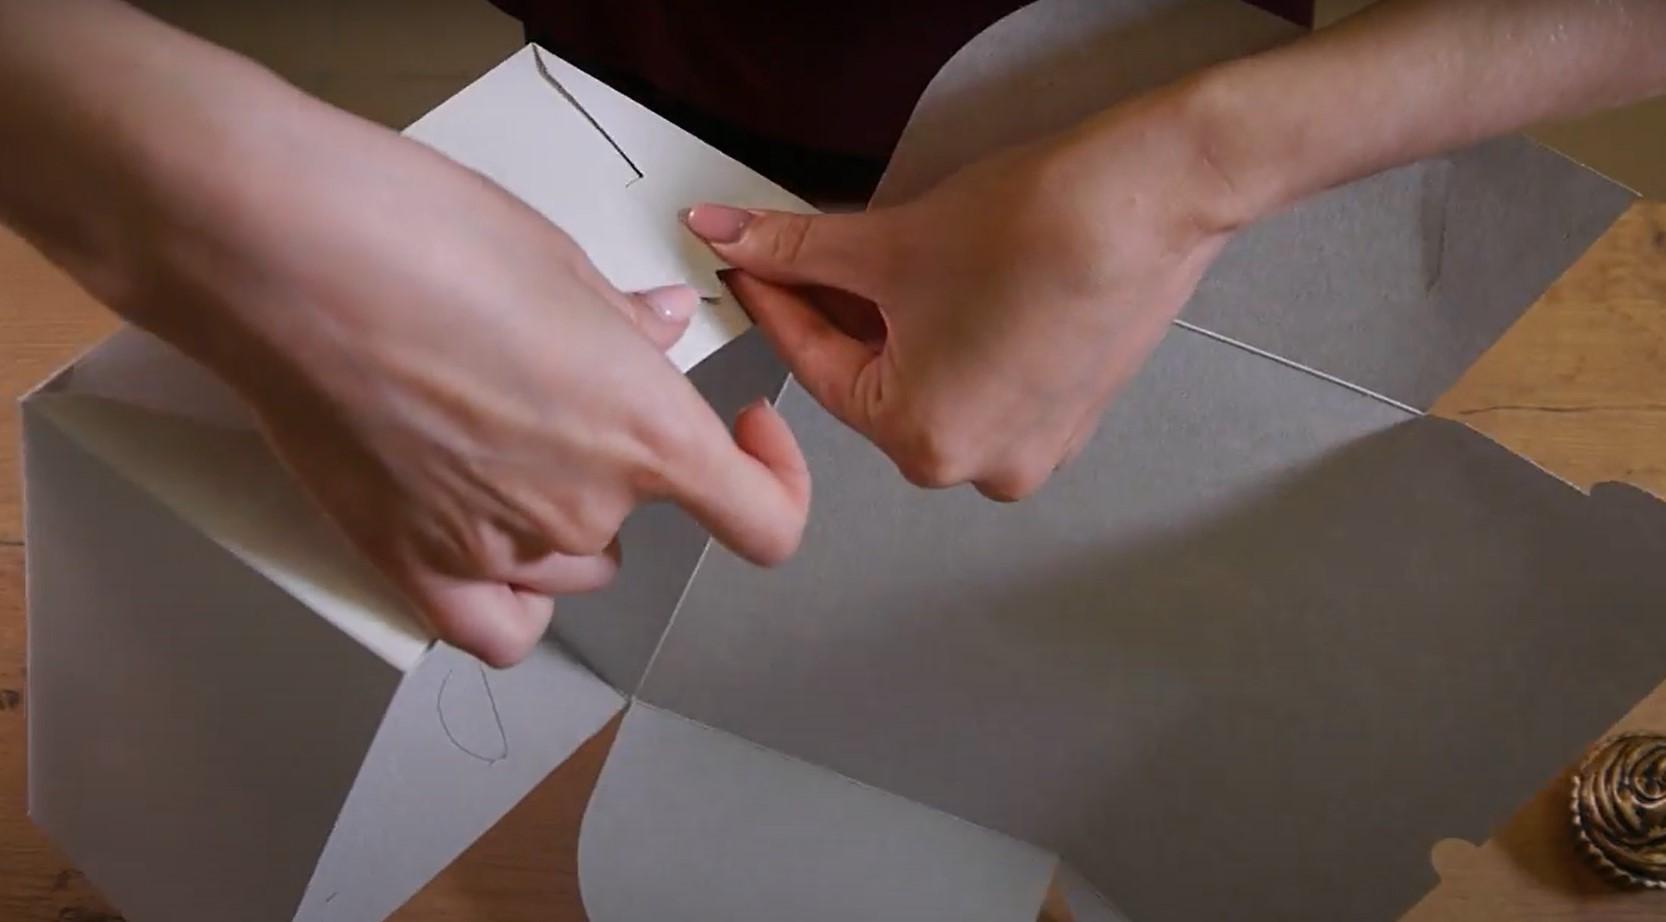
Step 2
We look for the fasteners and close them: 4 on the base and 2 on the lid.
Step 3
Fold the edges of the cupcake holder. If the cupcake toppers are too tall, you can trim the edges of the holder slightly with scissors so that it sits as low as possible on the bottom of the box.
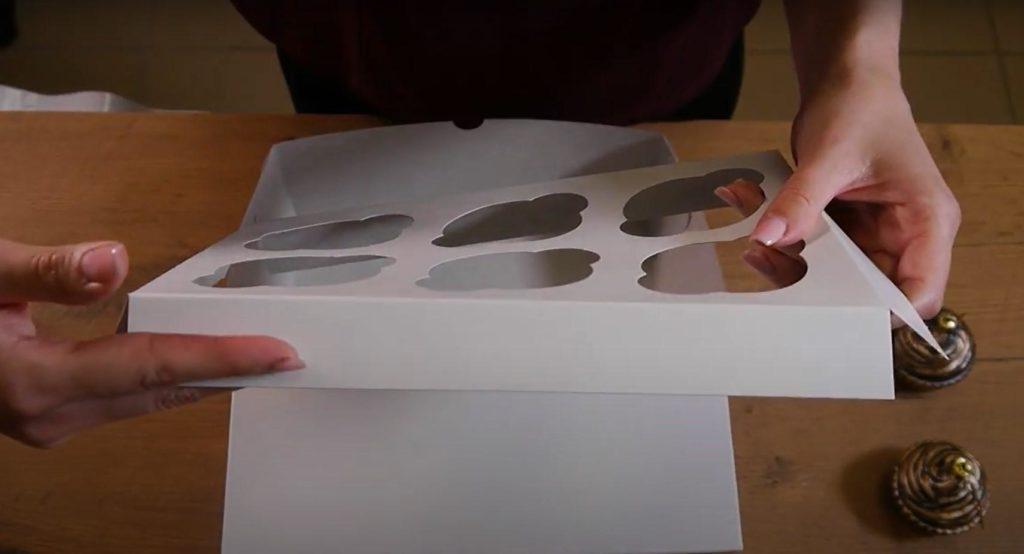
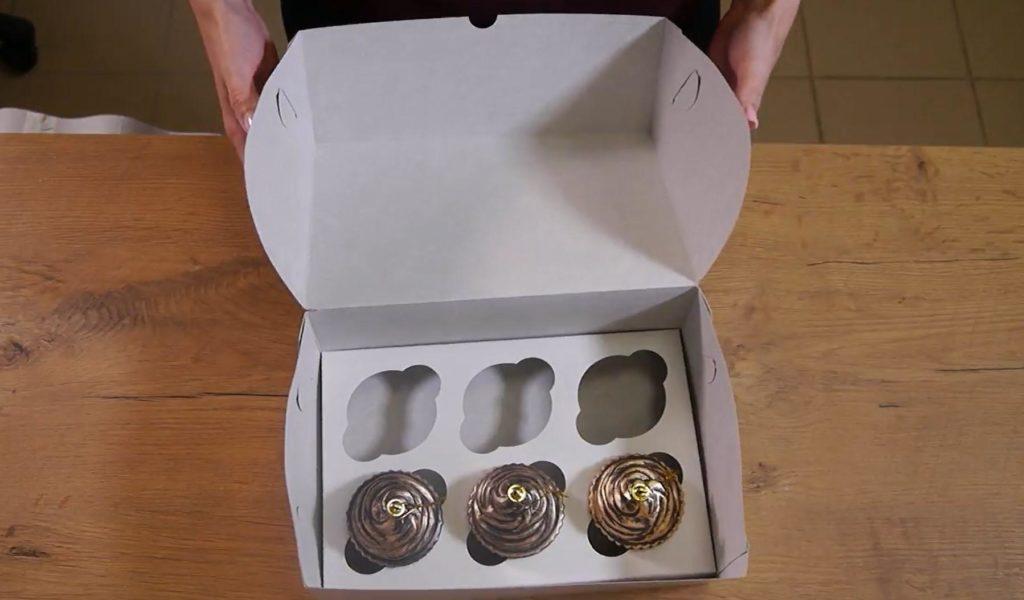
Step 4
Insert the cupcake holder into the box. Now you can place the cupcakes themselves. Do this by grasping the sides of the cupcake with two fingers. The indentations in the holder are designed for easy insertion and removal of cupcakes.
Video: How to fold a 12-cupcake box with a clear lid
In this video, I'll show you how to fold a box to hold 12 cupcakes. It's easy, especially if you follow the instructions carefully. The result is a beautiful cupcake box that will not only keep your cupcakes intact and attractive, but also look presentable and aesthetically pleasing.
The video's author demonstrates all assembly steps in detail and clearly. To avoid damaging the box and save time, be sure to watch this video tutorial.
Beautiful packaging for 1 cupcake or muffin as a gift
If you want to give a unique gift like a single, delicious, beautifully packaged cupcake or create individual gifts, you can make your own gift box. All you'll need is a paper cup, satin ribbon, scissors, and a little time.
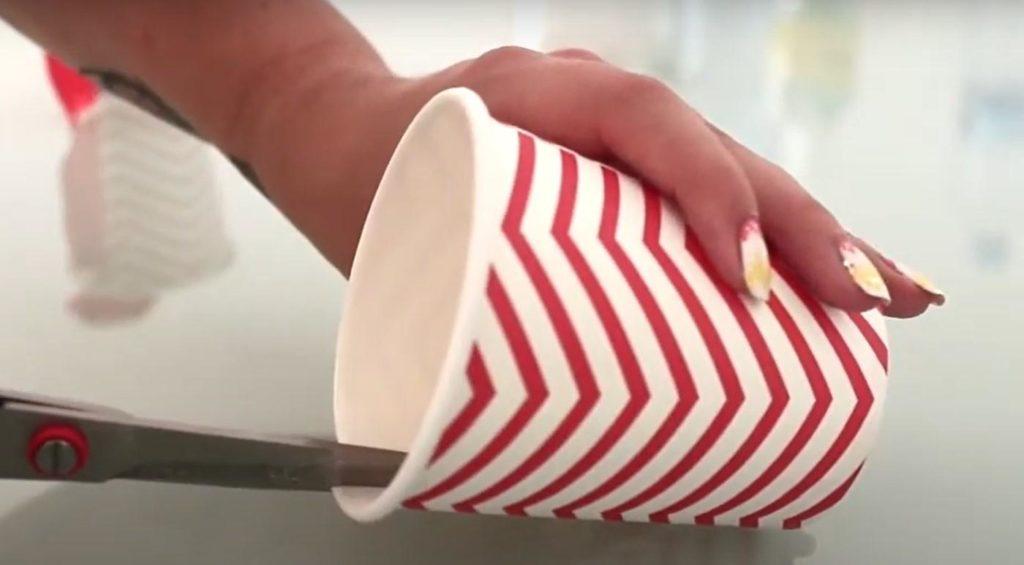
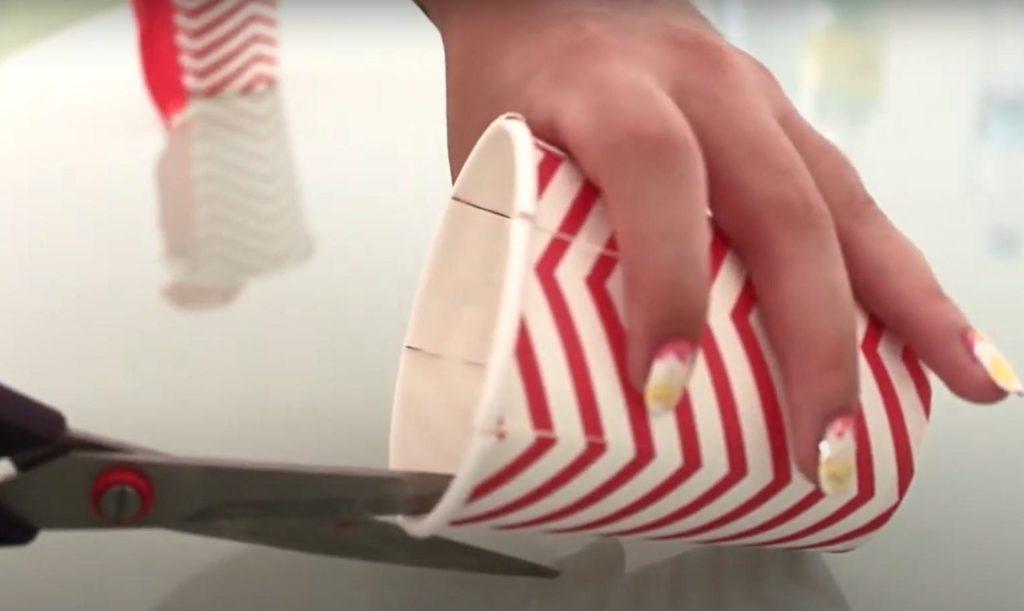
Step 1
We make 6 identical slits around the entire perimeter of the cup at the same distance from each other.
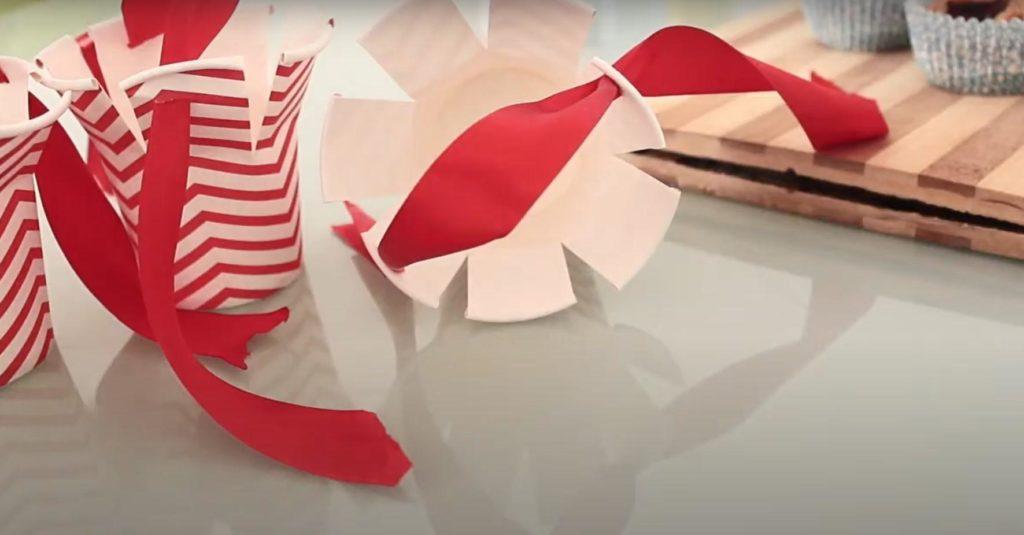
Step 2
We make small bends, bending the “petals” one by one towards the center.
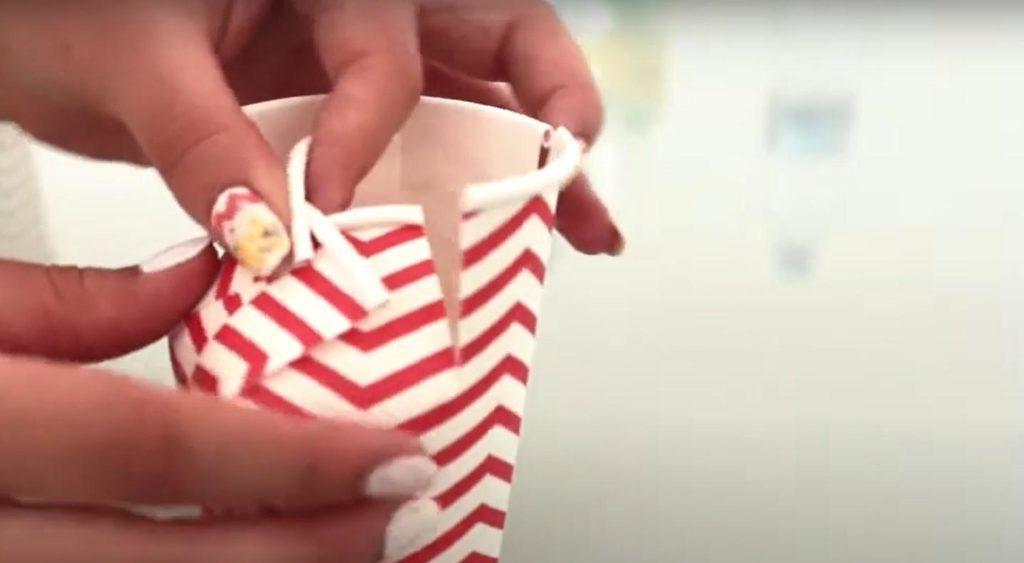
Step 3
Punch small holes in two opposite "petals" for the ribbon. Insert the ribbon as shown in the photo.
Step 4
Place the cupcake in a glass.
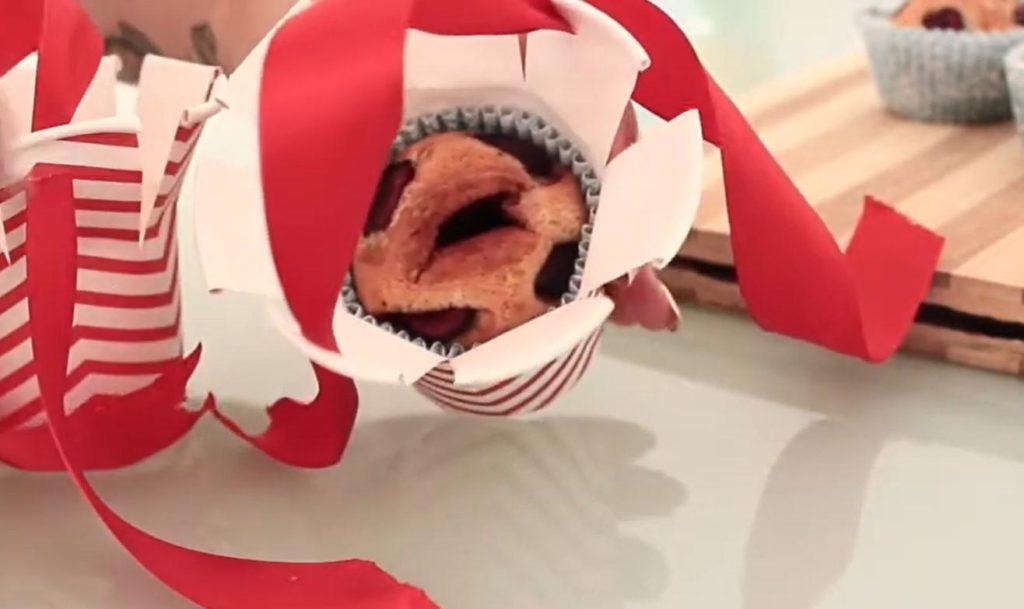
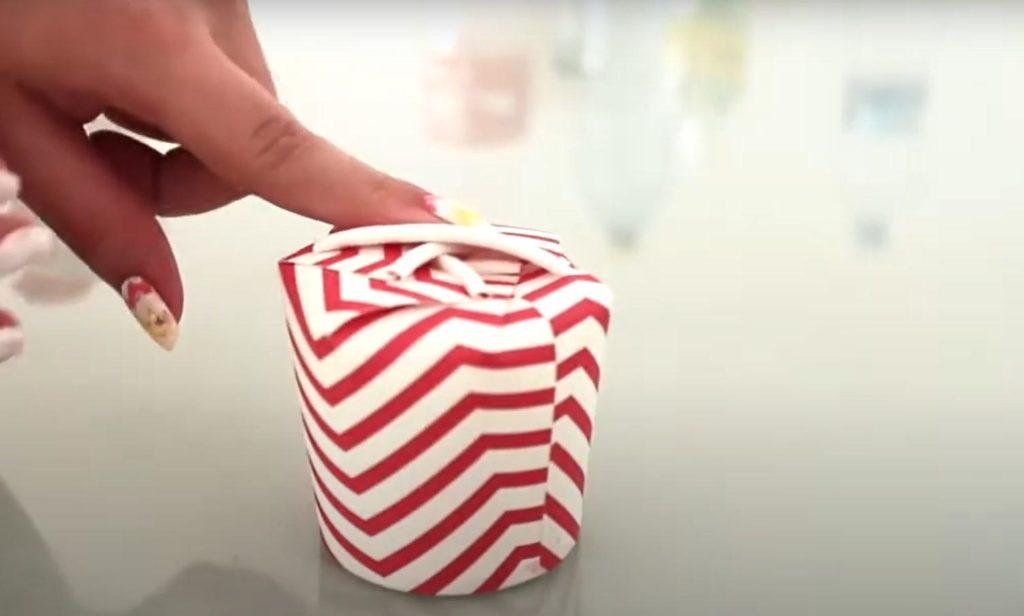
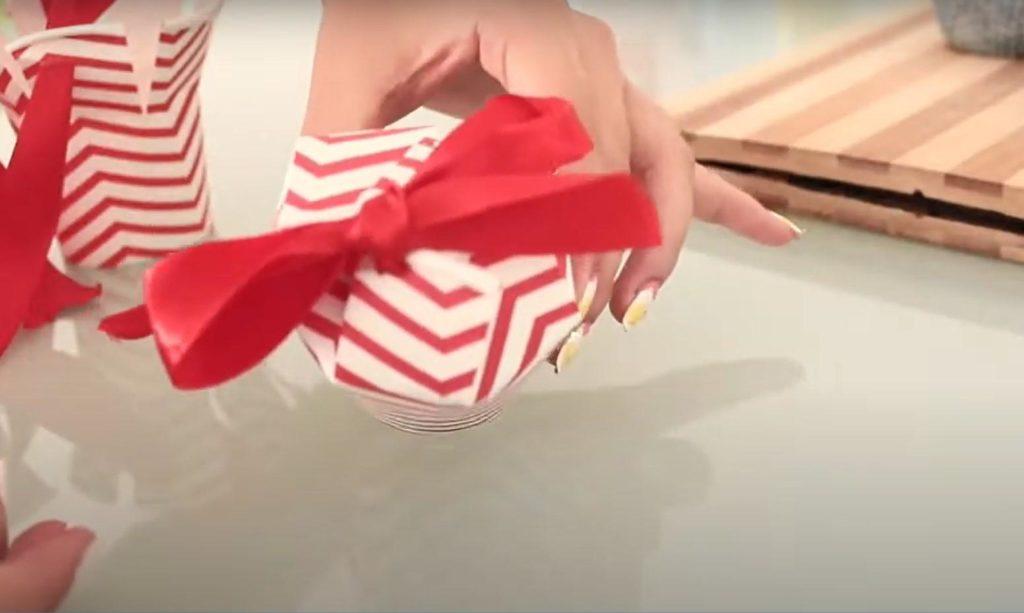
Step 5
Gather the petals again, press them down with your finger, and tie them with ribbon to form a beautiful bow.

How to make a paper box with your own hands?
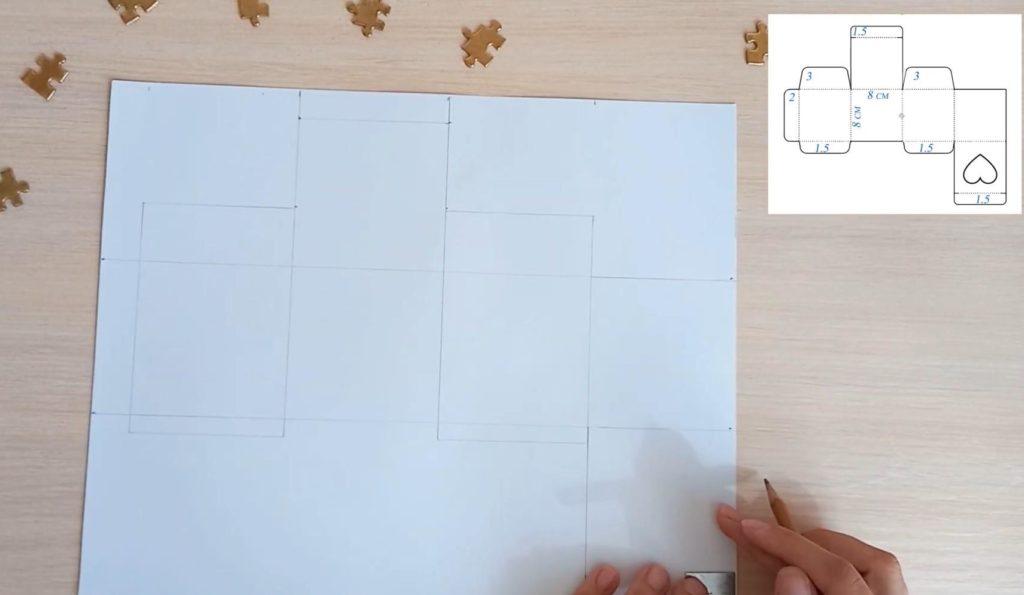
If you can't afford a ready-made cupcake box, you can make your own. All you'll need is 27cm x 34cm thick paper, scissors, a ruler, a pencil, a glue stick, a hot glue gun, and a piece of plastic wrap.
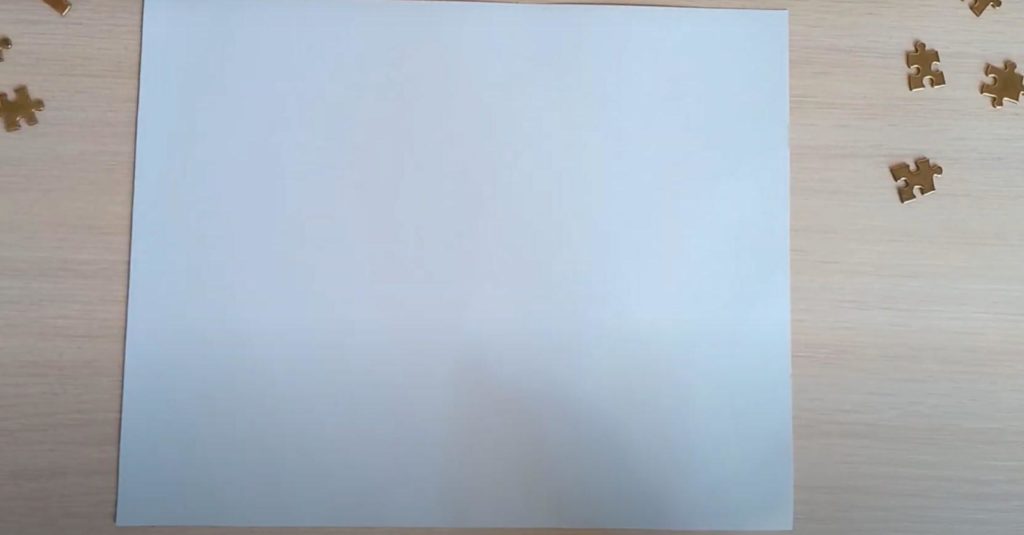
Step 1
We take a sheet of paper.
Step 2
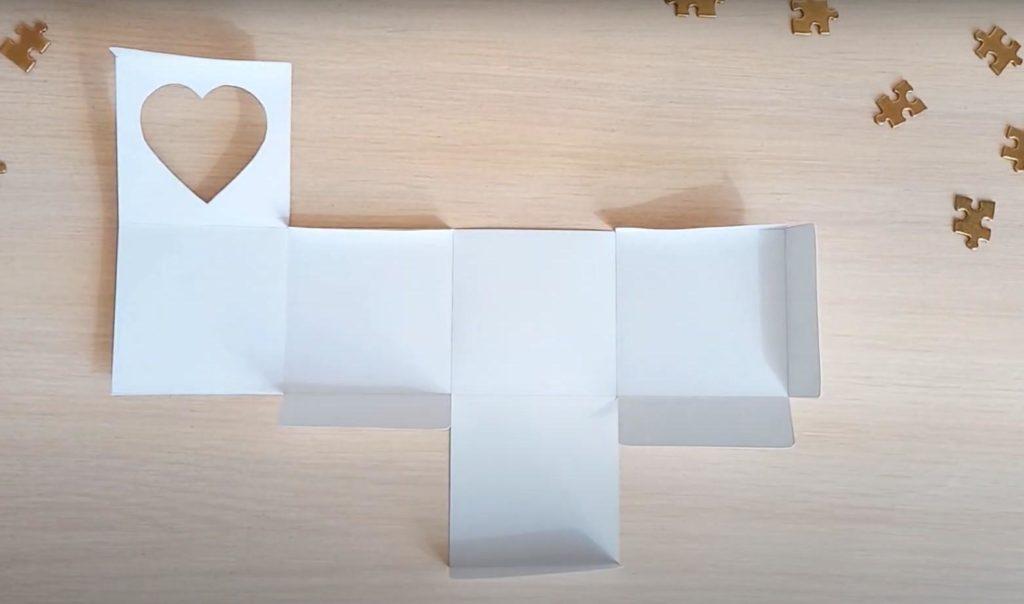
Using a ruler and a simple pencil, mark according to the chosen scheme.
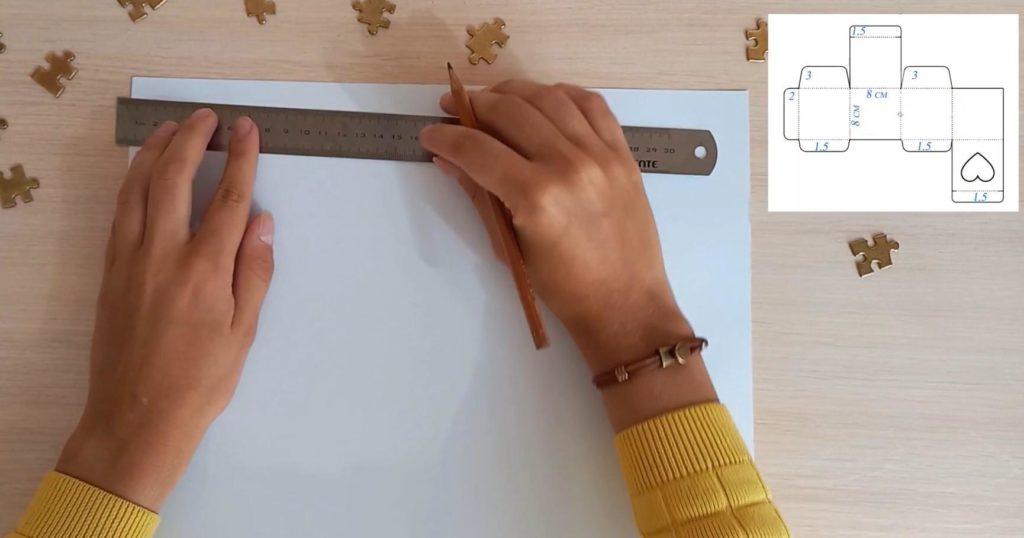
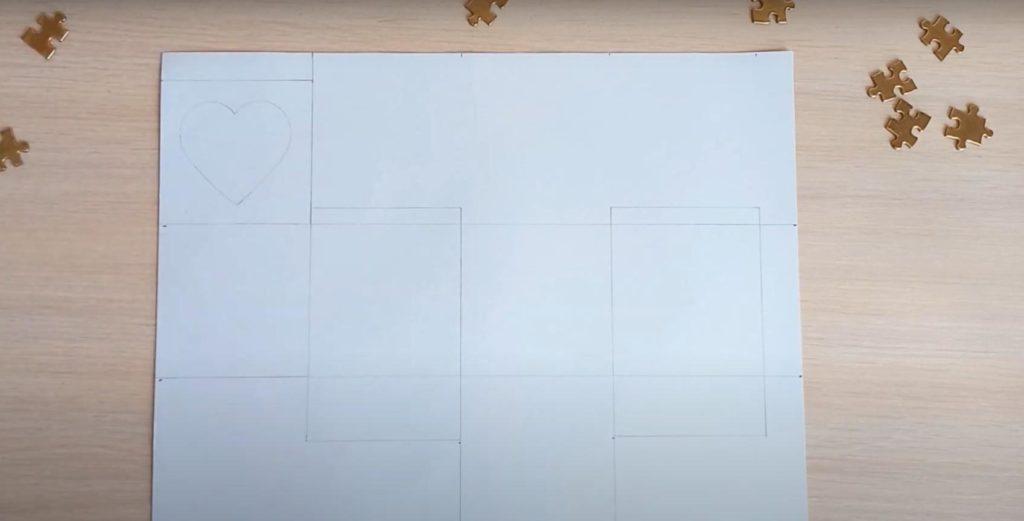
Step 3
For decoration, draw a heart. Look carefully at the photos to see where on the blank you should place the decoration.
Step 4
Carefully cut out the blank.
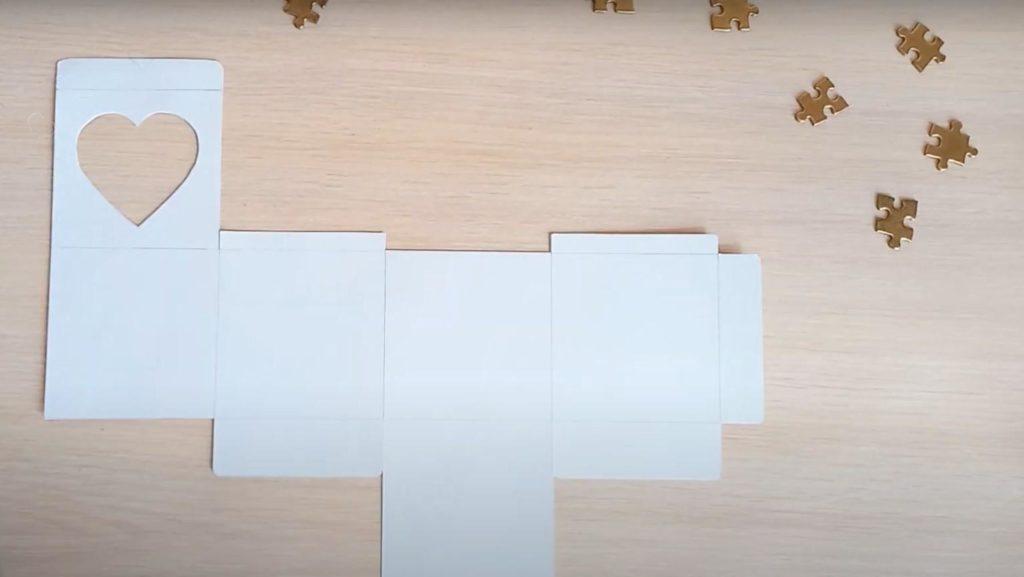
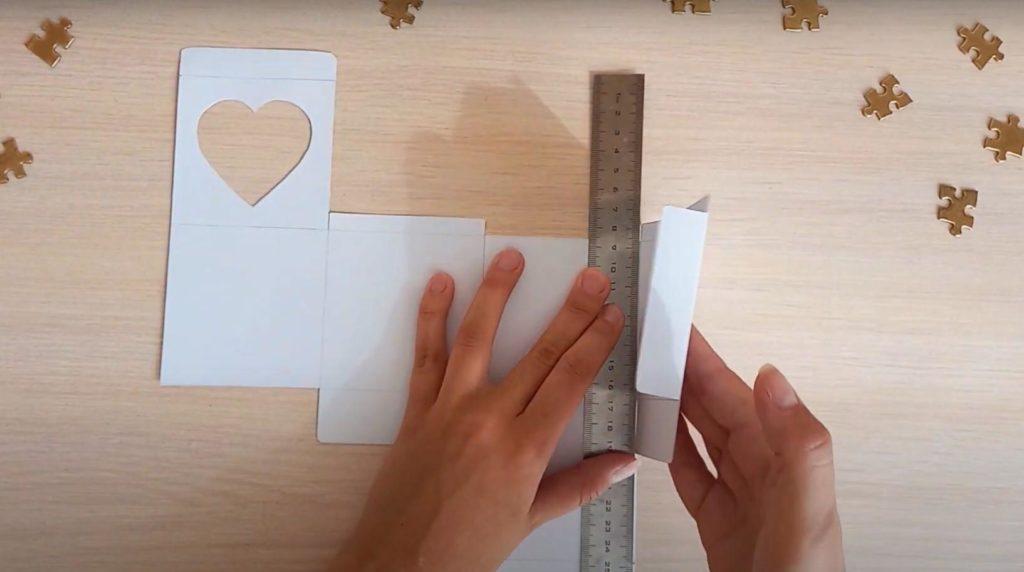
Step 5
We bend the workpiece along the edges that have folds.
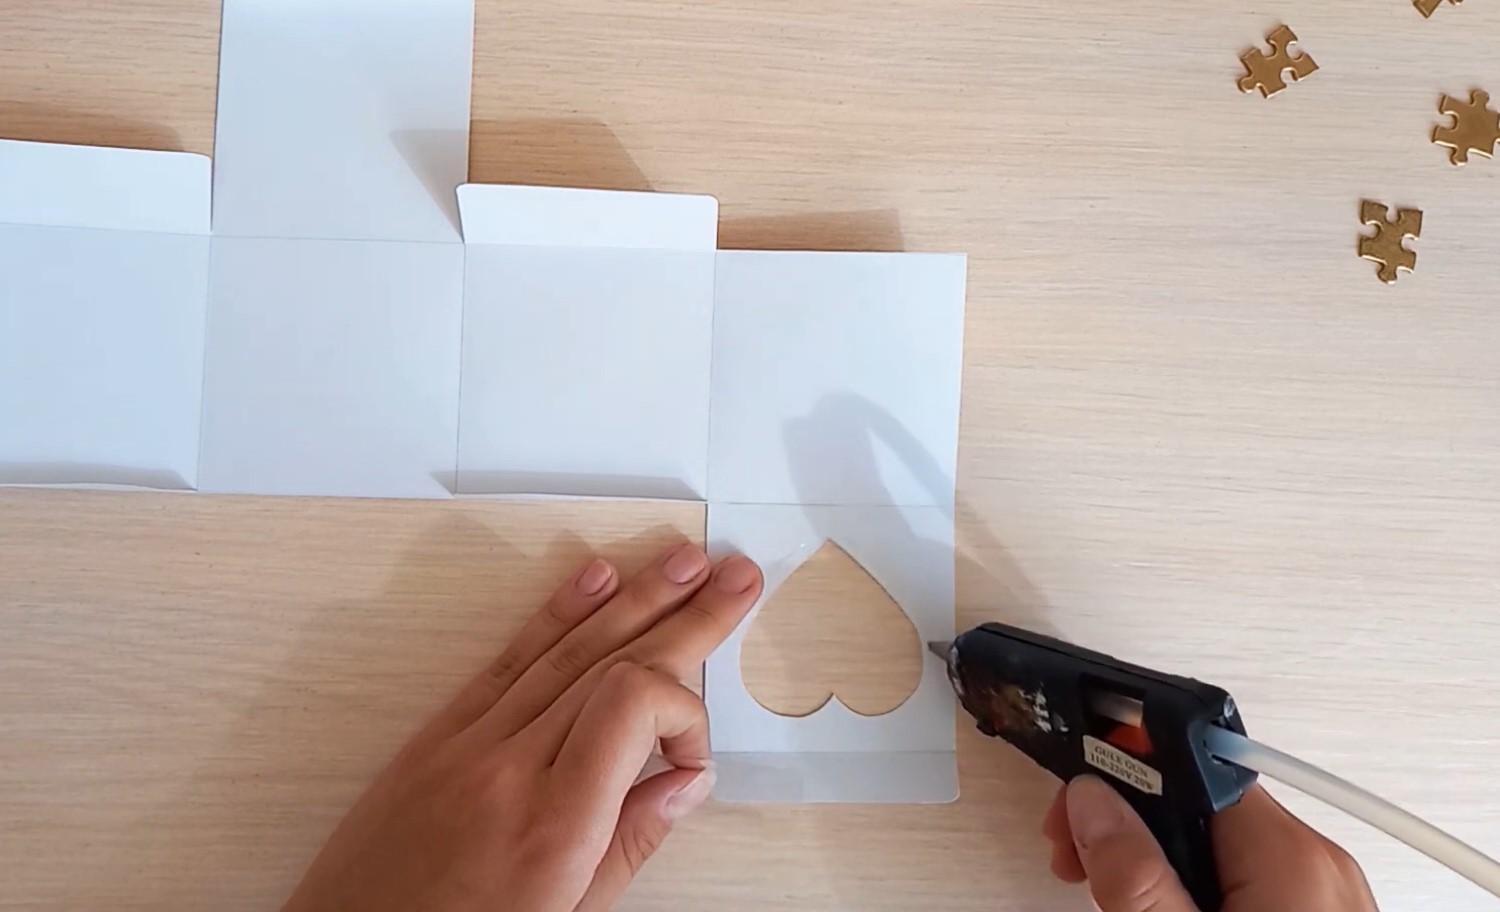
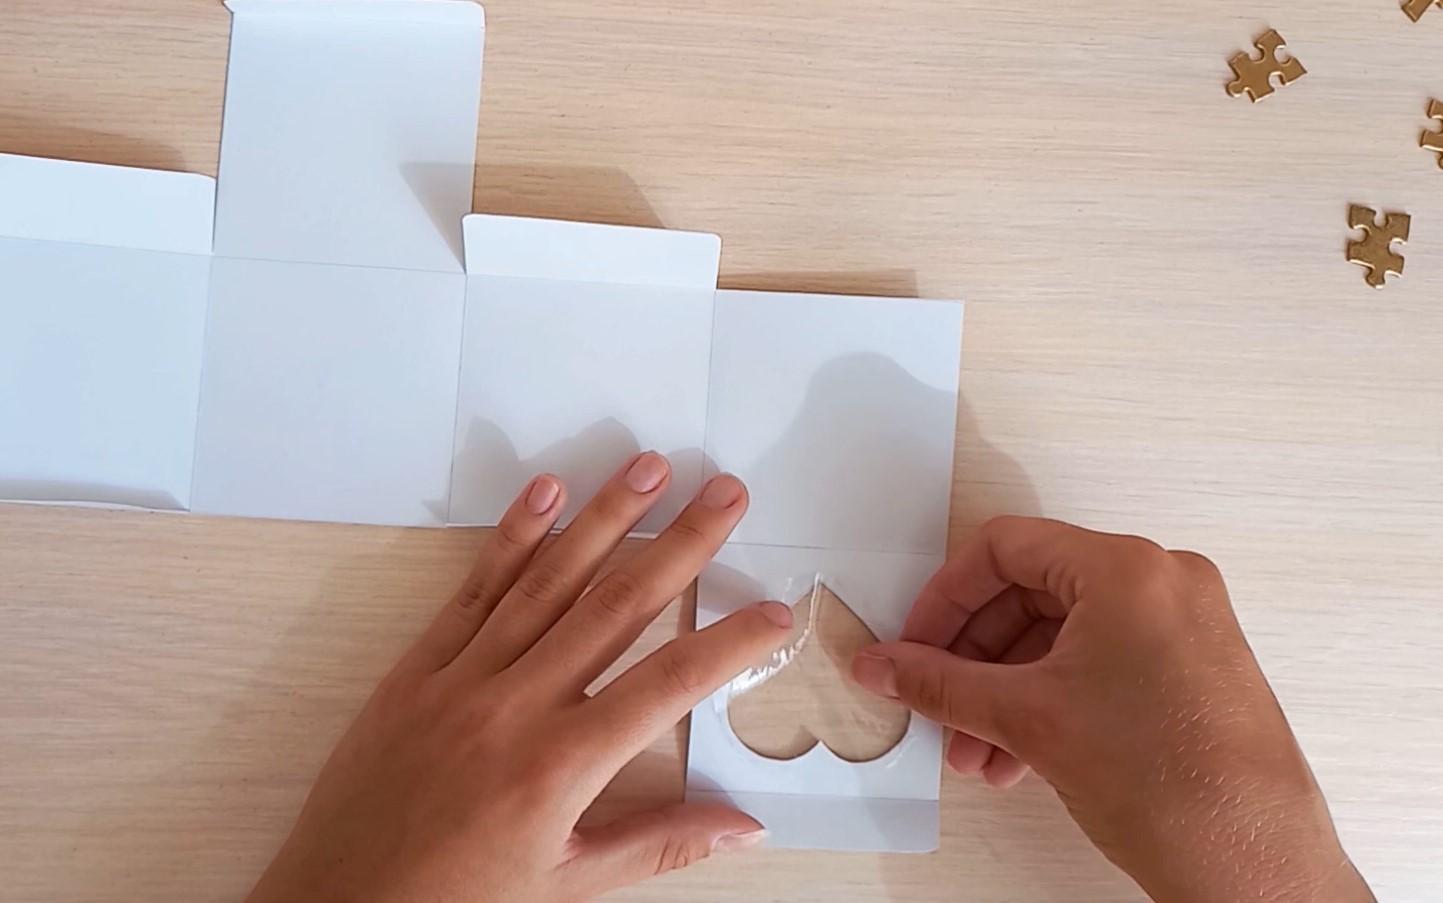
Step 6
Using a glue gun, glue a small piece of polyethylene into the heart-shaped slot.
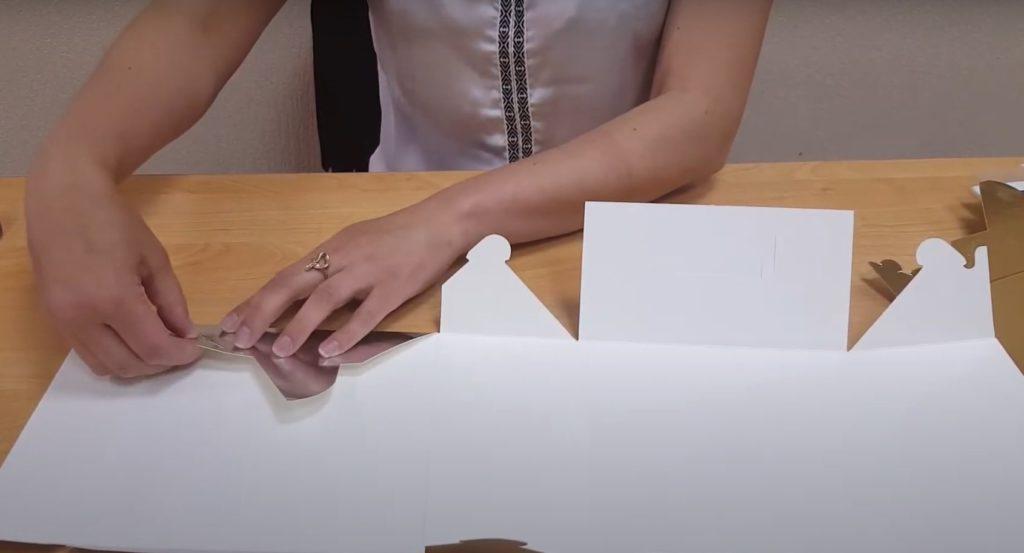
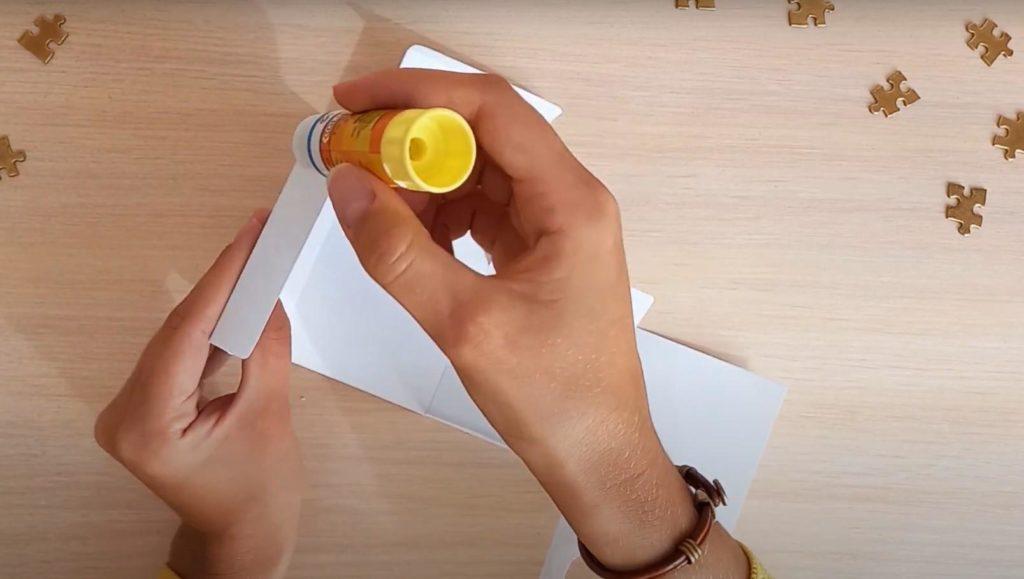
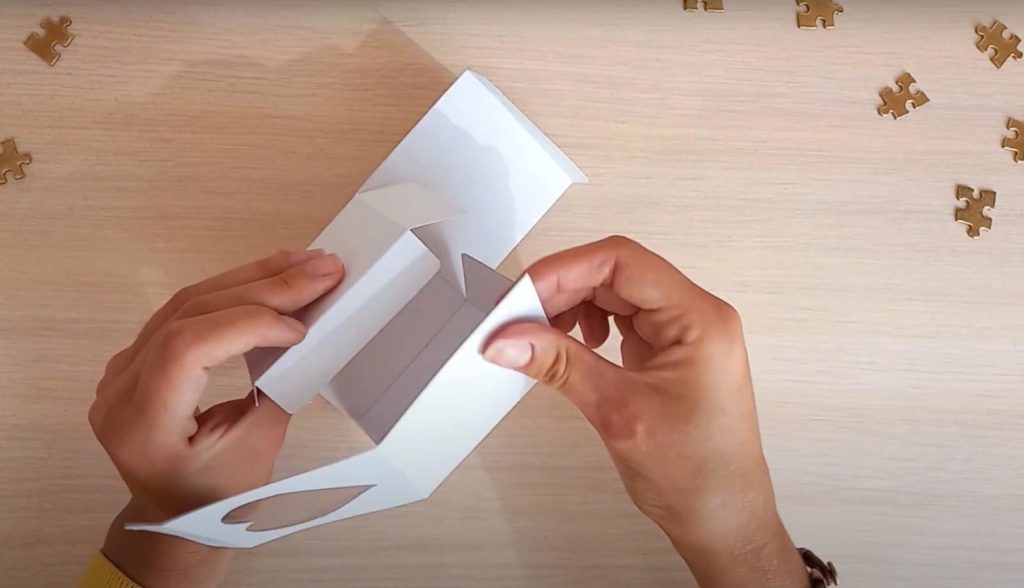
Step 7
Assemble the box. Using a glue stick, apply a thin layer of glue to one of the folds (look carefully at the photo). Fold the box over and glue it together.
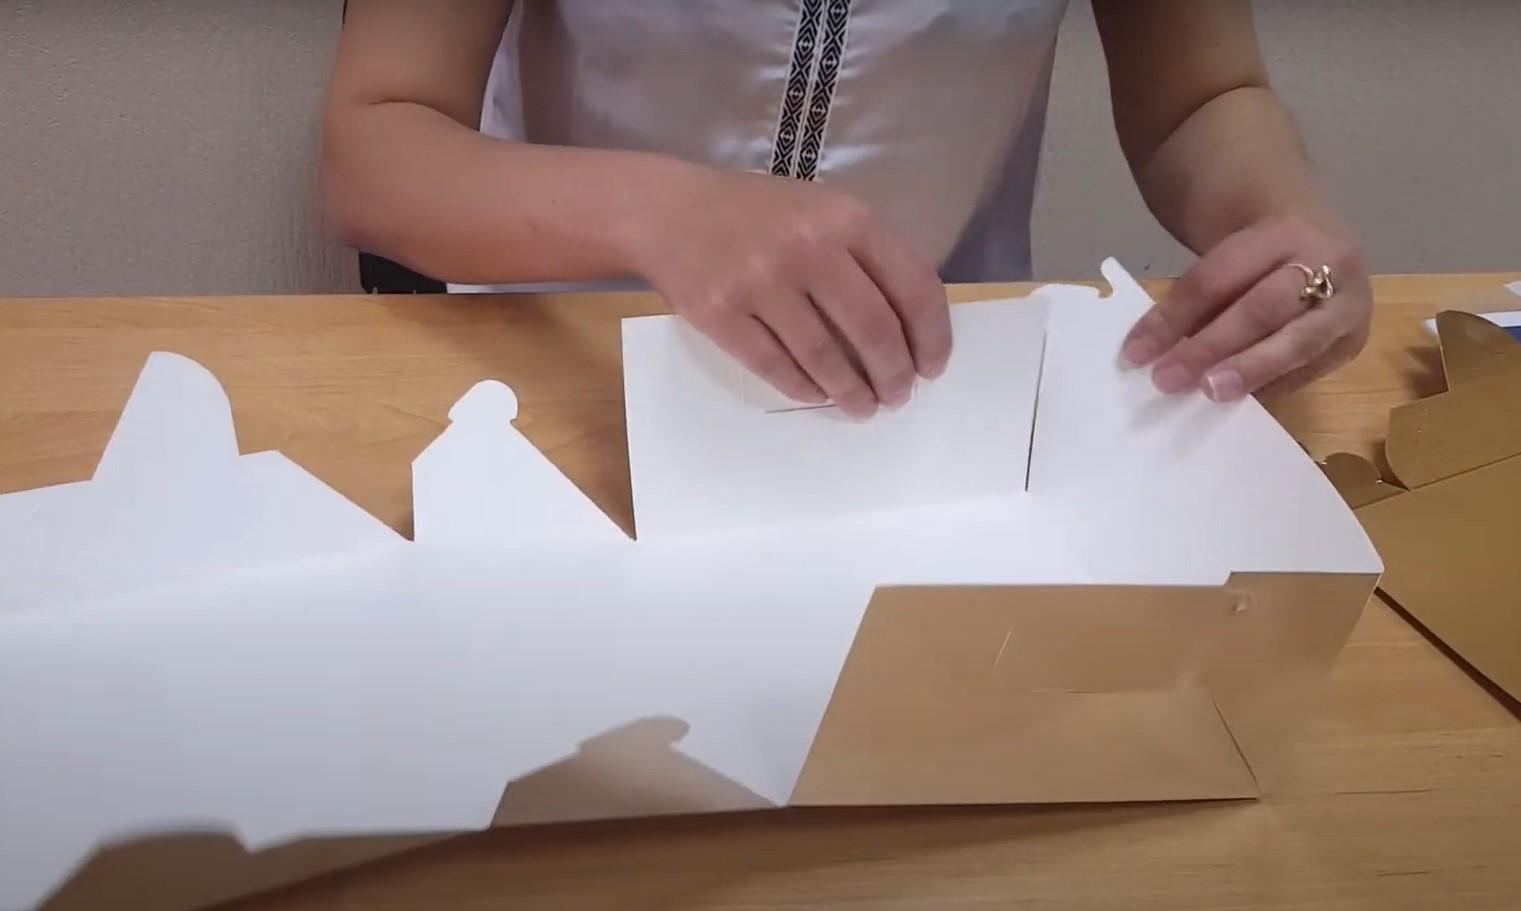
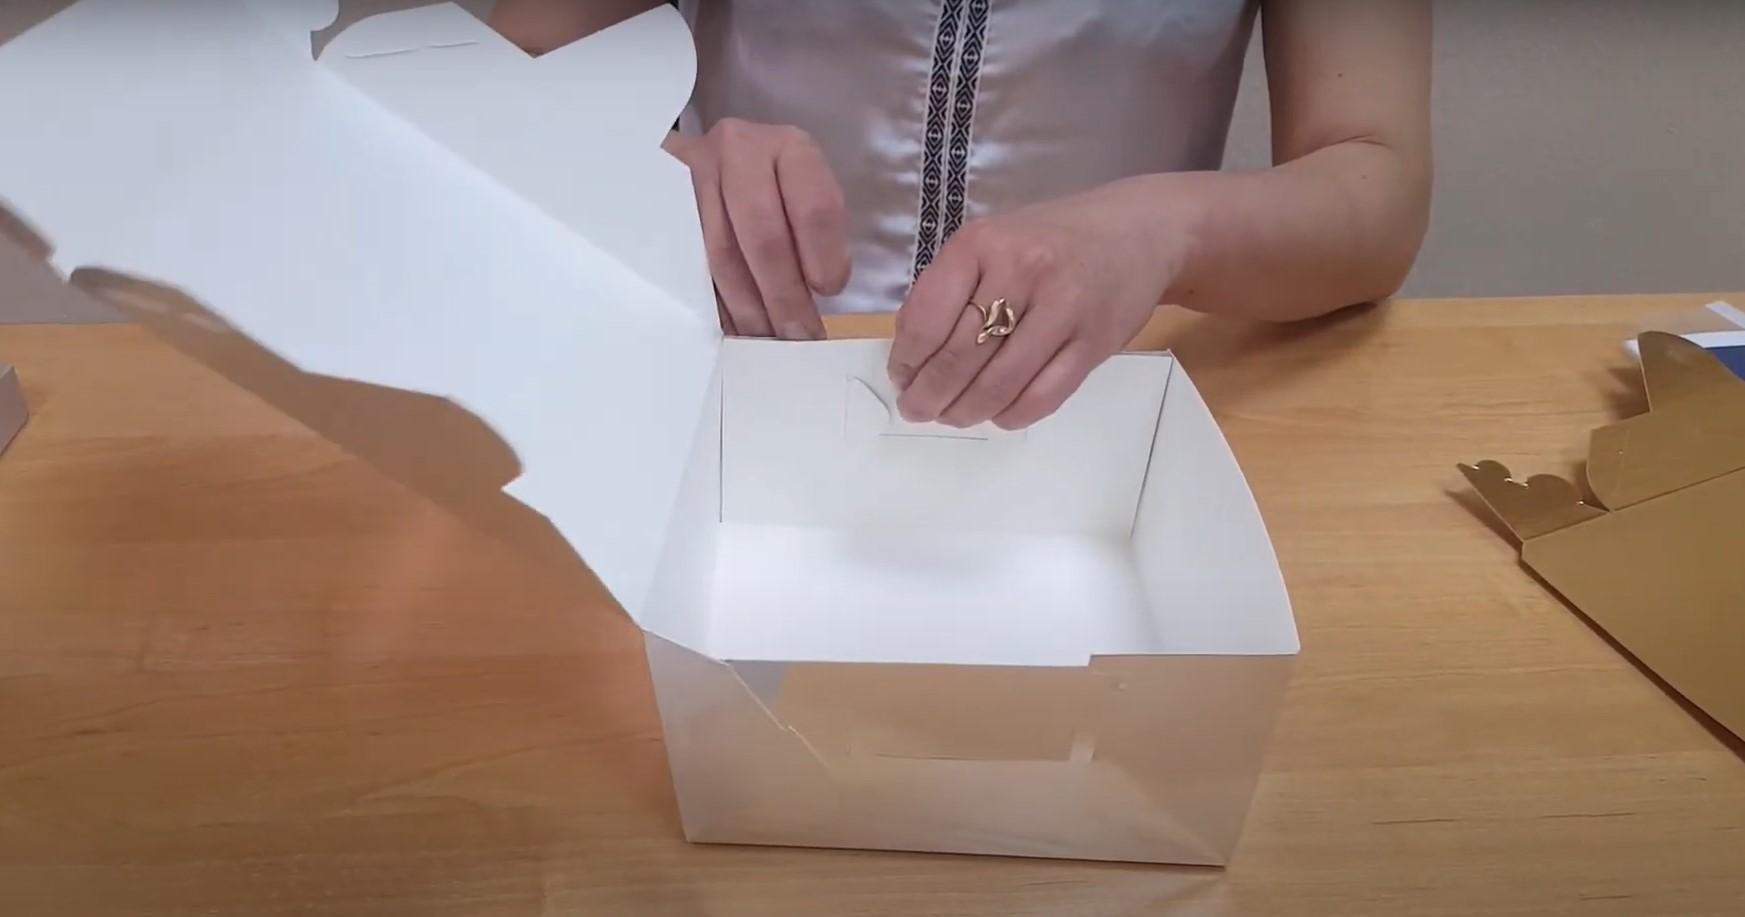
Step 8
The rest of the box assembly process doesn't require glue. Close the bottom.
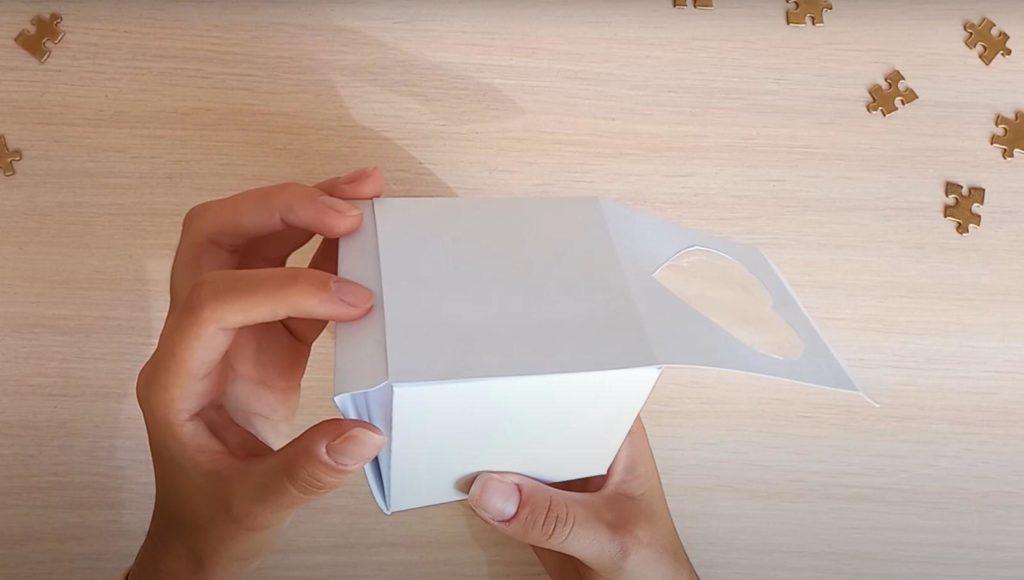
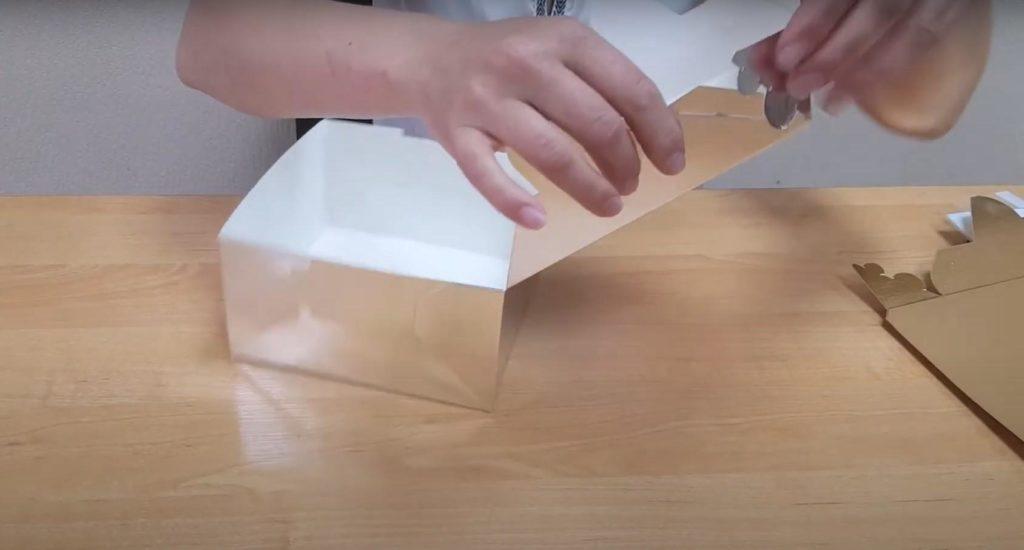
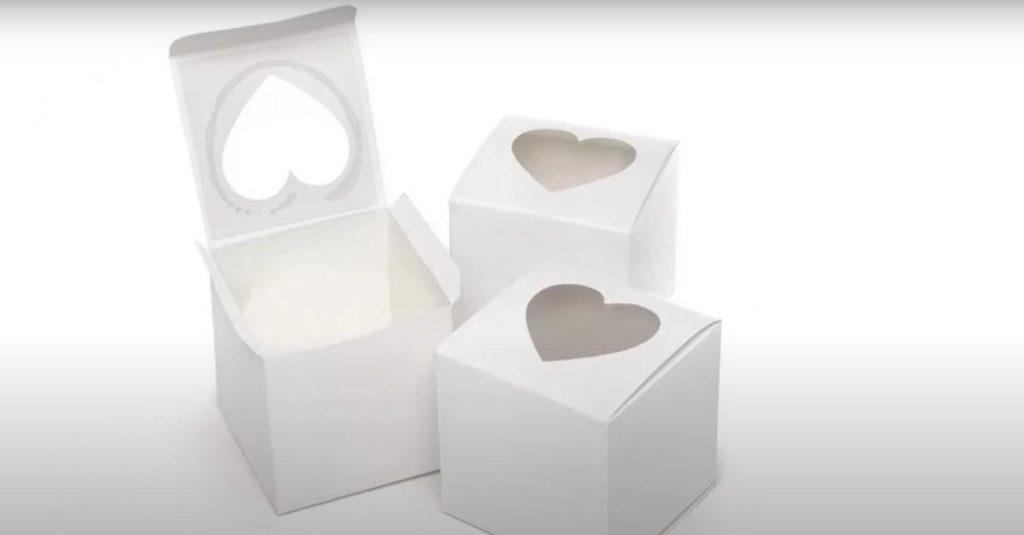
Step 9
The beautiful cupcake box is ready.
Cupcake box template
Making your own beautiful gift box for cupcakes or muffins is easy, especially if you use a ready-made template.
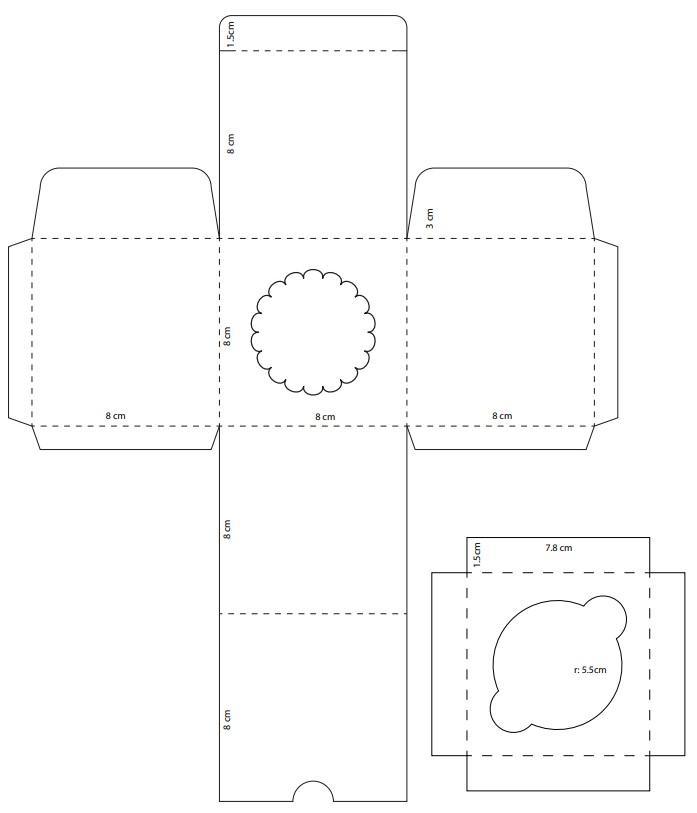
- Save the file to your computer.
- Print on plain paper.
- Cut out the pattern and transfer it onto thick paper or cardboard.
- Bend the workpiece along the folded edges.
- Glue the bottom.
Just a few simple steps and your original cupcake box is ready!
Now you shouldn't have any trouble assembling or making cupcake boxes. Share in the comments if you've ever assembled or made your own cupcake packaging.