Marbled Easter Eggs: 6 Step-by-Step Recipes with Natural Dyes

Content
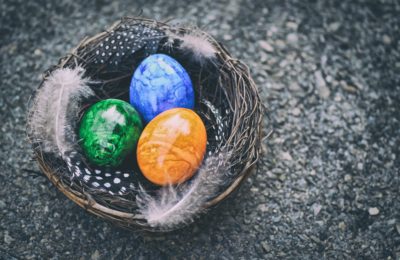
Dyeing Easter eggs is both challenging and exciting. Today's collection of recipes is designed for those who want to give their Easter eggs a marbled finish. These painted eggs look very interesting and beautiful. Despite their apparent complexity and intricacy, they're actually quite simple to make. All you need are basic ingredients and tools, a little free time, and a creative spirit.
By the end of this article, you'll learn how to create marbled Easter eggs using onion skins and hibiscus tea, along with brilliant green, blueberries, and red cabbage. You'll also learn how to make gold decorations!
Easter marbled eggs in onion skins
- Proteins: 12.7 g
- Fats: 11.5 g
- Carbohydrates: 0.7 g
- Total time:
-
Complexity:
A simple recipe.
- Number of servings: 12
Ingredients
-
Egg C112 pcs
-
Salt6 G
-
Onion peel70 G
-
Sunflower oil1 tbsp
-
WaterG
Preparation

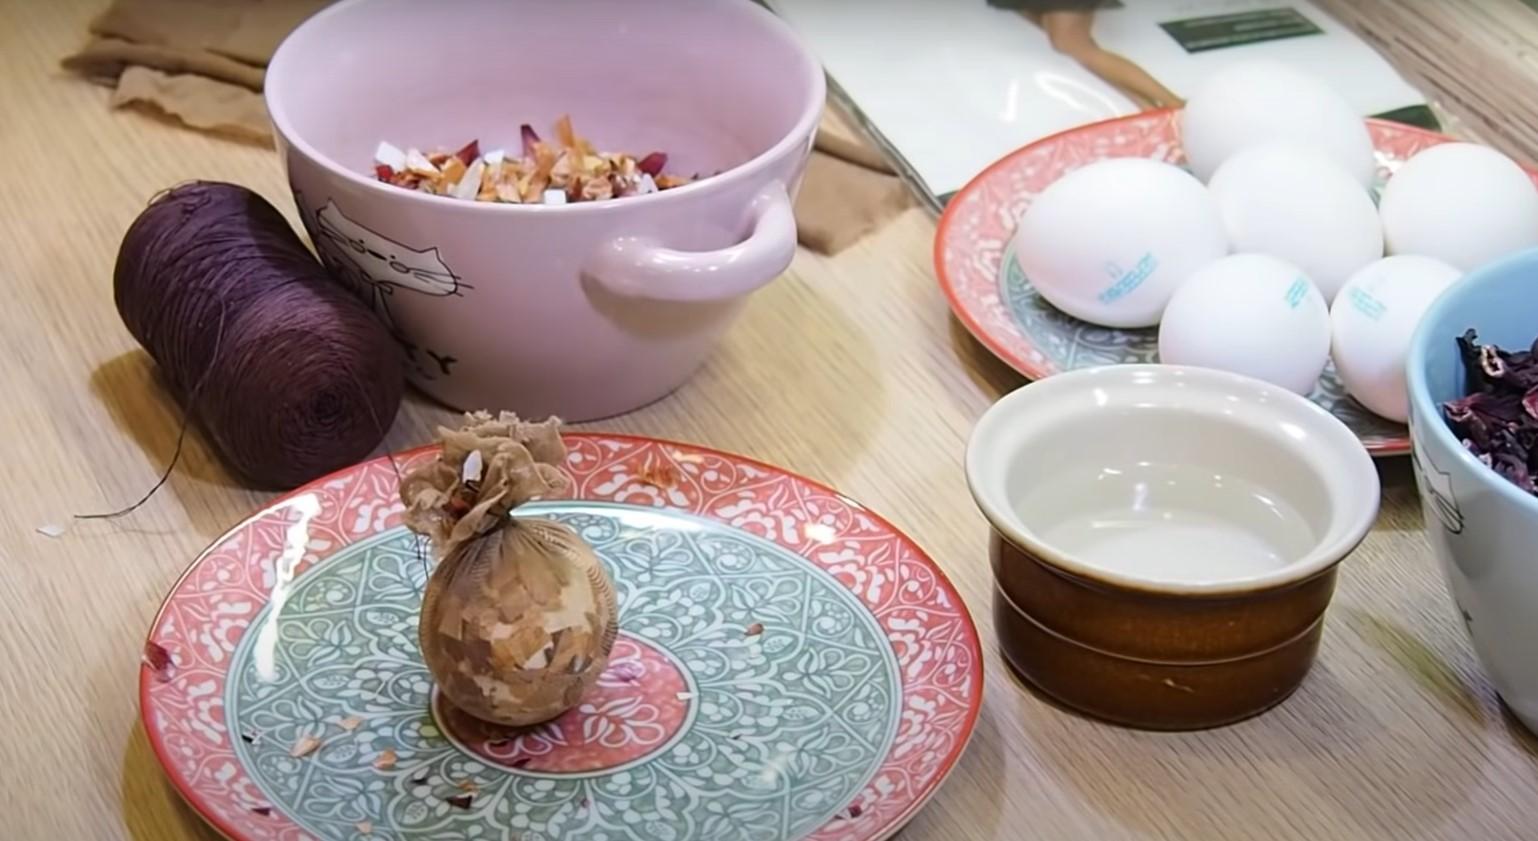
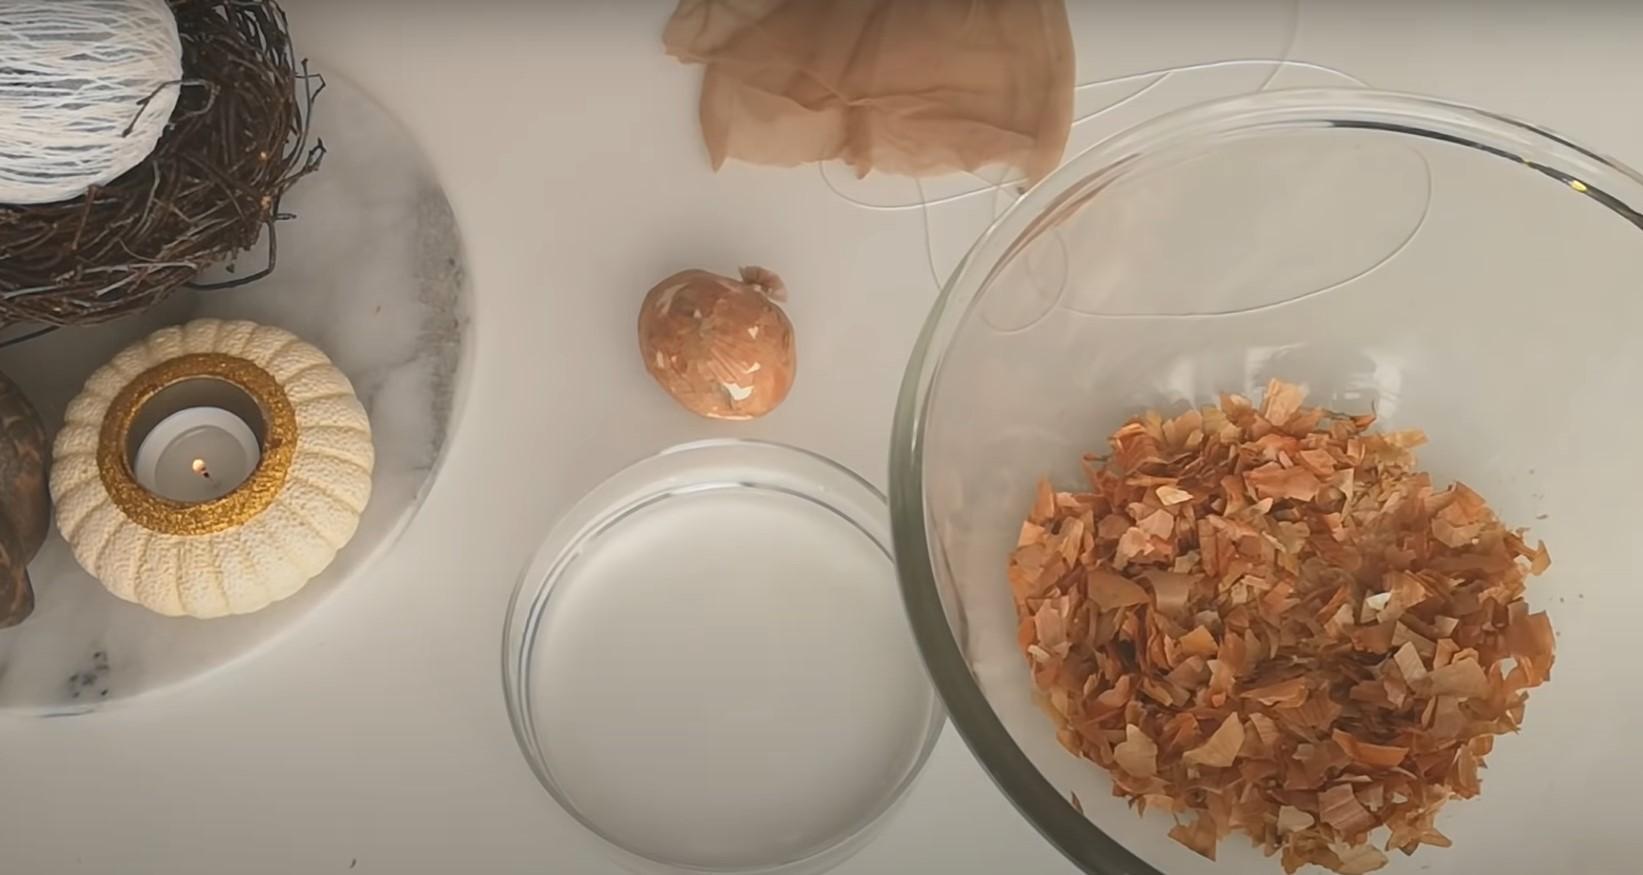
We prepare all the necessary ingredients and tools (gauze, rubber bands, scissors).

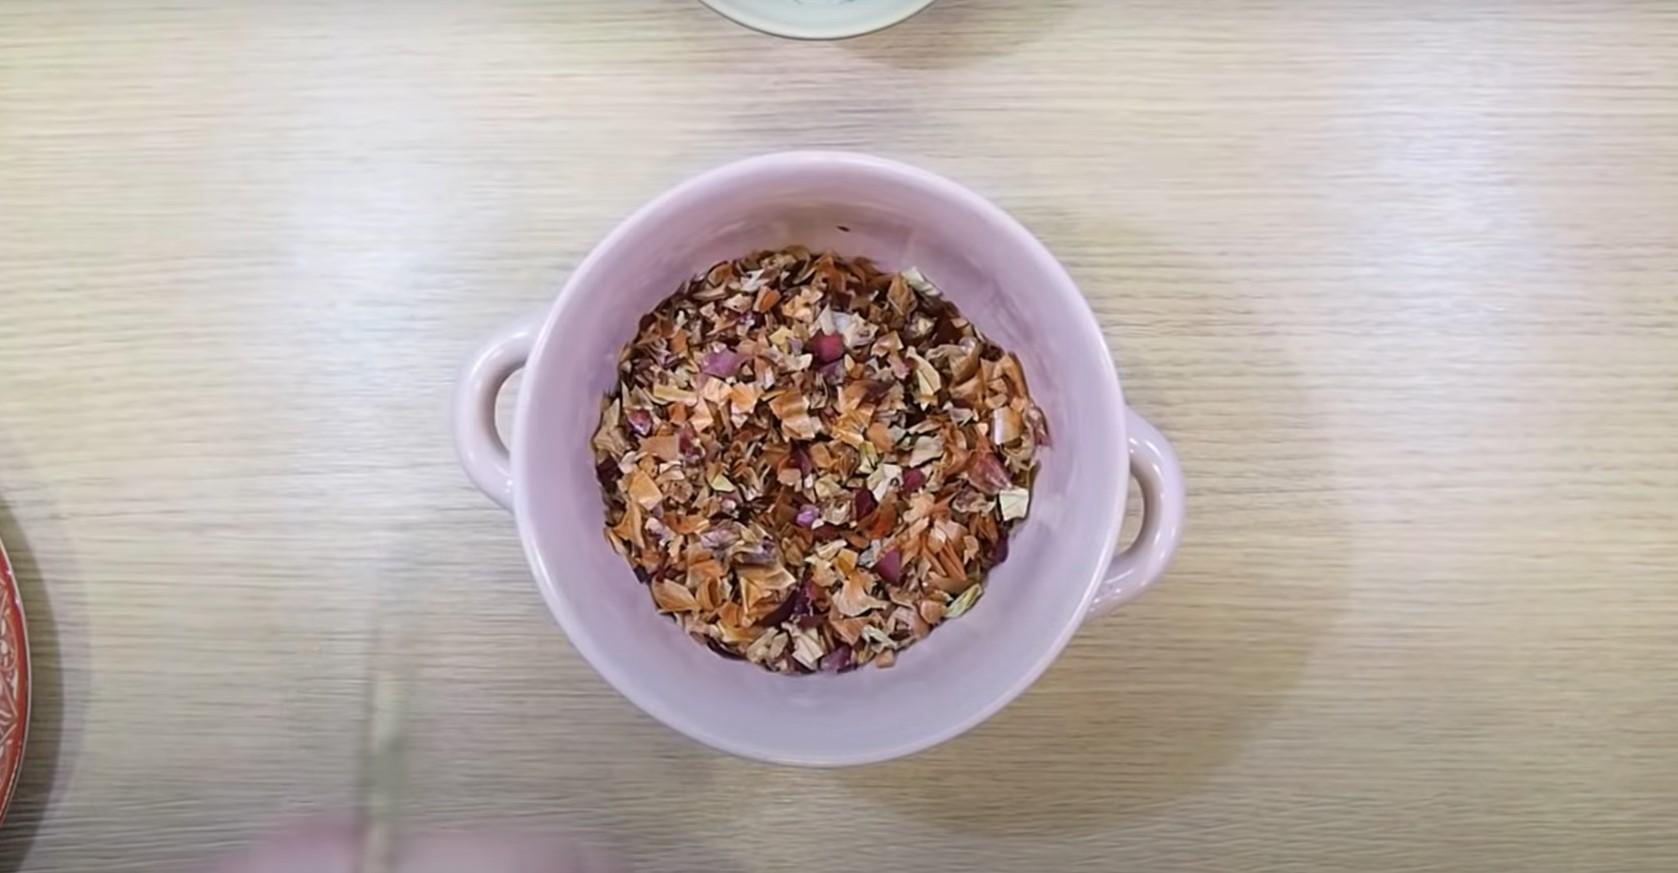
To create a beautiful marble pattern, it is best to use onion peels in two shades.

We chop the husk into small pieces using scissors.

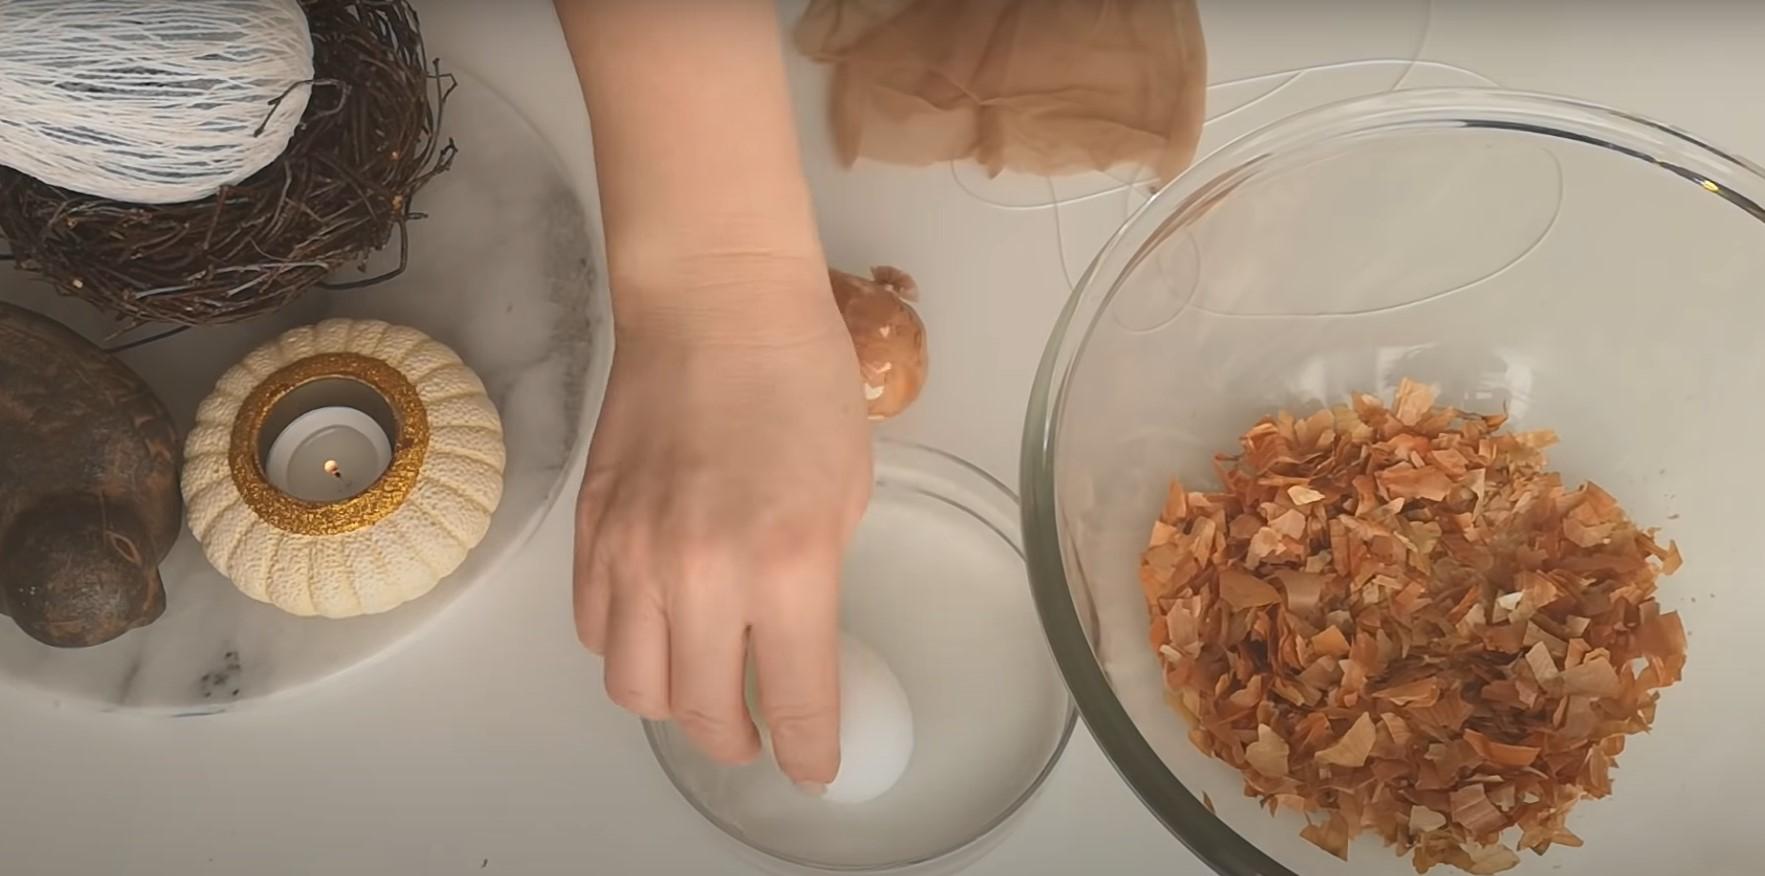
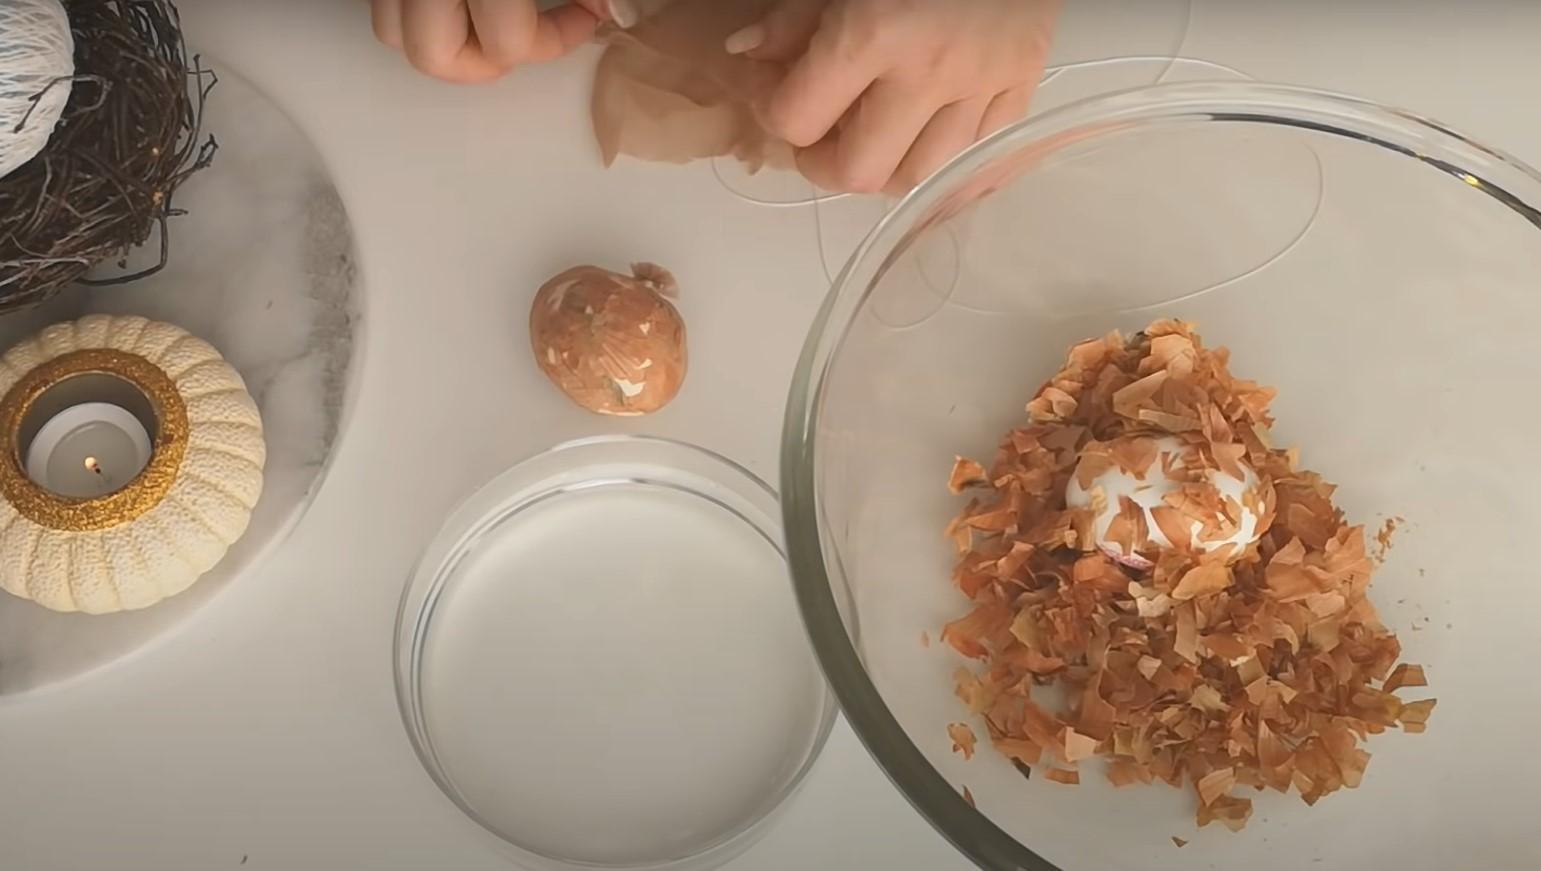
Take a piece of cheesecloth folded in half, measuring 22 x 22 cm. Sprinkle it with a small amount of eggshells, place a raw egg on top, and sprinkle it with eggshells on all sides.

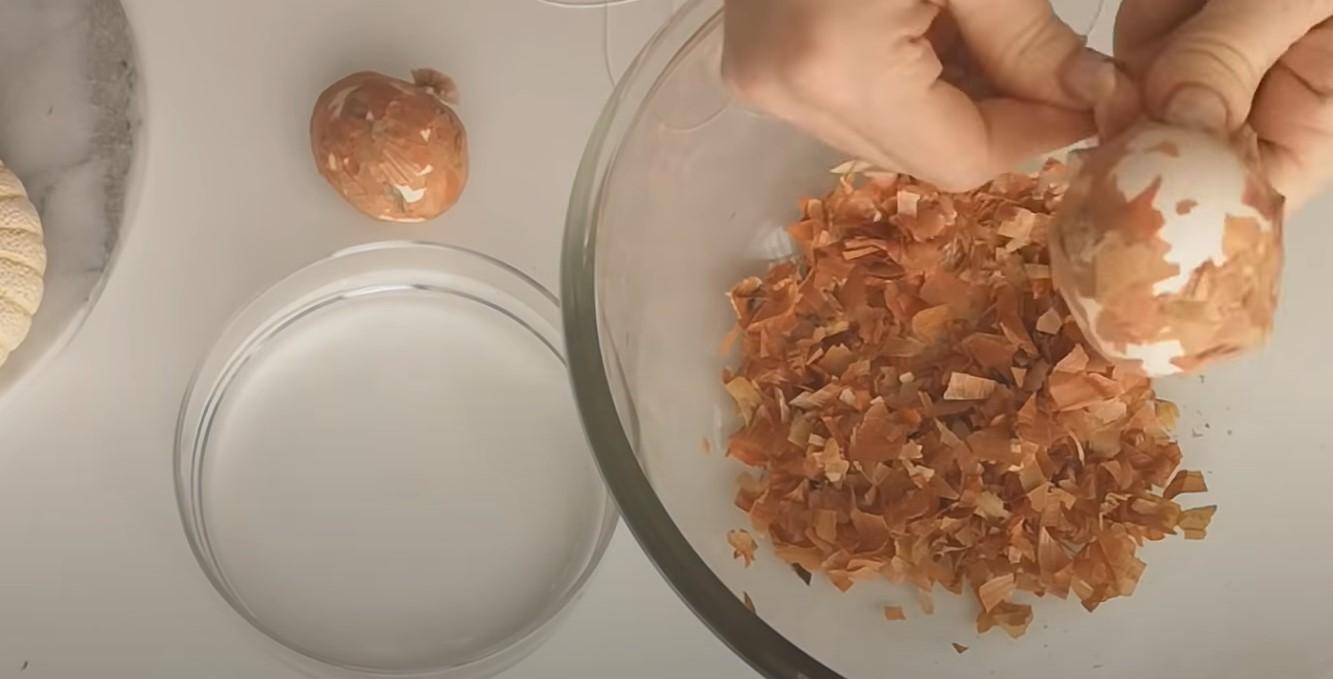
We roll it into a bag, tie it with an elastic band and cut off the gauze tail so that it doesn’t get in the way.

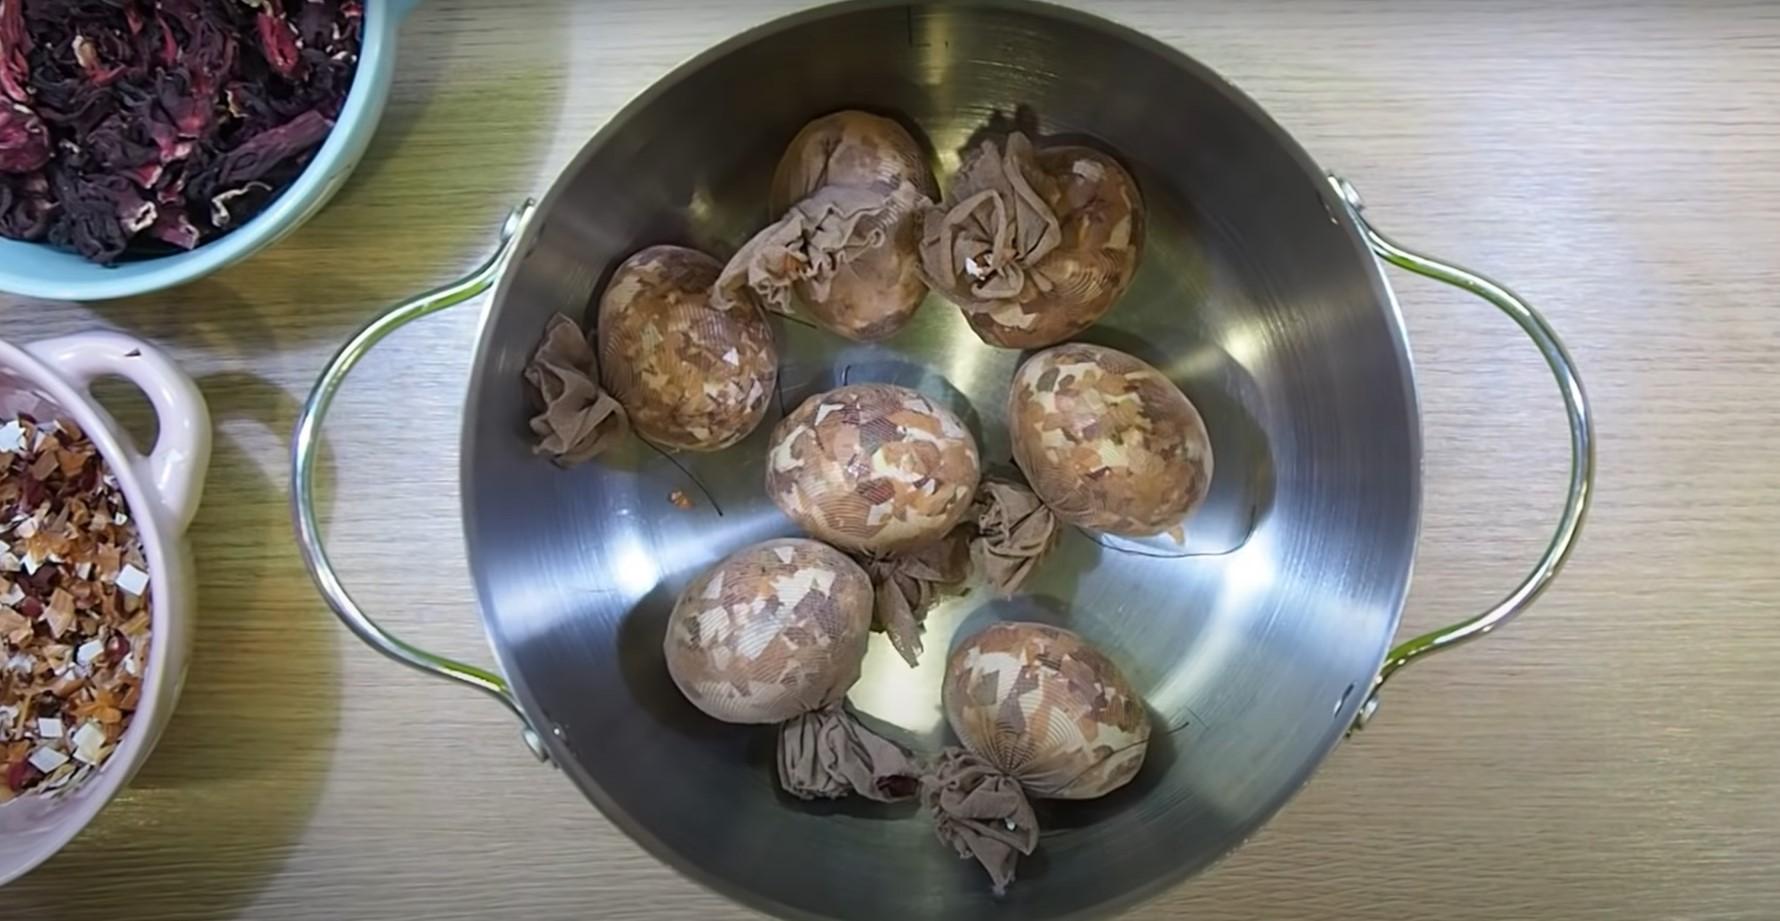
We do a similar procedure with all the eggs.

Pour cold water into a saucepan and add salt.

We transfer the eggs.

Place the pan on the stove, bring to a boil and cook for 10 minutes.

Remove the eggs from the pan and cover with cold water.

Remove the cheesecloth and onion skins from the eggs. Rinse again with cold water.

Rub the eggs with a small amount of sunflower oil and surprise your guests.
How to dye marbled Easter eggs with hibiscus tea
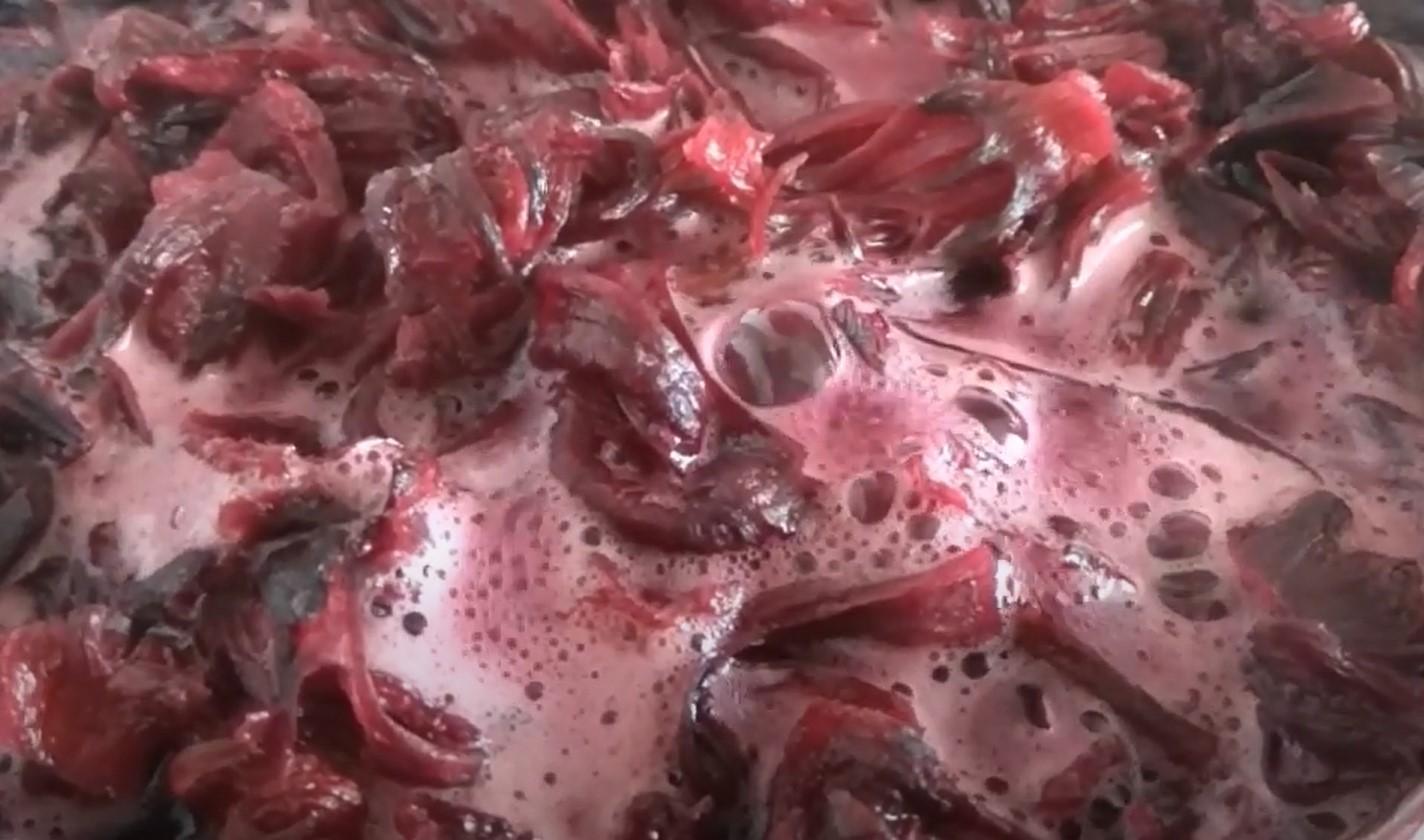
Marbled patterns can be achieved using more than just onion peels. A very interesting and unusual effect can be achieved with hibiscus tea. Sudanese rose petals have excellent coloring properties and can also be used to create unique patterns on the shell's surface. Another detailed photo recipe for creating marbled painted eggs using natural ingredients is offered.
Ingredients
- Eggs - 10 pcs.
- Hibiscus tea – 80 g
- Water - 1 l
Cooking time: 30-40 minutes
Servings: 10
Step-by-step recipe
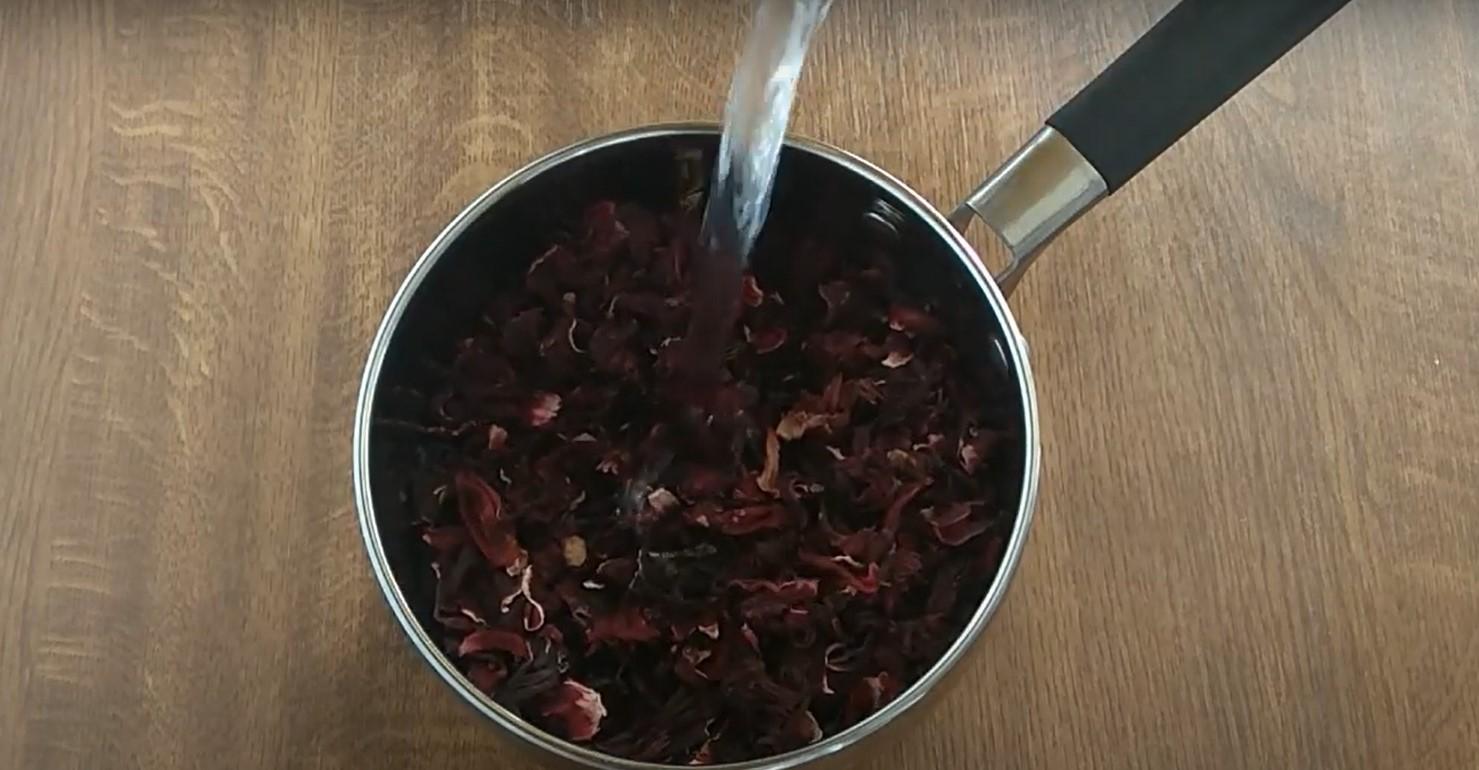
Step 1
Transfer the tea to a saucepan and add water.
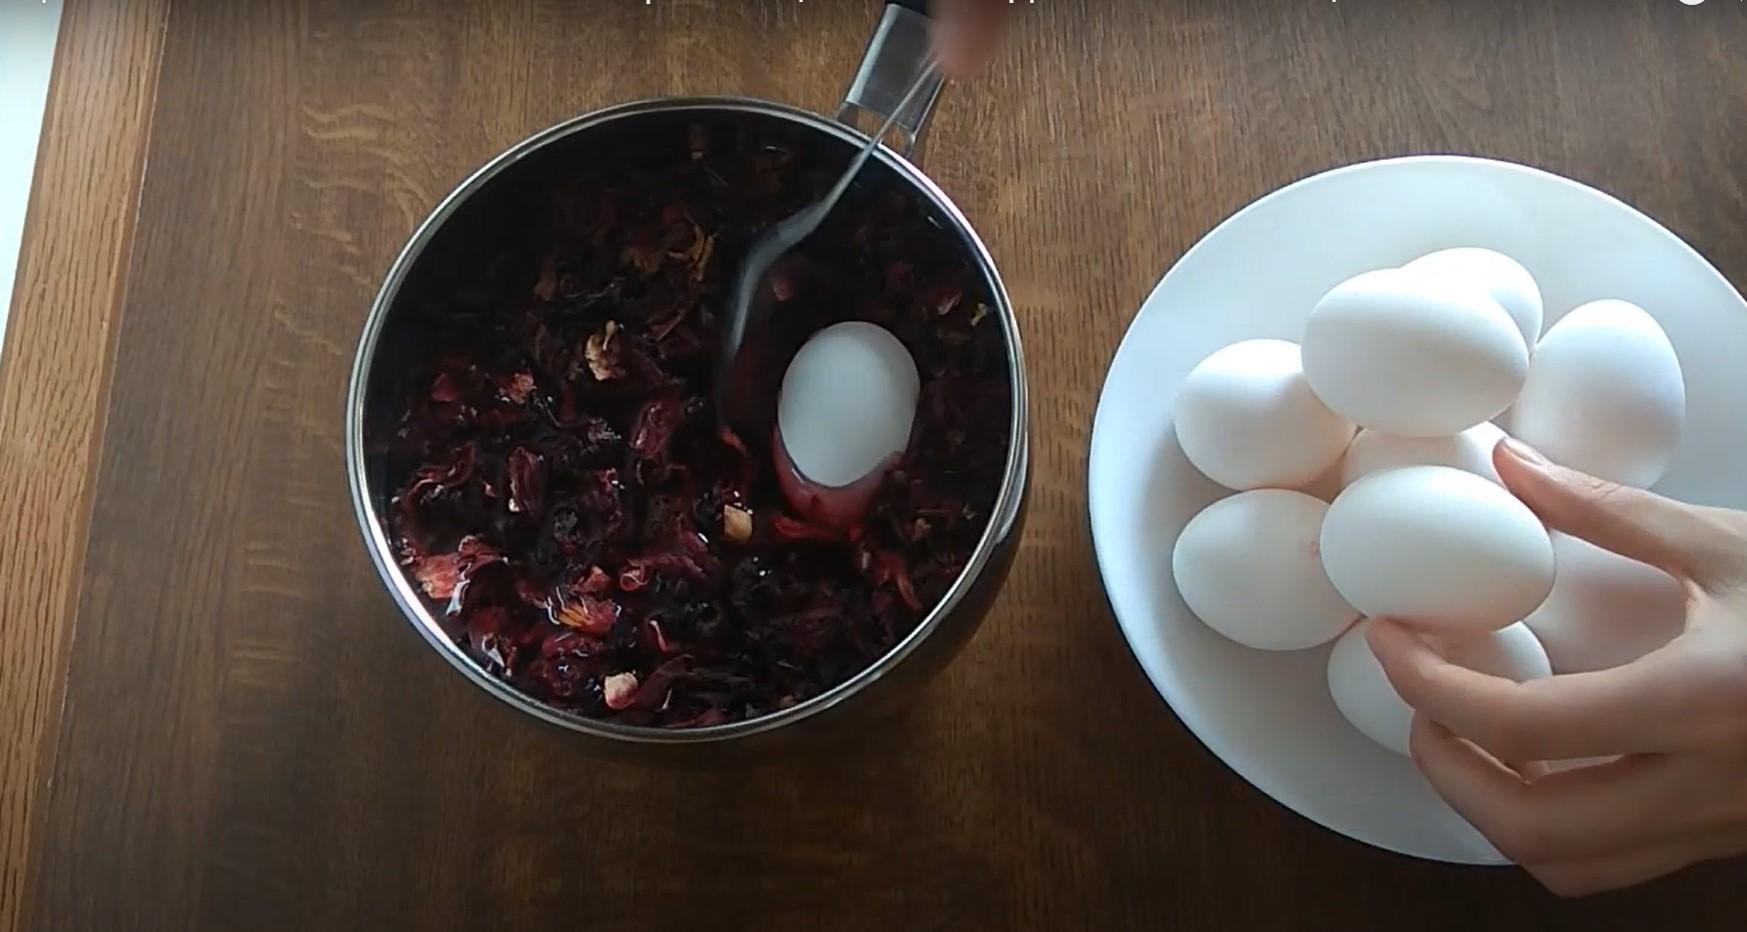
Step 2
We transfer the eggs.
Step 3
Bring to a boil and cook for 15 minutes.
Step 4
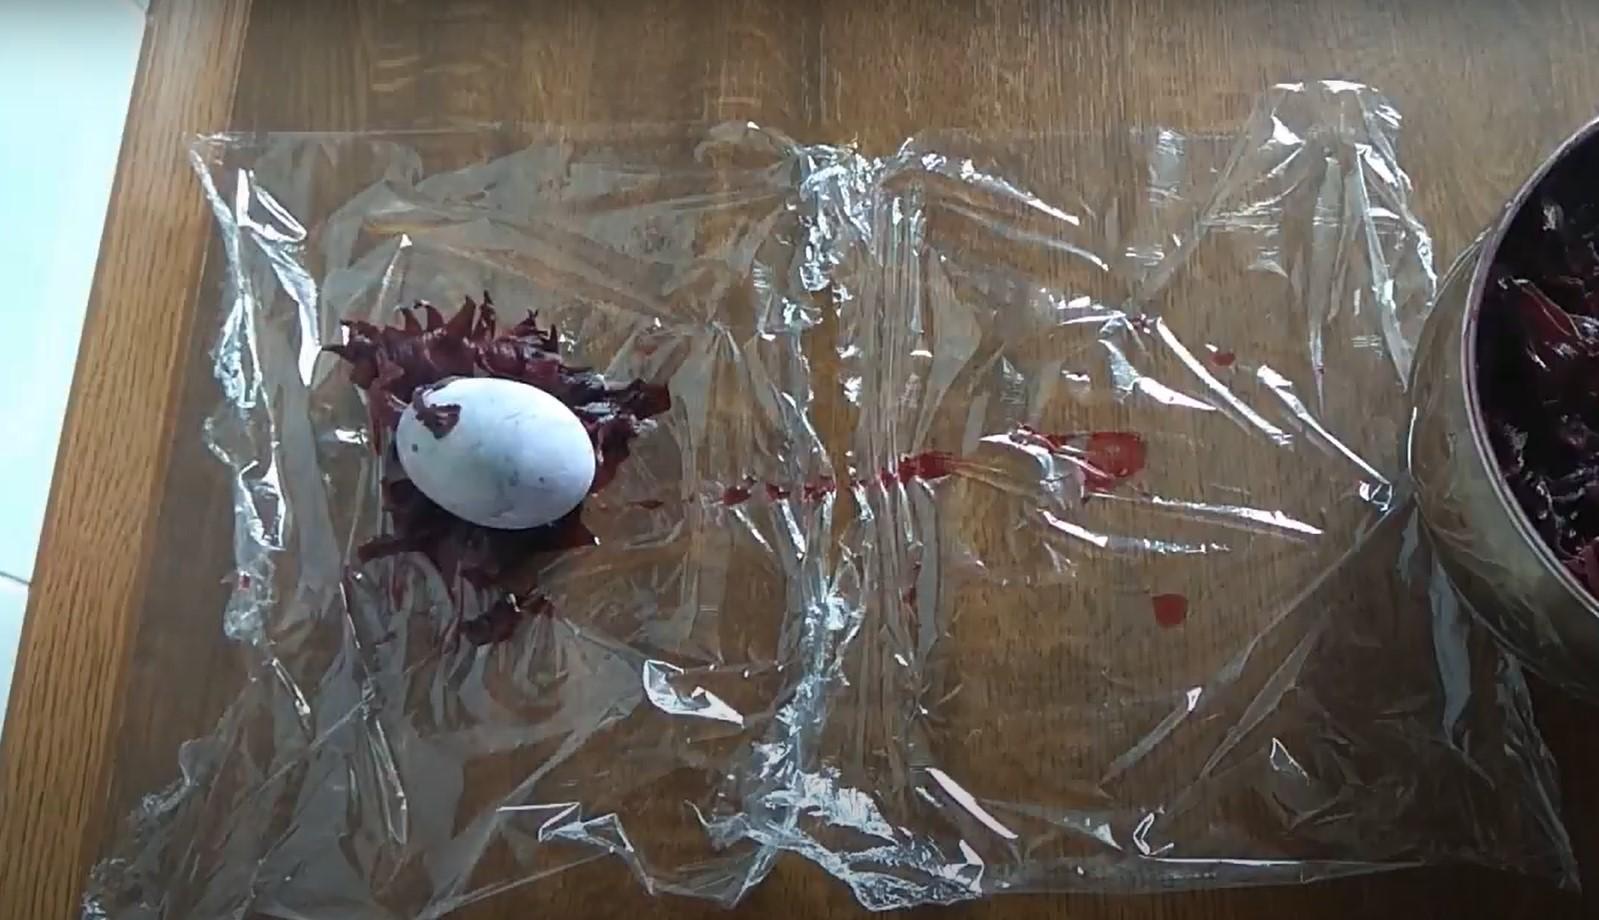
Place the hot egg on a piece of plastic wrap and surround it with the tea petals from the infusion. Tie it in a bag. Leave it to cool.
Step 5
We unfold the bags.
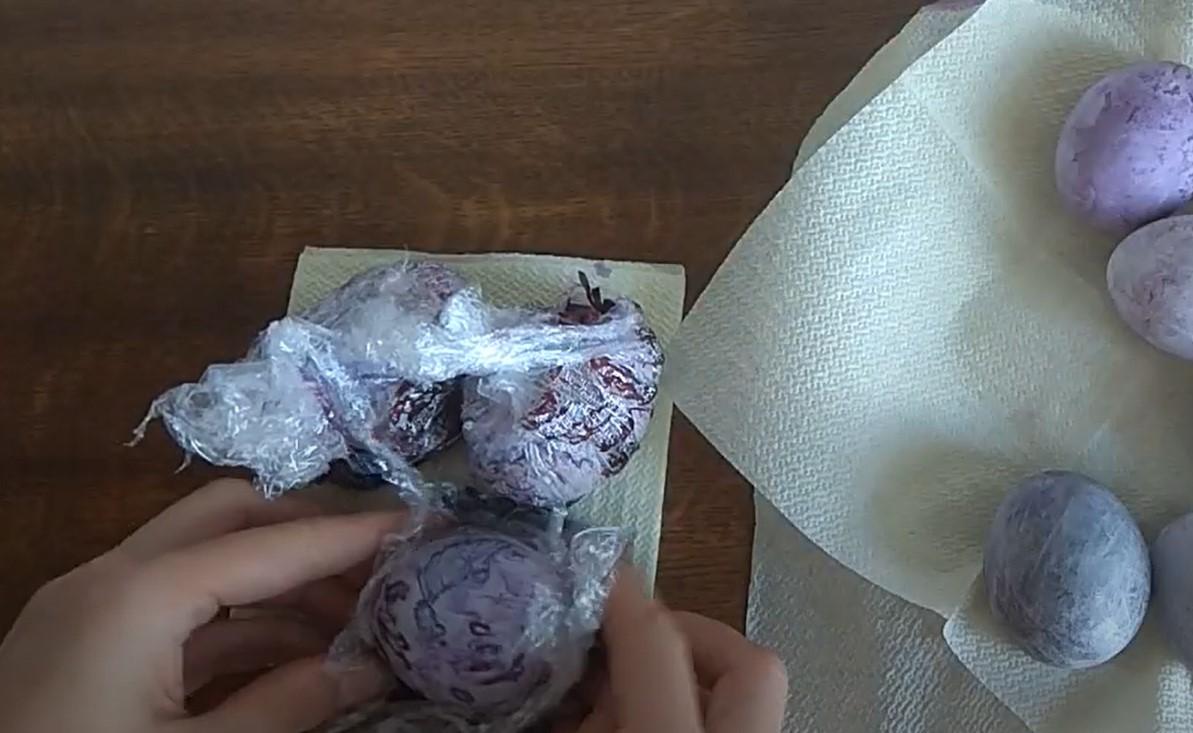
Step 6
These are the beautiful marbled eggs I got.
Coloring eggs with hibiscus tea and onion peels
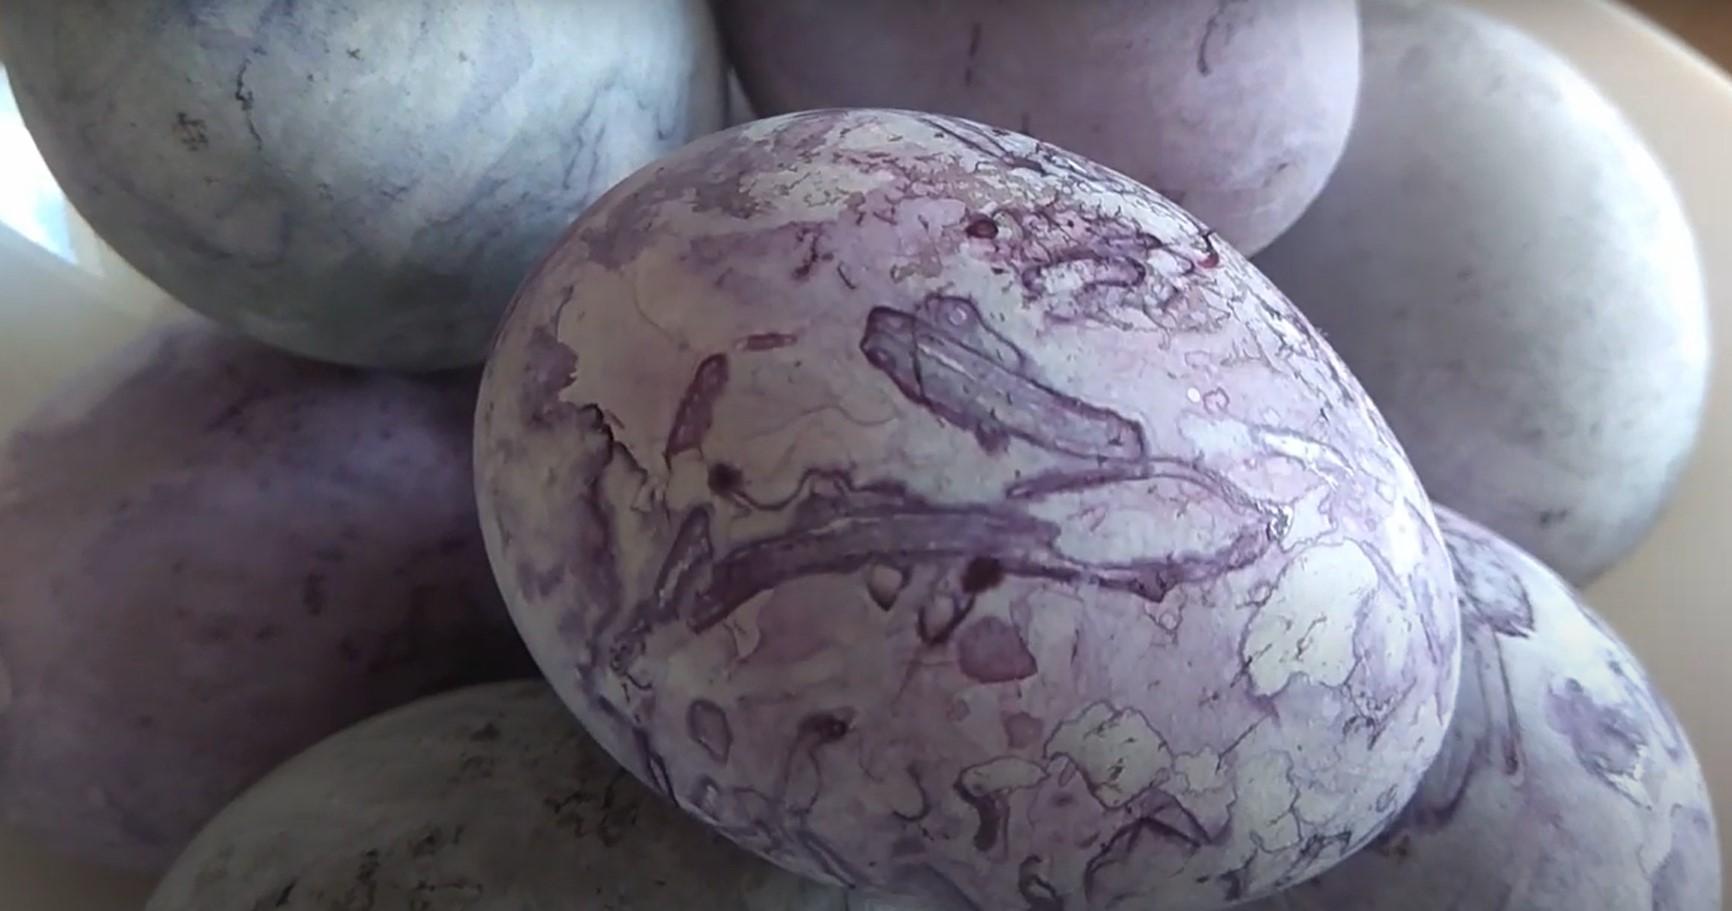
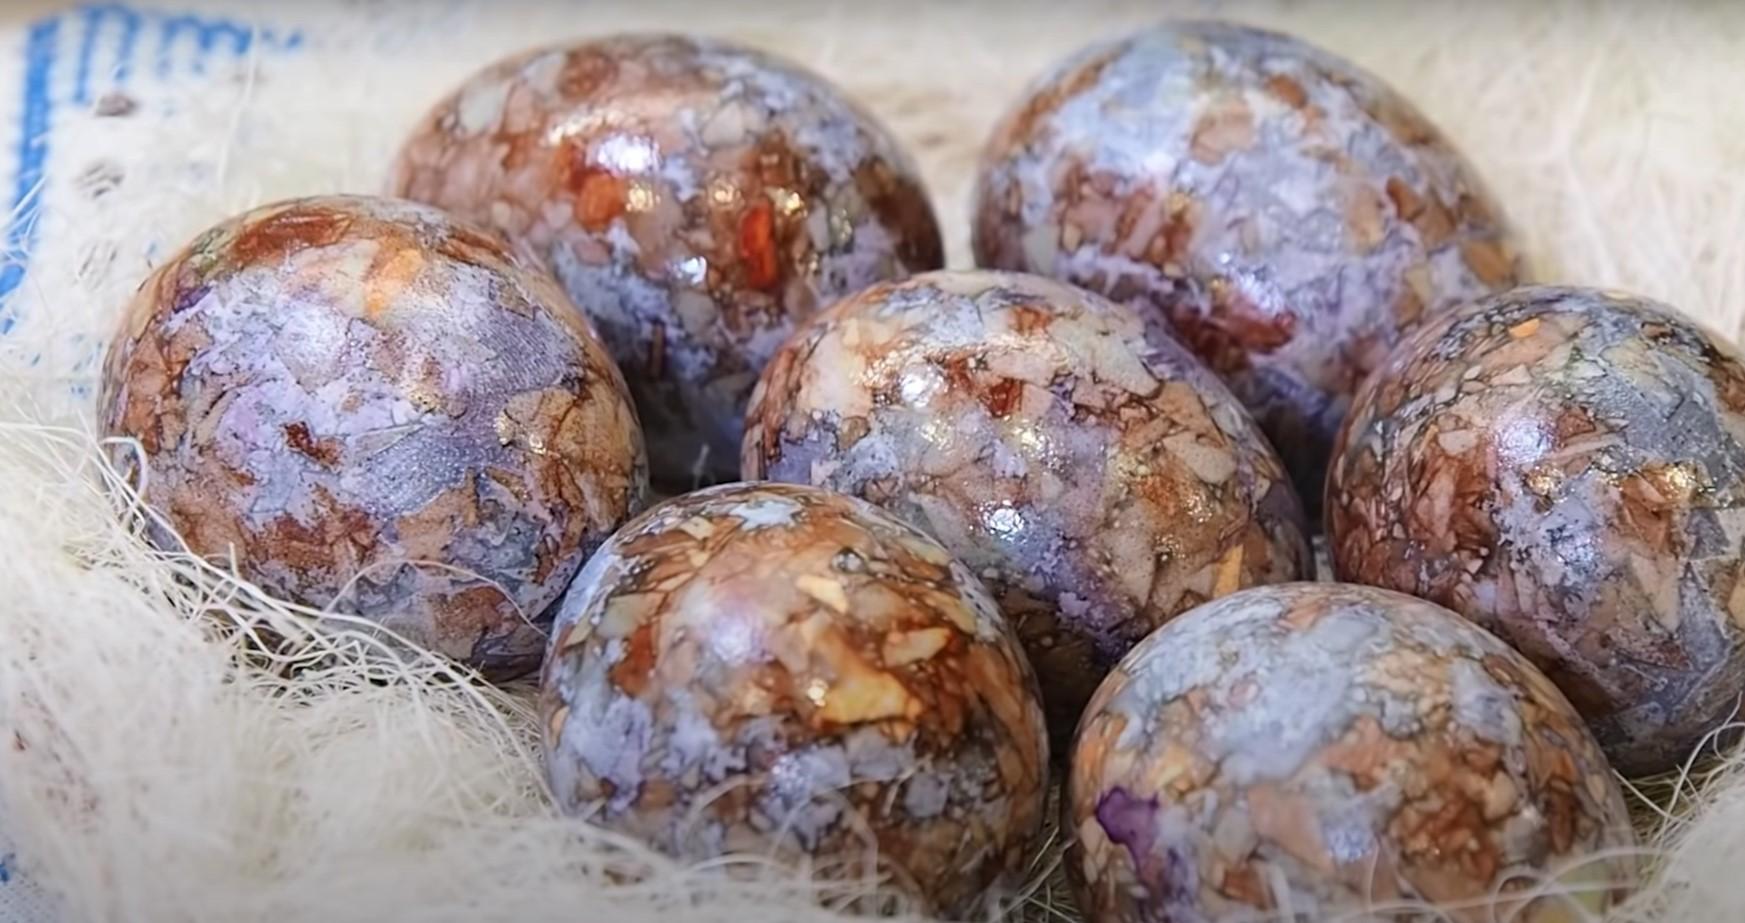
A combination of onion peels and brilliant green allowed me to create beautiful marbled eggs with a malachite hue. In this recipe, I'll show you what spectacular krashenki you can create by combining onion peels with hibiscus. The eggshells in this case resemble purple marble, creating a unique and festive look.
Ingredients
- Eggs - 7 pcs.
- Onion peel - 100 g
- Hibiscus tea – 80 g
- Salt - 1 tbsp.
- Sunflower oil - 1 tbsp.
Cooking time: 50-60 minutes
Servings: 7
Step-by-step recipe
Step 1
Using scissors, chop the onion peel.
Step 2
Add white thick paper, cut into pieces, to the husk.

Step 3
We cut off a small piece of nylon.

Step 4
Dip the egg in water, then sprinkle the peel on all sides, wrap it in nylon, and tie it with thread. Trim off any excess nylon.
Step 5
Place the eggs in a saucepan.
Step 6
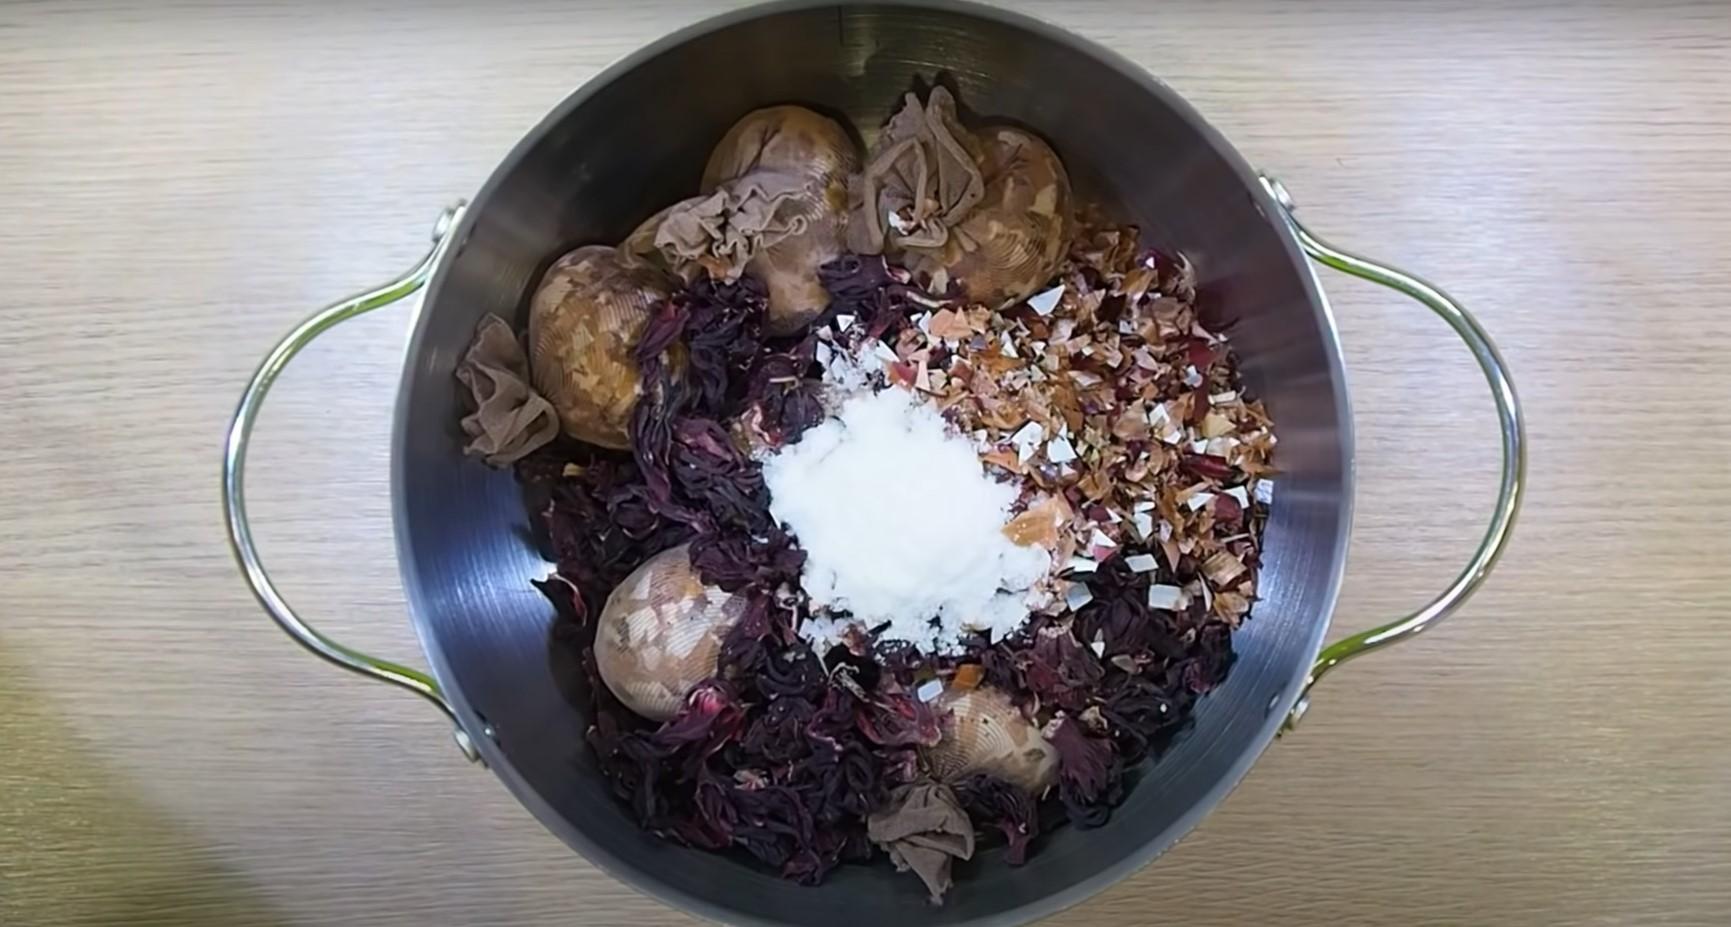
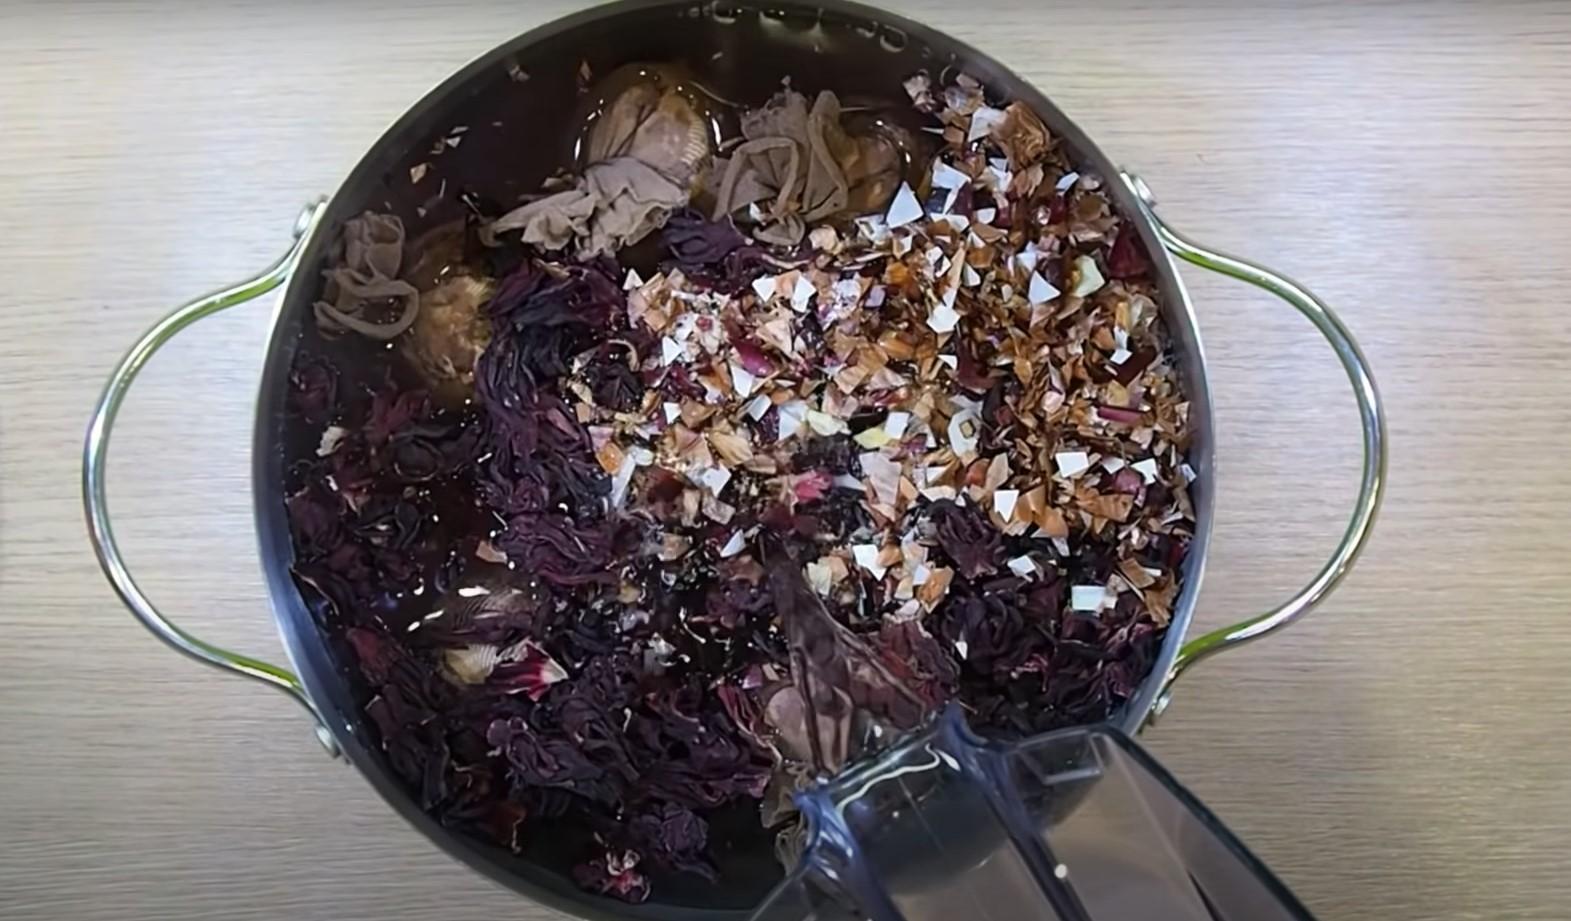
Pour the hibiscus tea and the remaining onion skins into the pan. Add salt (to prevent the eggs from cracking while boiling).
Step 7
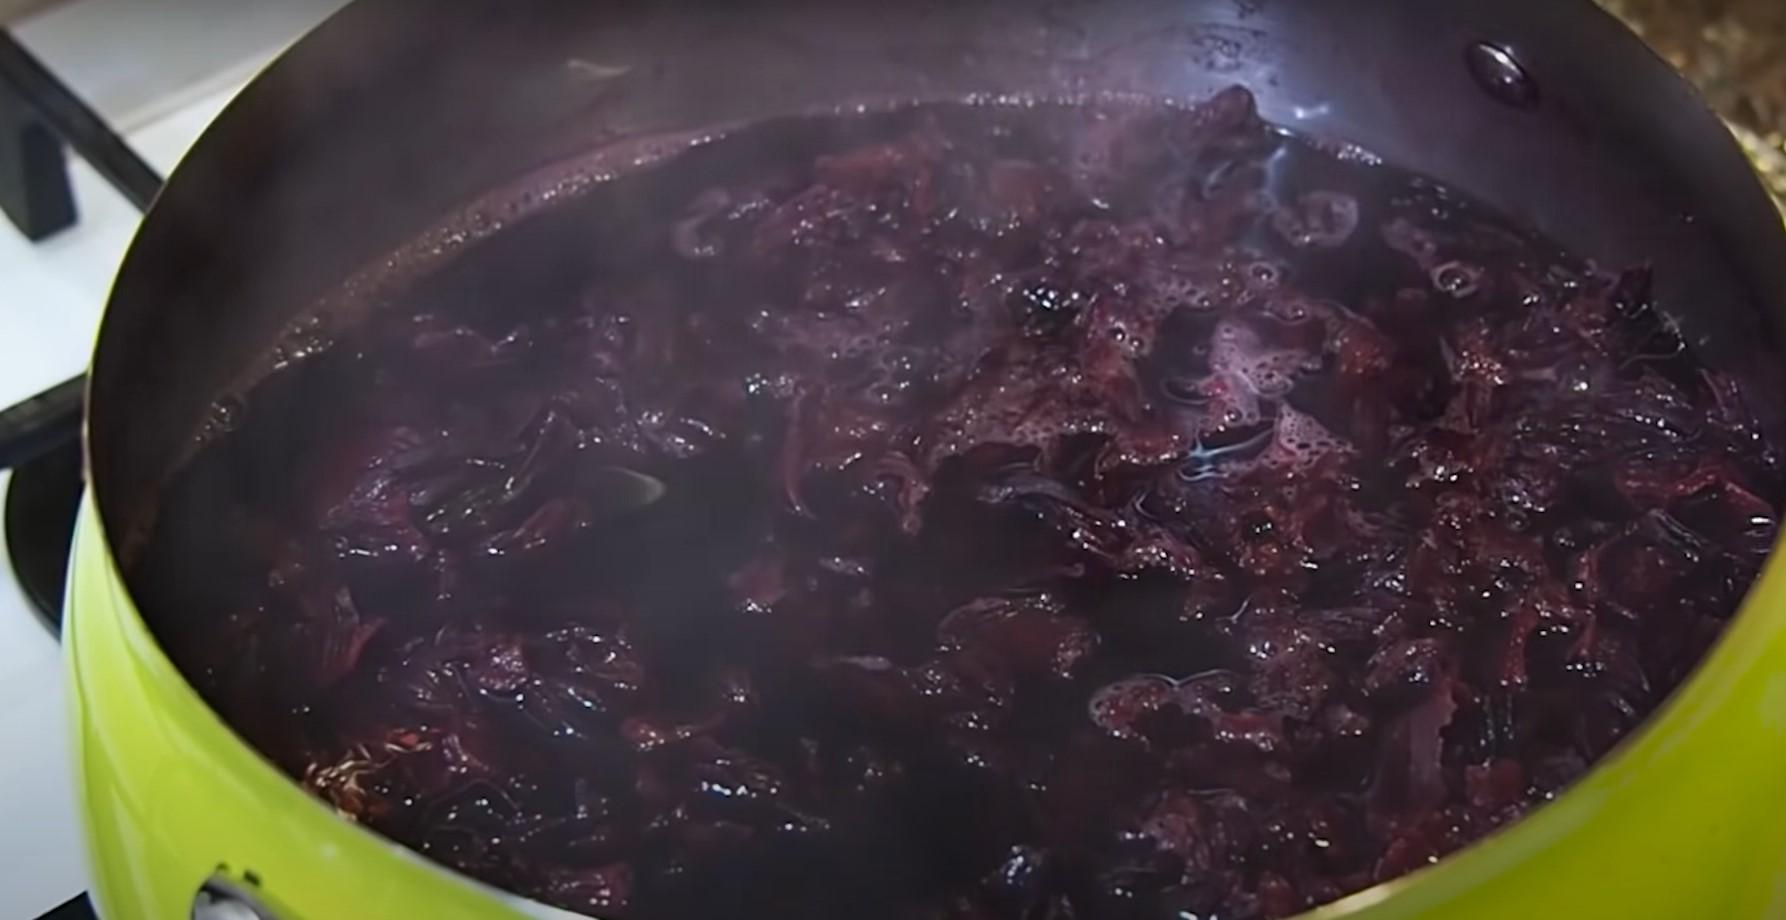
Cover the eggs with water and bring to a boil. Once boiling, cook for 10 minutes. Once the eggs are done, turn off the heat and let them simmer for another 20 minutes.
Step 8
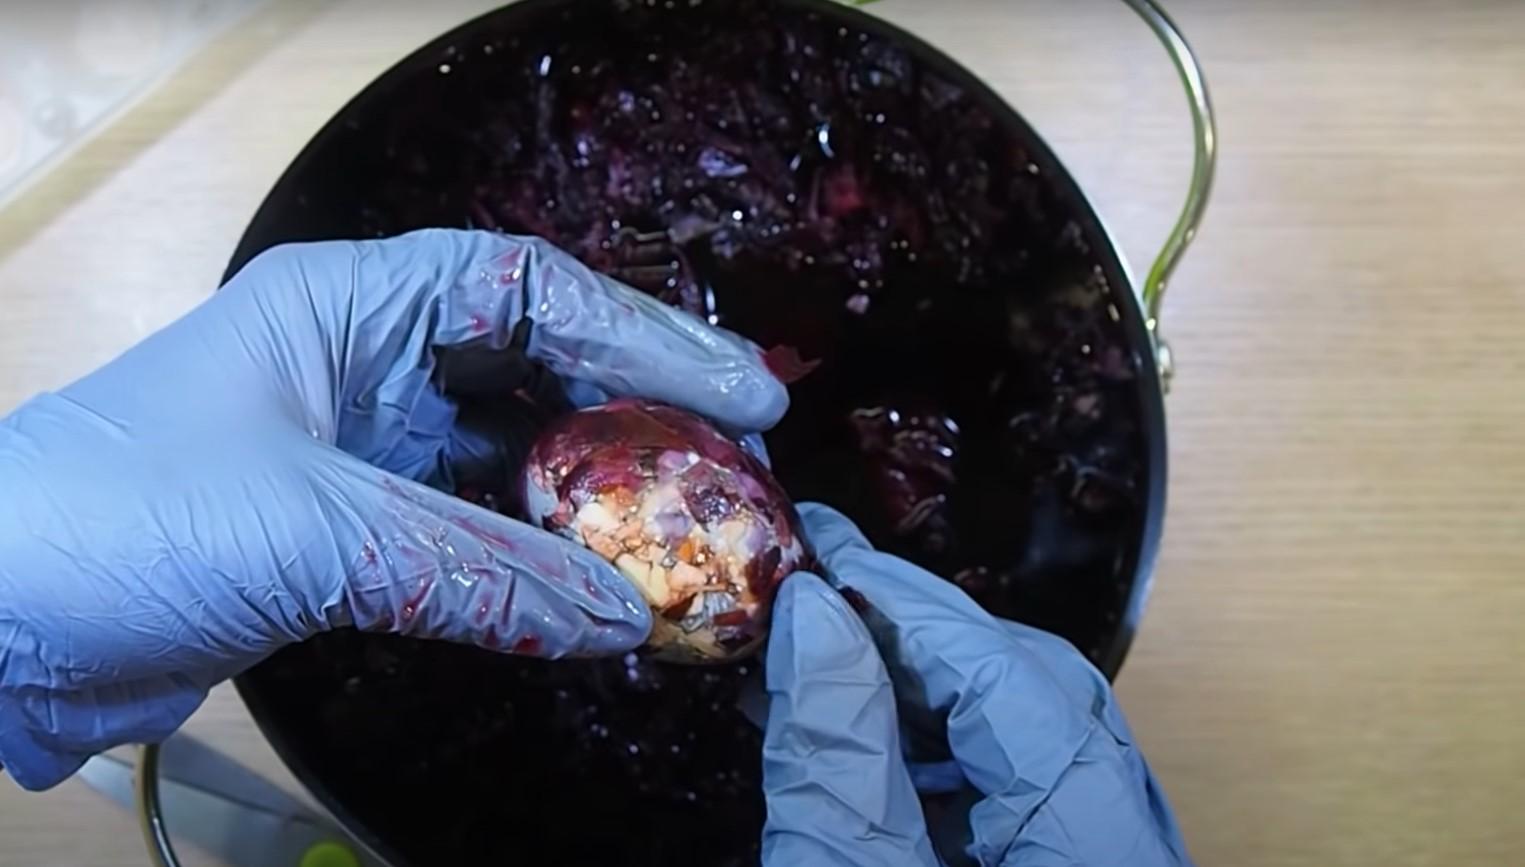
Carefully remove the nylon and onion skins from the eggs.
Step 9
Rub with sunflower oil.
Beautiful marble eggs: dye them with blueberries and onion skins
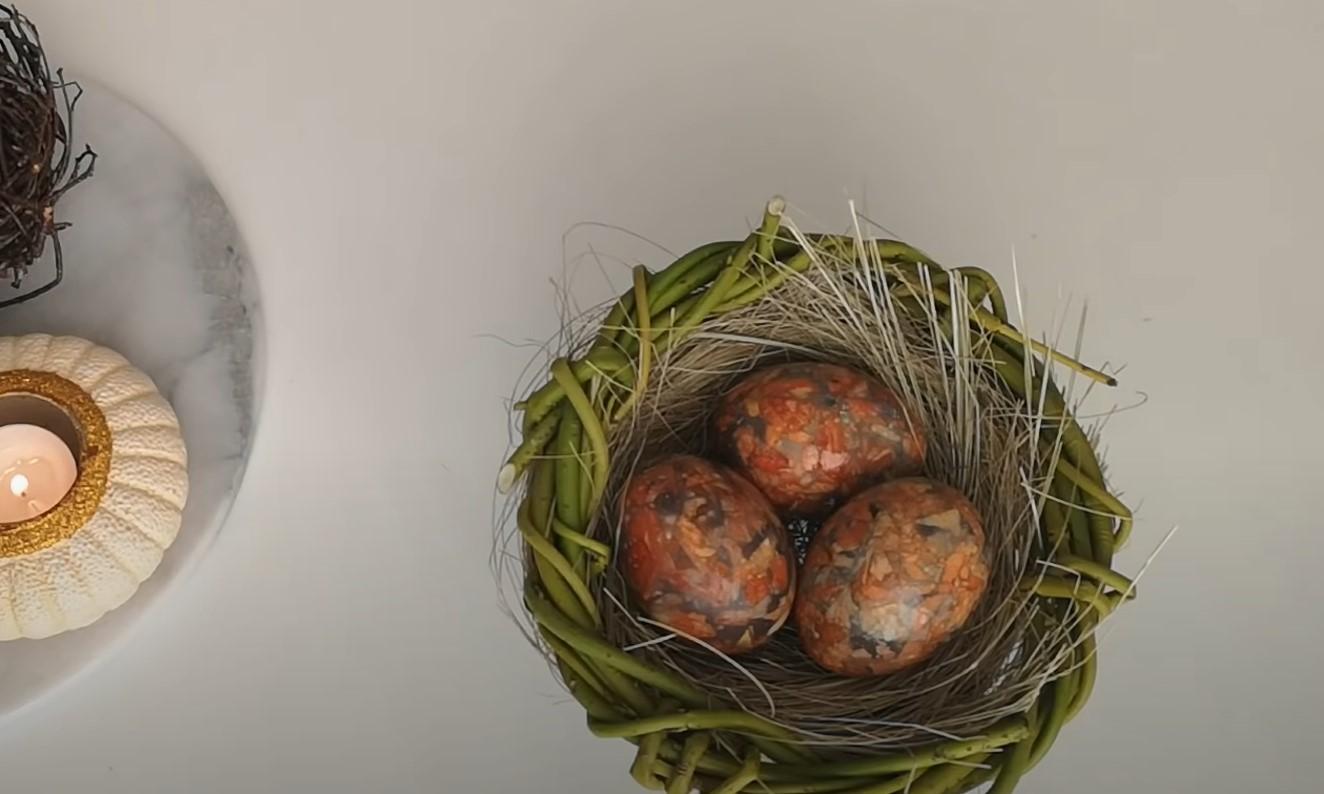
Another natural way to create a marbled pattern on eggs is to use onion skins and blueberries. Both ingredients are known for their coloring properties. Why not use them to create beautiful, original, and eco-friendly krashenki?
Ingredients
- Eggs - 10 pcs.
- Onion peel - 100 g
- Blueberries - 200 g
- Sunflower oil - 1 tbsp.
Cooking time: 40-50 minutes
Servings: 10
Step-by-step recipe
Step 1
Chop the onion peel using scissors.
Step 2
Dip the raw egg into water, then into the peel.
Step 3
Wrap the egg in a piece of nylon. Spread the skins out evenly. Tie with thread.

Step 4
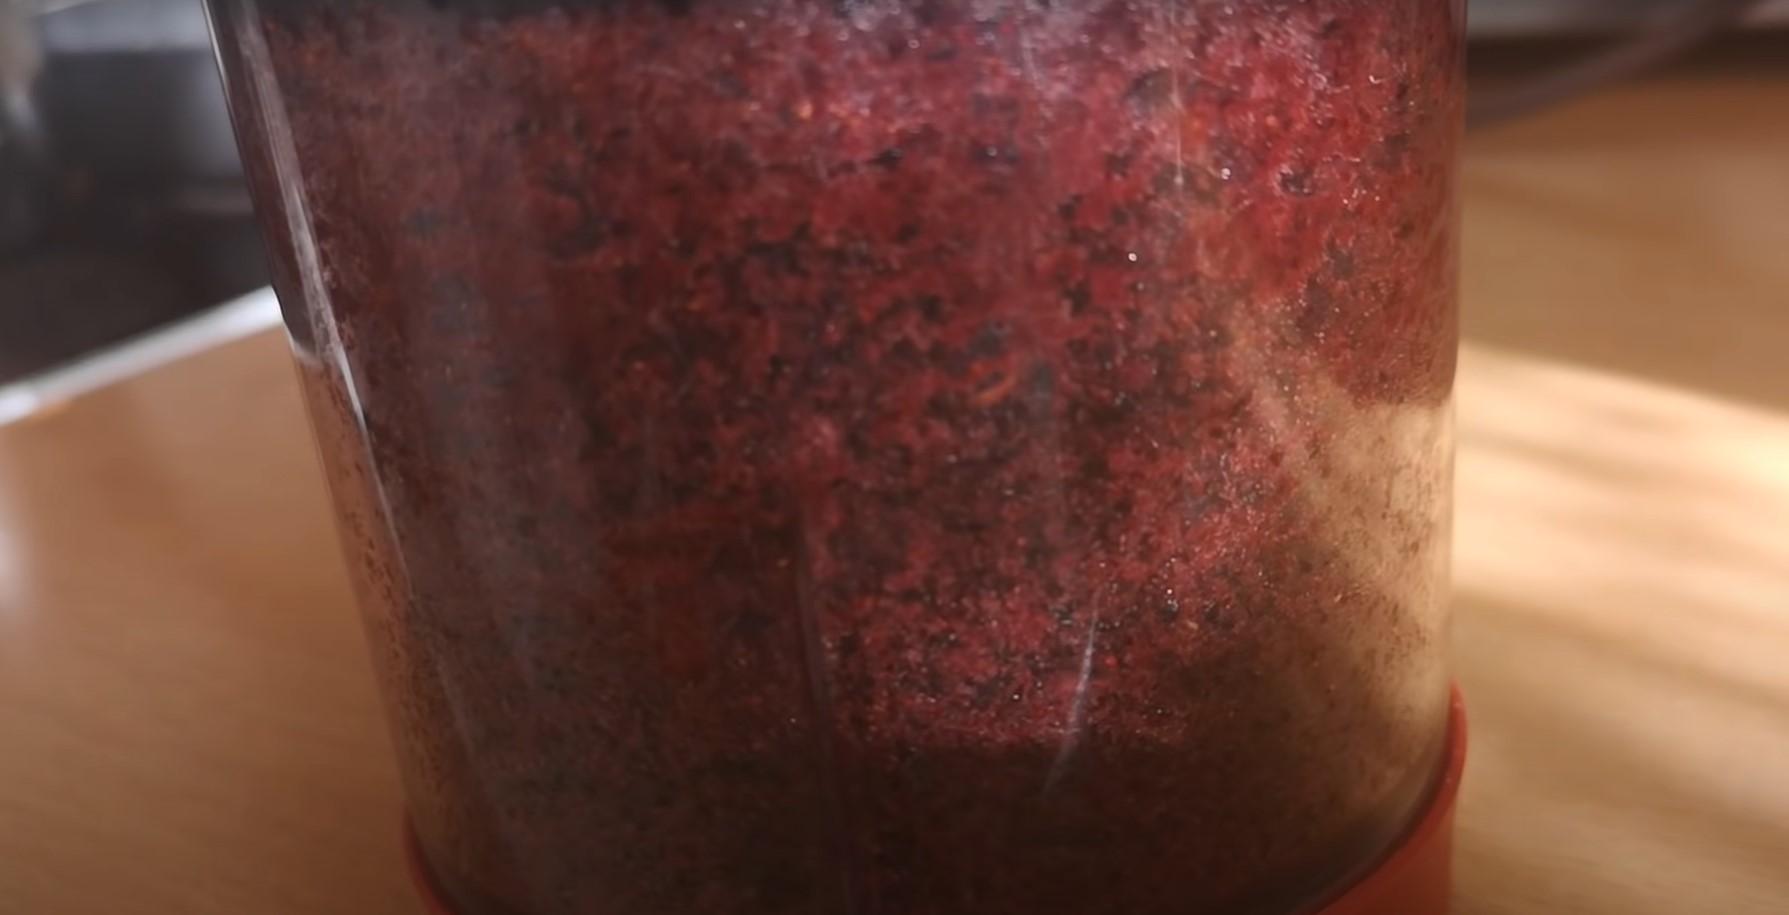
Grind the blueberries in a blender until puree-like.
Step 5
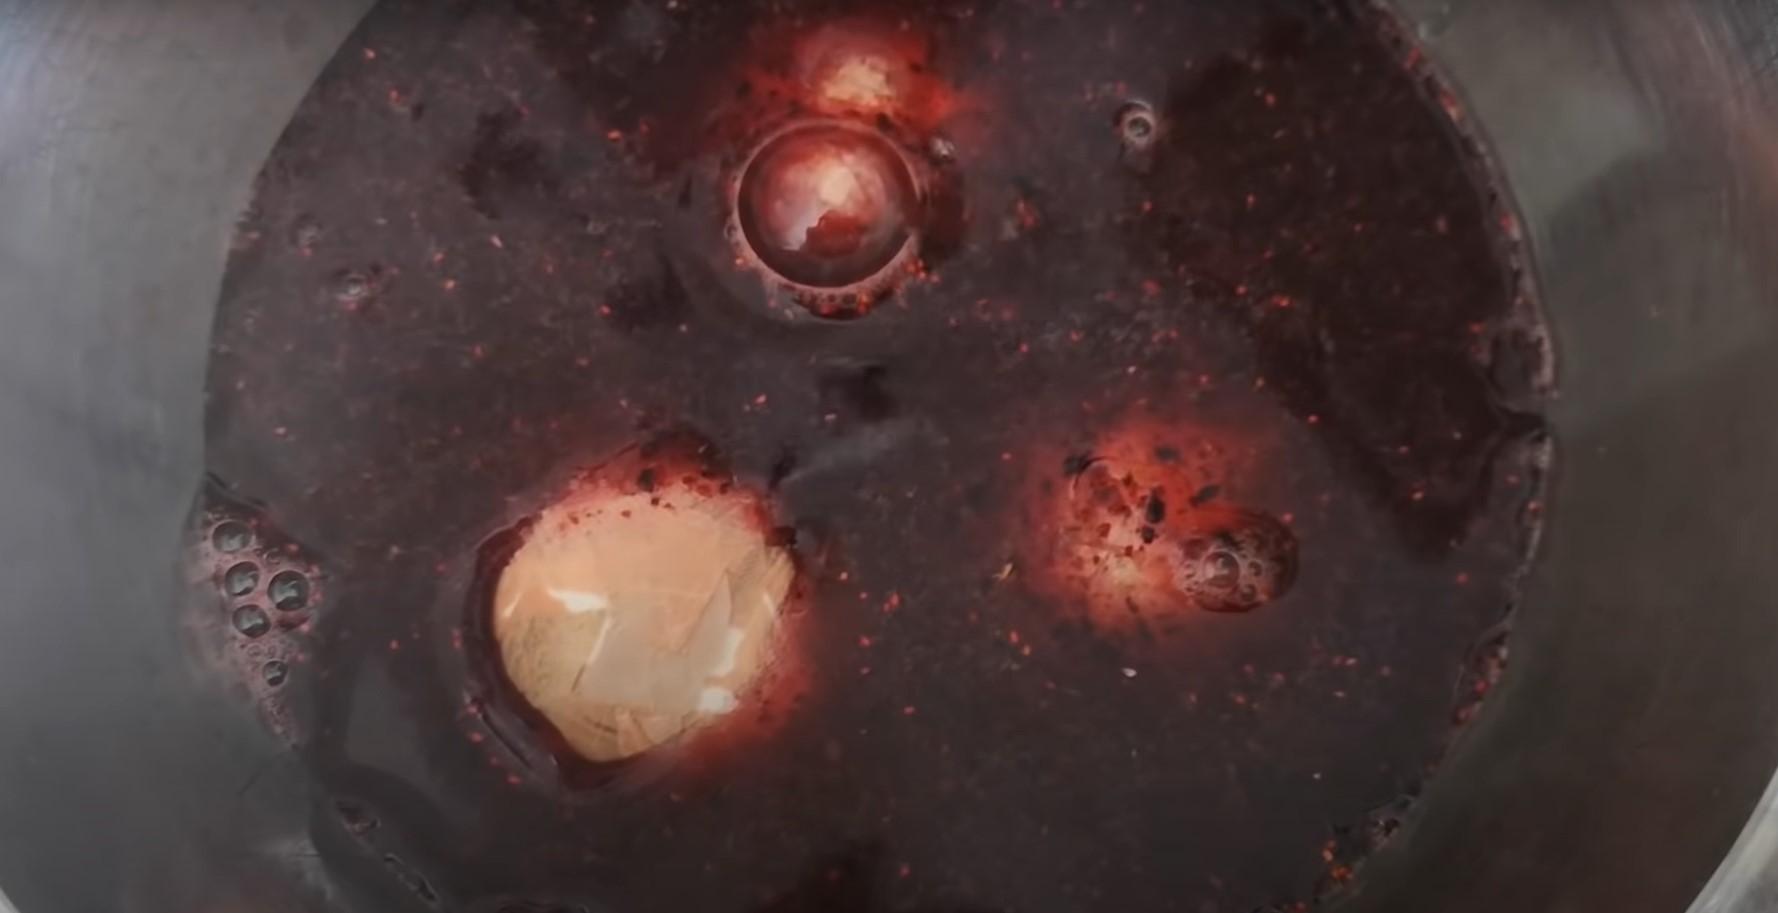
Pour cold water over the crushed blueberries. Add the wrapped eggs. Bring to a boil and cook for 10 minutes.
Step 6
Once cool, remove the nylon wrapping and onion skins from the eggs. Rinse with cold water.
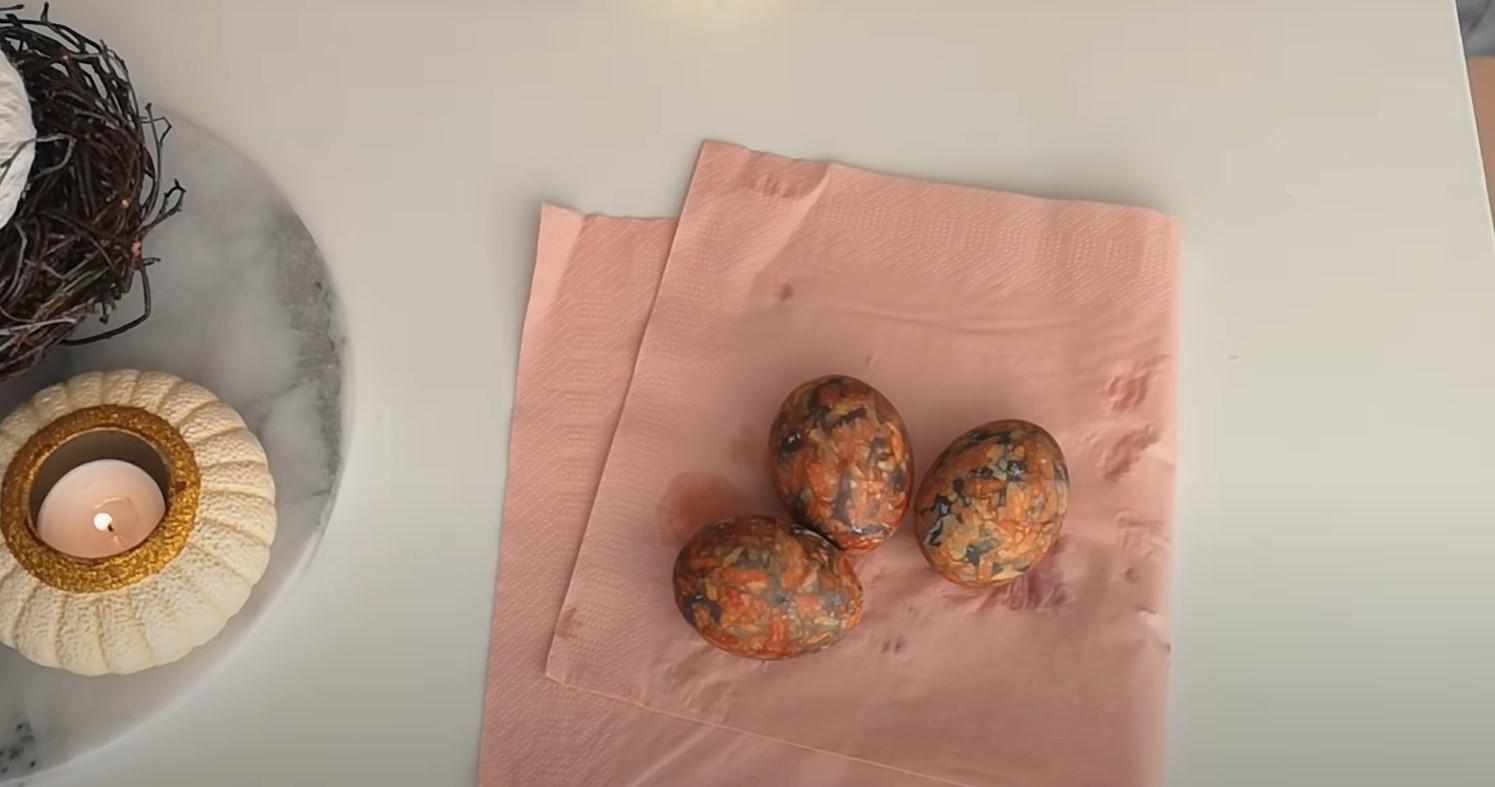
Step 7
For a more impressive look, rub the eggs with sunflower oil.
You can substitute the blueberries in this recipe with red cabbage broth. Chop the cabbage and simmer it for half an hour. Add vinegar and soak the eggs, wrapped in onion skin bags, in the solution. This will achieve a similar effect. However, you'll need to soak the eggs a little longer. For a soft, sky-blue hue, soak for 1-2 hours. For a more intense color, soak for 3-4 hours.
Original golden eggs for Easter
To create a marbled pattern, you can use onion skins or hibiscus tea petals. However, for many housewives, this type of decoration isn't enough for their Easter eggs. If you're one of them, I suggest another original recipe for dyeing Easter eggs with gold. These Easter eggs look not only beautiful but also very festive!
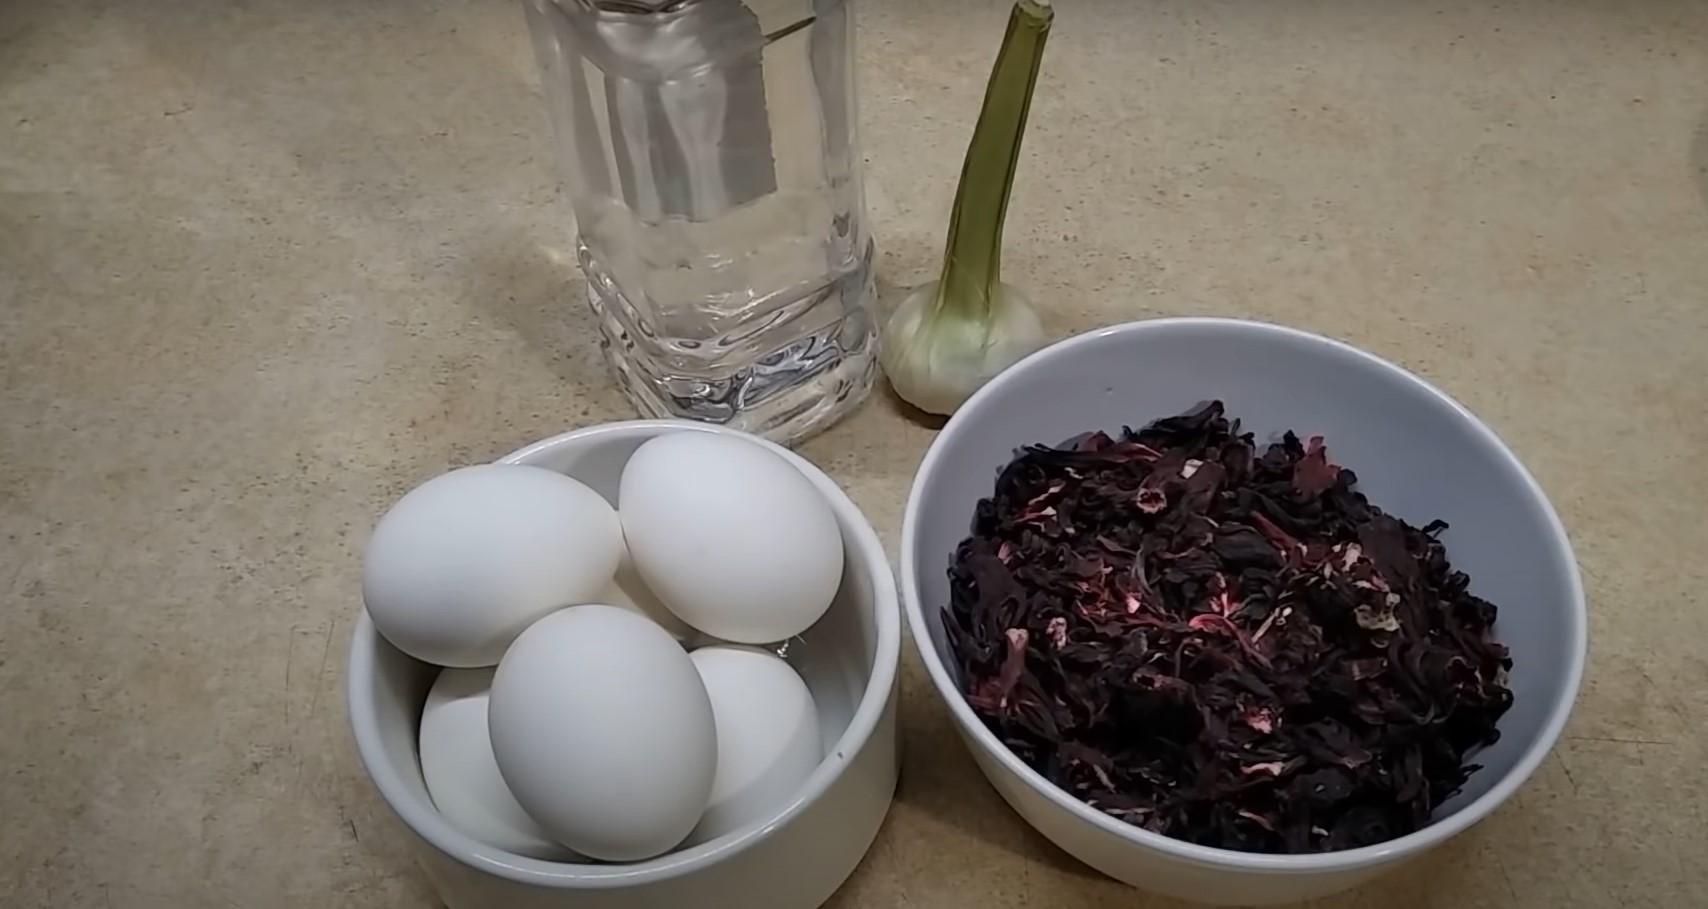
Ingredients
- Eggs - 10 pcs.
- Hibiscus tea – 80 g
- Garlic - 1 head
- Vinegar - 3 tbsp.
- Potal (gold leaf)
Cooking time: 2-10 hours depending on the exposure time in the dye solution
Servings: 10
Step-by-step recipe
Step 1
Prepare all the necessary ingredients. Boil the eggs until done and let cool slightly.
Step 2
Divide the tea equally into two deep bowls. Pour boiling water over the tea.
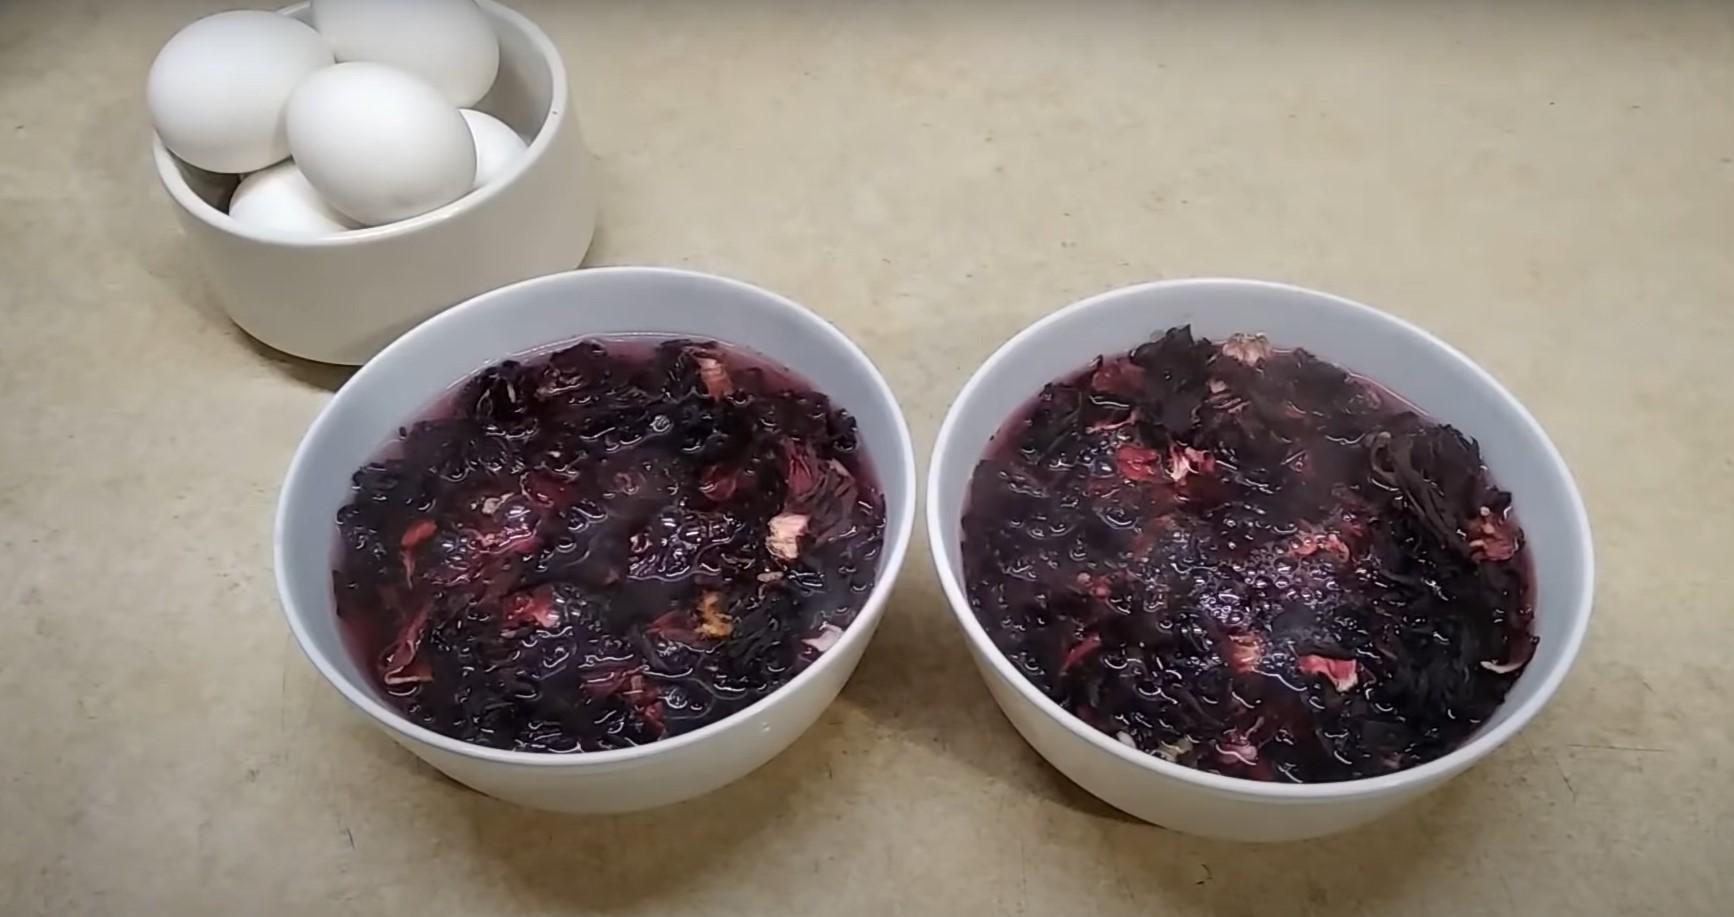
Step 3
Add vinegar to only one of the containers.
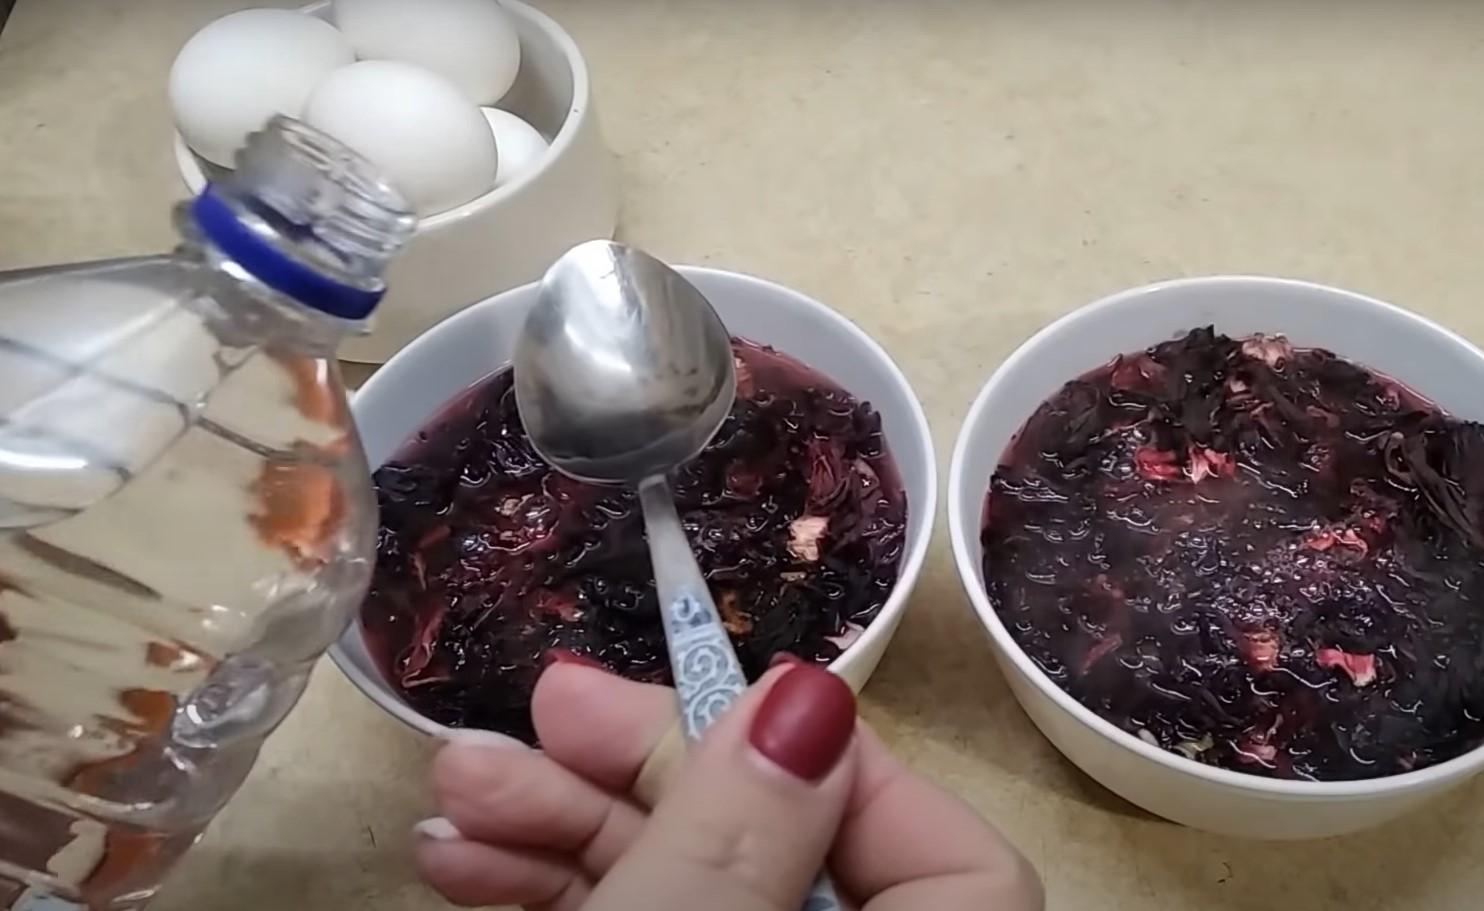
Step 4
Place the eggs in the solution and leave for 1.5 hours and 8 hours.
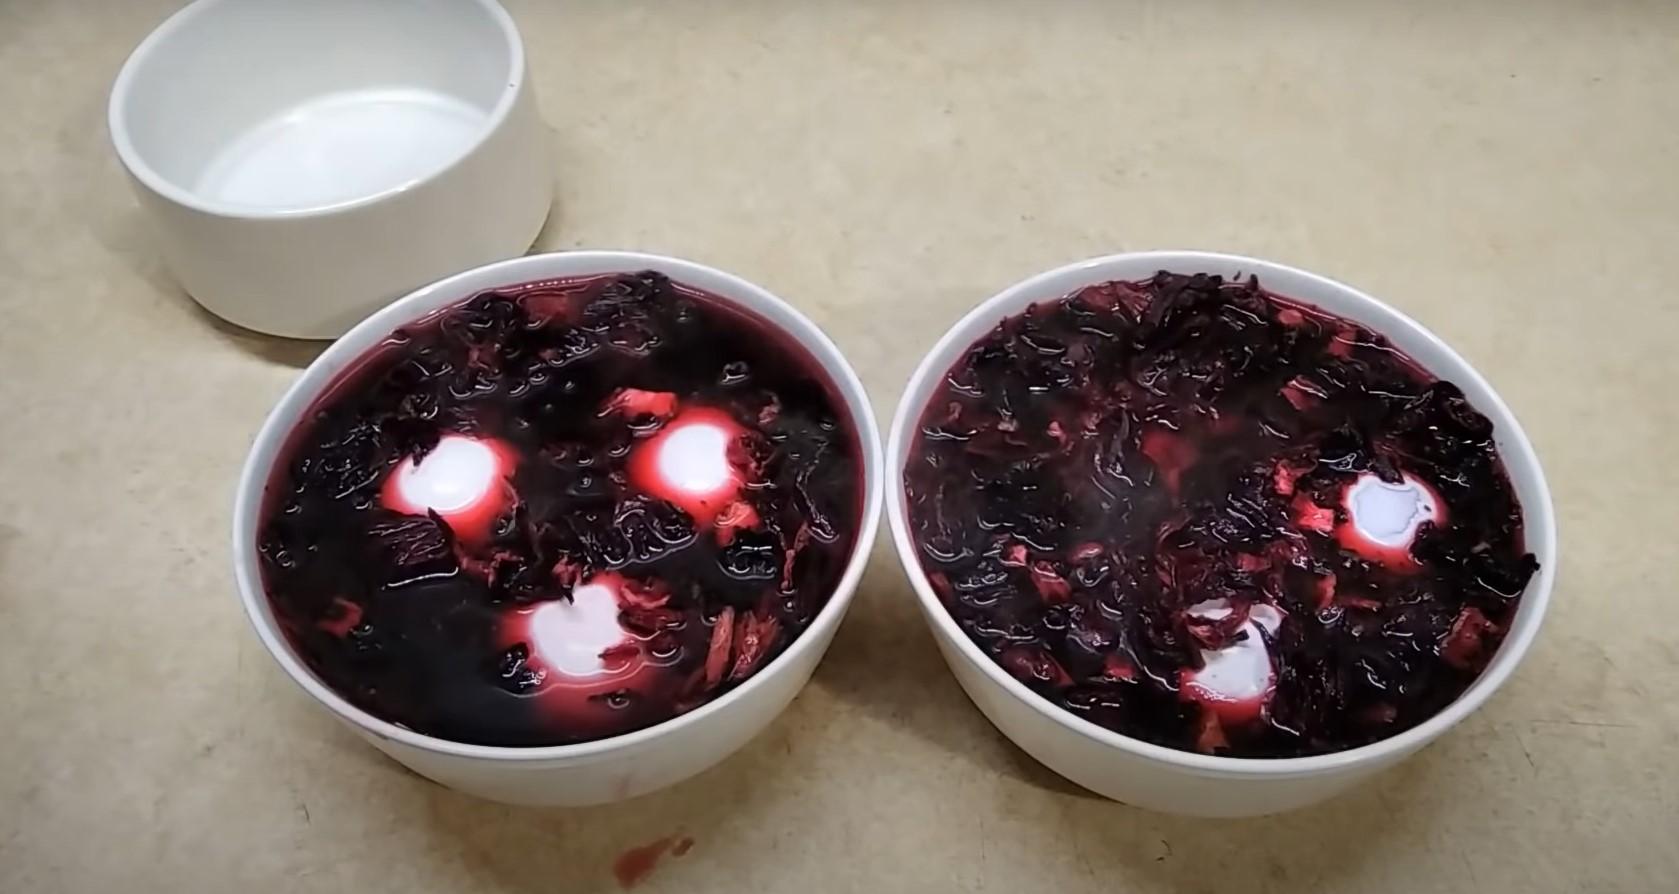
Step 5
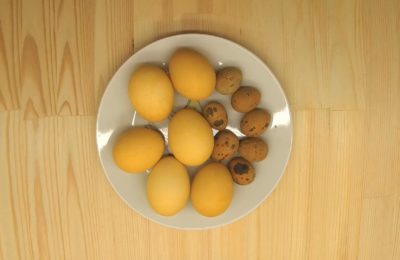
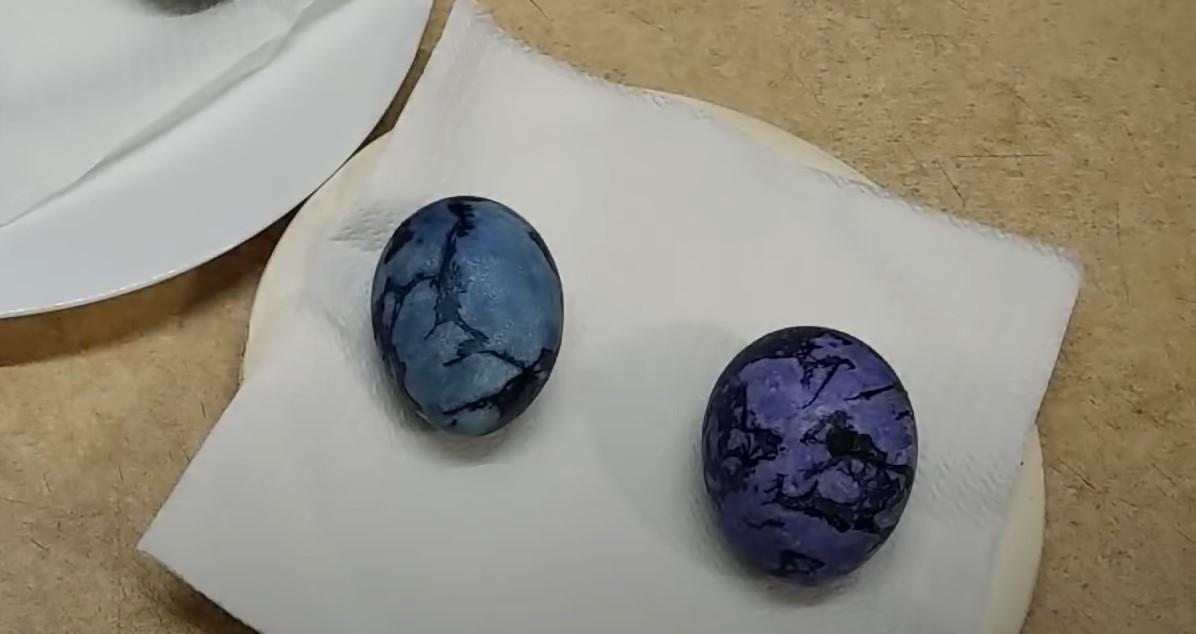
This is what eggs look like after soaking in hibiscus tea for 1.5 hours. On the left is an egg from a container with vinegar added, on the right is one without vinegar.
Step 6
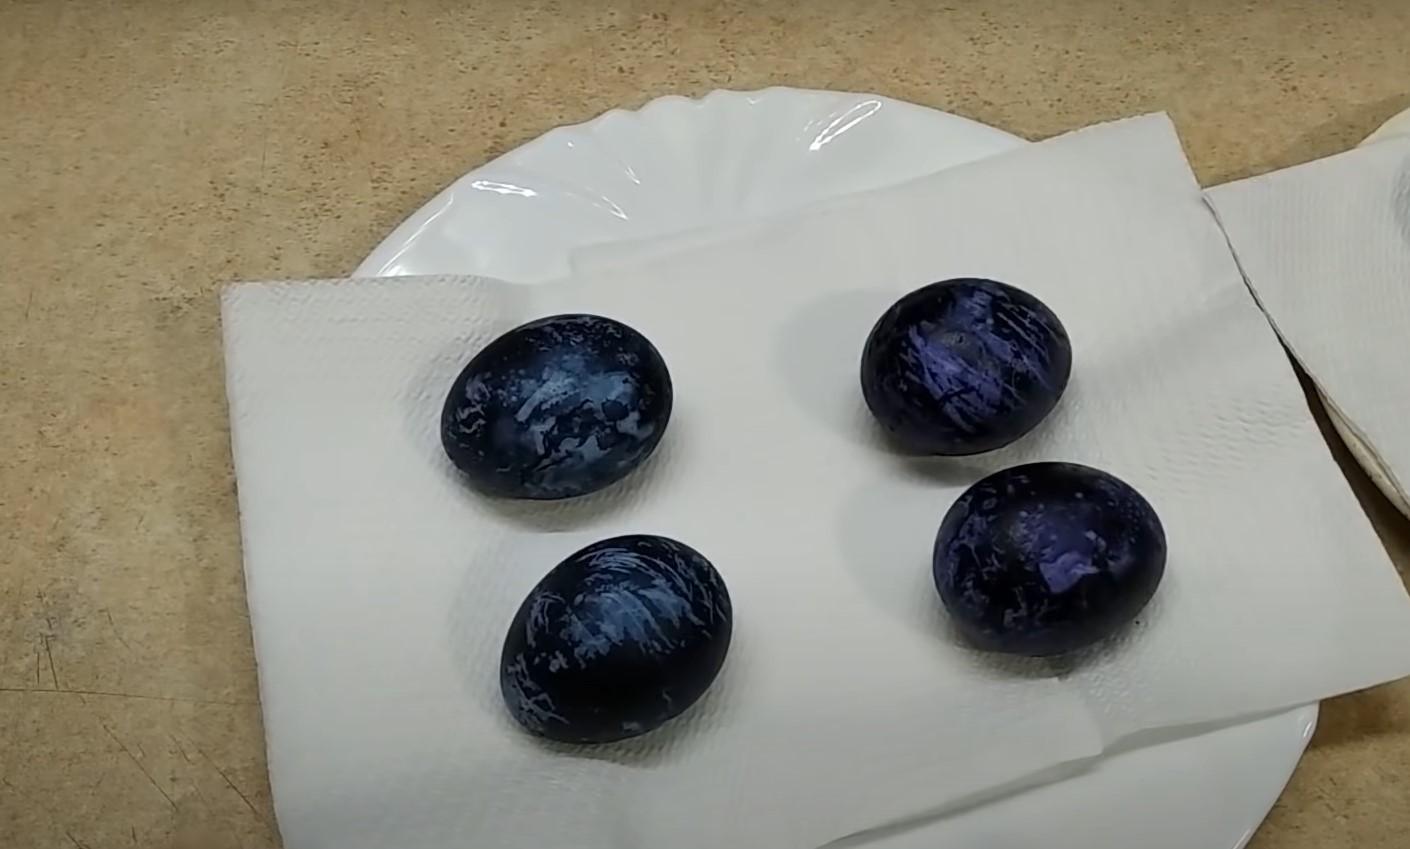
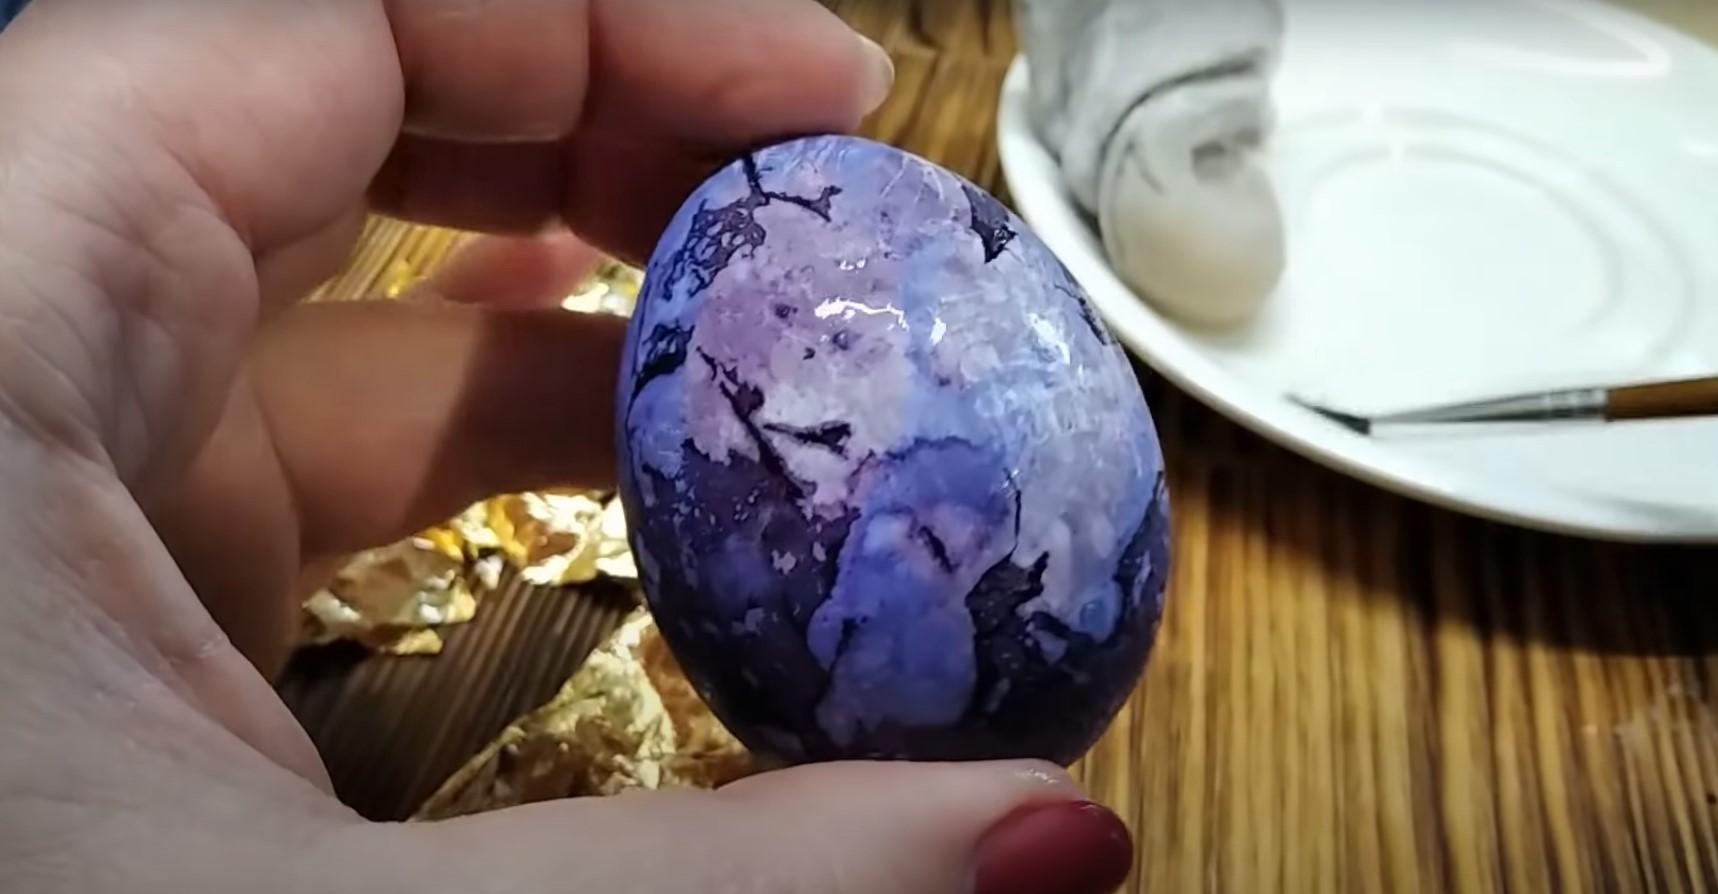
The eggs that were soaked in the broth for eight hours turned out darker and more intensely blue. On the left are two eggs soaked in vinegar; on the right are two eggs soaked without added acid.
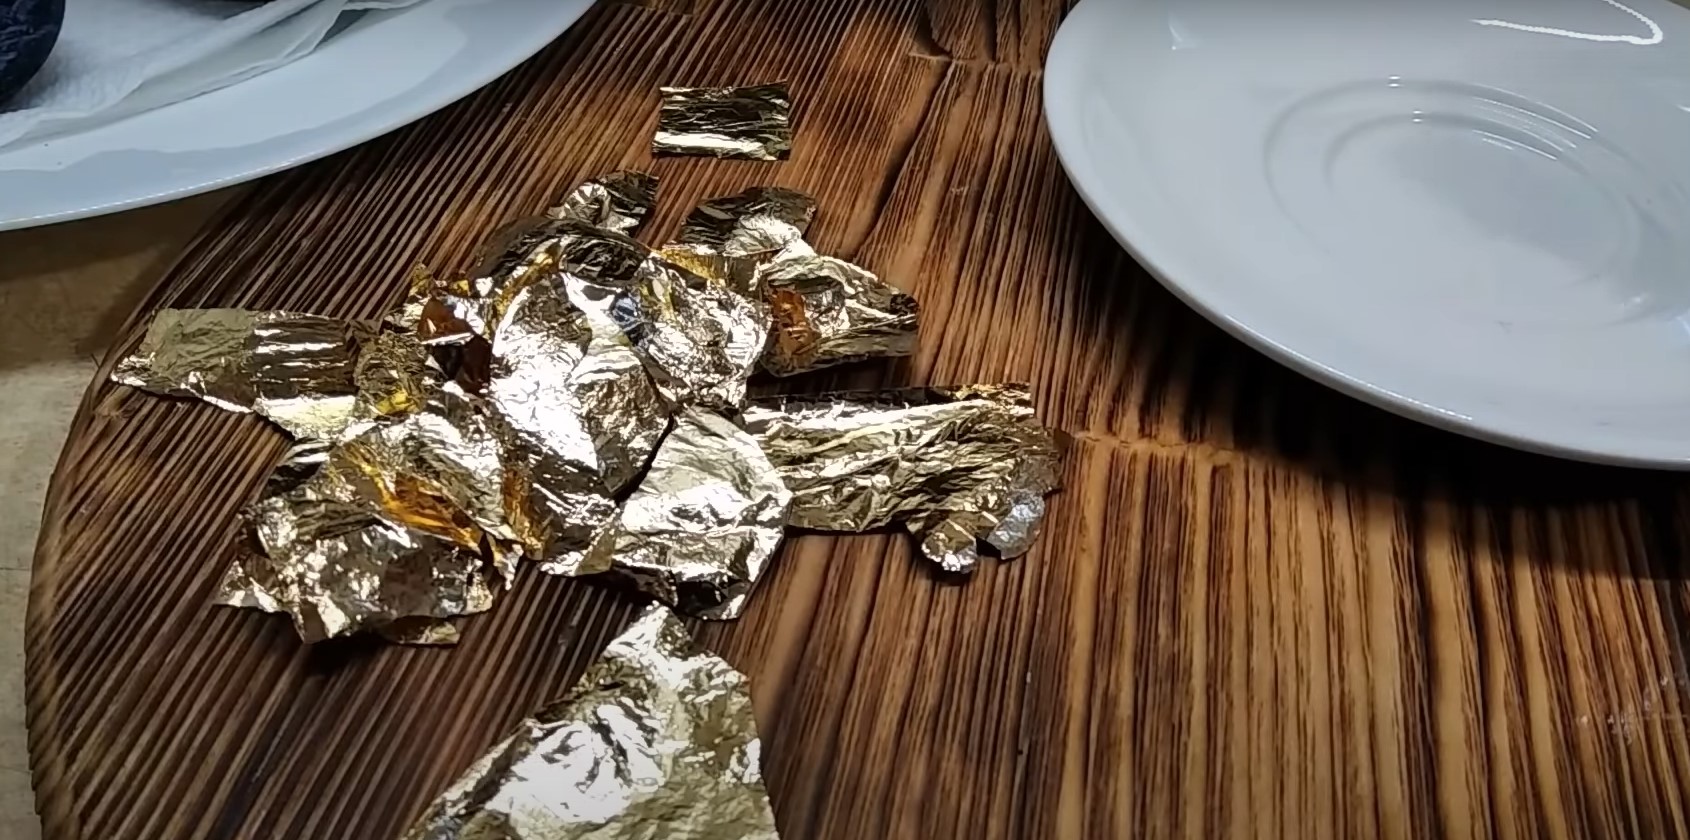
Step 7
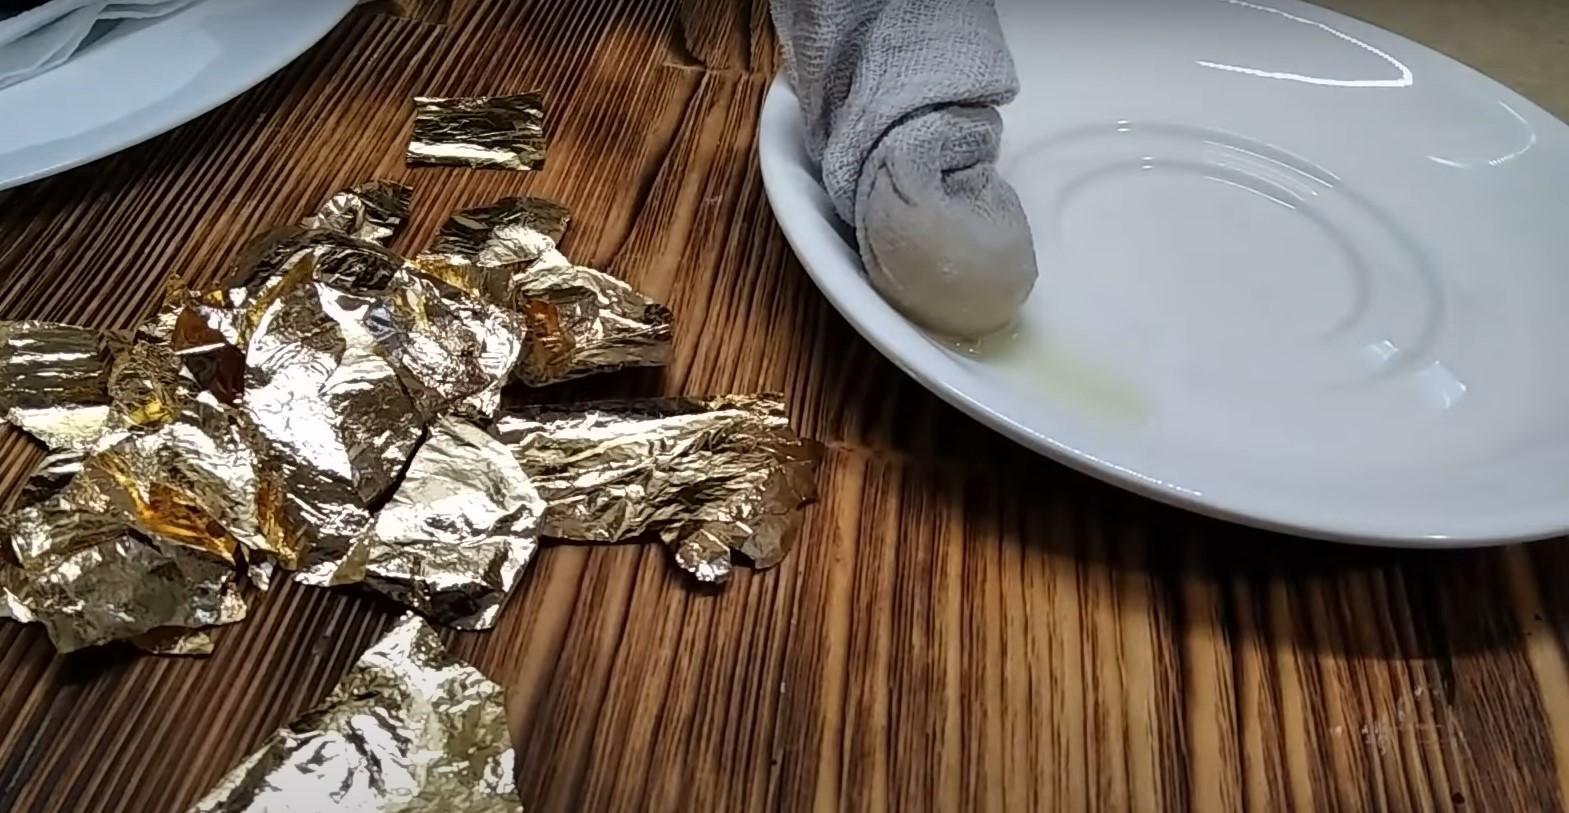
Let's begin decorating with gold leaf. We'll cut the gold leaf into randomly shaped pieces.
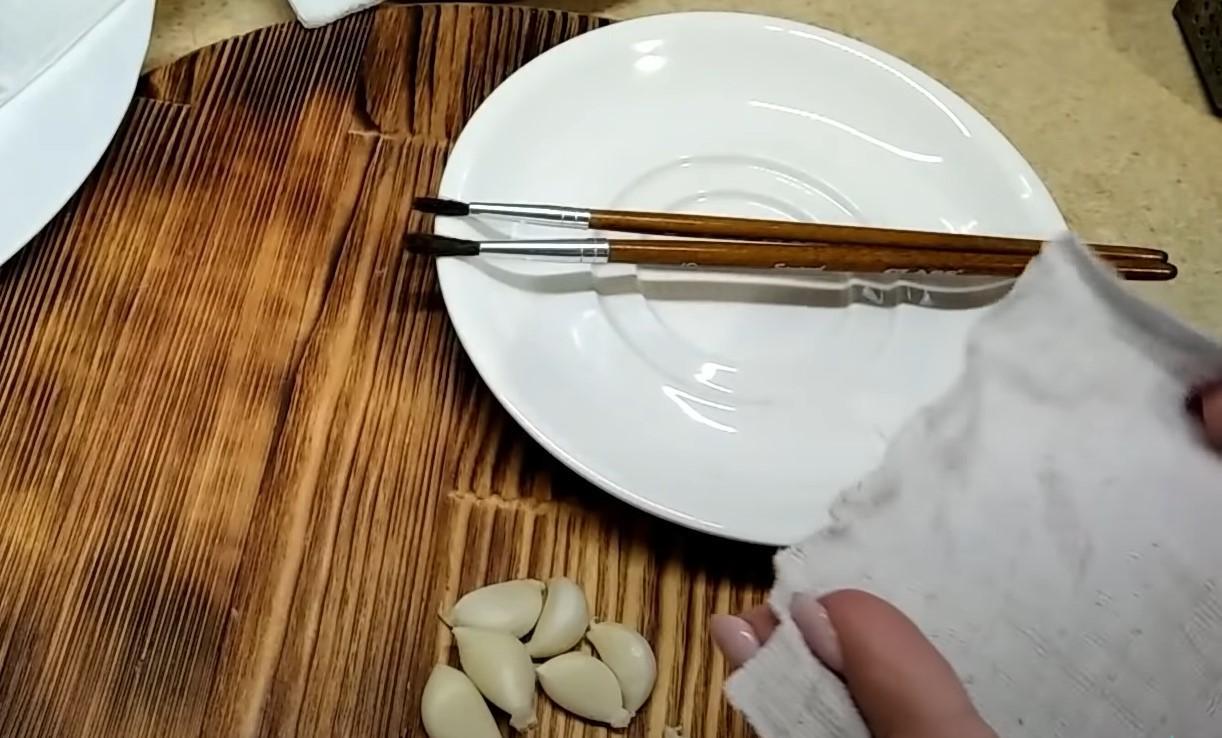
Step 8
Peel the garlic, crush it with a garlic press, and place it in a cheesecloth bag. Squeeze out the juice; this will be the adhesive base for the gold leaf.
Step 9
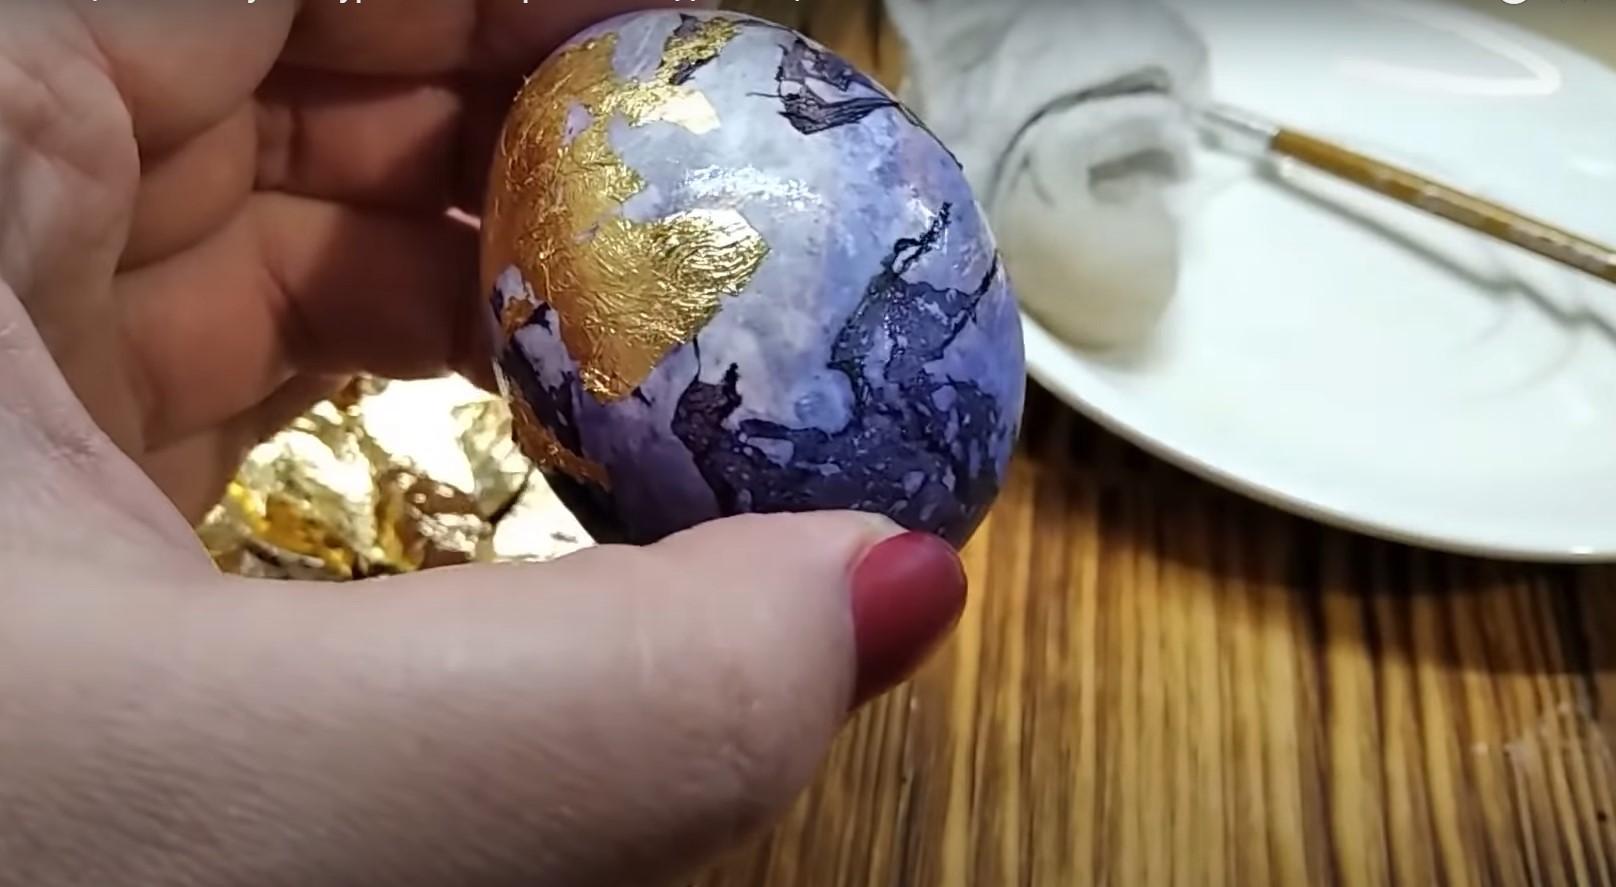
Brush the egg with garlic juice. Apply the gold leaf and, using a clean, dry brush, press down and brush away any excess.
Step 10
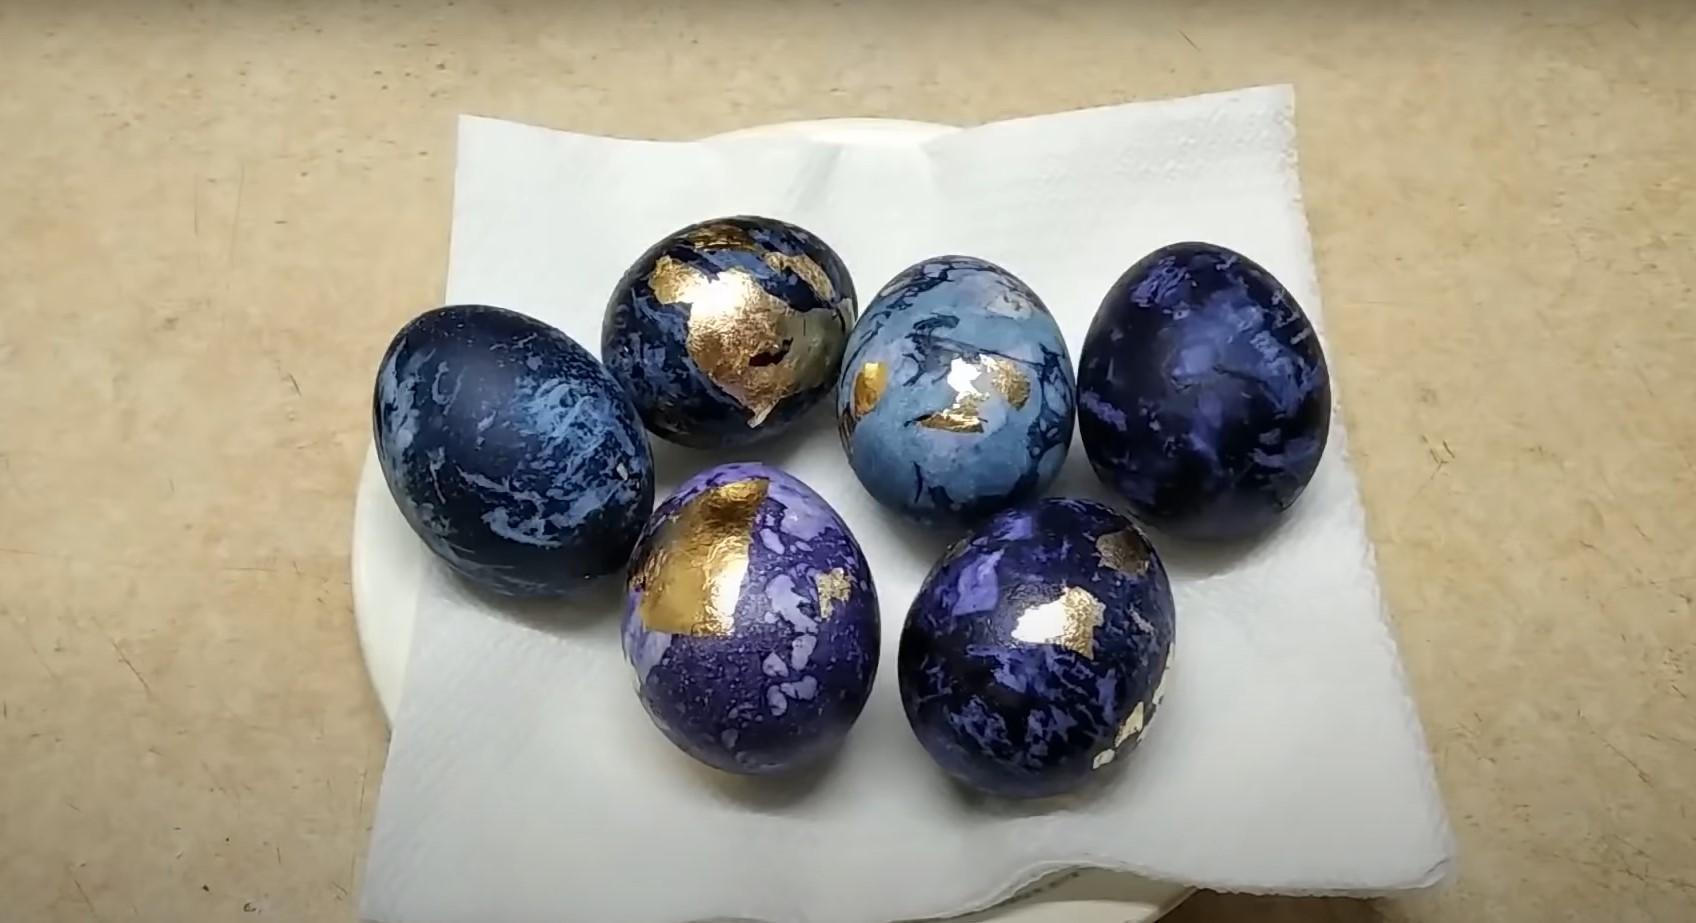
These are the elegant Easter marble eggs with gold that turned out!
I hope this article, with its step-by-step photos and video recipes, has helped you expand your list of original, and most importantly, natural, ways to dye Easter eggs. Share your favorite in the comments.
Video: Marbled eggs with green stuffing and onion peels
Eggs dyed with onion peels and brilliant green paint look very beautiful and interesting. The resulting krashenki look similar to the previous version. The empty spaces where the onion peels didn't end up are given a pleasant hue by the brilliant green paint.
The author of this video will teach you how to easily and quickly make incredibly beautiful marbled eggs using the simplest and most readily available ingredients and materials. If you want to impress everyone with your creativity and make the most spectacular painted eggs, be sure to watch this video recipe.