How to cover a cake with velvet

Content
Do you love trendy velvet cakes that look incredibly elegant and festive? We'll tell you how to cover a cake with velvet at home, as well as what you need to prepare this unusual coating and create a cake design that's just as good as the one in your Instagram photos.
Features of velour covering
A cake covered in velvet has a velvety matte texture, giving the dessert a truly unique look. This coating can be made in any color scheme:
- white - for a wedding or any other celebration;
- red - as a gift for your beloved woman;
- pink, peach - for a girl;
- blue – for a boy;
- blue, gray or black - for a guy or a man.


Velvet coating can be described as ultra-thin, which is an undeniable advantage, as it creates a very attractive design without affecting the taste of the dessert itself. However, the thinness of the finishing layer also has a downside: its fragility. For example, on delicate mousse cakes, velvet can easily crack, and hiding this defect with decor isn't always possible.
The quality of velour is influenced by many factors:
- products from which the mass is prepared;
- application method (features of your tool);
- base and ambient temperature.
Working with velvet (preparing the mixture and applying it to the cake itself) has its own unique challenges. Below, we'll explain how to cover a cake with velvet at home, using a spray gun or without a special device.
Classic velour from a spray gun
Selection of equipment
How to choose a culinary airbrush (spray gun) and how to use it, watch this video:
Recipe for chocolate velvet
If you want a beautiful brown or black coating, you can use dark chocolate as a base. If your velvet cake needs a white, red, or blue hue, the velvet filling should be made with white chocolate and fat-soluble food coloring.
Preparation:
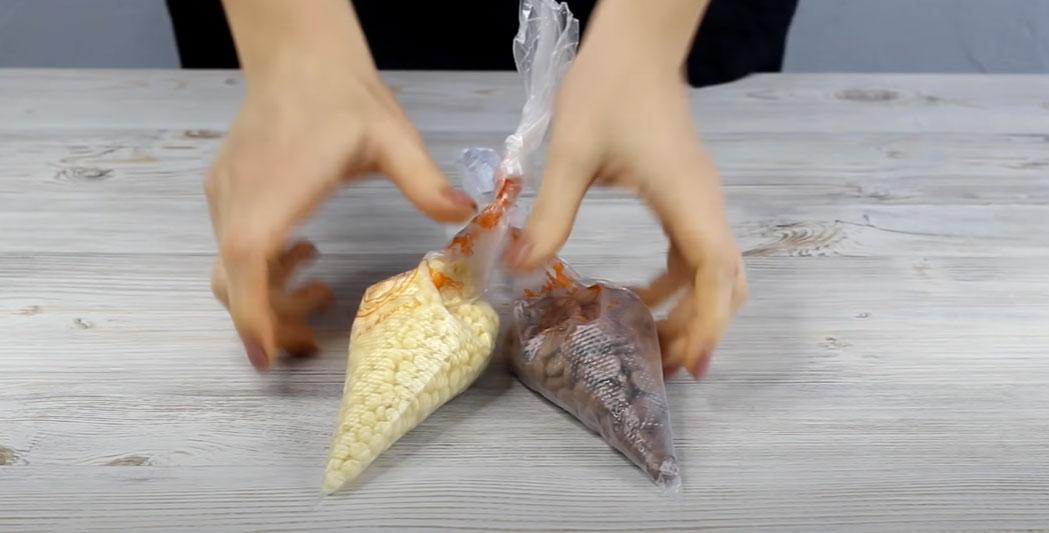
- Take equal parts of chocolate and cocoa butter and place them in separate pastry bags.

- Melt the chocolate by placing the bags in hot water or heating them in short bursts in the microwave (note that the chocolate should not be heated above 50℃).
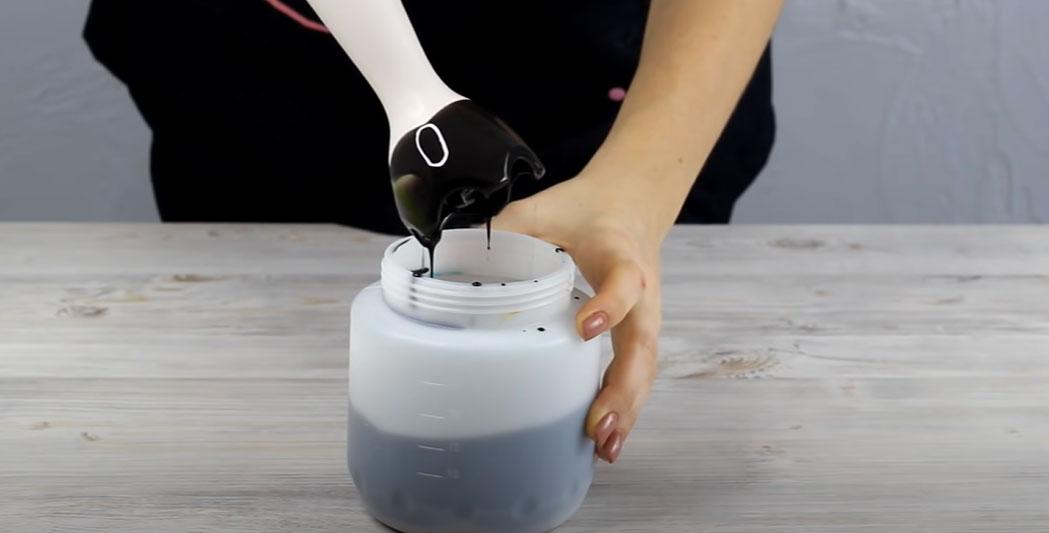
- Combine melted chocolate and cocoa butter. Add a little food coloring of the desired color and blend with an immersion blender.
- Pour the mixture into the spray gun container.
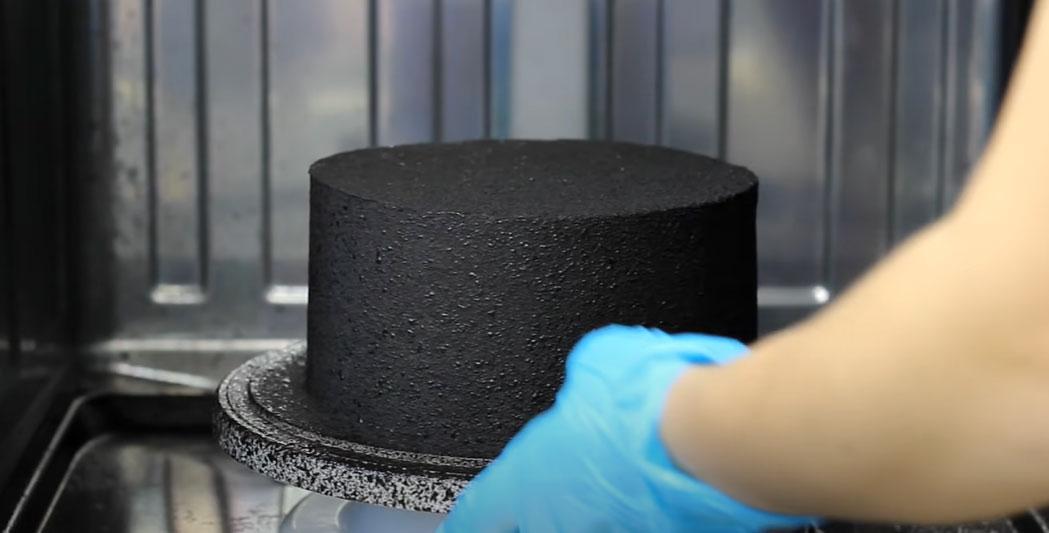
- Place the pre-cooled cake on a turntable (it is advisable to make an improvised paint booth out of a box).
- Apply the coating.
Expert advice
To ensure your velvet cake is perfect, we recommend listening to the advice of experienced pastry chefs who know exactly how to cover a cake with velvet and avoid mistakes:
- It is correct to melt cocoa butter and chocolate separately, in different containers.
- To avoid overheating the chocolate and cocoa butter during the melting process, use the "water bath" method, controlling the water temperature (no more than 50℃).
- Combine the melted ingredients and be sure to blend the mixture with an immersion blender for maximum homogeneity.
- The working temperature of the velor mass is approximately 34-38℃.
- Before applying the coating, the cake must be perfectly leveled with cream and cooled well.
- The cake base must be unbendable, otherwise cracks will appear in the coating.
- Apply the coating at the distance recommended in the spray gun instructions (approximately 20 cm). Positioning the tool too close can create unsightly drips.
- The perfect velour is obtained by applying 2 or 3 layers (each layer must be allowed to harden in the refrigerator).
- If the coating is colored, it is advisable to add the same dye to the leveling cream so that the white base does not show through.
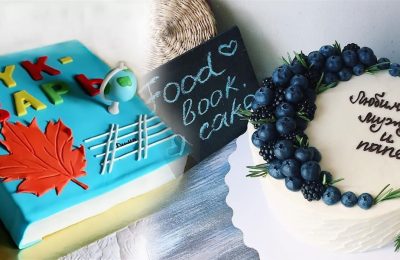
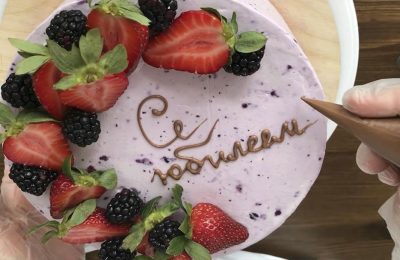
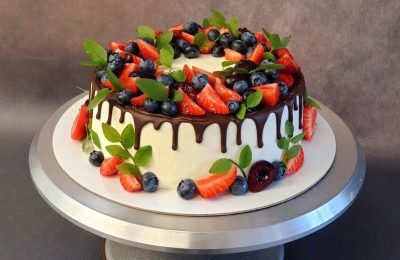
- It is better to decorate velvet cakes with berries just before serving.
How to make a velour coating without a spray gun
The only drawback of the classic method is the price of the spray gun, so many housewives use a variety of alternative methods when preparing velvet cakes.
Option #1 – velour from a spray can
Yes, you can now buy ready-made velour coating for decorating homemade cakes in specialty stores. The price for a can can range from 1,000 to 3,200 rubles.
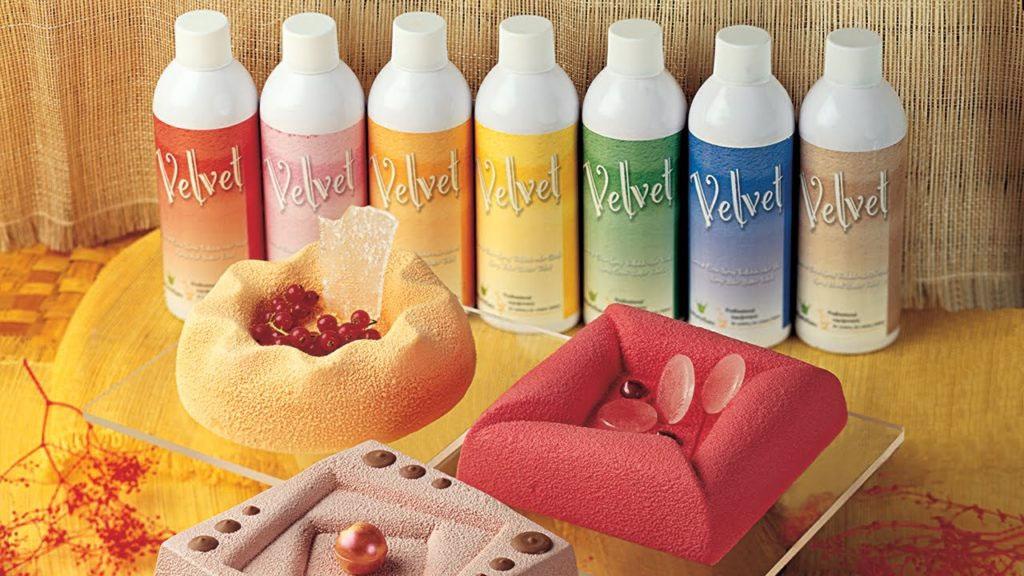
This option is suitable for those who want to try making a velvet cake for the first time and are not yet ready to spend money on purchasing a professional spray gun.
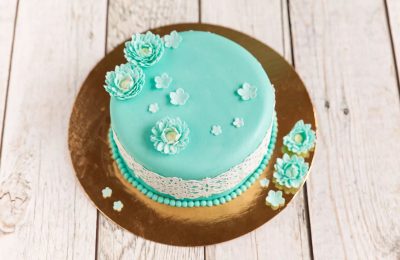
The result of applying a red spray coating to a white leveling cream is shown in the photo:

Despite the apparent simplicity of implementation, it is not always possible to apply the coating evenly and beautifully from a spray can at home.
Cons:
- If you want to make a two-tone cake, painting it in half with different shades, you will have to buy two cans, which will significantly increase the cost.
- If you weren't planning on baking a second cake soon, the remaining mixture in the can would simply go to waste.
Option #2 – brush and sponge
The unique feature of velvet cake icing is its texture. There's a technique that explains how to create a velvet cake icing similar to classic velvet using a brush and sponge. The result will be similar, but it's more suitable for decorating small cakes and desserts rather than a large birthday cake.
Step-by-step application algorithm:
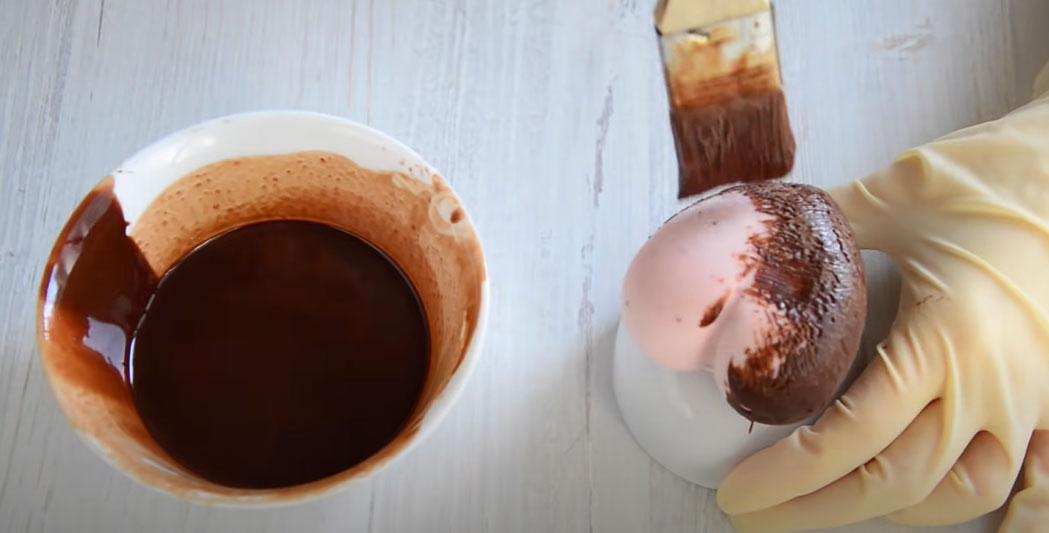
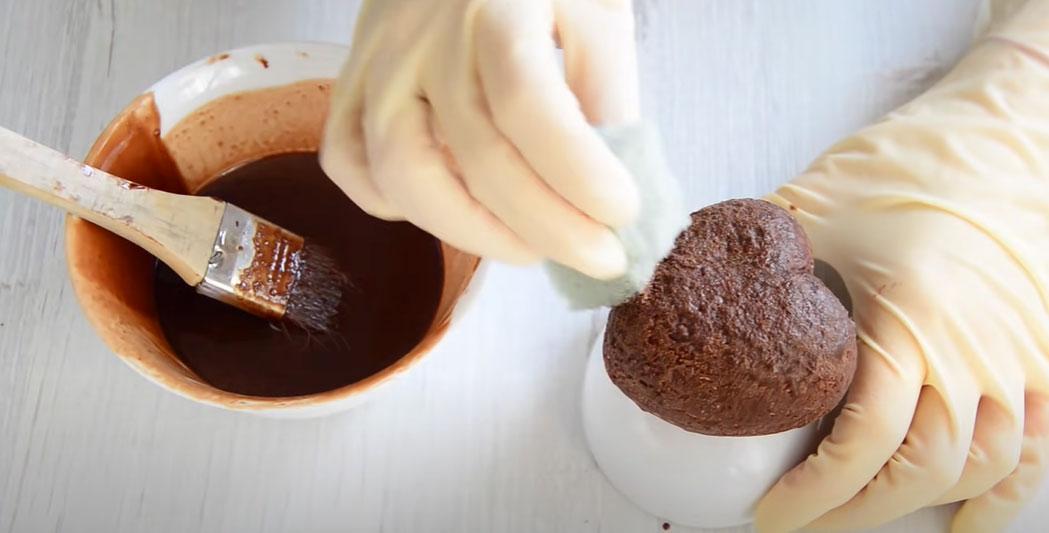
- Prepare the mass for creating a velour coating according to the classic recipe.
- Place the cake in the freezer for 20-30 minutes (remove it immediately before applying the coating).
- First, cover the cake with a thin layer of icing, applying it quickly with a brush.
- If necessary, place the cake in the freezer for another 10 minutes.
- Apply the second (finishing) layer of glaze with a sponge, achieving the texture characteristic of velour.

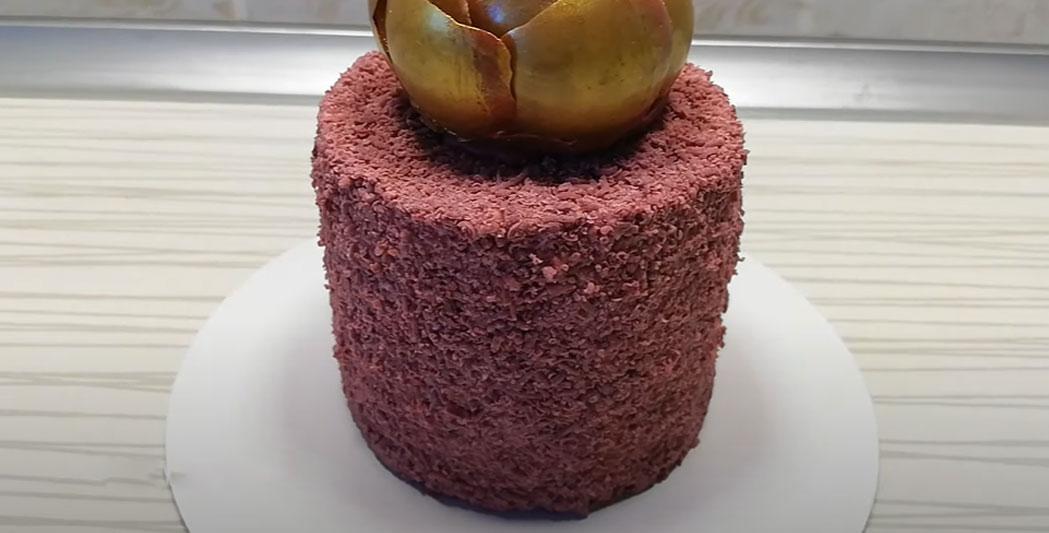
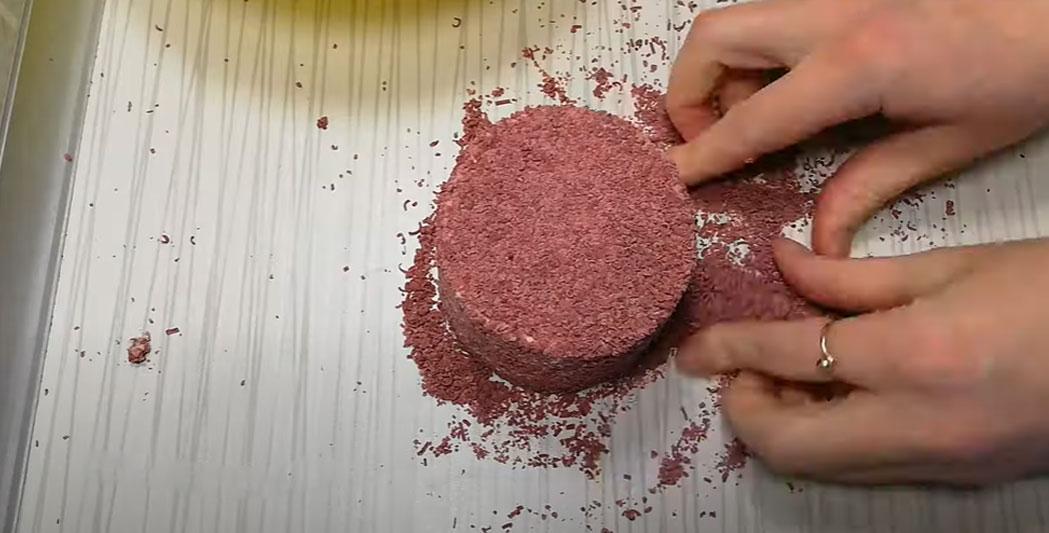
Option #3 – dry velour (chocolate chips)
Yes, the texture of this cake will differ from the classic velvet cake covered with small drops of icing, but the result is also quite interesting and unusual.
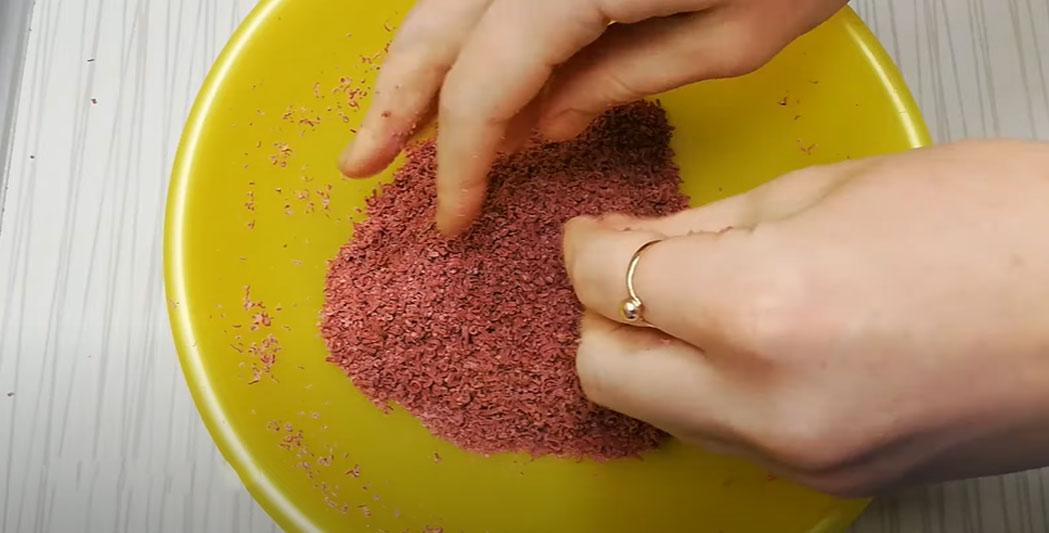
Recipe:
- Freeze the chocolate or colored chocolate mass.
- Grate the frozen product on a fine grater to make the shavings as small as possible.
- There's no need to chill the cake before applying it! Instead, the frosting should be soft and sticky so the dry velvet will adhere well.
- Apply the coating thoroughly (excess chips will simply fall off).

If you have experience making velvet cakes, please share your helpful tips for aspiring pastry chefs in the comments below.