How to glue a sugar picture onto a cake

Content
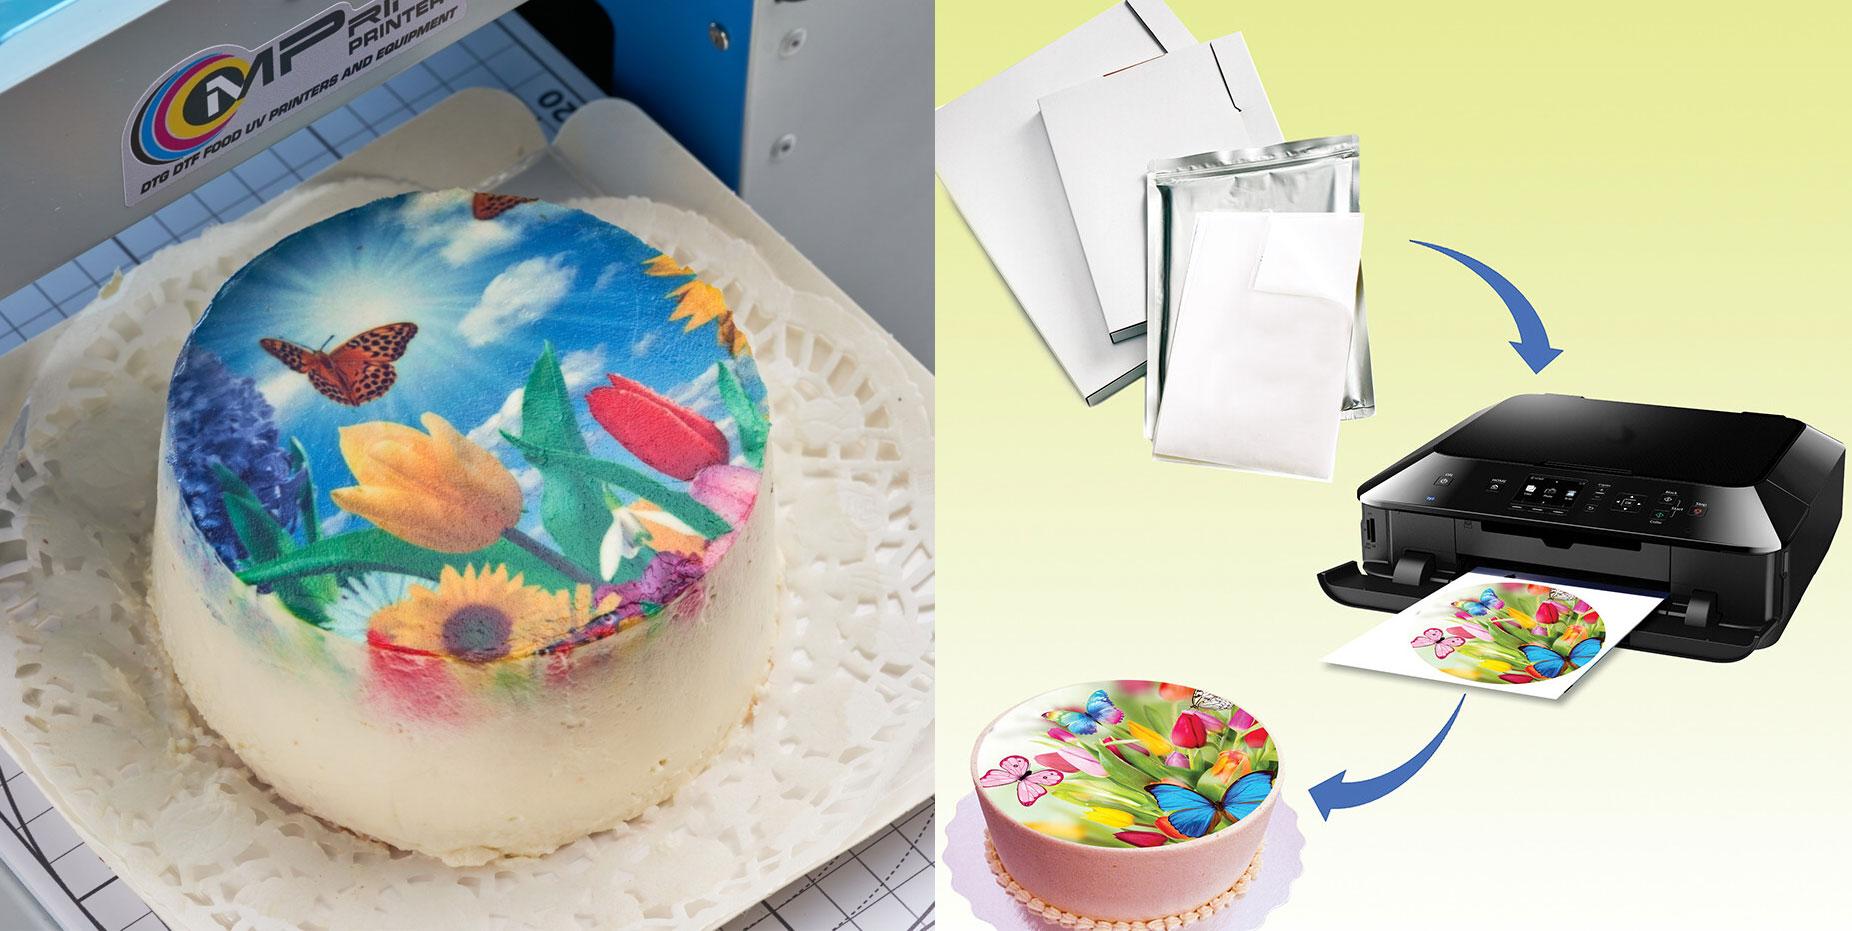
Decorating baked goods with edible printing is one of the most popular trends. Knowing how to properly apply a sugar print to a cake will allow you to easily add this unique touch to your homemade cake.
What's important to know about edible printing
Today, there are several technologies for applying images using edible pigments:
- directly onto the surface of the cake or cupcake (such printers are bulky and quite expensive);
- on a special base (wafer or sugar paper).
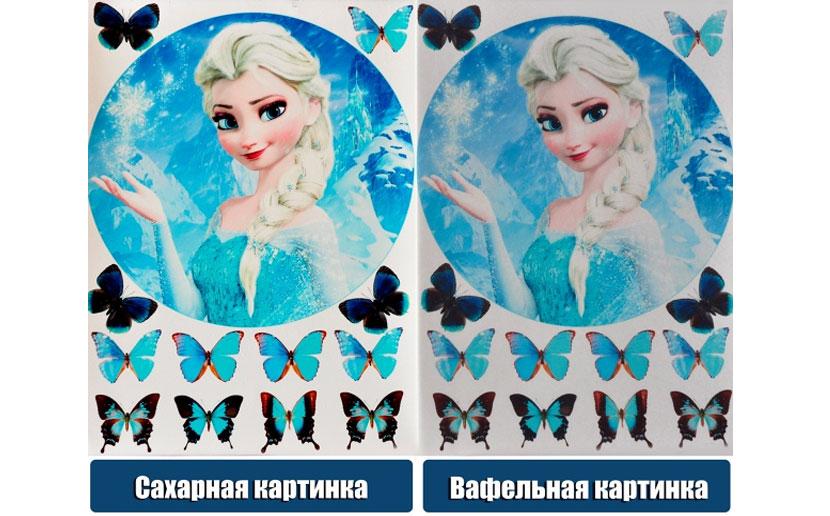
Please note that the cake image can be applied to different bases:
- sugar paper more expensive, but easier to use;
- wafer paper cheaper, but has a number of nuances that need to be taken into account.
In the article "How to glue a wafer picture"We've covered all the details of working with this material in detail. Today, we'll talk about how to properly glue a sugar painting onto a cake.
Features of sugar paper
Accordingly, this material has the same properties as mastic:
- may dry out and become brittle, therefore, the picture must be stored in an airtight container in a dry, dark place;
- afraid of moisture, therefore it is important to avoid changes in temperature and humidity to prevent condensation;
That's why it's best to decorate the cake with an edible seal immediately before serving it to customers or a couple of hours before serving it to guests.
Key points
Experienced confectioners recommend:
- Consider the basisImages on a white background are suitable for laying on light-colored bases (such as cream or fondant), while for dark coatings (such as ganache or chocolate), it is better to buy bright, full-color images with a dark background.
- Level the surface perfectlyThe base onto which you will attach the decor must be perfectly flat.
- Avoid moistureKeep tools, surfaces, and hands as dry as possible at all stages of the process. Any contact with water can instantly ruin the image.
- Isolate the liquid creamThe ideal option is to glue the image onto mastic, as a backing made of the "wrong" cream can easily ruin the design.
- Make markingsThe picture must be glued on the first time, as it will be impossible to move it.
- Take your timeAfter applying the image, you need to give it time to dry.
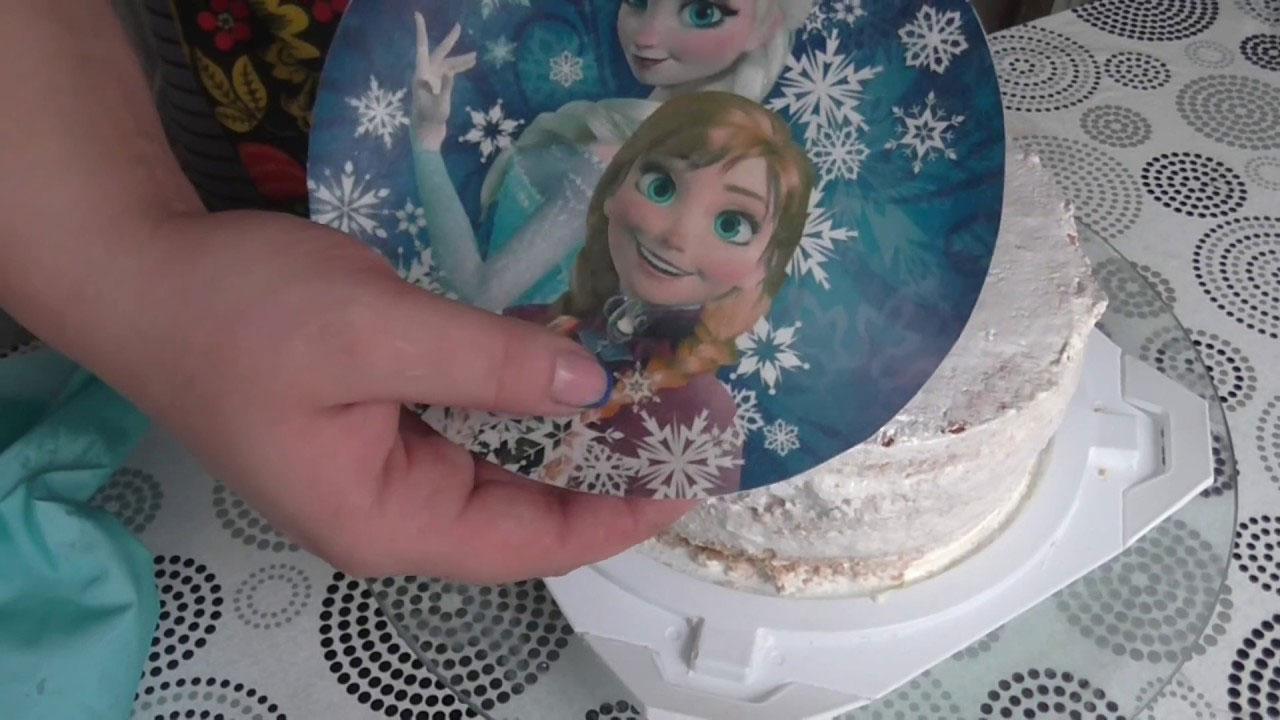
How to attach a sugar picture to a cake
There are several ways to incorporate edible printing into your cake design:
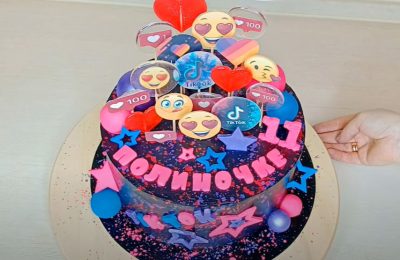
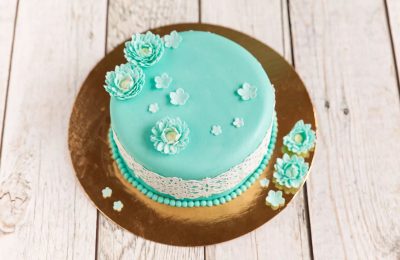
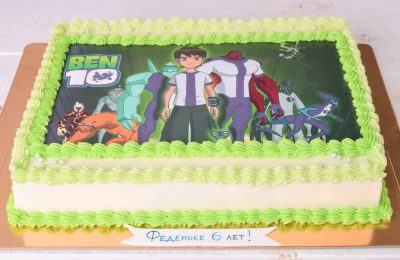
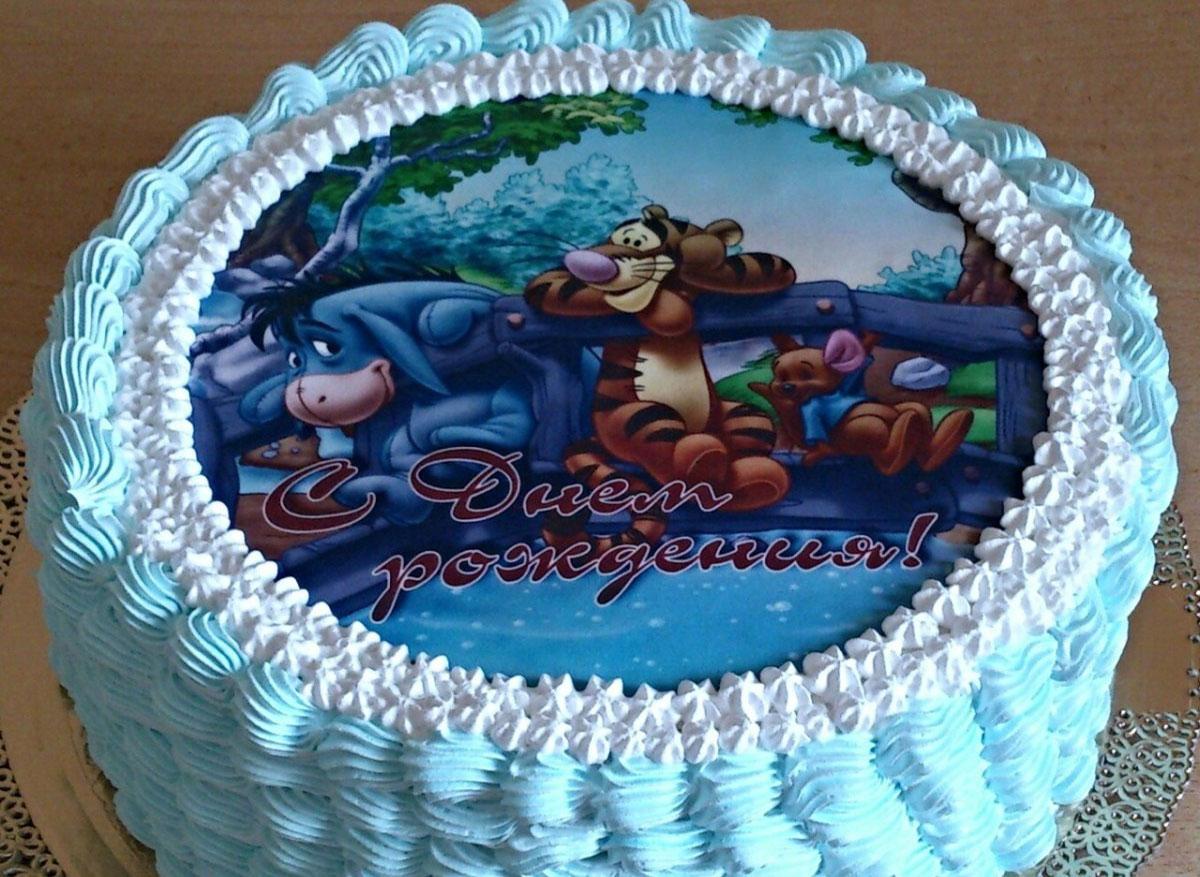
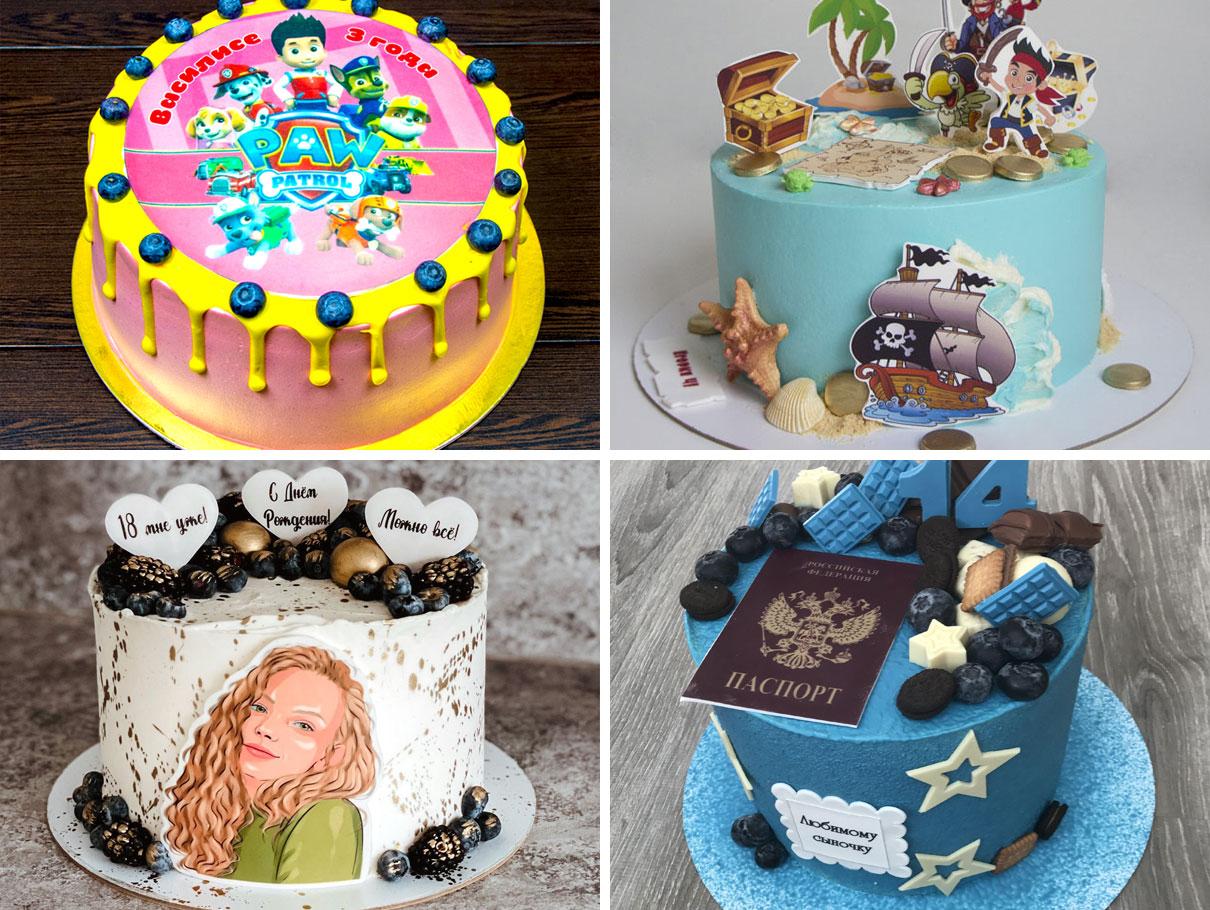
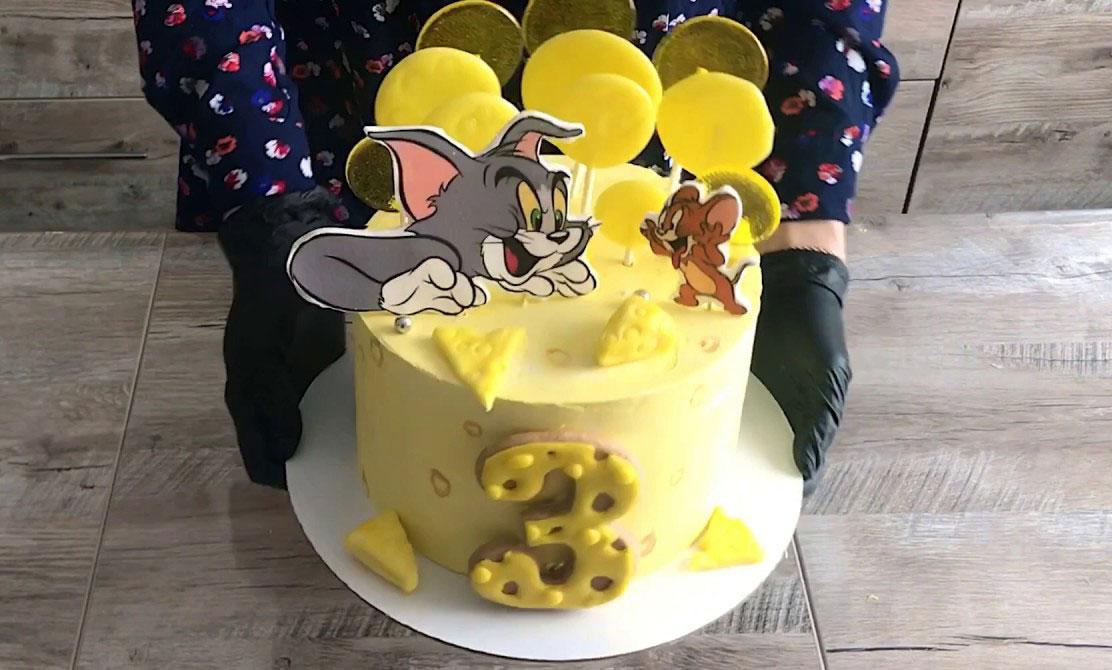
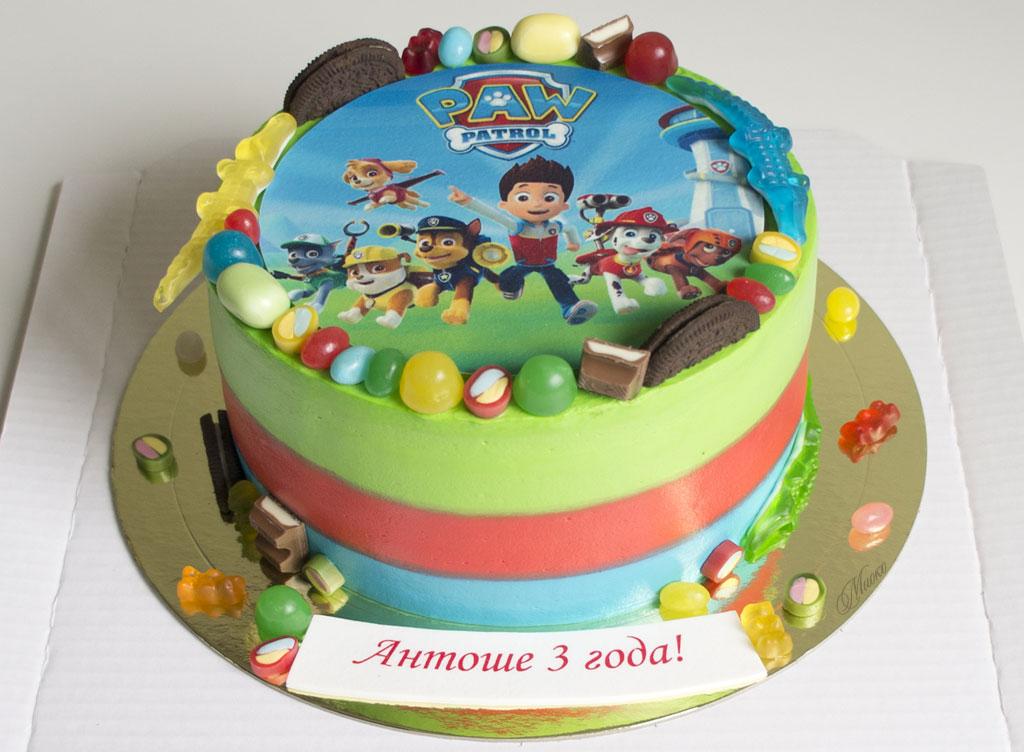
- a large multi-colored picture that completely covers the top of the cake (themed: football-themed cakes, cakes dedicated to favorite characters "Masha and the Bear", "Three Cats", or personalized cakes, when a photo of the birthday boy is attached to the cake);
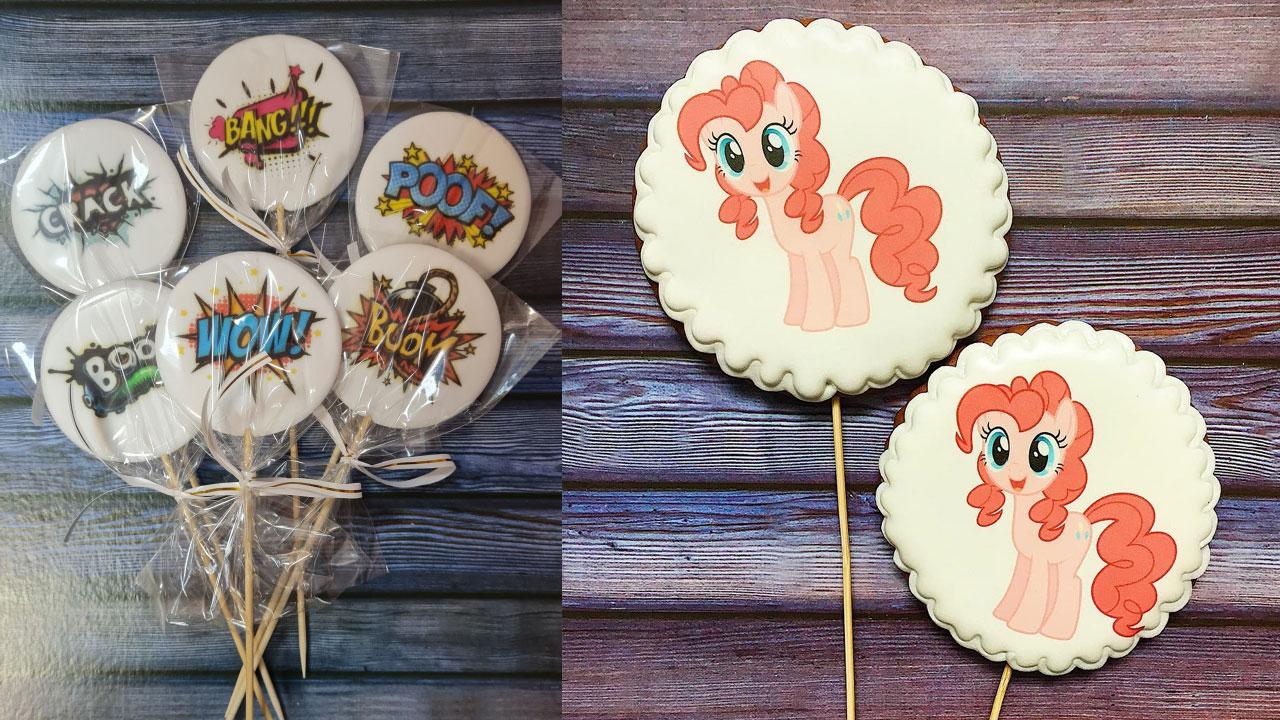
- toppers – drawings on skewers (for example, stickers or the inscription “Happy Birthday”);
- placing a small image on the side or as a separate decorative element standing at an angle (for example, Passport in cake design for a 14-year-old).
Now let's figure out how and what is best to glue a sugar picture to.
How to glue a sugar picture to fondant
Attaching designs to mastic is the easiest option, and almost everyone succeeds the first time.
There are three possible options:
Option No. 1Attach the design to a mastic topper that is larger than the design itself (recommended sheet thickness: 5 mm).
Option #2Make a backing from mastic, cutting it along the outline of the image itself (recommended sheet thickness is 5 mm).
Option No. 3Apply the image directly onto the cake covered with fondant (recommended sheet thickness 2-3 mm).
Algorithm of actions:
- Take the drawing out of the package.
- Cut along the contour without removing the backing film.
- Remove the film.
- Coat the surface of the mastic (or the back of the picture) with neutral gel.
- Transfer the image onto a sheet of mastic.
- If necessary, trim off any excess pieces with a sharp utility knife.
- Allow the item to dry completely.
If you want the image to be shiny, you can also use decor gel as a final protective coating. However, this is not necessary when working with sugar paper.
How to glue a picture onto a dry cake base
The application method is also extremely simple – just coat the surface of the biscuit with a layer of decor gel and apply the image.
The advantage of this method is that the image will remain sharp for as long as possible. The disadvantage is that any unevenness in the surface may show through.
How to apply a photo print to cream
Different types of creams can be used to level cakes, but not all of them are suitable for applying sugar designs.
Incompatible with photo printing:
- cream cheese with cream;
- custard;
- sour cream;
- whipped cream;
- cream based on condensed milk.
Storage rules
To avoid damage to such an original decor, it is important to remember that it is forbidden:
- store the cake in the refrigerator (in general, store the finished cake for more than 6 hours);
- do not allow sugar paper to come into contact with moisture (water, liquid cream, condensation, juice from fresh fruits or berries, etc.);
- decorate along the edges with wet creams (the design will float at the point of contact);
- leave it in the air without a box or cover (the picture may dry out);
- do not expose to any mechanical impact (a dried picture is very fragile and can easily crack);
- Place the cake on a soft surface (for the same reason, any movement can cause cracks).
Video master class
Watch the video for a pastry chef's detailed explanation of how to decorate a cake with a sugar painting: