How to glue a wafer pattern to mastic

Content
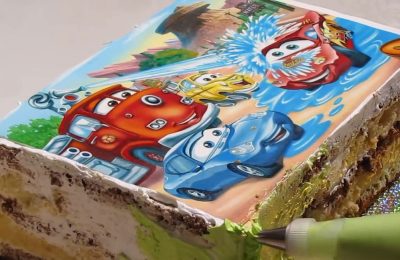
Color printing with edible inks is rapidly gaining popularity, allowing you to bring any dessert design idea to life. Today, we'll discuss how to properly apply a wafer design to fondant and other coatings, the technologies used to fix images, and how to avoid mistakes that can ruin the dessert's appearance.
Printing Basics
- Wafer paper It's made from starch and rice flour, so it's tasteless and odorless. These thin, fairly fragile sheets (they break when bent). Because of the material's translucency, the designs appear less vibrant and contrasting. The shelf life of designs printed on wafer paper is six months, but in practice, confectioners recommend storing such decorations for no more than three months.
- Sugar paper It's a thin sheet of white (or colored) sugar paste rolled out in an industrial setting, giving it a distinctive sweet flavor and a pleasant vanilla aroma. These images are thicker, but the base is less fragile, allowing for slight curves (for example, when placing a design on the side of a cake). The shelf life of images printed on sugar paper is one month, but experience shows that at home, such images dry out within one week.
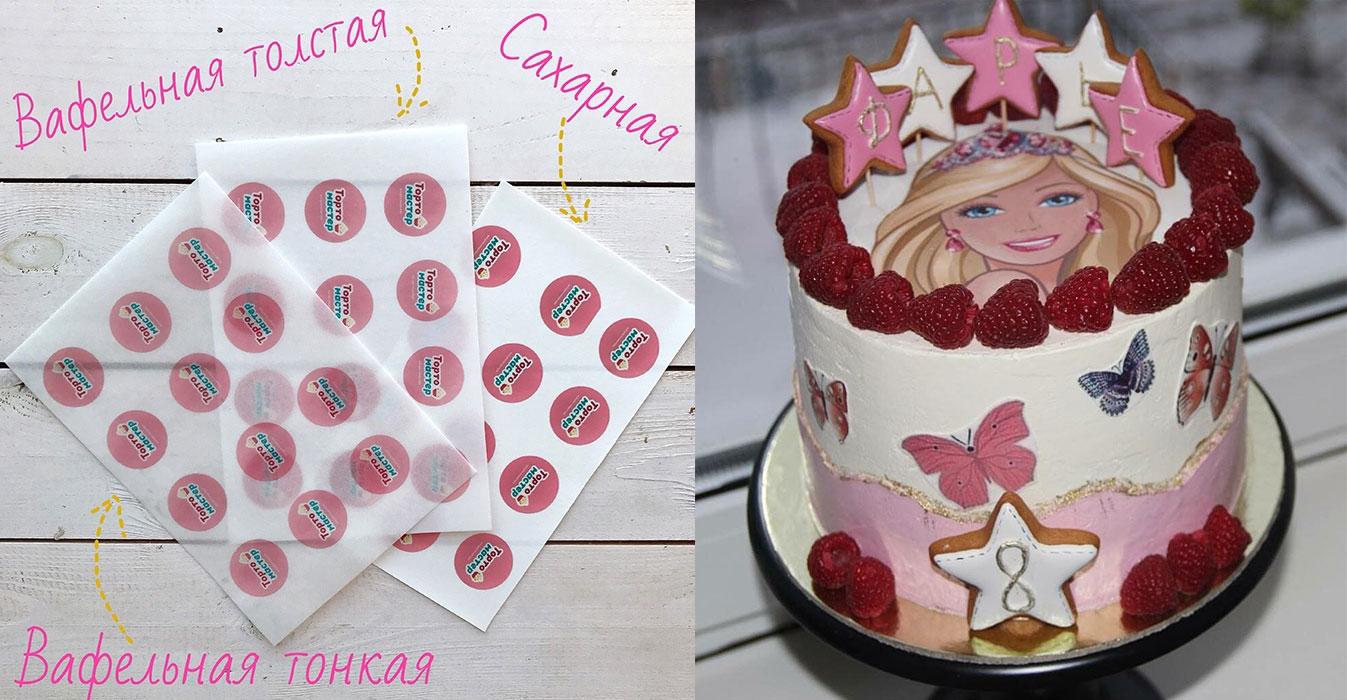
When producing pictures for sale, both types of paper are additionally reinforced at the bottom with a transparent acrylic backing, which ensures that the sheet will not be damaged during transportation.
Universal algorithm
To glue a finished image onto a cake or topper, follow this general procedure:
- Cut out the design along the outline with sharp scissors, without removing it from the transparent backing.
- Remove the image from the backing.
- If you are working with a wafer pattern, be sure to apply decor gel to the underside; it will protect against moisture (there is no need to cover the drawings and inscriptions applied to the sugar paper).
- Carefully transfer the image onto the prepared surface.
- Straighten the decor (puncture any air bubbles if necessary).
- Wafer images must be additionally coated with a layer of transparent gel; this will make the image brighter and protect it from external influences.
Features of working with different coatings
To properly transfer decorations printed with edible inks to a cake or topper, it is necessary to take into account a number of specific features that exist when working with different coatings.
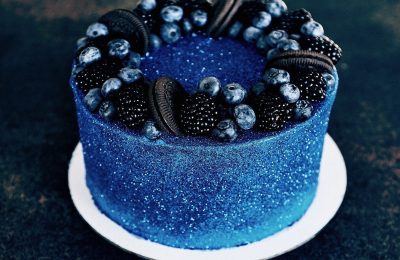
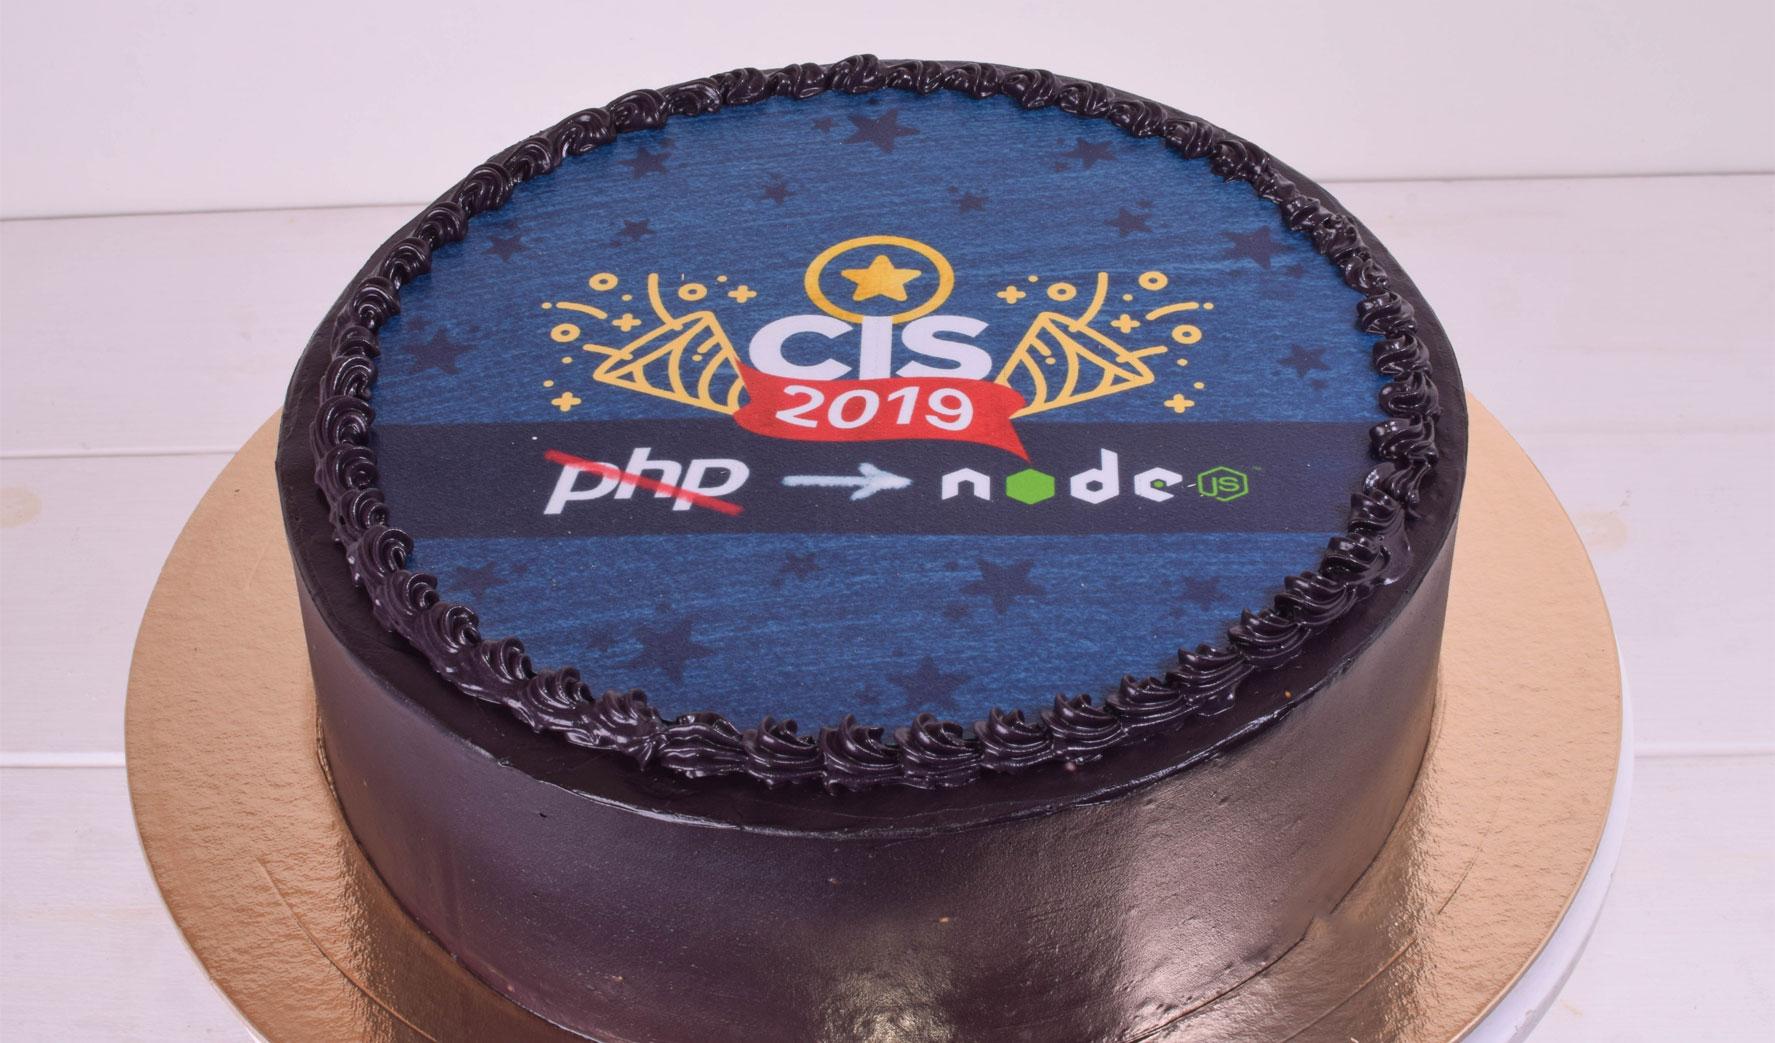
Mastic
Let's start with how to glue a wafer image onto fondant. This is the easiest and most convenient method, which you can use to decorate a fondant-covered cake or to make various stick toppers.
Pastry Chef's Tips:
- make toppers in advance (ideally 2 days before decorating the cake);
- It is better to apply images to fresh soft mastic;
- For gluing mastic and food paper, it is best to use decor gel;
- It is best to dry the products by placing them under a press in the form of a small book (the drying time depends on the thickness of the mastic layer and can vary from several hours to 1.5 days);
- Monochrome toppers do not need to be coated with gel, but keep in mind that in this case the edges will curl up slightly and it is necessary to shape the toppers with something to create a smooth surface;
- It is still better to additionally cover color pictures with a protective transparent gel layer.
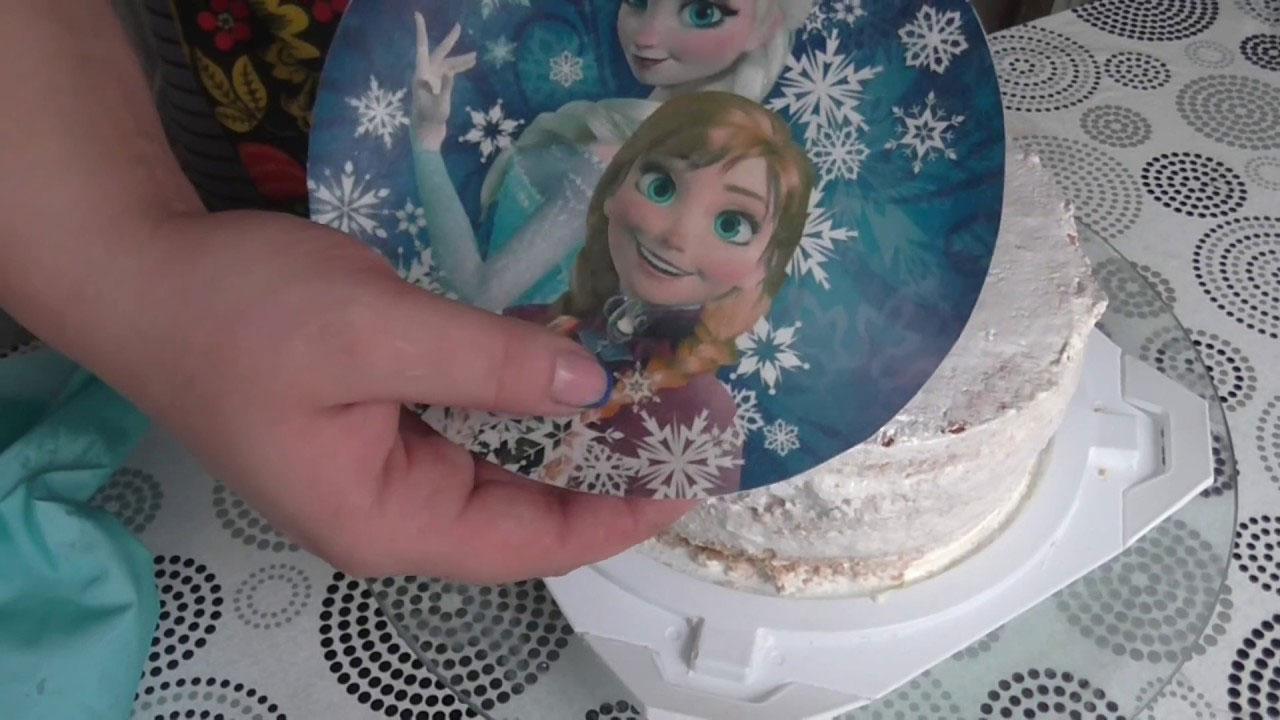
Now let's talk about how to use a wafer image for a cake covered with fondant.
Pastry Chef's Tips:
- If the image covers the entire surface of the cake, use designs on thick wafers, they are easier to work with;
- transfer the image onto the dried mastic;
- You can stick it on in the same way as on toppers (decorgel or alternative options);
- If the image is full-color (for example, a photograph), it is better to additionally cover it with a transparent layer of gel.
For more information on how to place a wafer image on a cake without damaging it during the transfer process, watch this video:
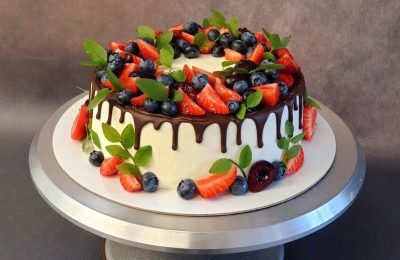
Creamy coating
It is best to level a cake for photo printing with coatings such as:
- butter cream;
- protein cream;
- cream cheese with butter;
- thick varieties of rich chocolate cream.
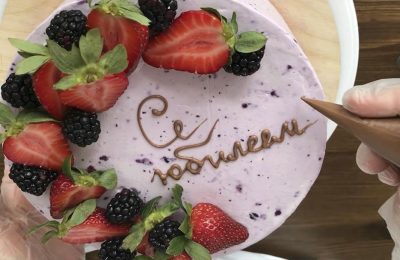
But what if the recipe calls for a different type of topping? How can you use a decoration like a wafer pattern on a cake topped with whipped cream or sour cream?
In this case, confectioners recommend:
- Place the design on the perfectly leveled and well-dried cream;
- make an additional thin layer of cream that is safe for wafer paper;
- apply the image onto a sheet of mastic, and then paint the decoration onto the surface of the cake;
- generously coat the back of the design with gel (the layer will serve as additional insulation from the moisture present in the cream);
- use pictures on a thick wafer base.
Chocolate, ganache, glaze
You can easily place a photo on thick rice paper over chocolate or a butter-and-chocolate glaze (without cream). In this case, you don't even need to coat the back of the design with gel; simply stick it onto the still-wet coating, applying only a final protective top layer of gel. However, keep in mind that without a special layer, the image may run.
Isomalt
Another material widely used in making cake toppers and decorating.
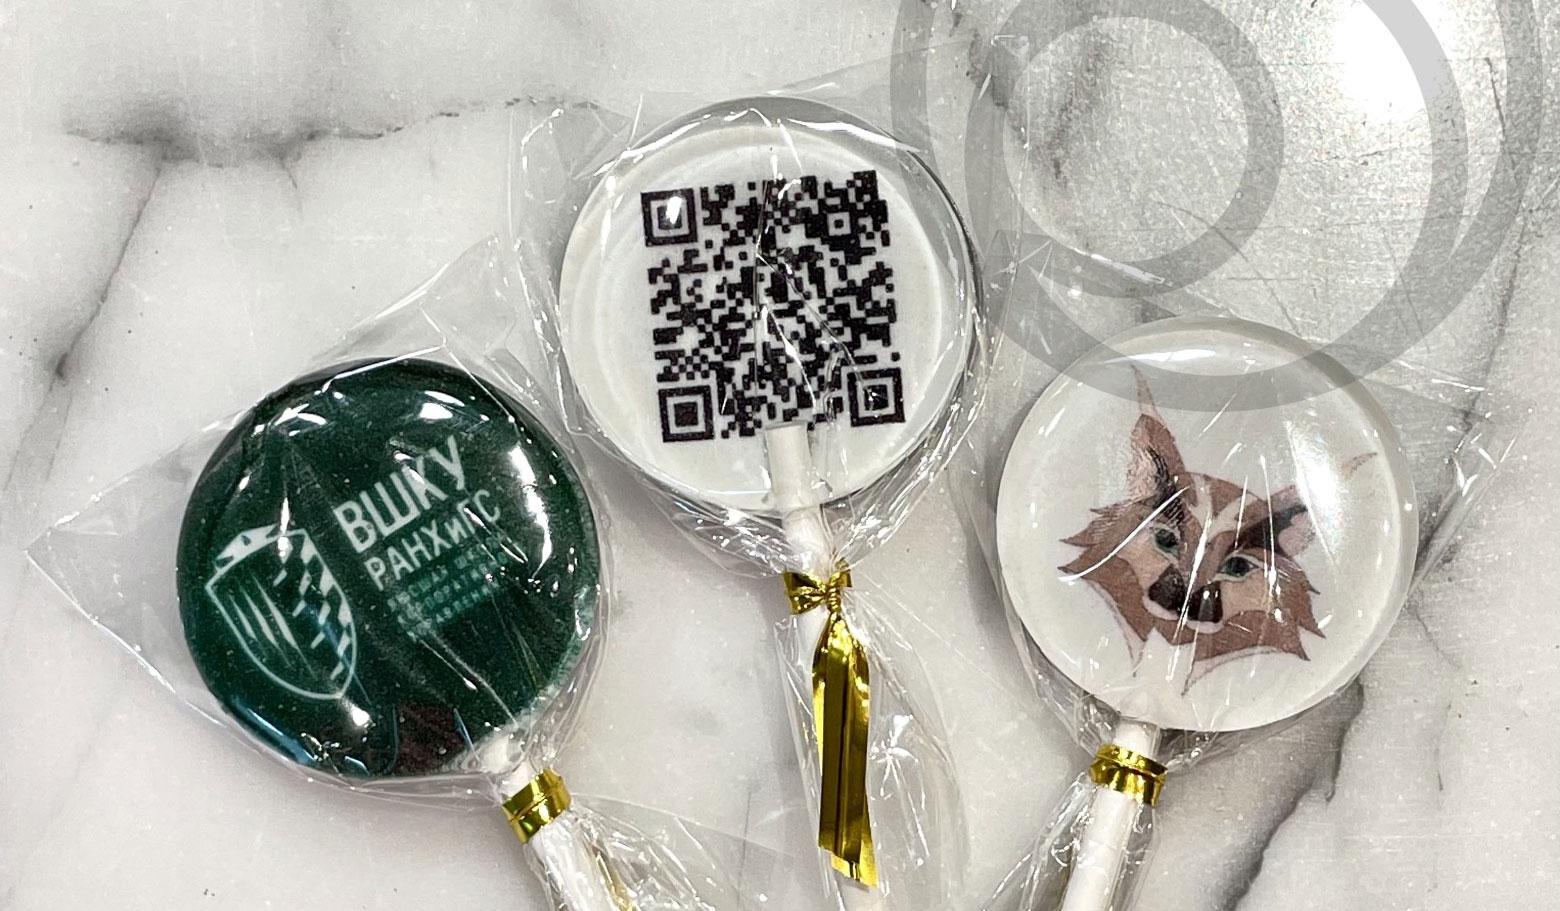
If you want to make these clear lollipops with messages or pictures for children for a holiday, follow these step-by-step instructions:
- Melt isomalt by heating in a saucepan to 180℃.
- Cool the mixture to 120℃ to avoid damaging the silicone mat and the picture itself.
- Place the cut out image, removed from the backing, face down on the silicone mat.
- Place the required amount of isomalt on top of the wafer paper.
- Fix the stick into the mass.
- Allow the lollipop to set before lifting it from the mat.
Helpful tips
It is also worth remembering that the image on wafer paper may be damaged if:
- handle the wafer sheet with wet hands while working (wear gloves when doing everything);
- use melted cocoa butter as a layer (the butter often comes through to the top, and when it hardens, the mixture forms lumps);
- The finished cake will be affected by sudden temperature changes during storage or transportation (moisture will form, bubbles may appear under the picture);
- the cake will be stored for too long before serving (the clarity and color of the image may be lost);
- Sometimes the edges of the pictures may curl during the drying process, so it is better to immediately cover them with cream patterns or a mastic frame.
The features of wafer paper are demonstrated in more detail in these videos: