How to dry mastic at home

Content
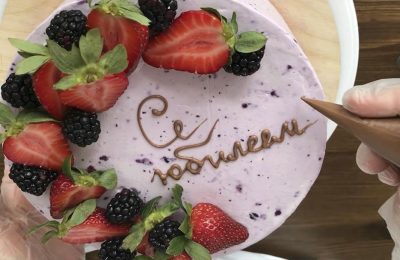
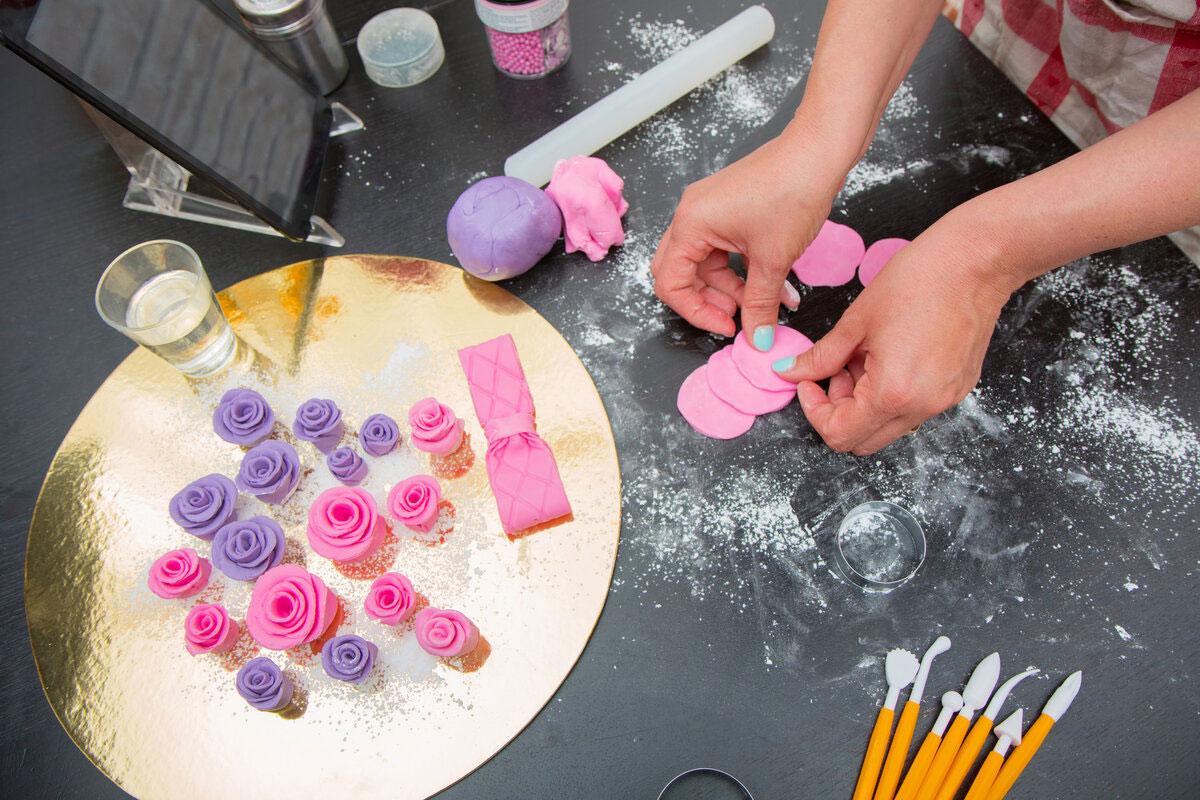
We've already covered how to make a beautiful fondant-based cake topper or a unique decor from thin sugar dough. Today, we'll discuss how to properly dry fondant and various decorative elements made from this material at home.
Main factors
How quickly your cake decorations or sugarpaste coating will harden depends on a number of factors:
- mastic recipe (the mass hardens fastest on gelatin, as well as mastic, which is rolled out with the addition of starch);
- layer thickness (thin layer elements harden in a few hours, while a three-dimensional figurine may take more than a day to dry);
- room temperature (the higher the temperature, the faster the moisture will evaporate from the sugar dough);
- air humidity indoors.
While experimenting with the recipe isn't always possible, the other two factors can be influenced during the process, thereby accelerating the natural removal of moisture from the mastic.
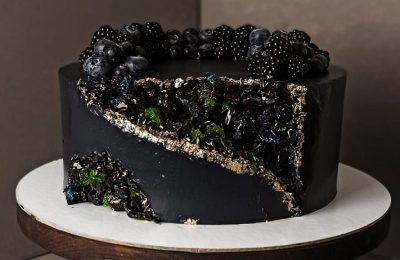
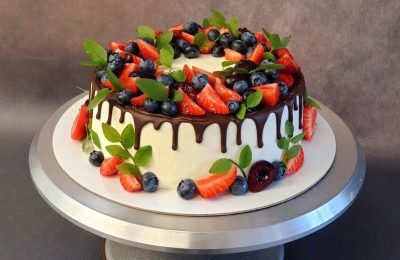
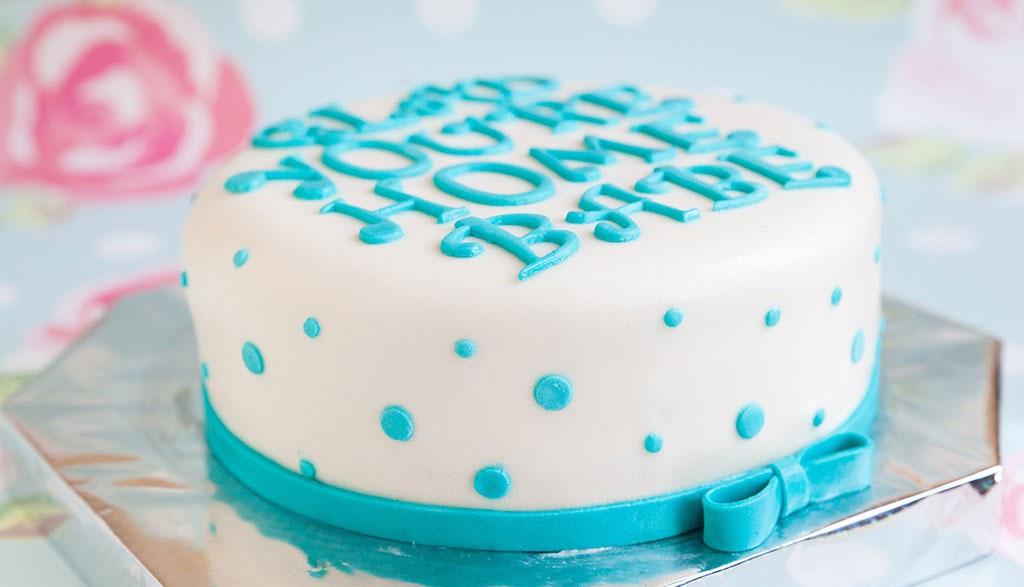
How to dry fondant on a cake
If you're wondering how quickly sugar paste dries at room temperature, aim for about 1-2 hours. During this time, most store-bought sugar pastes will harden enough to continue decorating the dessert.
It is best to cover the cake with a plastic dome and put it in the refrigerator until the mastic layer dries to the required consistency.
Pastry Chef's Tips:
- do not roll out the mastic thinner than 2 mm, otherwise it may tear or crack during the drying process;
- masses with a large addition of dyes can dry longer than uncolored ones;
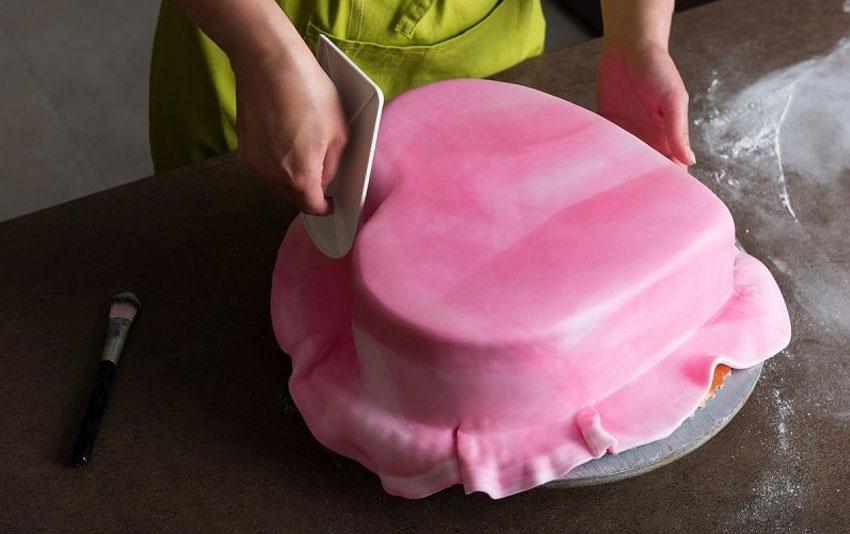
- Place the coating on a perfectly level cake, otherwise the mastic may become deformed during the drying process;
- If the cake recipe calls for liquid cream (custard, sour cream, butter cream), additionally level the surfaces under the mastic with butter cream, then the powdered sugar in the coating will not melt and the cake will retain its perfect appearance for longer;
- When working with sugar dough, sprinkle the mat with starch; it effectively absorbs moisture, which naturally speeds up the drying process (powdered sugar, on the other hand, can melt in high humidity and form unsightly droplets).
Remember that you cannot lay mastic on:
- any liquid creams with high moisture content;
- cakes soaked in something;
- soft mousse layer;
- any fruit and berry fillings.
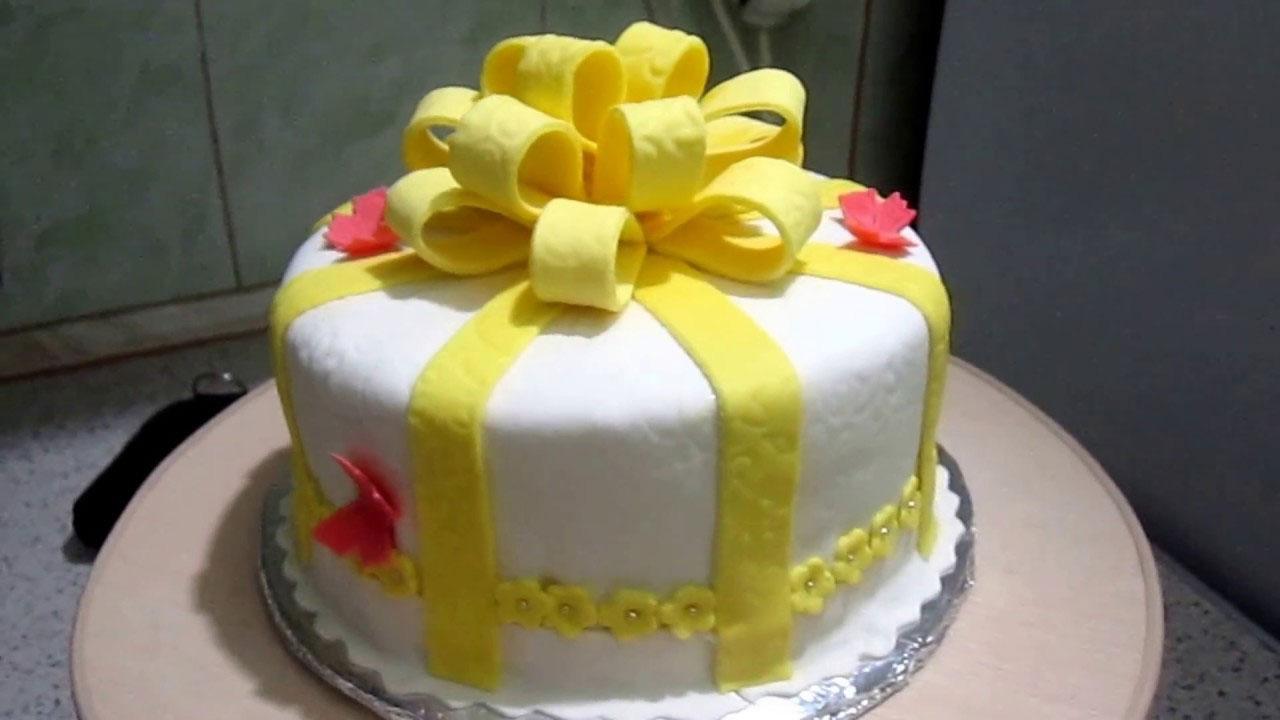
How to dry mastic decor
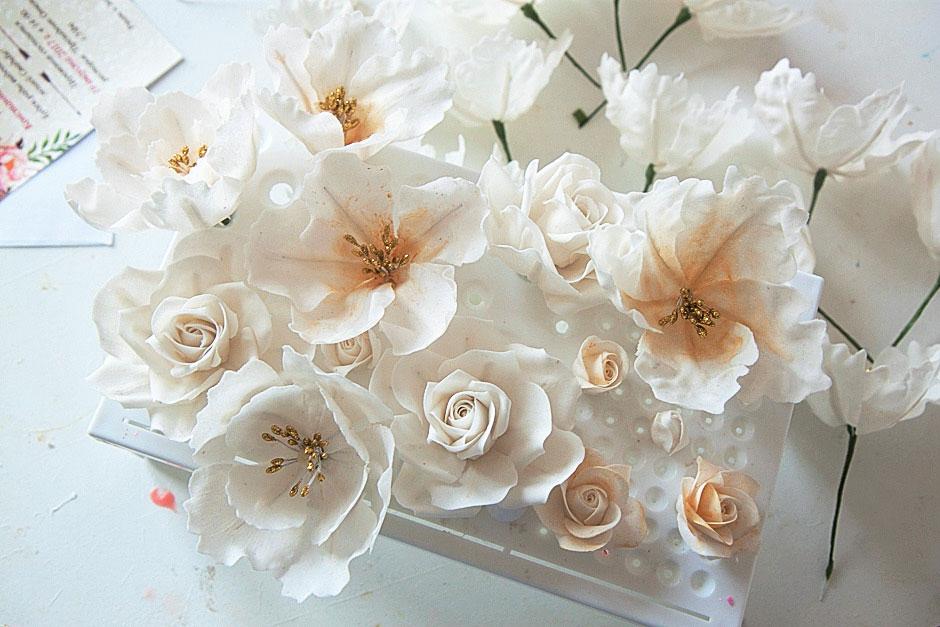
But what if you need to make a cake (or a set of gift cupcakes) decorated with toppers, fondant flowers, or figurines as quickly as possible and don't have the time to wait for the material to harden naturally?
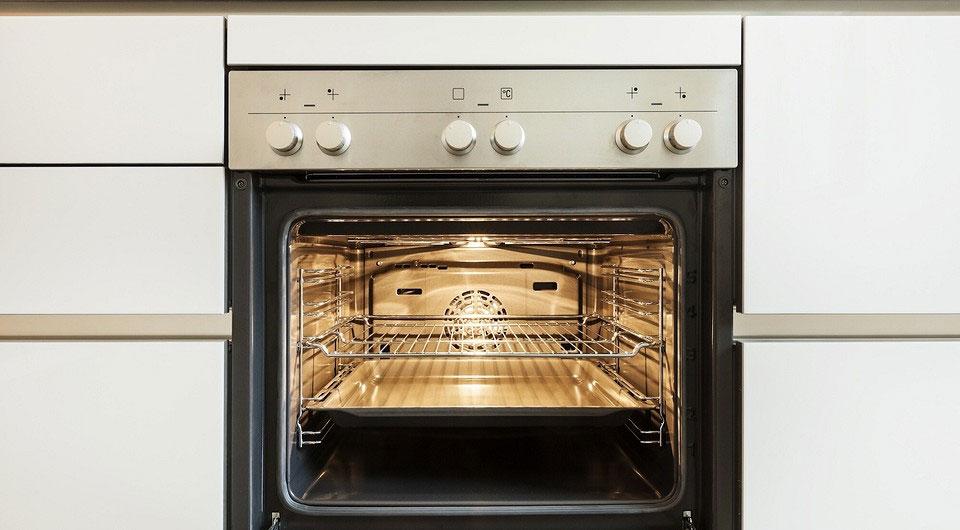
Method 1 – heat in the oven
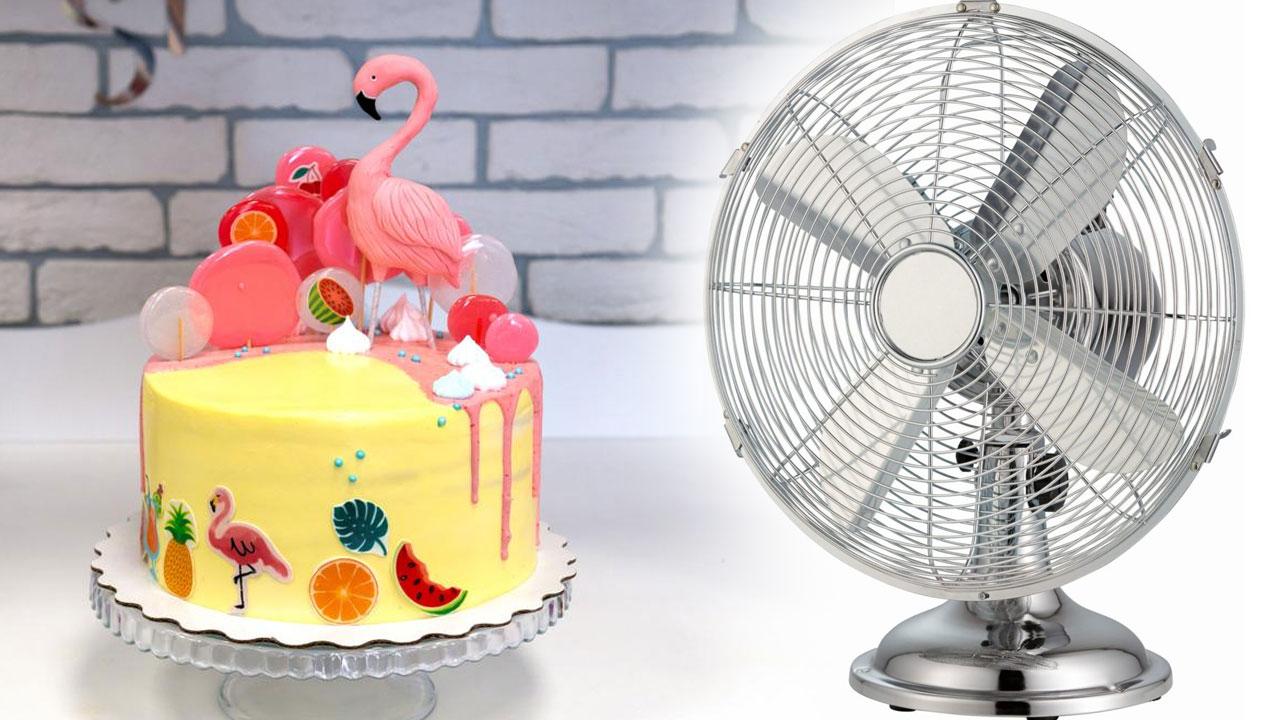
Method 2 – use a hair dryer or fan
Method 3 – dry under a table lamp
When asked online how to quickly dry a mastic figurine, you can often find recommendations to place the decoration under a table lamp.
Disadvantages of hot drying
Indeed, recommendations for drying fondant as quickly as possible at home include gentle heating. However, it's important to understand that this drying process will be uneven (in some places the fondant will remain soft, while in others it will dry very quickly), which often leads to cracking. This can occur in both thin elements and large figures.
Drying complex decor
If you want to speed up the drying of a large mastic decor piece, follow these steps:
- mold all the elements of the future structure;
- dry using the chosen method;
- If any of the elements crack, correct the situation by smearing the crack with vegetable oil and smoothing it out with a culinary iron;
- Assemble the structure from ready-made, well-dried elements, gluing them together with egg white.
How to dry mastic with a waffle pattern
We discussed working with images printed on wafer paper step by step in the article “How to glue a wafer pattern to mastic".
When drying a cake with a large image applied to the fondant coating, there are no special drying recommendations. When working with smaller images (for example, when decorating toppers), the main thing is to prevent the edges of the wafer from curling upward during the drying process. This can be avoided in several ways:
- creating a frame around the picture using mastic or cream;
- pressing the picture onto the base with an improvised press;
- by coating the shaft with an additional layer of fixing gel (this allows the soaking and drying to occur more evenly and the edges do not curl).