How to Make Your Own Mastic Lettering

Continuing with the theme of dessert decoration, let's look at how to create a beautiful inscription on cake fondant yourself, as well as the various techniques for creating various letters and numbers.
Chocolate inscription
The easiest way to make an inscription on mastic at home is to apply letters or numbers with thick chocolate or icing, as in technologies for creating drips on cakesYou can use any glaze recipe, slightly adjusting the ingredient proportions to achieve a thicker consistency. You can also use melted chocolate (without preparing a special mixture), but keep in mind that chocolate hardens much faster, giving you less room for adjustment.
Option 1 (basic) – write by hand
There are two options for applying letters and numbers to the mastic:
- direct (on the surface of the cake) – an option for experienced, confident craftswomen;
- onto a base (parchment, bag, acetate film, smooth plate) - simpler, but the inscription will have to be made thicker in order to then transfer it to the mastic.
Learn how to create subtle, elegant lettering in this video tutorial:
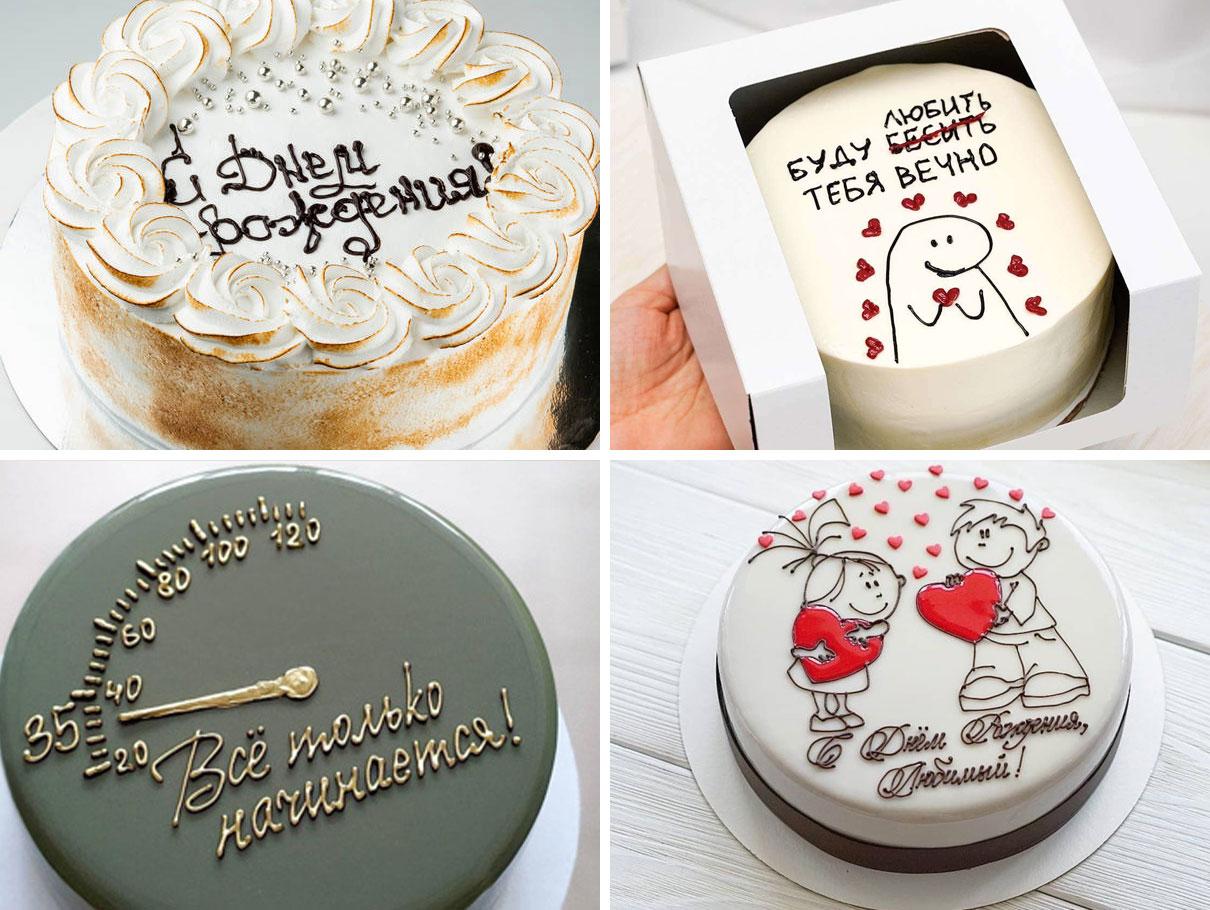
For many beginning cooks, a significant drawback of the basic method is the fact that not every cook will be able to create beautiful calligraphy like the one in the photo on the first try. Often, getting the hang of it requires a fair amount of practice.
Option 2 (simplified) – using a stencil
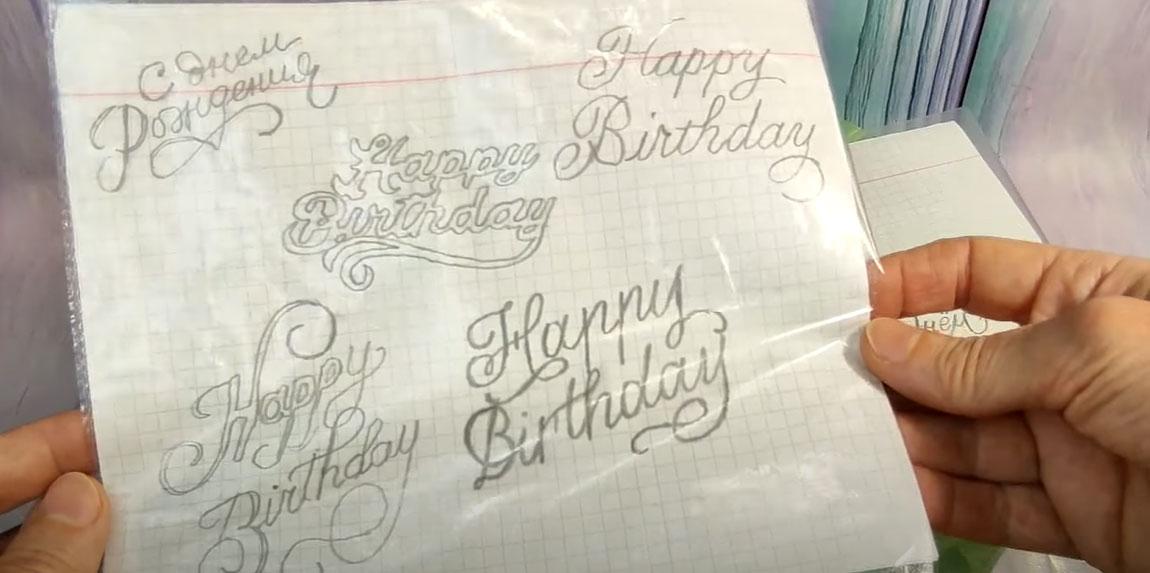
Writing directly on mastic is a difficult task, but you can simplify the process by choosing beautiful inscriptions from the Internet and printing them out as a stencil.
The process of creating an inscription step by step:
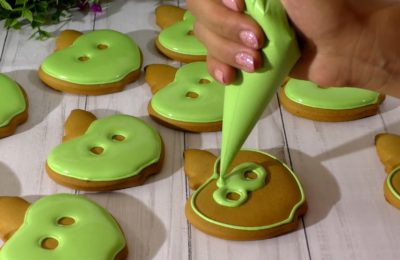
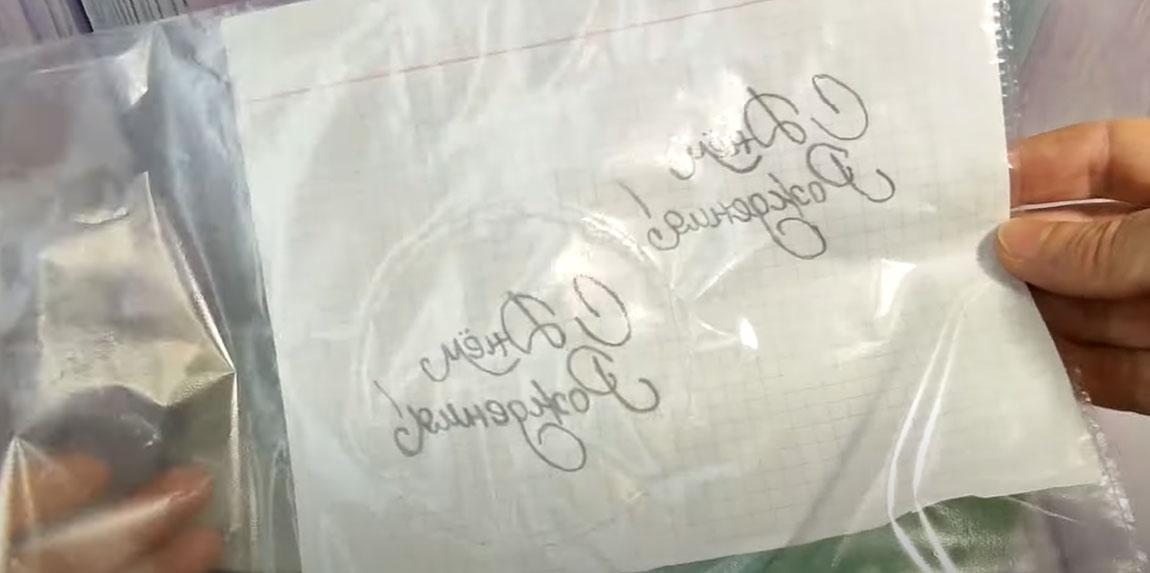
- We transfer the text we like onto paper (we copy it from the monitor or print it out), trace it on the back side and put it in a file or simply a transparent bag.

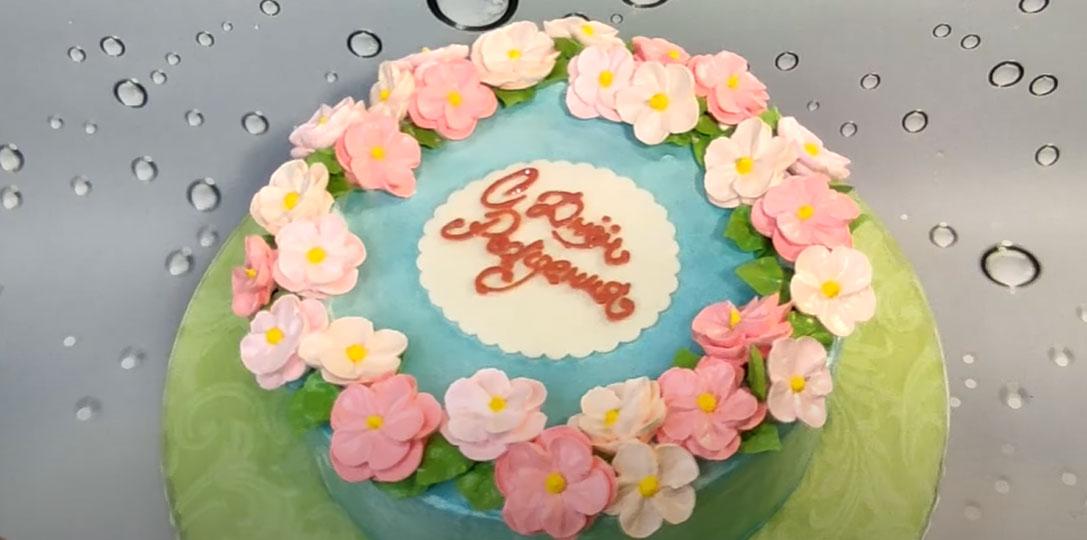
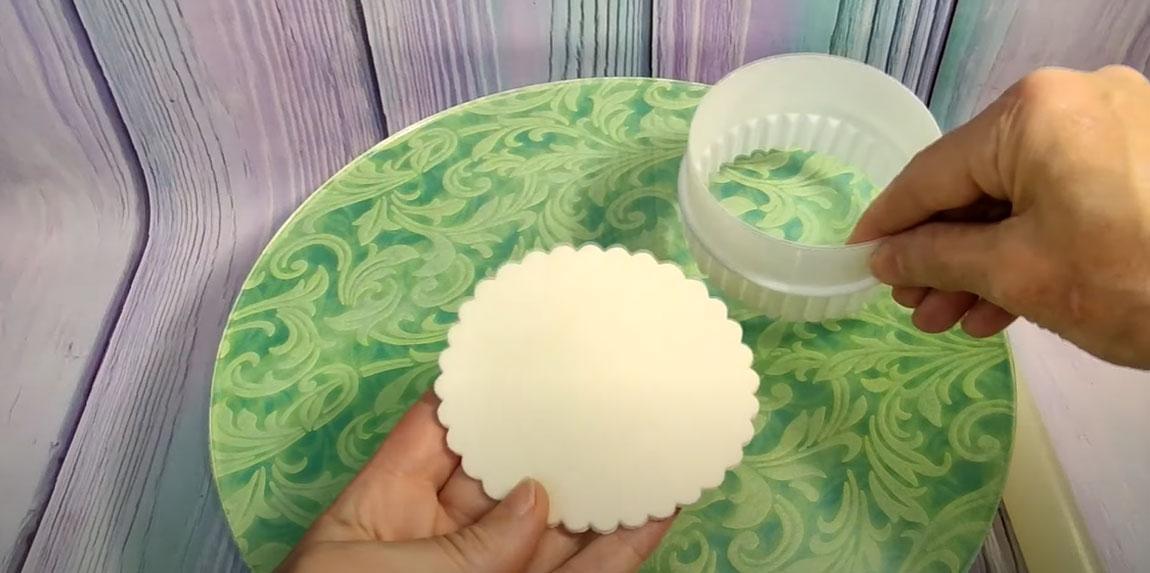
- In our example, the inscription is placed on a piece of mastic (this will make it easier to transfer it to the cake), so we prepare the base in advance by cutting out a suitable shaped sign from a sheet of paper.
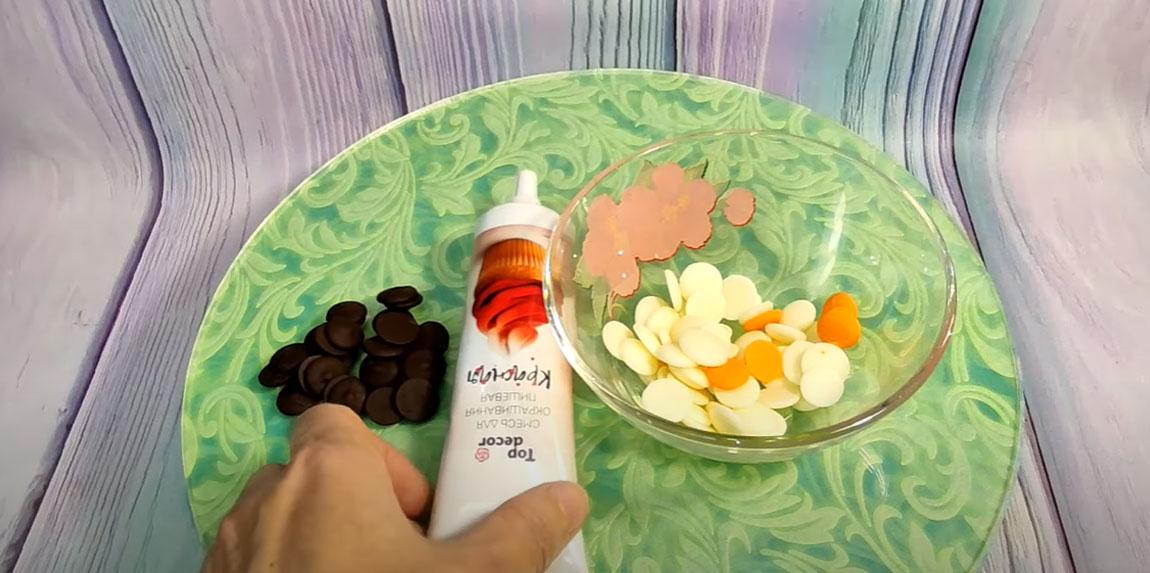
- We make a white chocolate ganache and tint it with food coloring. You can also make a classic chocolate (brown) ganache, eliminating any coloring altogether.
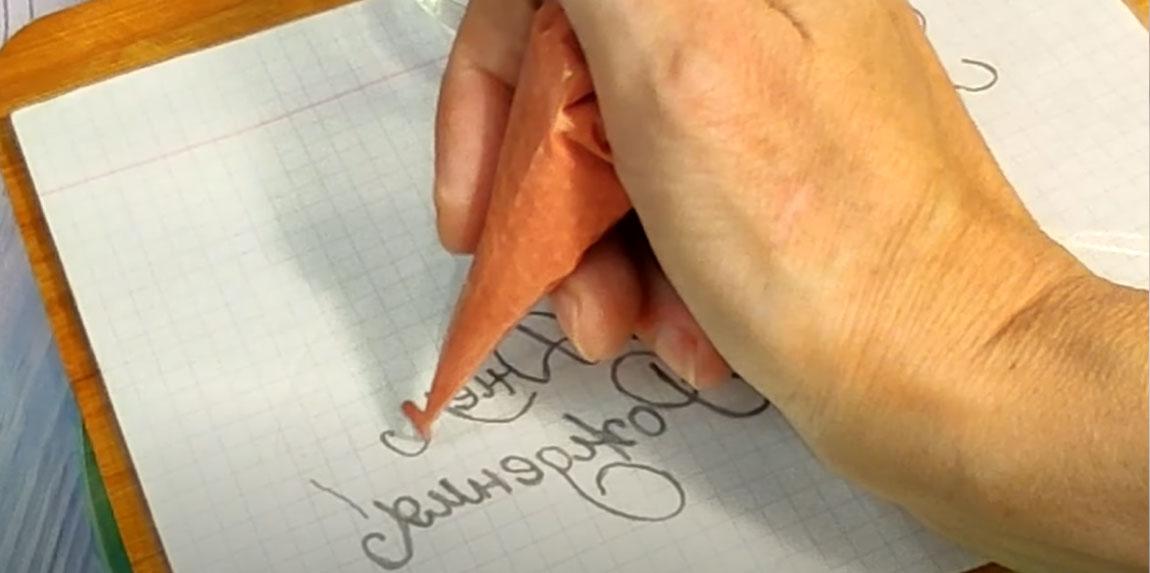
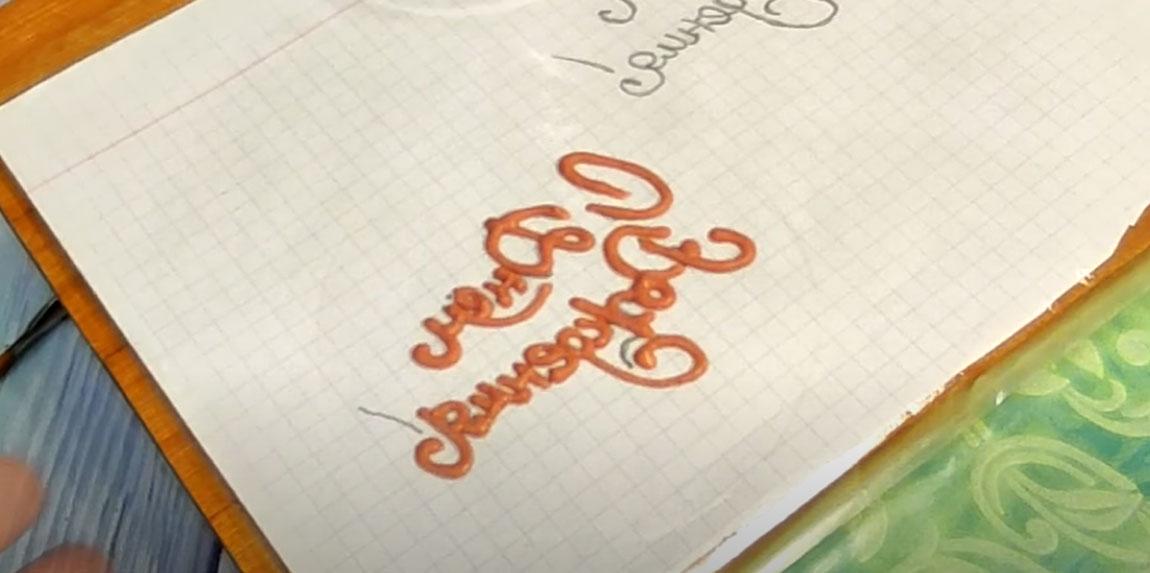
- We transfer the finished icing into a piping bag, make a very small hole and begin to apply the inscription on top of the file, carefully drawing the letters we drew earlier in mirror image.
- This will require some skill, but with practice you'll definitely be able to create a neat lettering like this. At this stage, you need to let the icing dry thoroughly.
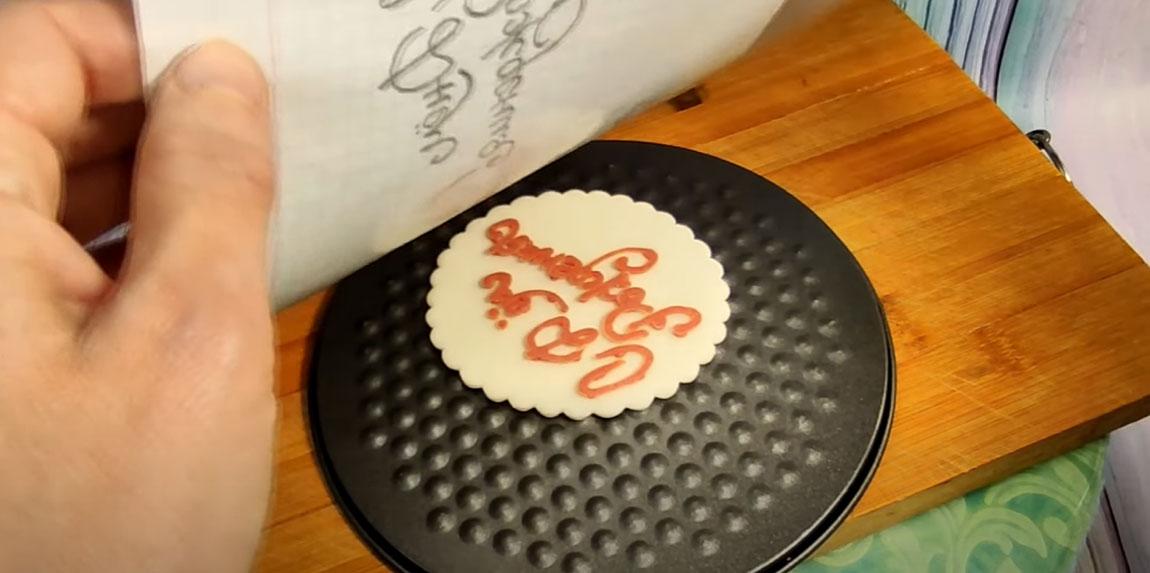
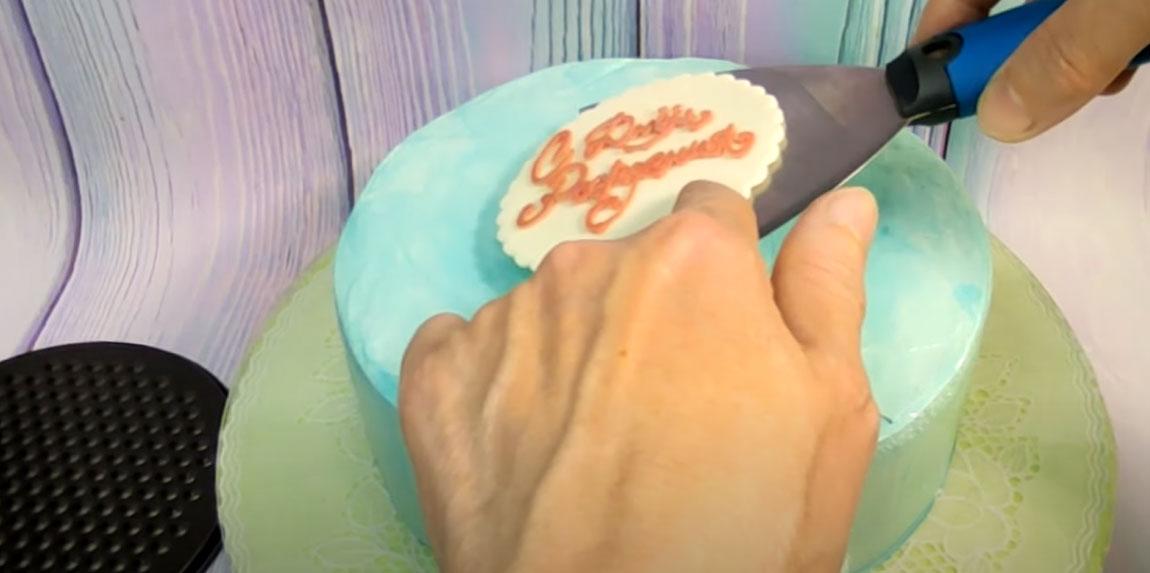
- Now you need to connect the lettering to the base. To do this, apply a few small drops of icing to the well-dried letters and carefully place the white fondant base on top (be careful not to press down!). Let the fondant harden thoroughly, storing it in the refrigerator for 5-10 minutes.
- Carefully turn the cooled inscription over and remove the film that served as the base.
- We transfer the finished sign onto the cake.

You'll agree that creating this kind of decoration is much easier and more convenient than writing "Happy Birthday!" or any other phrase directly on the fondant. And if something goes wrong, you can always just try again without ruining the whole cake.
Option 3 – gold inscription
Also see how to make a beautiful gold inscription on a cake using candurin-based mass:
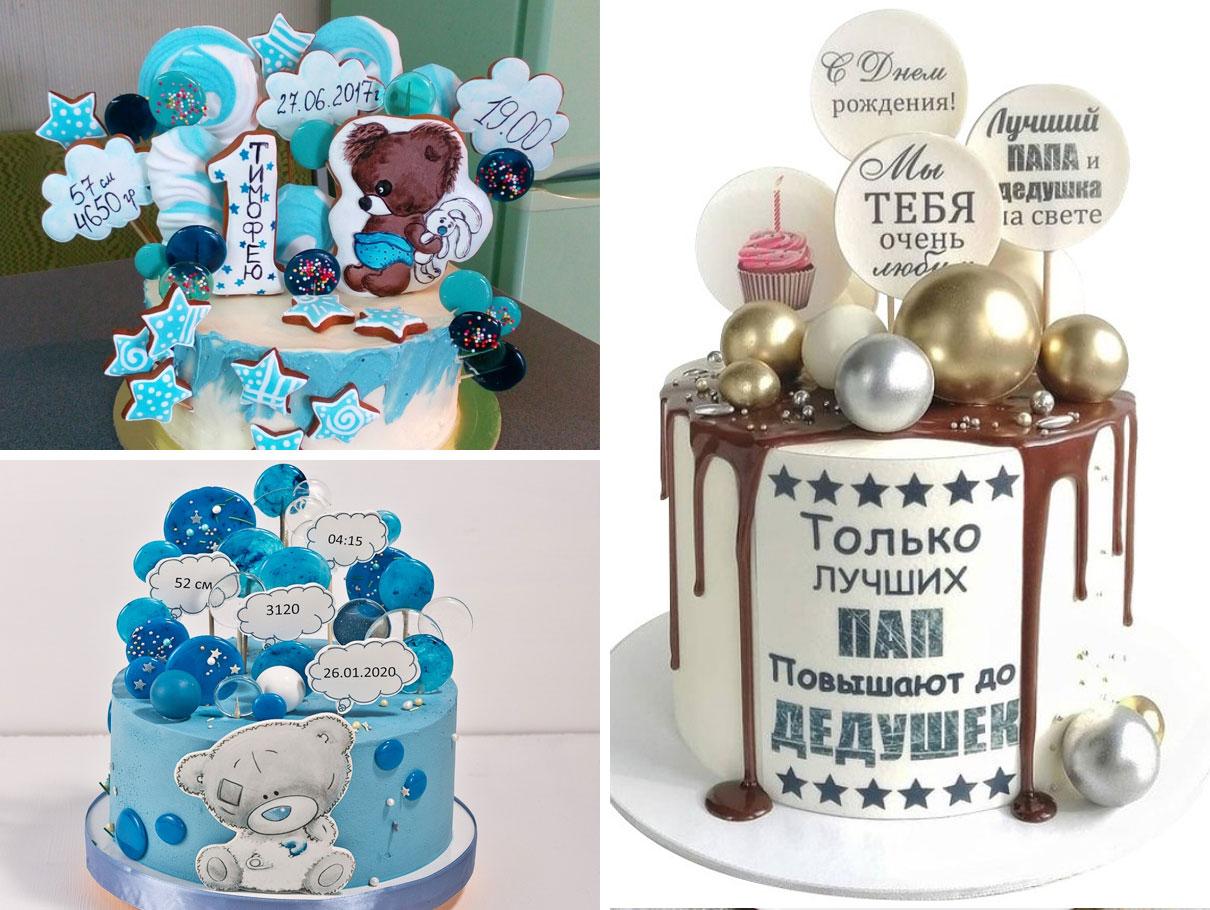
Inscription on the toppers
These signs can be attached to the side or top of the cake, placed vertically, or attached to long skewers.
Option 1 – painting with paints
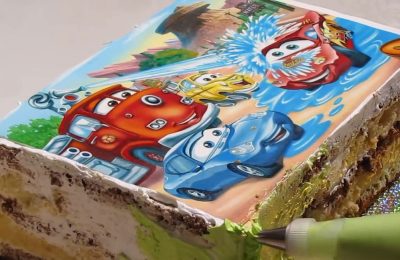
Fine calligraphic lettering can be applied directly to the fondant with special edible markers or a thin brush using water-soluble gel coloring. Naturally, the latter option looks more impressive. Watch this video to learn how to make beautiful toppers with fine lettering for decorating cakes or cupcakes:
By analogy, you can apply not only text but also complex multi-colored designs to mastic. The paint adheres well to the base, dries quickly, and does not smudge. If necessary, you can dilute the pigment in dyes with plain water, vodka, or vegetable oil (depending on the type of dye chosen).
Option 2 – embossing on mastic
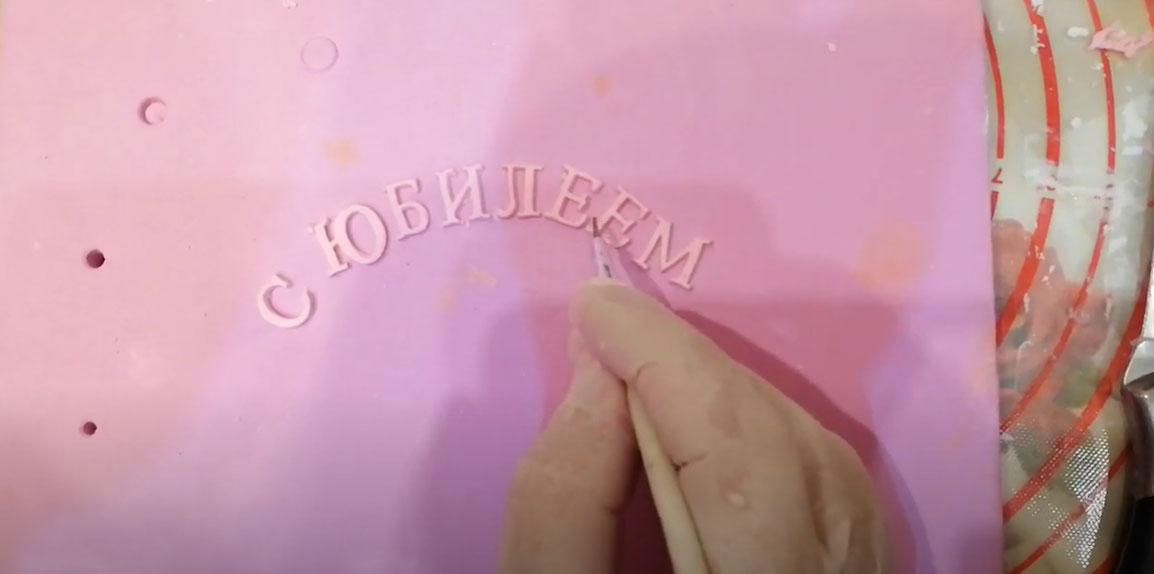
Another interesting way to create lettering on mastic is using the embossing technique. This technique produces letters that appear imprinted into the mastic surface rather than raised.
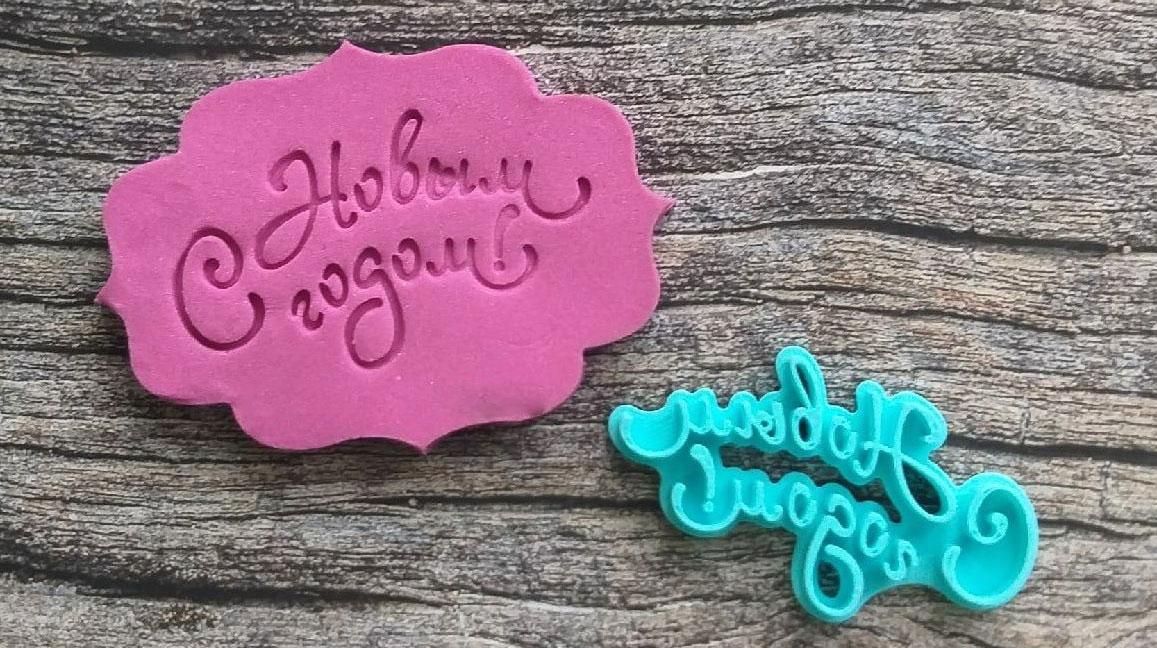
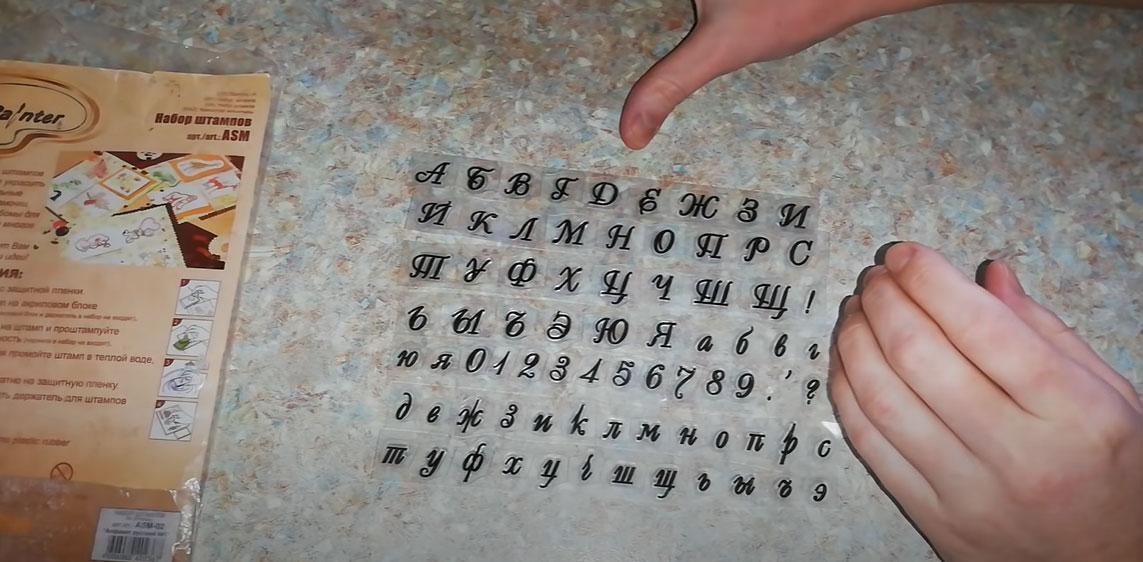
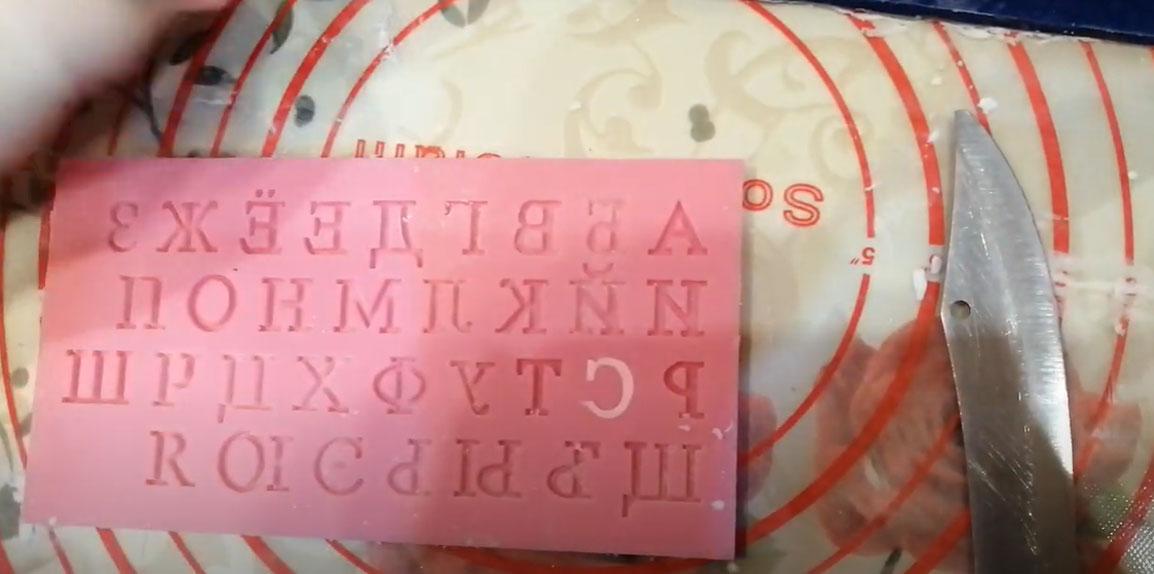
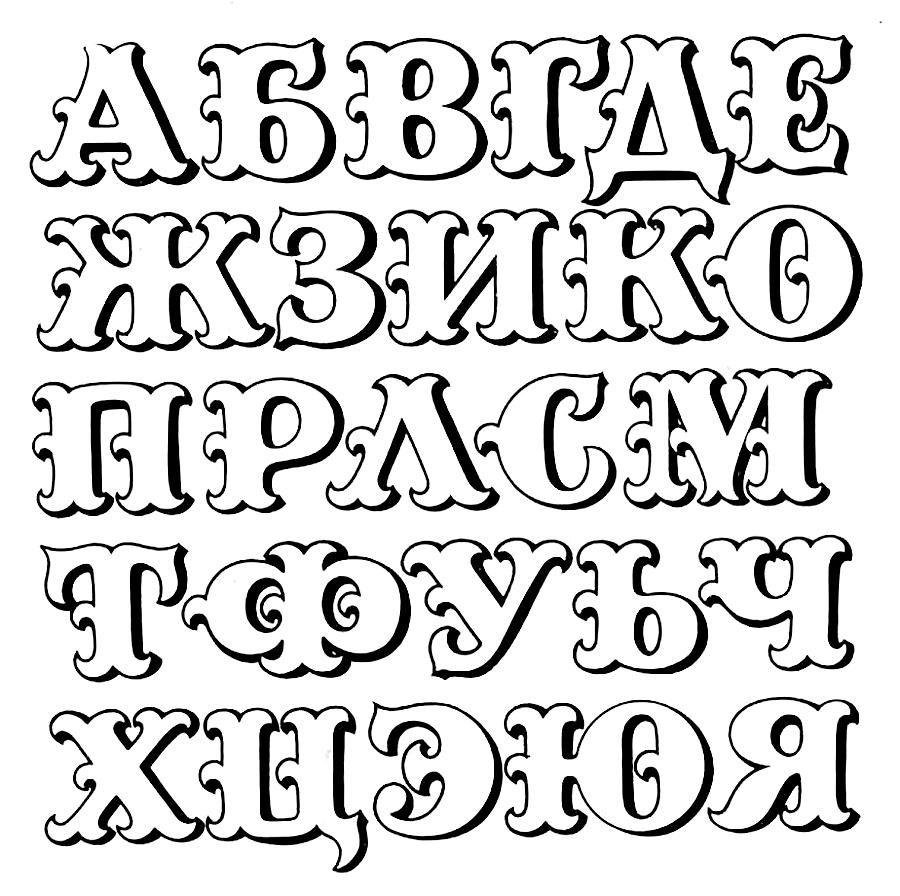
This effect can be created quite quickly using silicone stamps (or you can do it yourself using a special tool). The optimal solution for those who plan to use this technique frequently is a set of Russian alphabet letters and numbers, as shown in the photo.
You can fill the depressions with any dye. Gel dyes are best, as they don't spread and create a smooth, crisp edge to the inscription.
Letters made of mastic
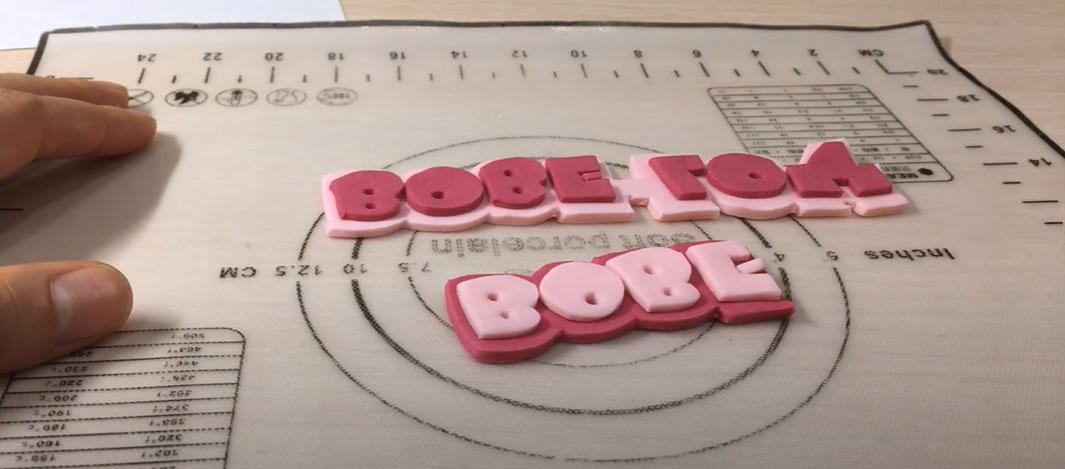
If you want to learn how to create a three-dimensional lettering on mastic that won't spread or deform during transportation, choose a technology for making lettering from mastic in contrasting shades.
Option 1 – silicone stamps
For quite some time now, professional cake makers have been using special silicone stamps to quickly create beautiful letters or numbers to decorate desserts.

Manufacturing algorithm:
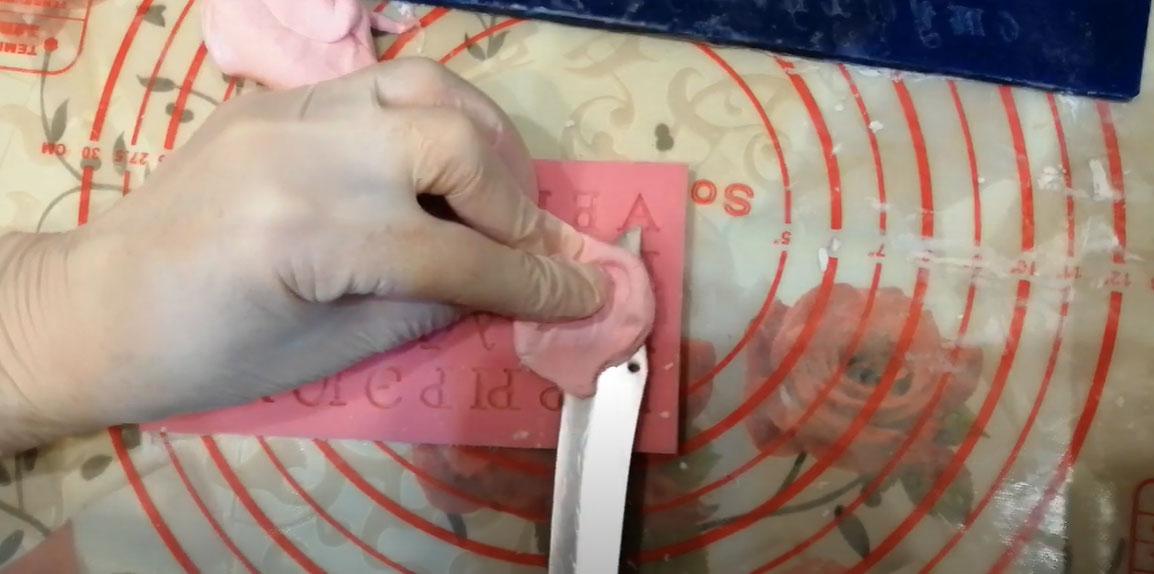
- We heat the mastic to working temperature so that it becomes soft and elastic.
- We apply a small lump of mastic to the mold and press it in, filling the cavity of the letter we need.

- Carefully cut off excess mastic with a knife.
- Fill in all the necessary letters on the mold in the same manner and let the fondant cool completely. To prevent damage to the letters during removal, you can freeze them.
- Once the fondant has set, carefully remove the finished letters and transfer them to the cake, laying out the inscription. You can glue the letters simply by wetting the contact surface with water.

Option 2 – cut out using a stencil
If you want to make large letters with unusual shapes, try doing without stamps and making each letter yourself.
You can draw the stencil on paper yourself or print out your favorite font from an online selection.
You'll find step-by-step instructions for creating your own letters from fondant in this video:
Conclusion
Also check out the TOP 10 methods for applying inscriptions in this video:
We invite you to share your experiences: which method of creating mastic lettering do you use in your practice? What do you personally like (or dislike) about each of the methods described on this page?