Icing for gingerbread: how to make and work with it?

Content
- 1 Classic icing for decorating gingerbread cookies
- 2 Royal icing for cake decorating
- 3 Icing on albumin
- 4 Icing without protein (on water)
- 5 How to dilute dry icing mix
- 6 How to work with icing
- 7 Icing painting lessons for beginners
- 8 Basic icing for gingerbread
- 9 Icing flowers on gingerbread
- 10 Lace on a cake made of flexible icing
- 11 Video - A Simple Icing Recipe + Basic Consistencies
Icing is the ideal material for coating and decorating confectionery. It's used to decorate gingerbread, gingerbread cookies, cakes, Easter cakes, cupcakes, and other baked goods. Icing can easily be tinted any color and applied using a variety of techniques. However, for a flawless result, it's crucial to prepare this icing correctly.
In this article, I'll share tried-and-true icing recipes, tutorials on how to use it, and all the intricacies of working with it. In addition to classic meringue icing, this selection includes variations using albumen, egg white-free icing, and ready-made dry mixes. Choose the right recipe, use your favorite technique, and turn your baked goods into a true culinary masterpiece.
Classic icing for decorating gingerbread cookies
- Proteins: 1.3 g
- Fats: 0.5 g
- Carbohydrates: 97 g
- Total time:
-
Complexity:
It will work even if you're making it for the first time. Not just this dish, but your first time ever.
- Number of servings: 1
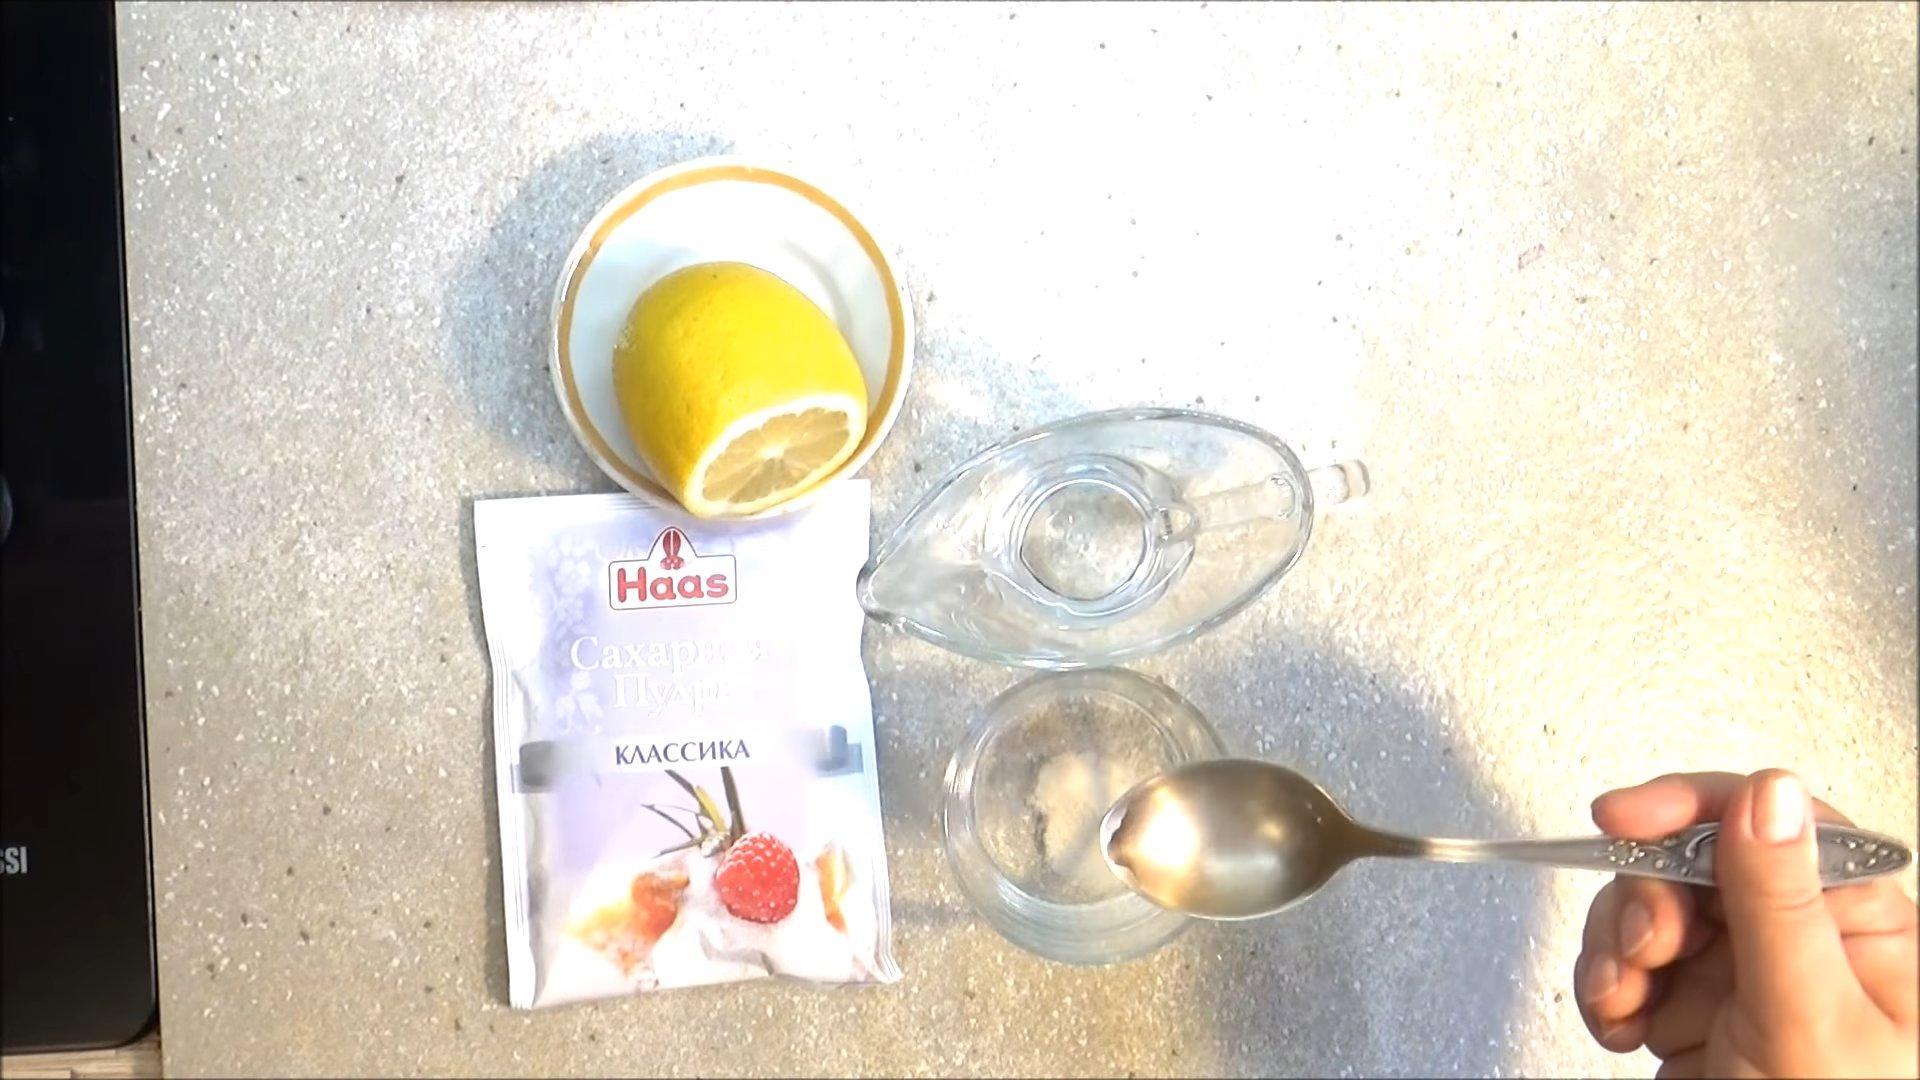
Ingredients
-
Egg white1 pcs
-
Powdered sugar200 G
-
Lemon juice1 tsp
Preparation

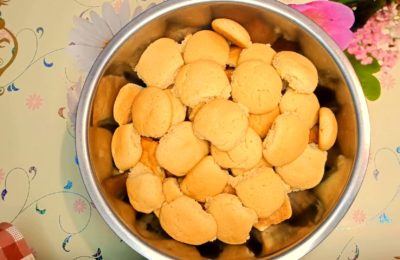
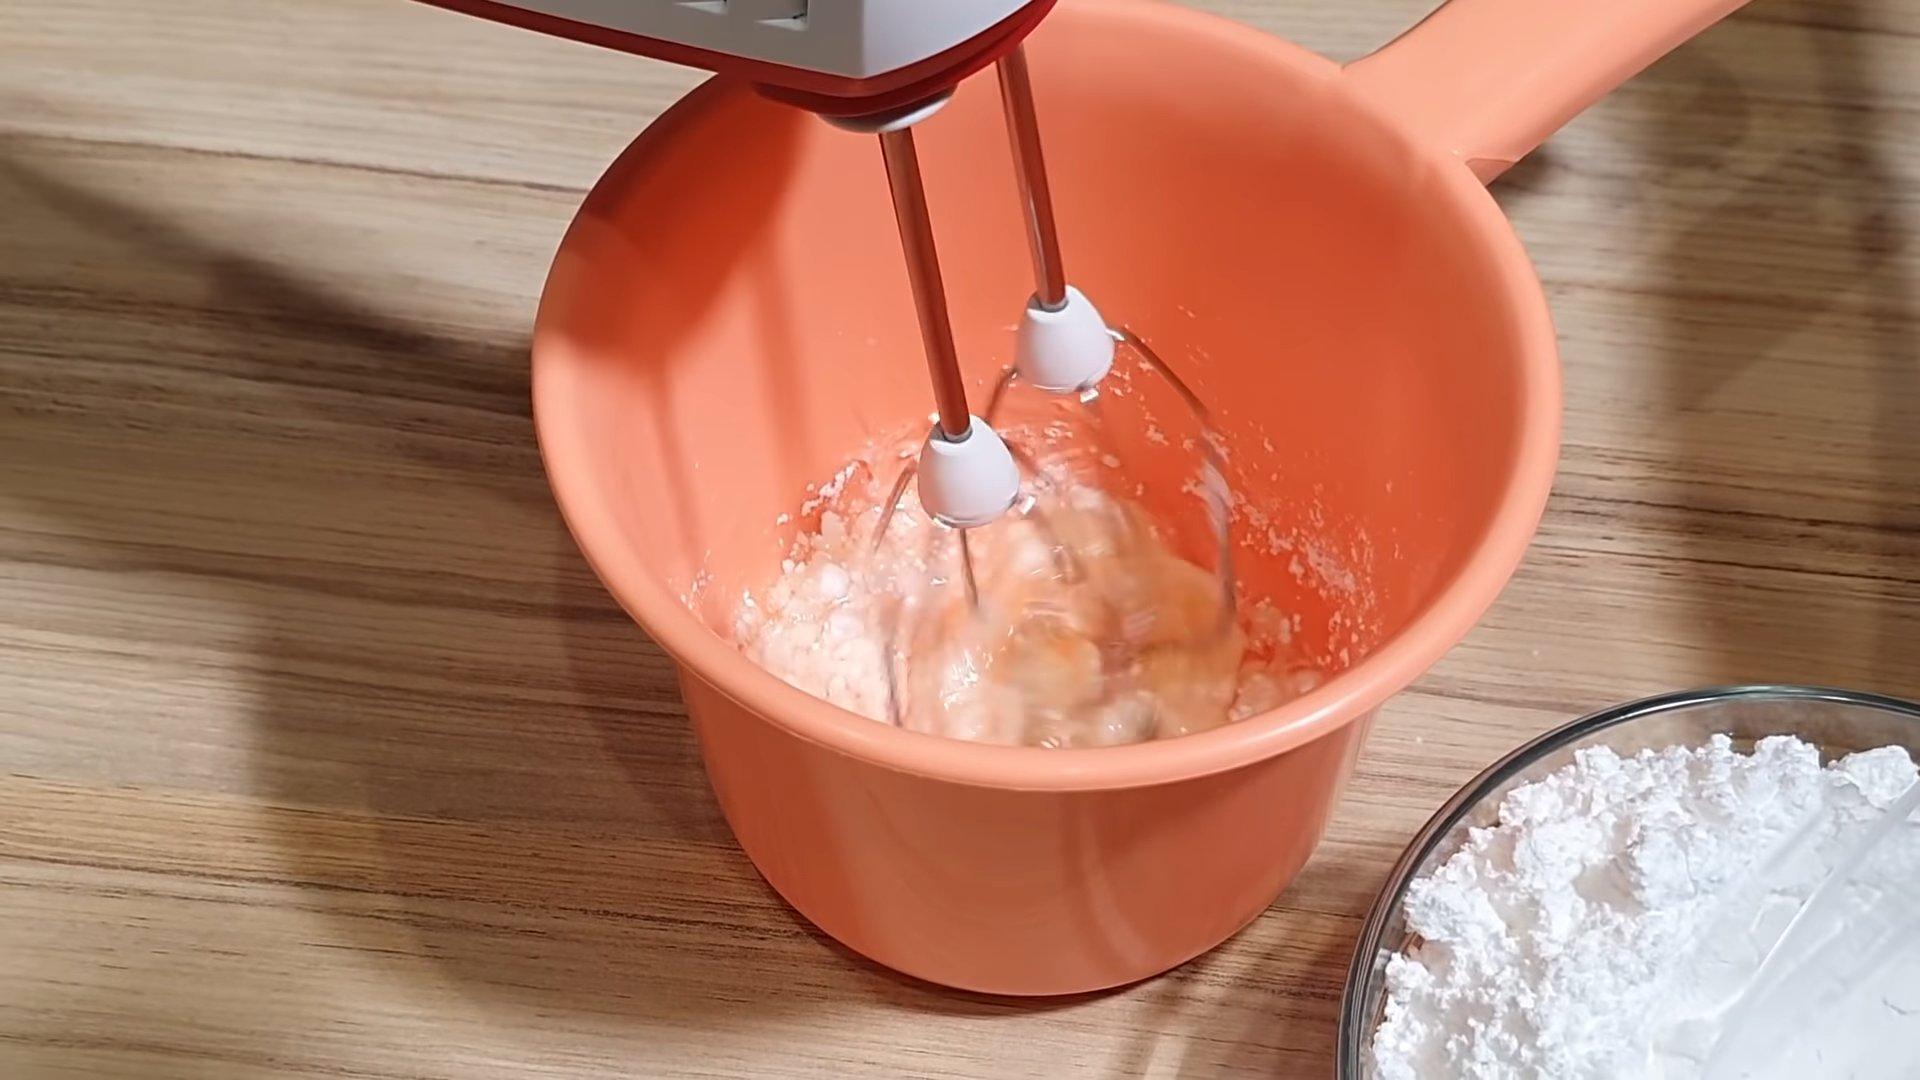
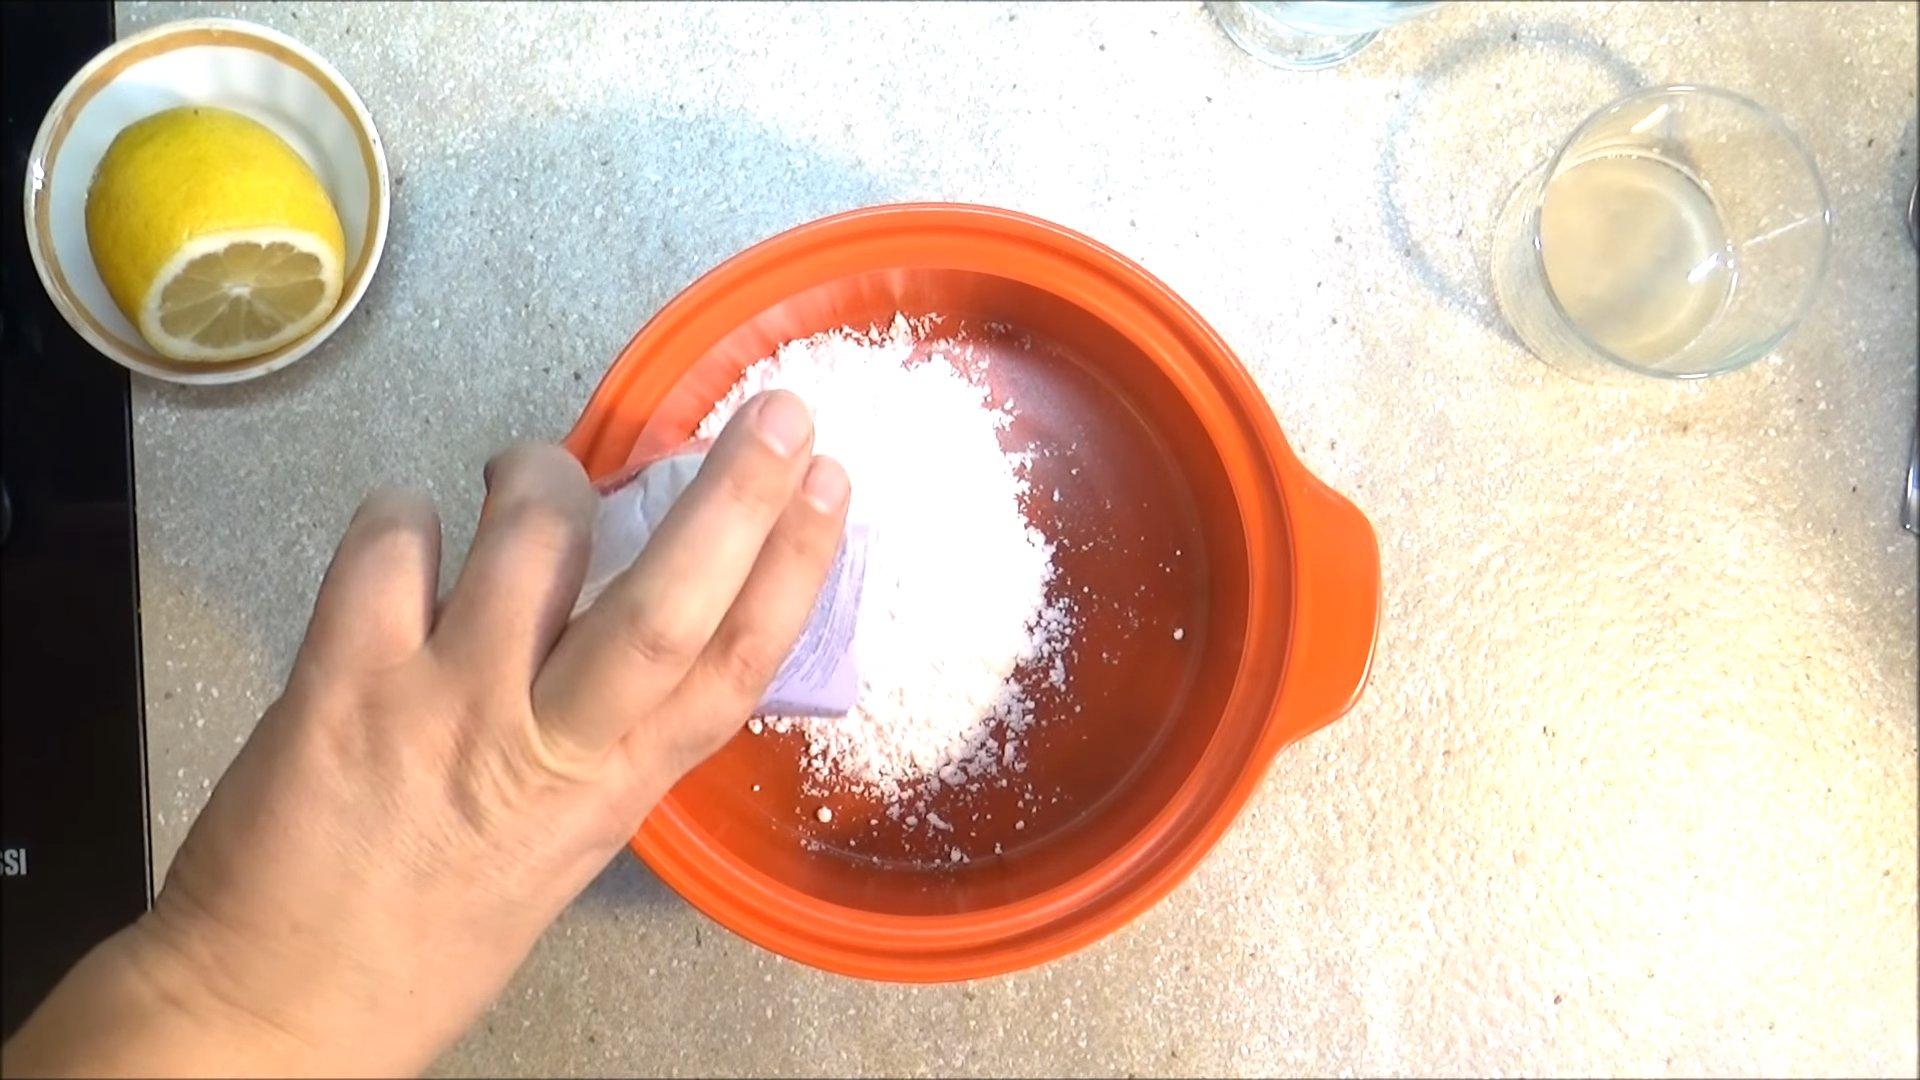
We prepare the necessary ingredients.

Add approximately half of the powdered sugar to the egg white.

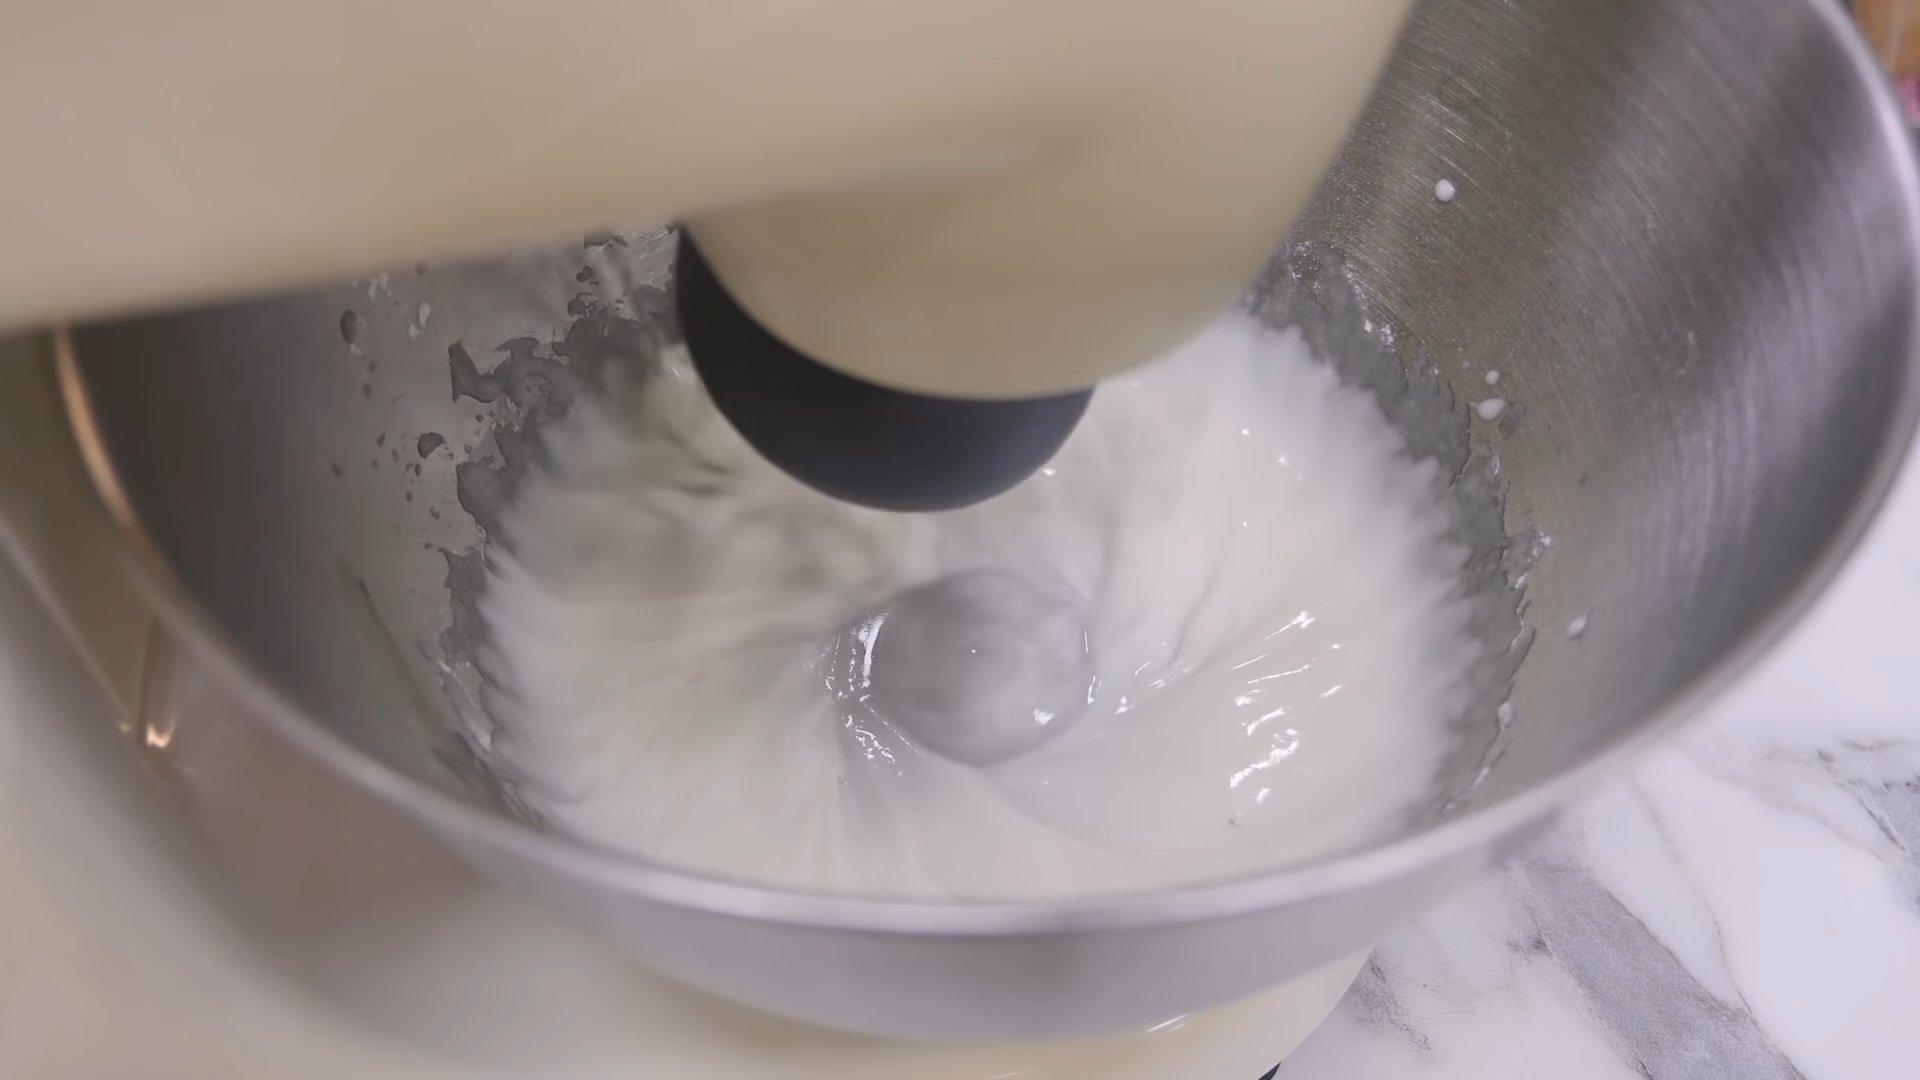
Mix the ingredients until you get a creamy mass.

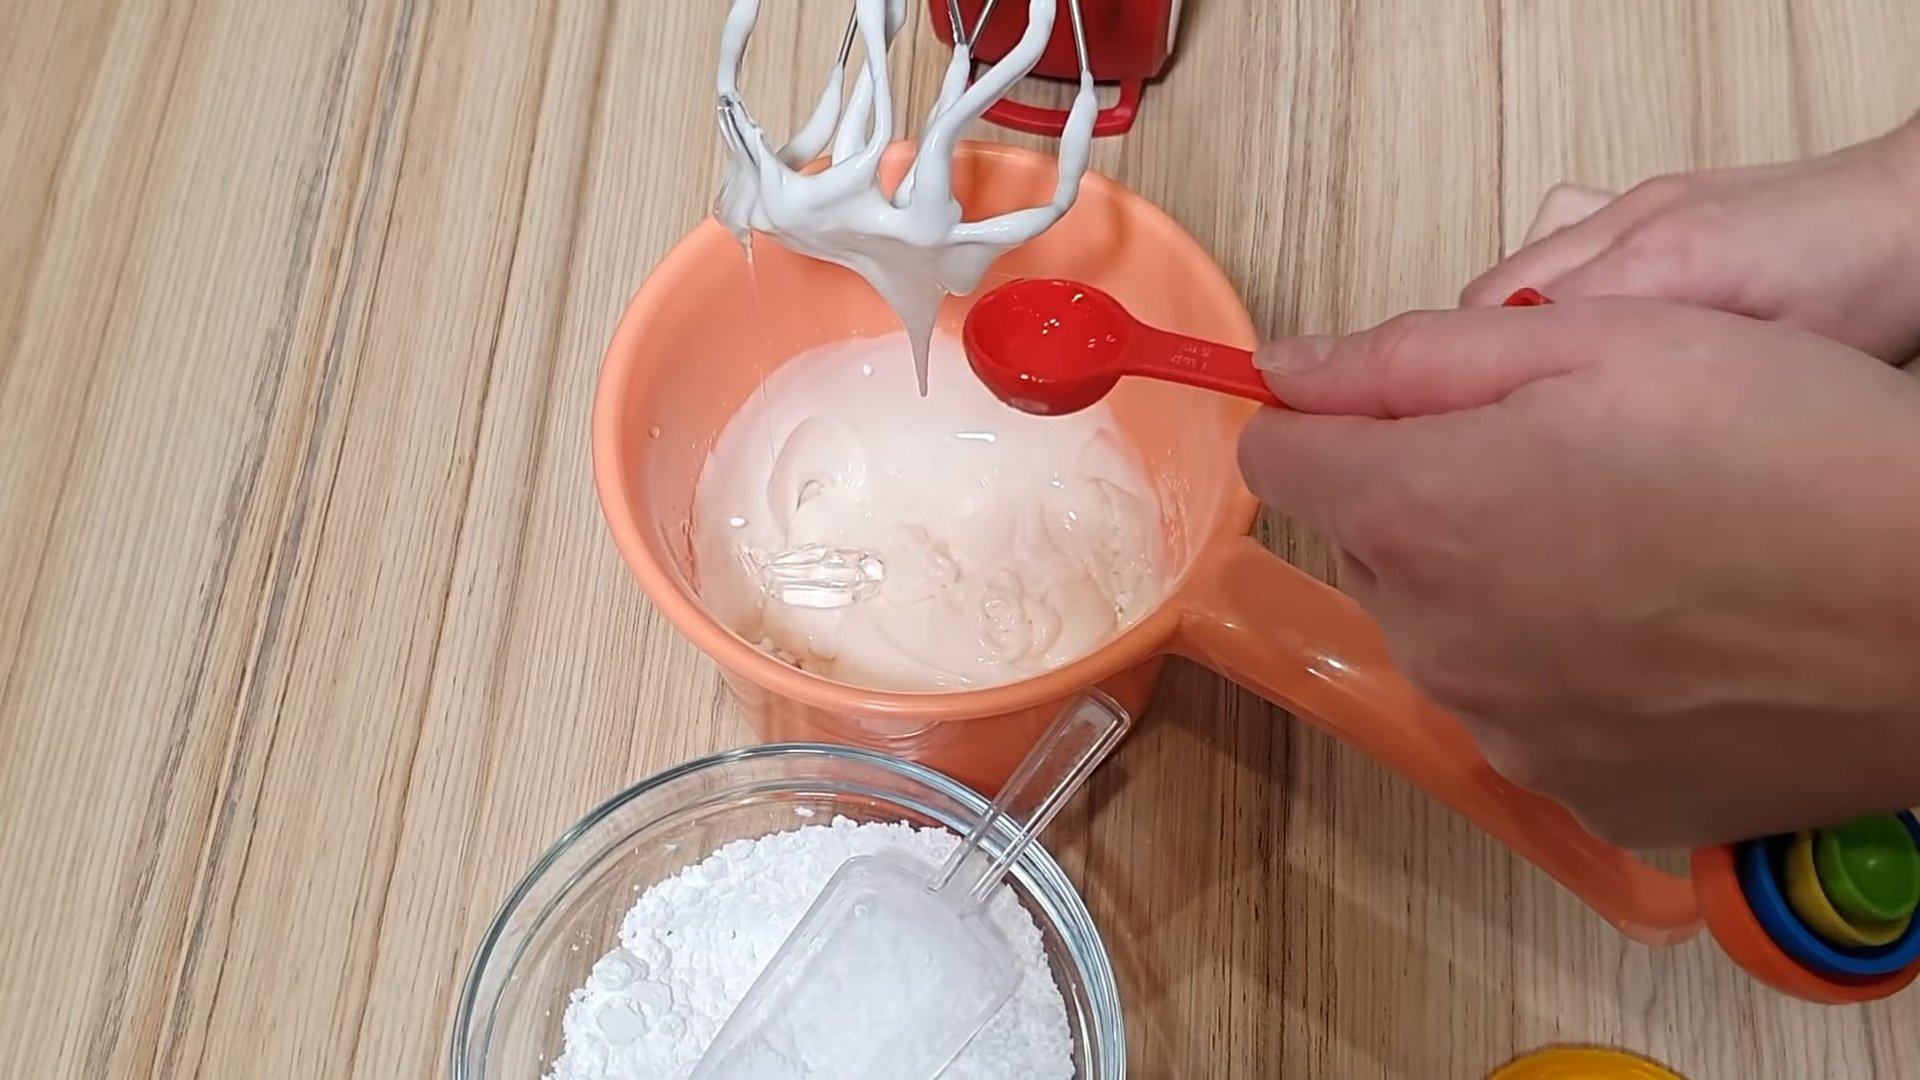
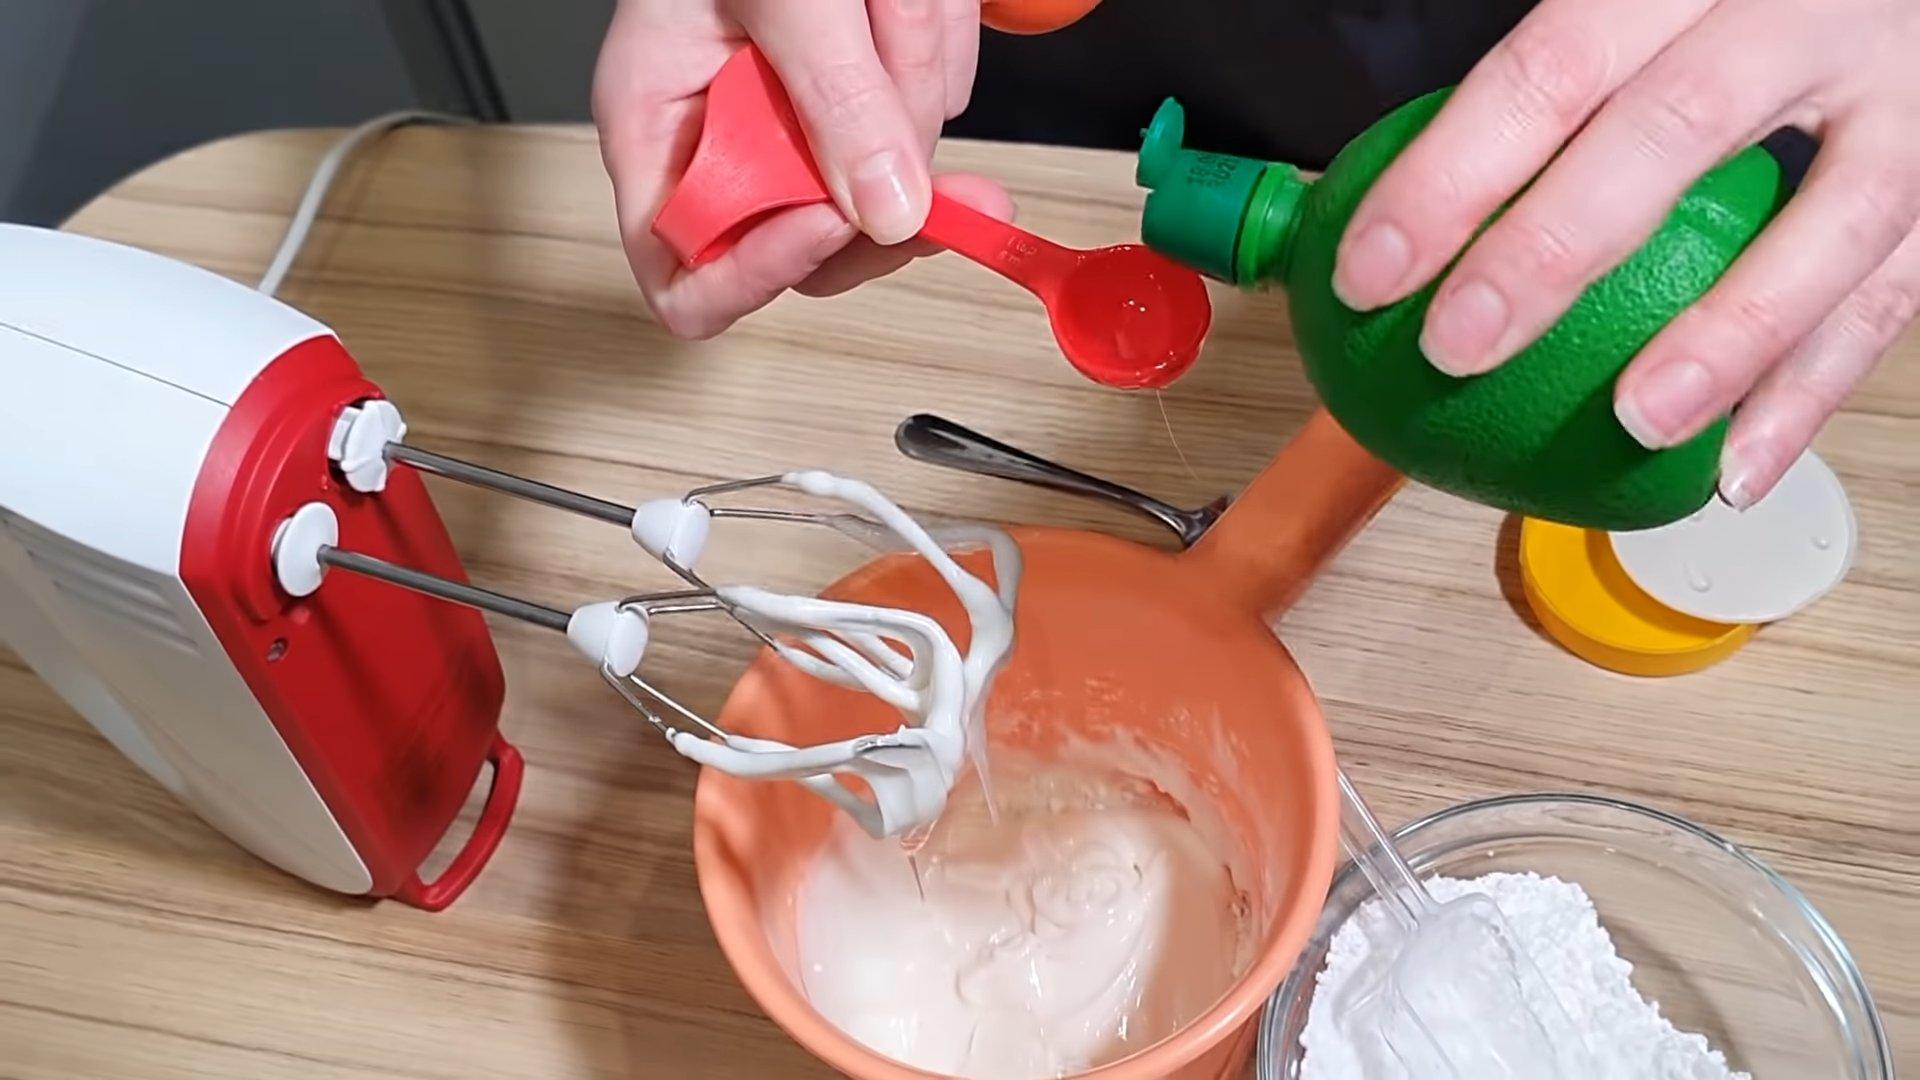
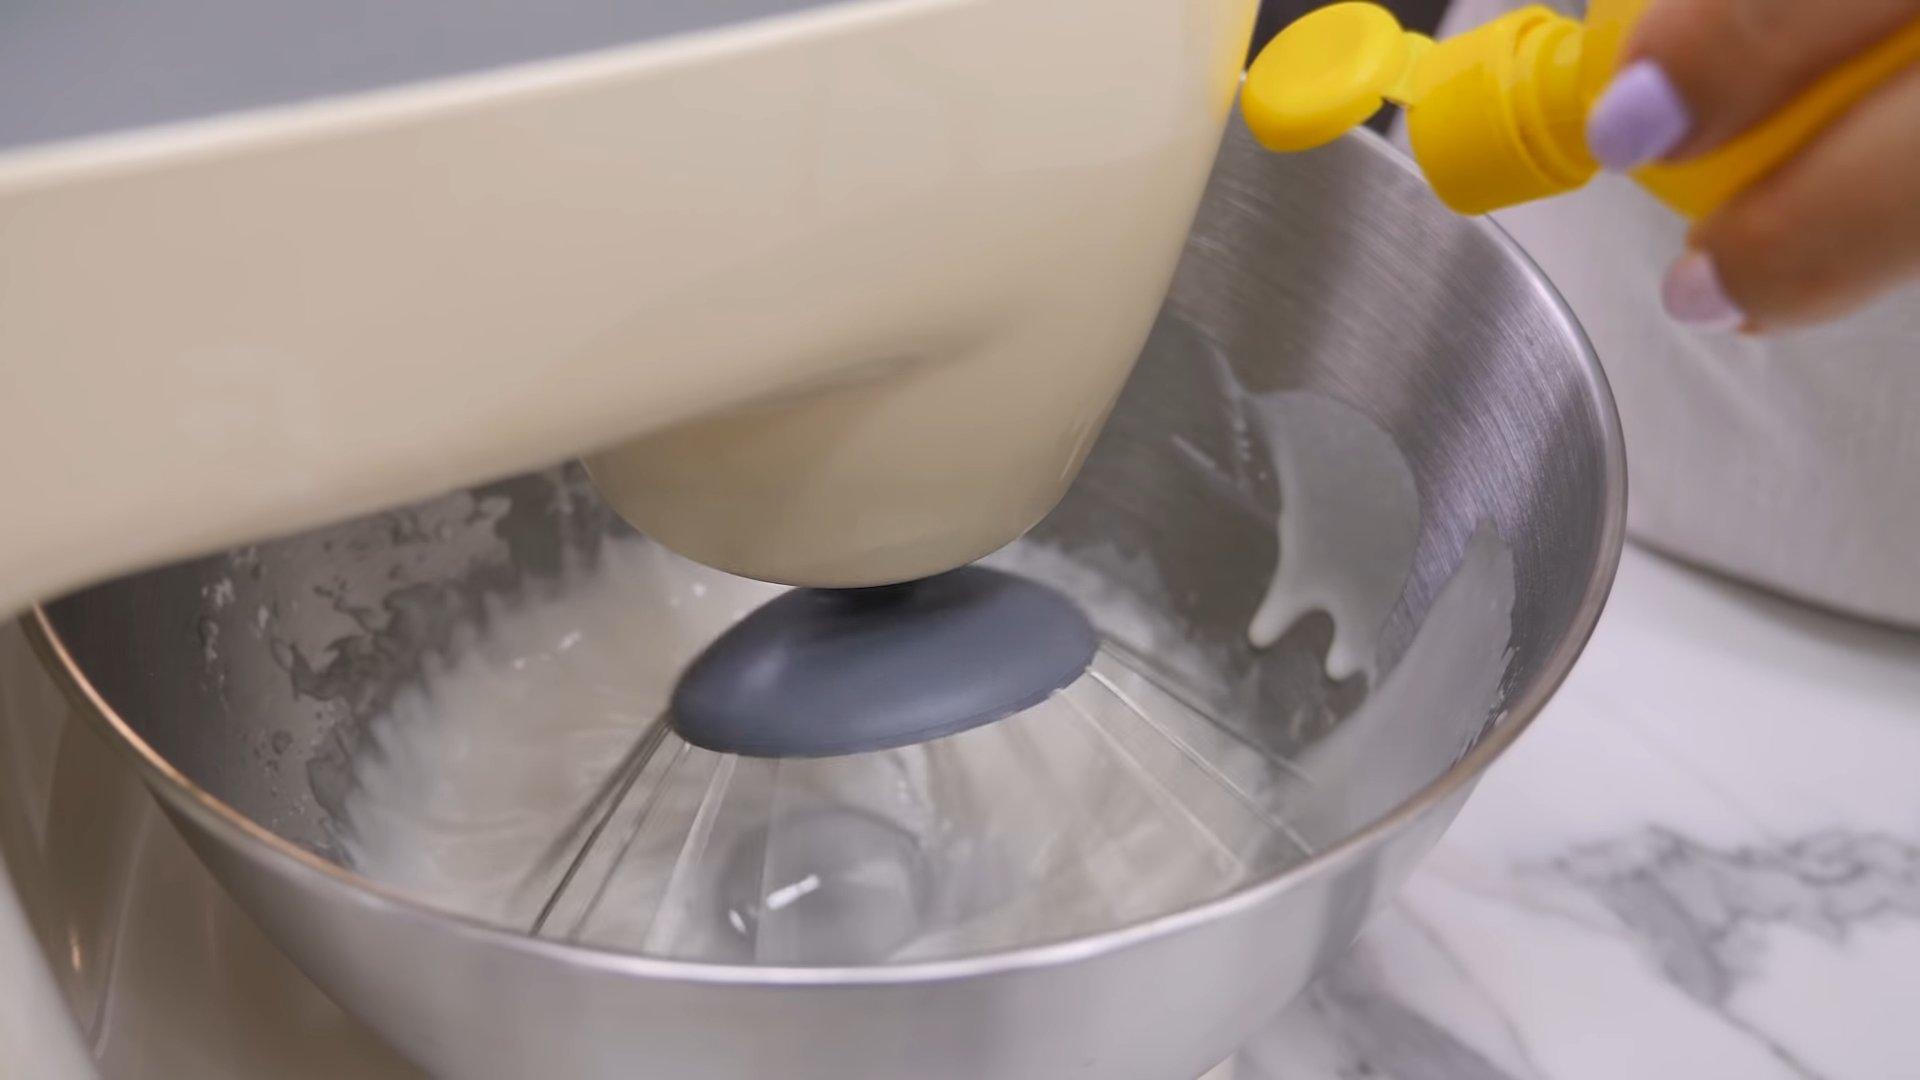
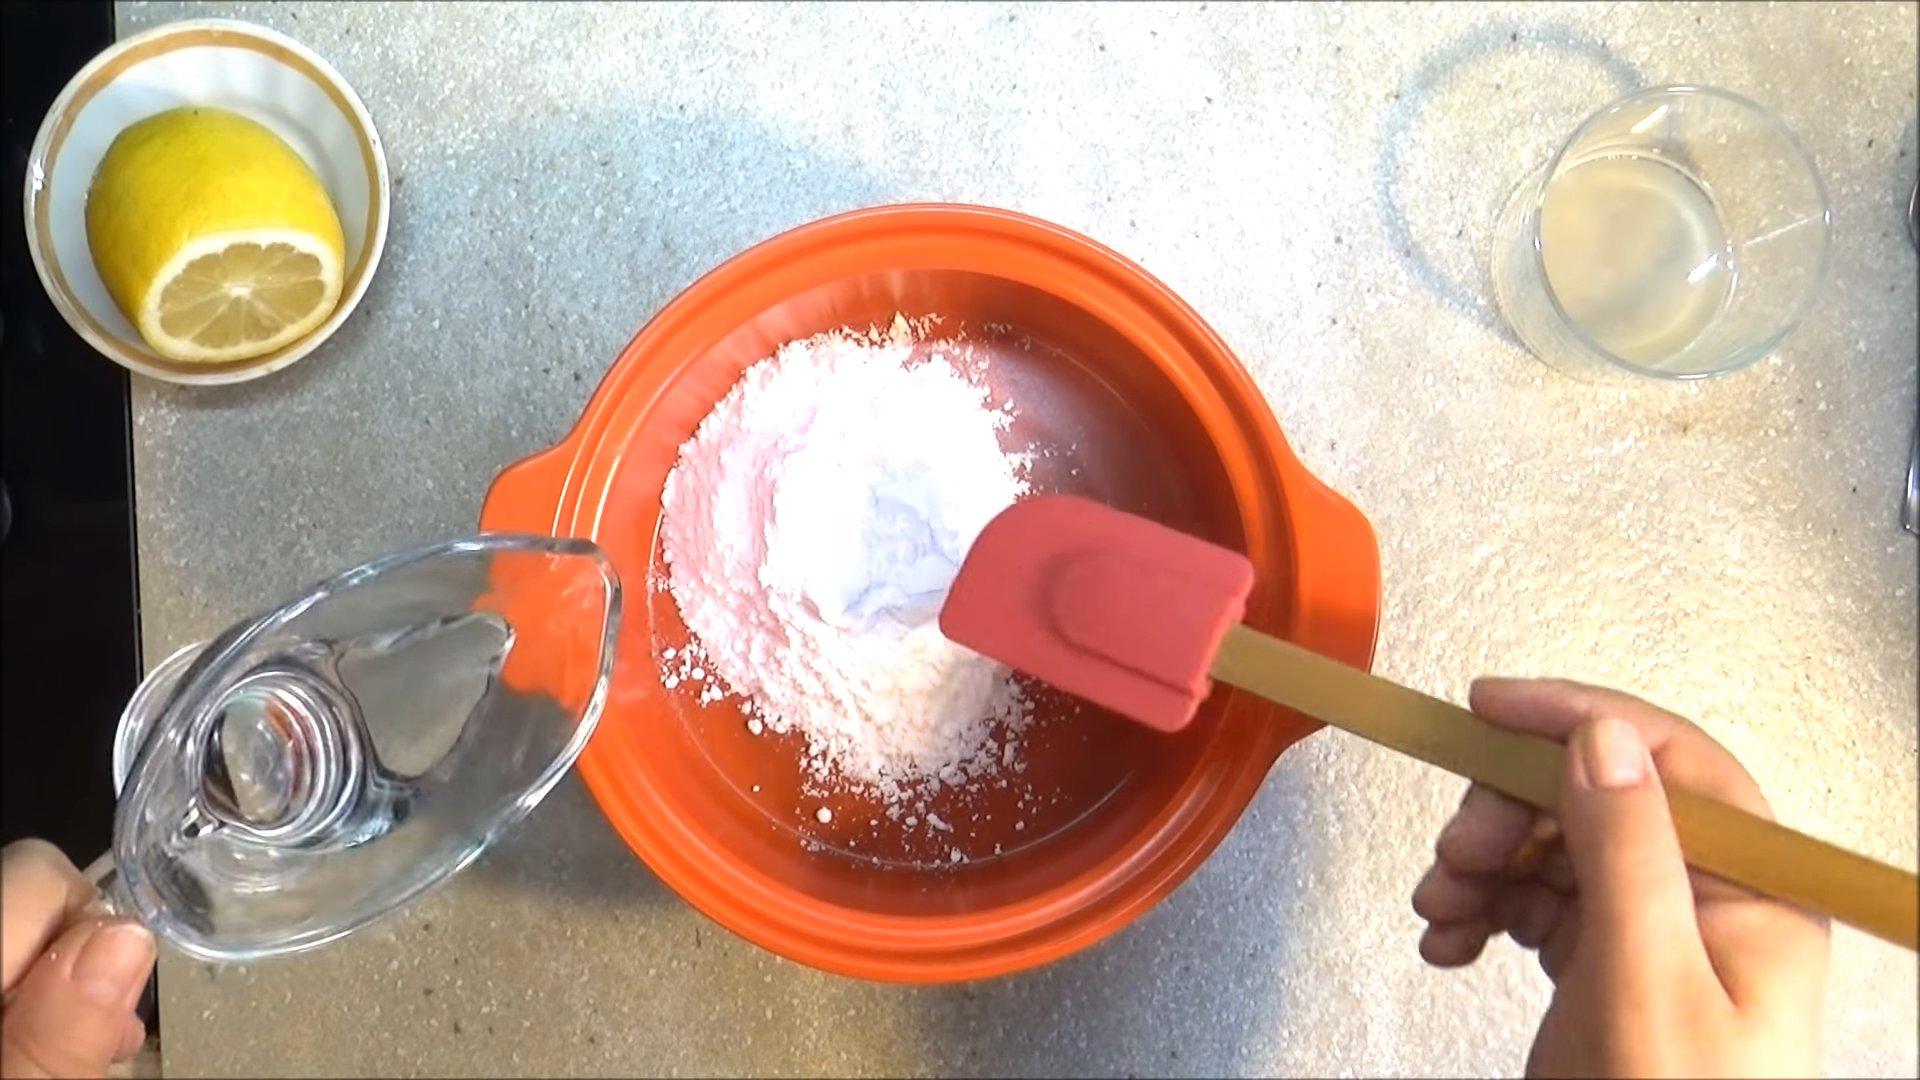
Pour in lemon juice.

Add the remaining powdered sugar in small portions.

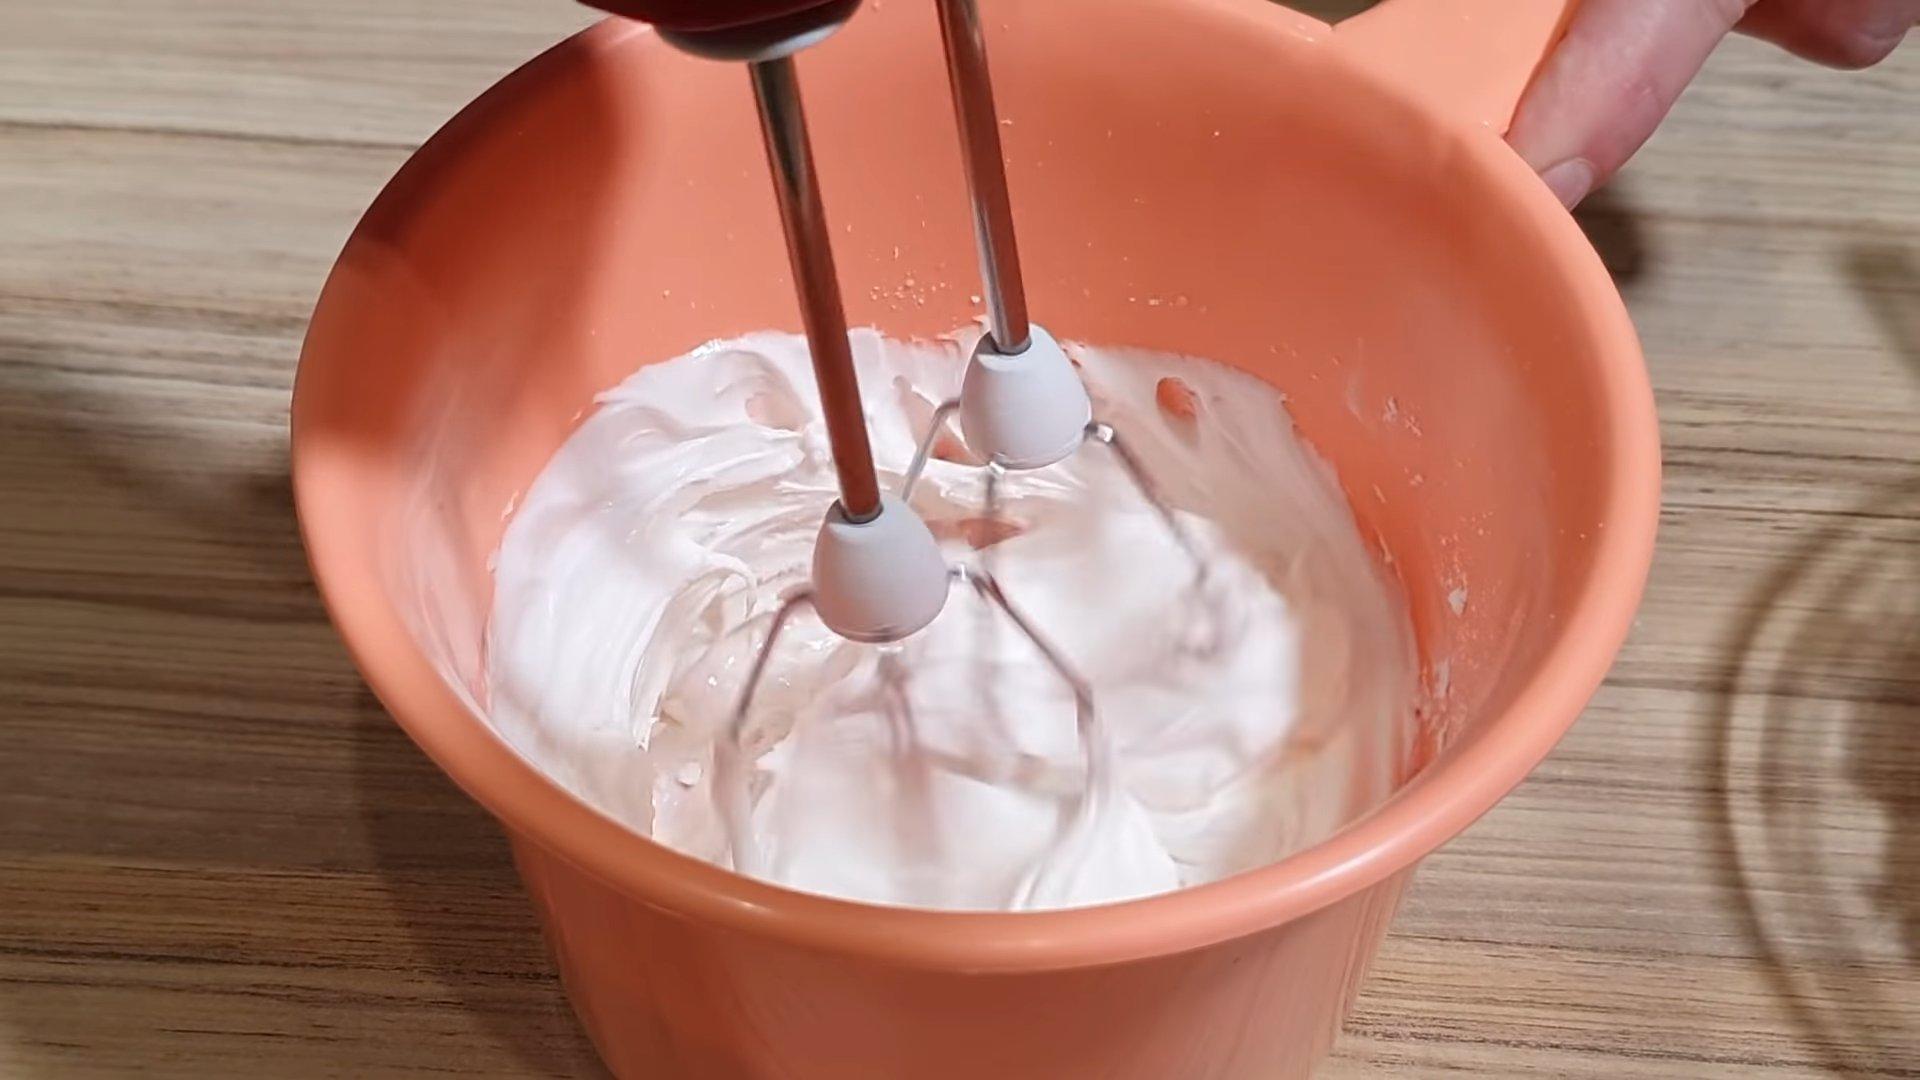
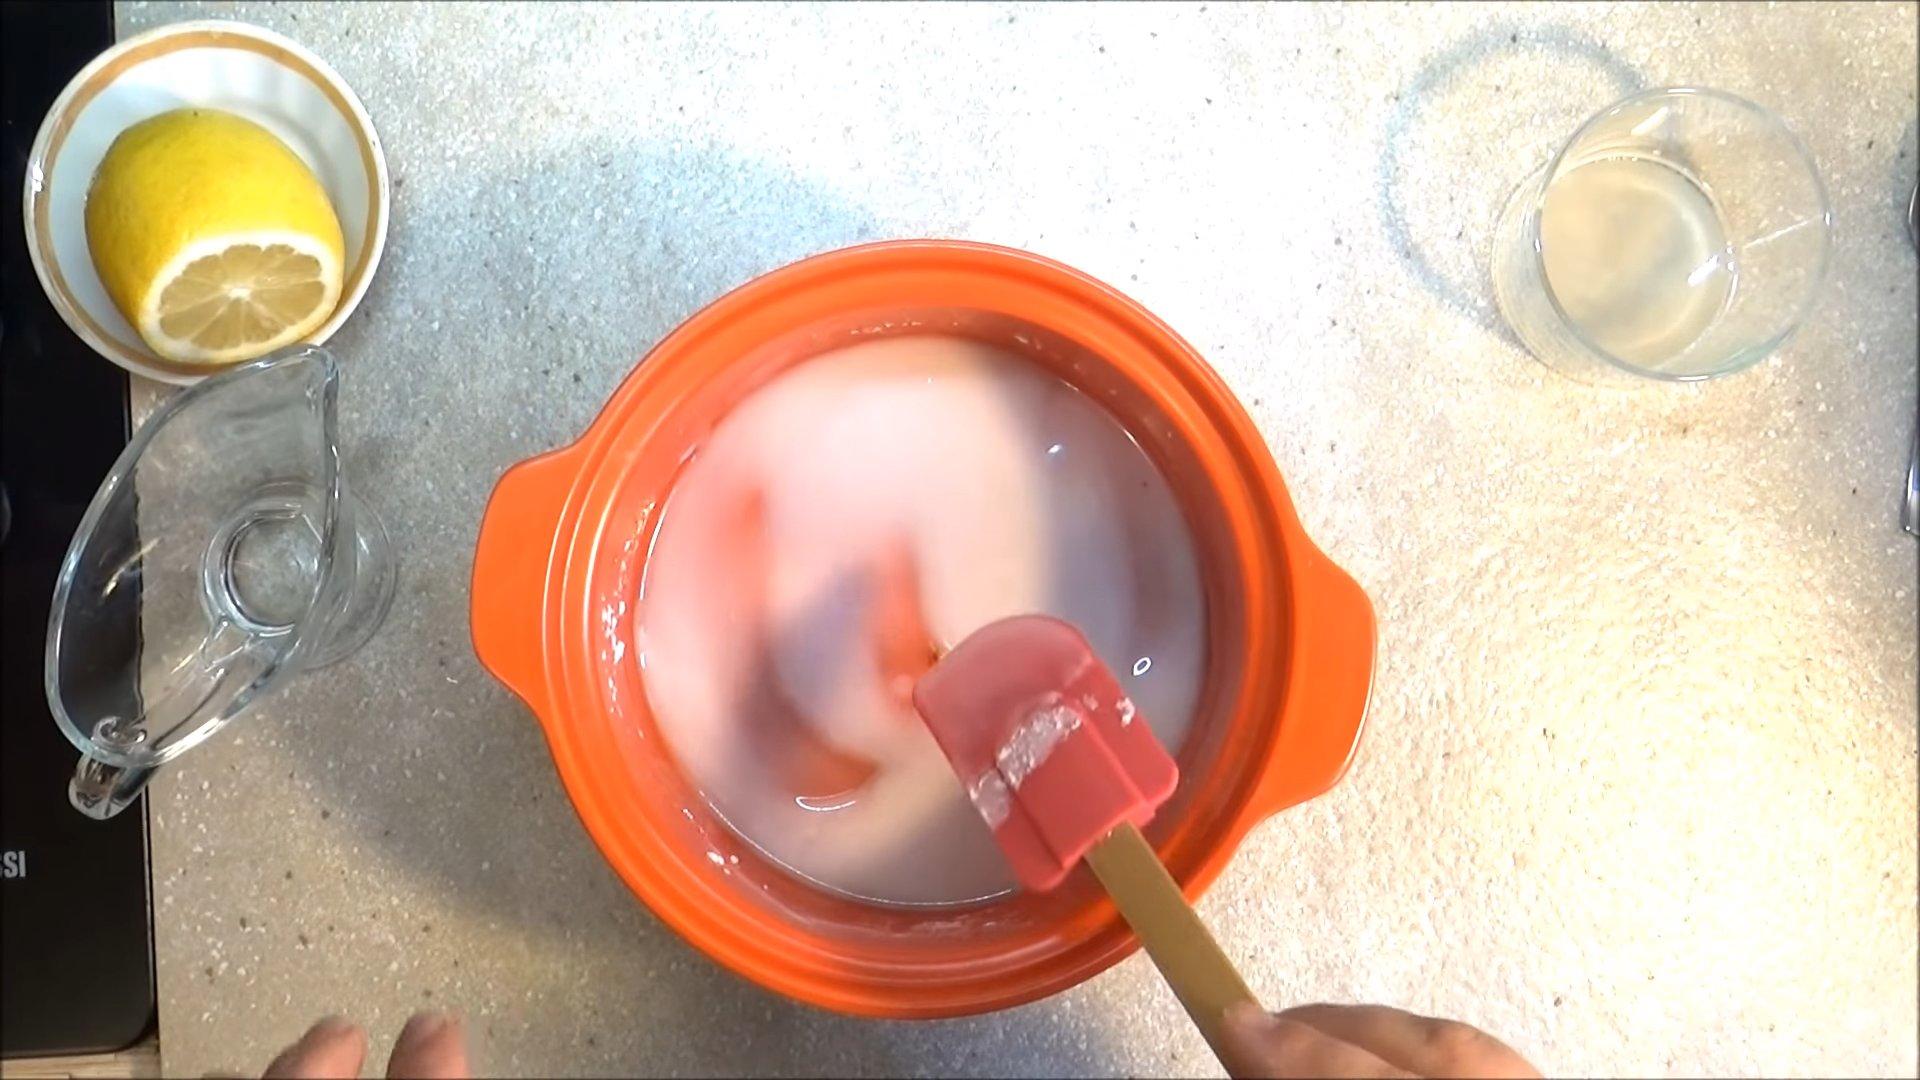
Mix the mixture thoroughly until smooth.

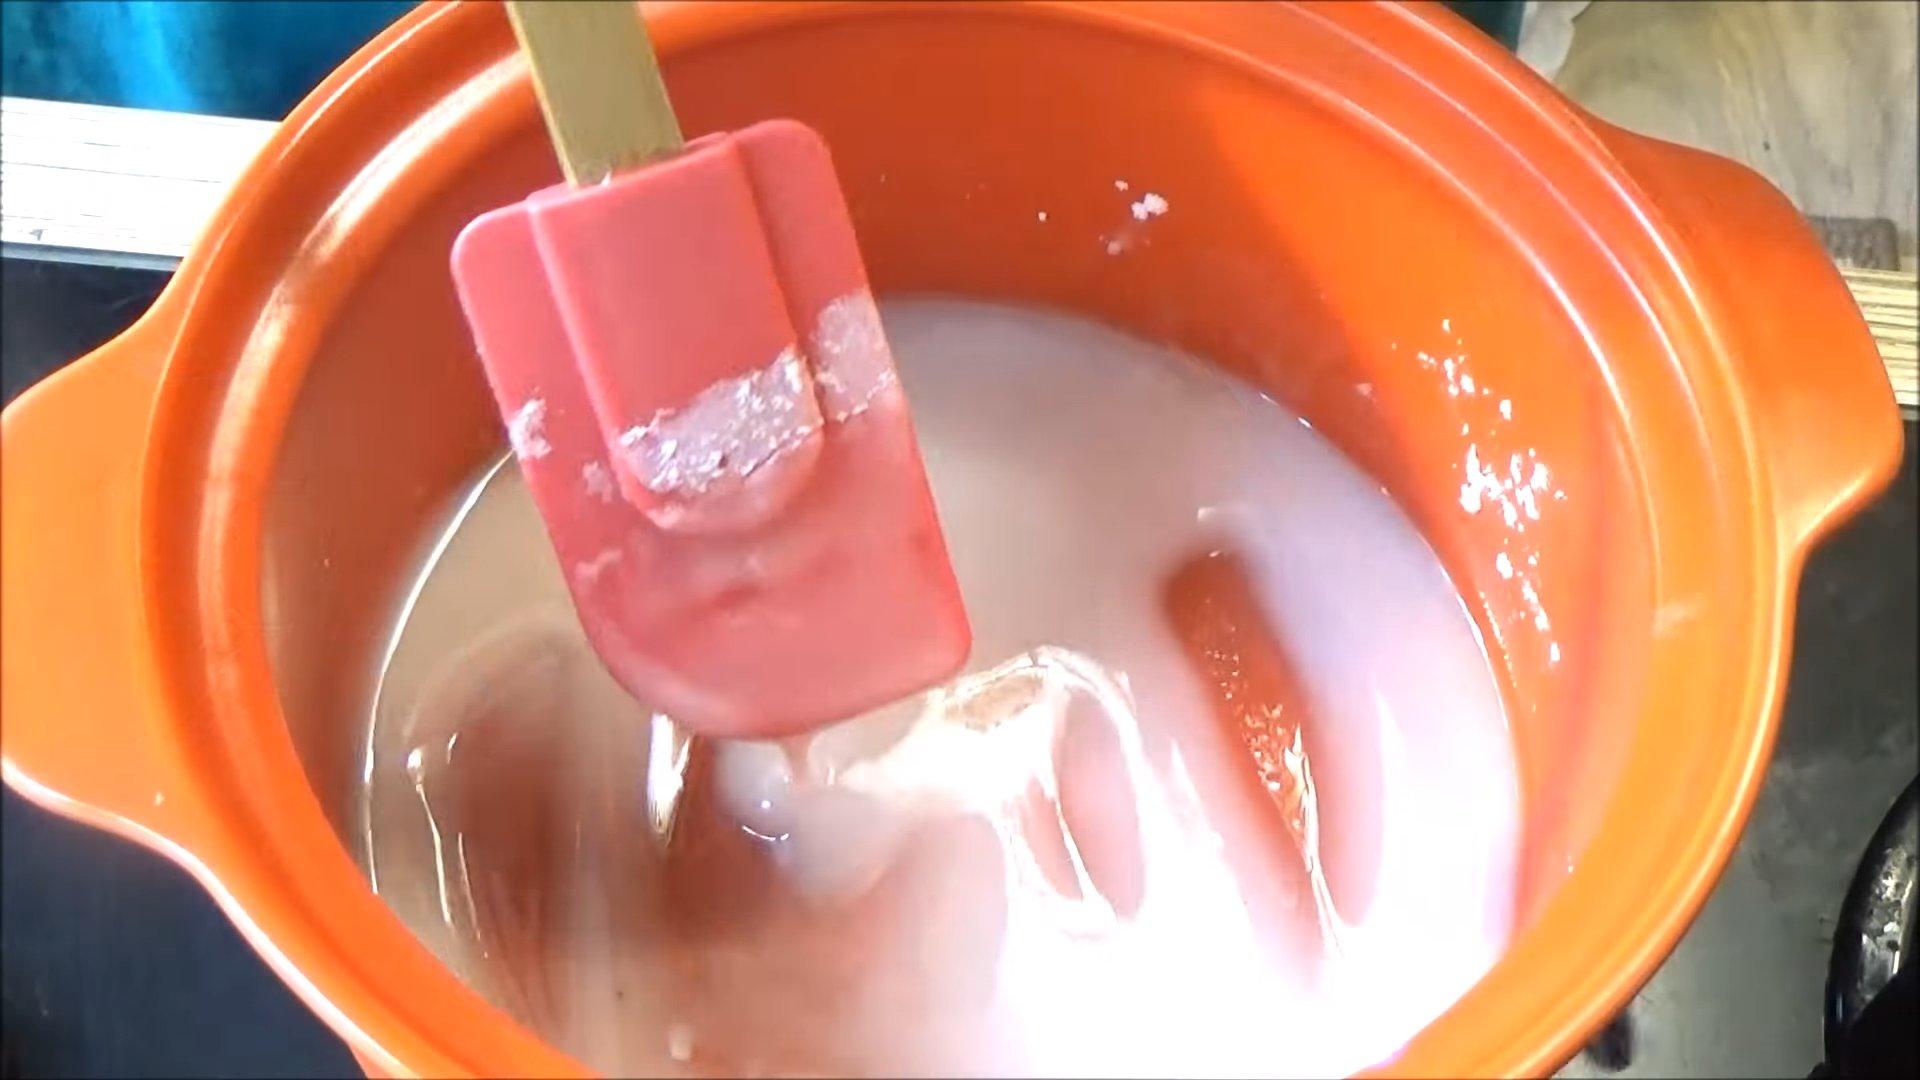
The finished icing should hold its shape well, but not be too thick. It can be used immediately after preparation. If desired, you can color the icing with food coloring.
Royal icing for cake decorating
This is one of the variations of royal icing, perfect for decorating cakes. This icing is smooth and uniform. Lemon juice makes it snow-white, while glucose syrup adds elasticity and a luxurious shine.
Ingredients
- Egg (white) - 1 pc.
- Powdered sugar - 200-250 g
- Glucose syrup - 1 tsp.
- Lemon juice - 1 tsp.
Cooking time: 1 hour 20 minutes
Servings: 1
Step-by-step recipe
Step 1
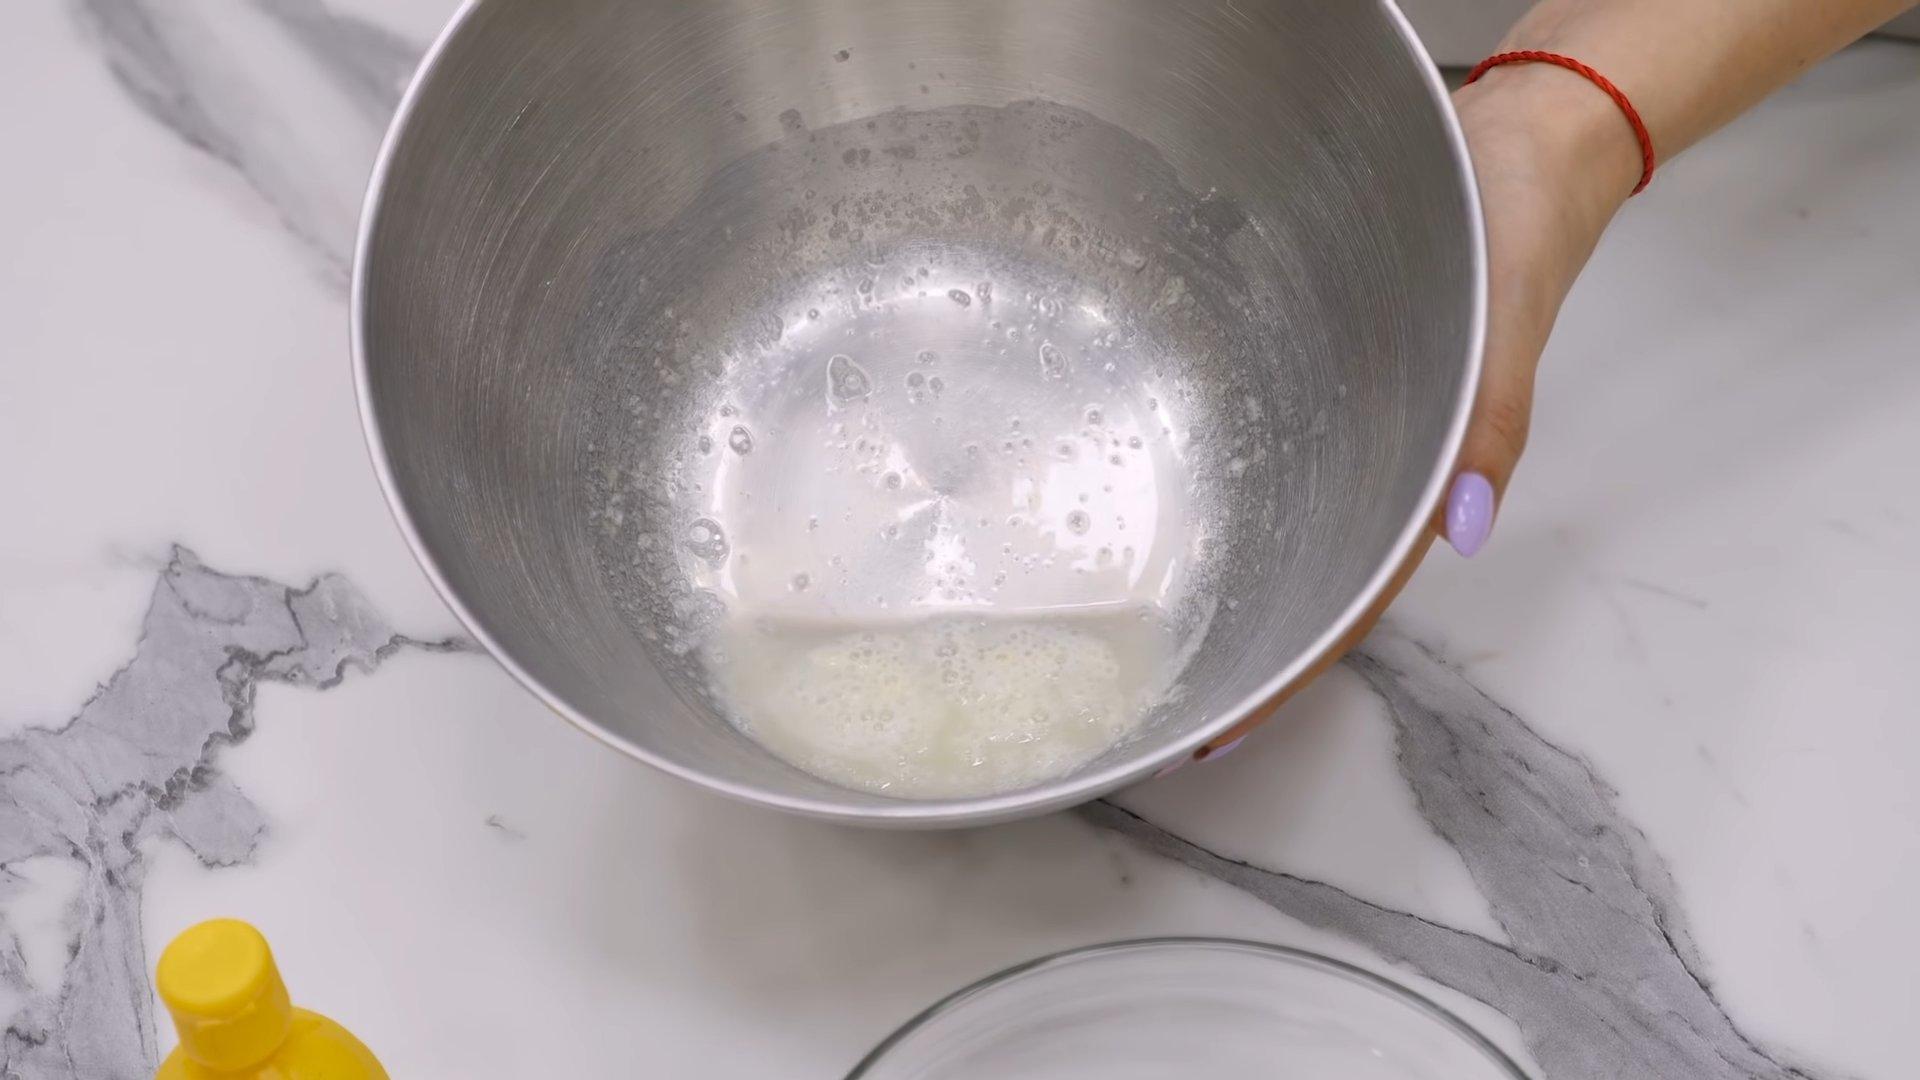
Pour the whites into a deep container.
Step 2
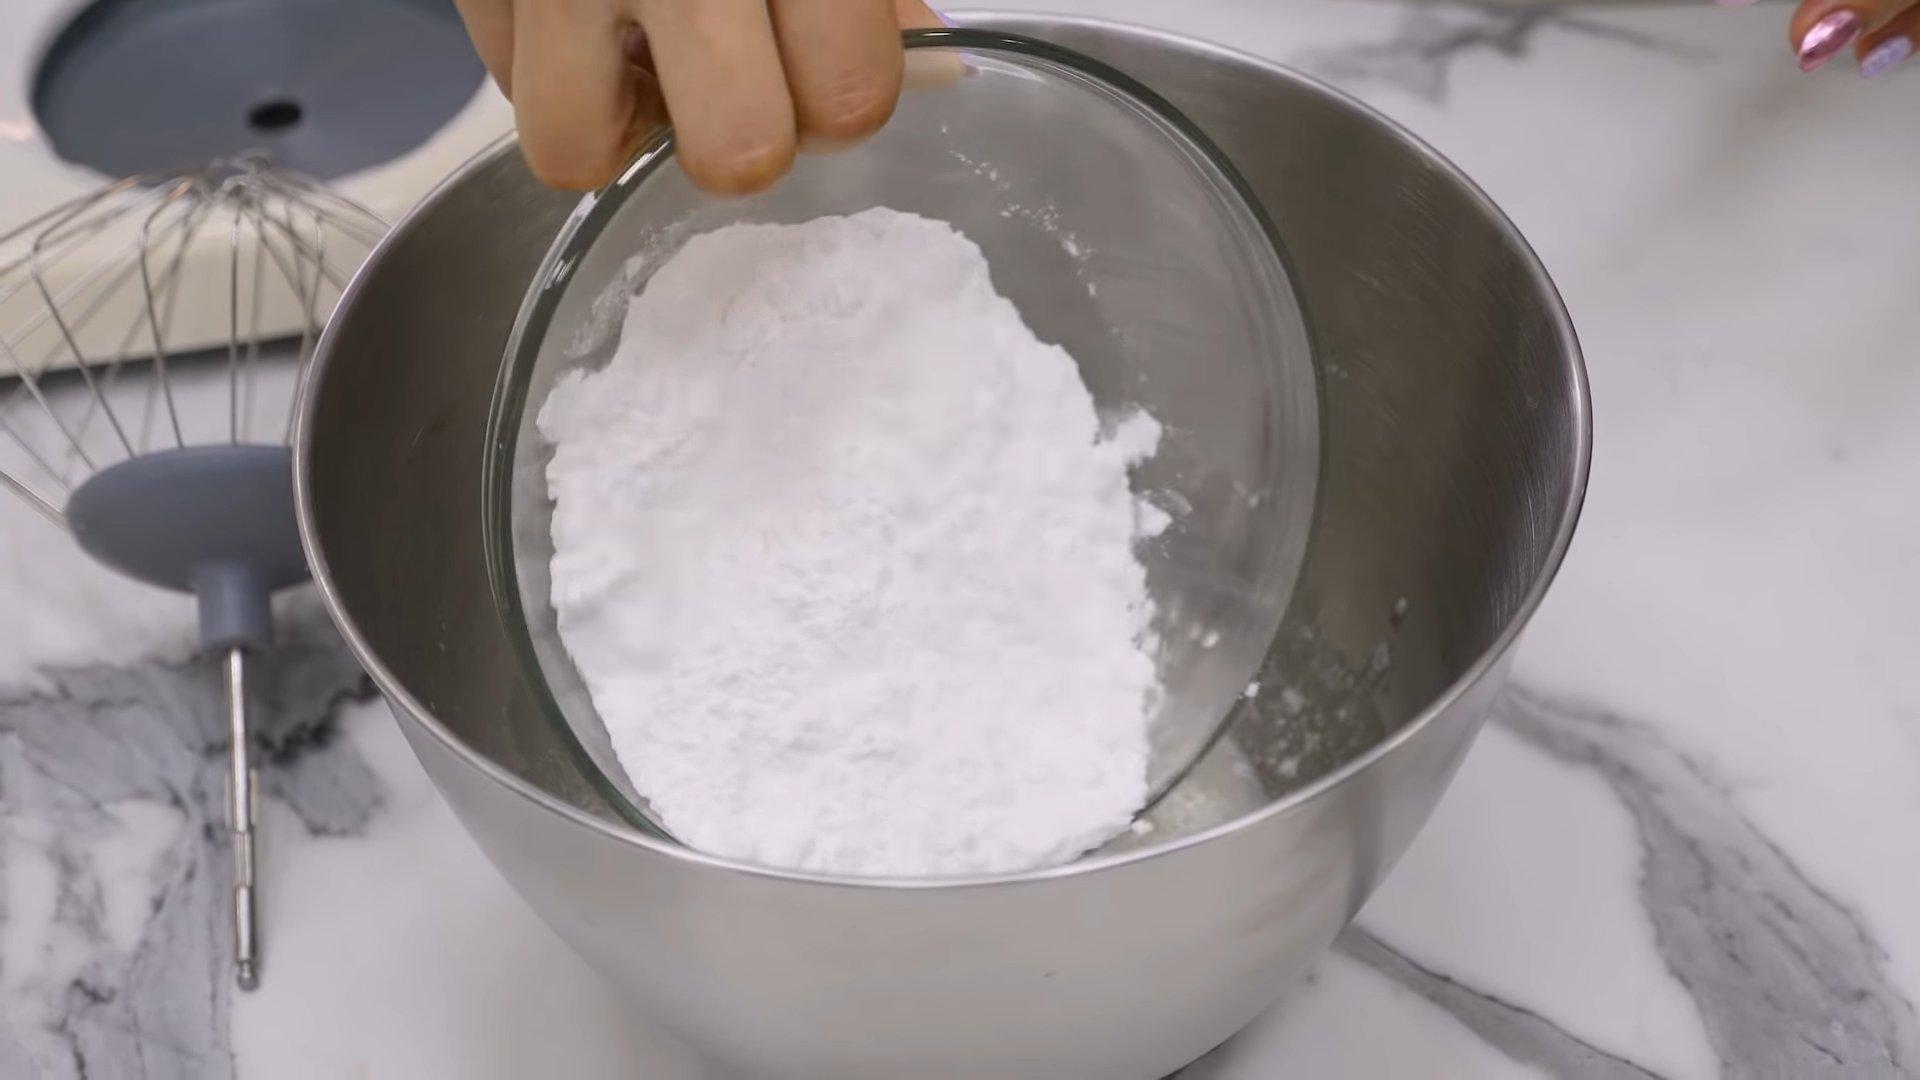
Add sifted powdered sugar to the whites in small portions.
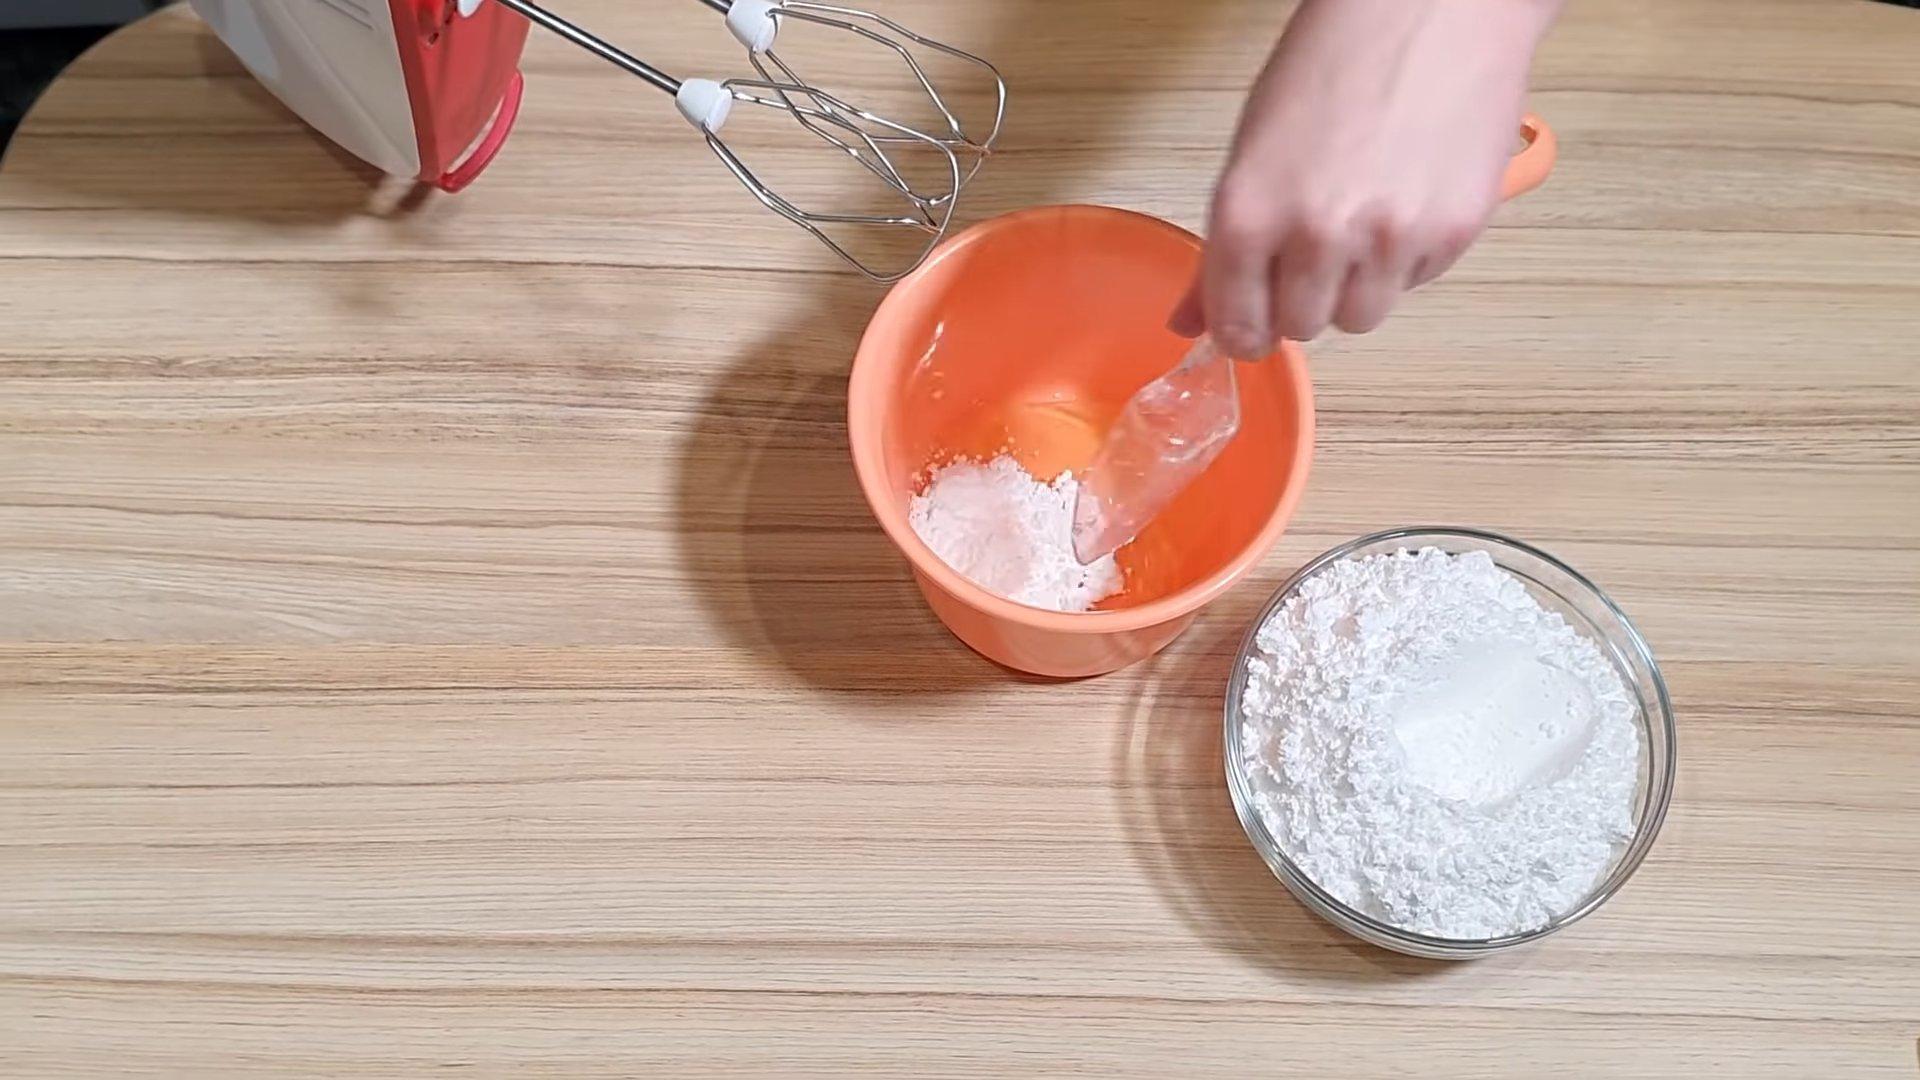
Step 3
Each time, mix the mixture thoroughly at the minimum speed of the mixer.
Step 4
When almost all the powder has been added, pour in the glucose syrup and lemon juice.
Step 5
Add the remaining powdered sugar and mix the mixture again until smooth.
Step 6
Cover the finished glaze and let it sit for one hour.
Step 7
After the specified time has passed, transfer the icing into a pastry bag and decorate the cake with it.
Icing on albumin
If you don't want to make icing with raw egg whites, you can use albumen. This is dried and ground egg white powder that whips well and keeps for a long time. Albumen is very easy to work with. It should be dissolved in water and then added to the icing or cream. Icing made with albumen produces a smooth and shiny finish.
Ingredients
- Albumin - 5 g
- Water - 35 ml
- Powdered sugar - 160 g
- Lemon juice - 5-6 drops
Cooking time: 25-30 minutes
Servings: 1
Step-by-step recipe
Step 1
Pour water over the albumin, stir and leave for 15 minutes to dissolve.
Step 2
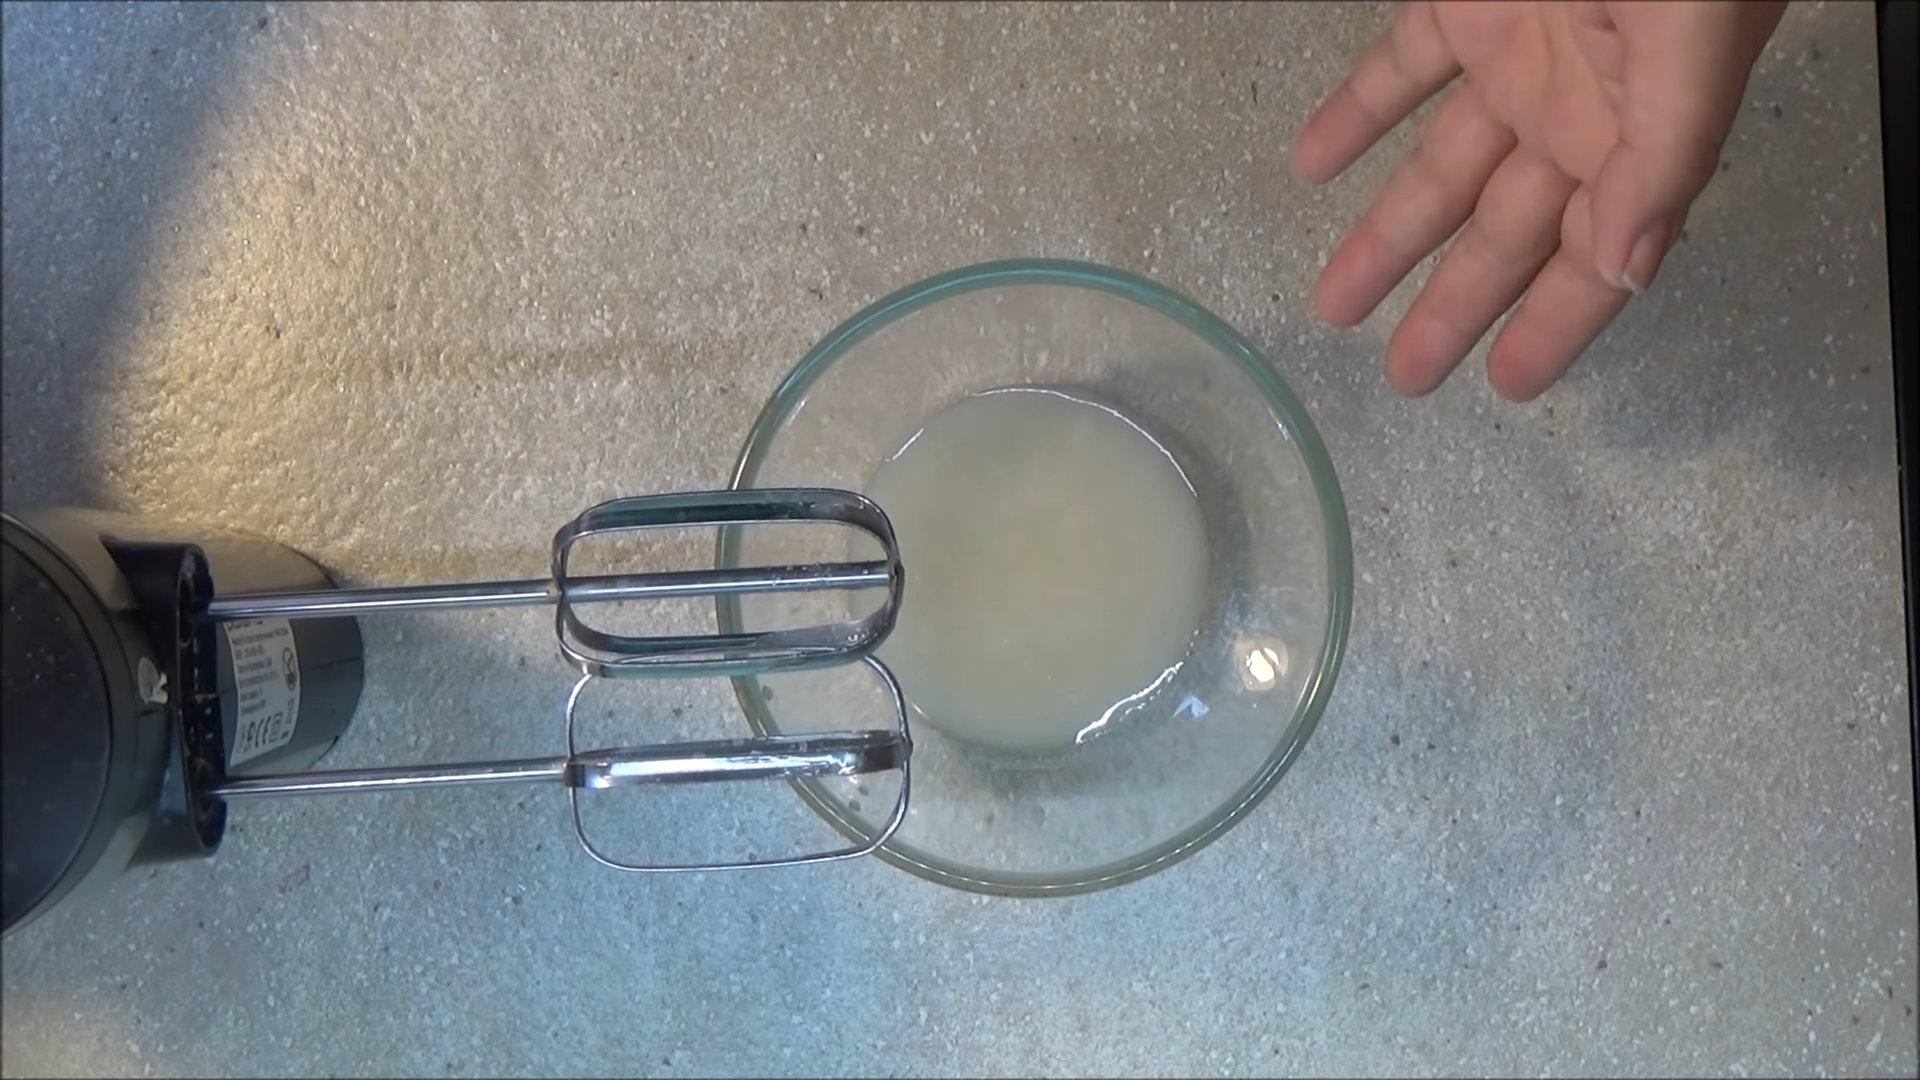
Add sifted powdered sugar to the resulting mixture.
Step 3
Mix the ingredients at low speed with a mixer until smooth.
Step 4
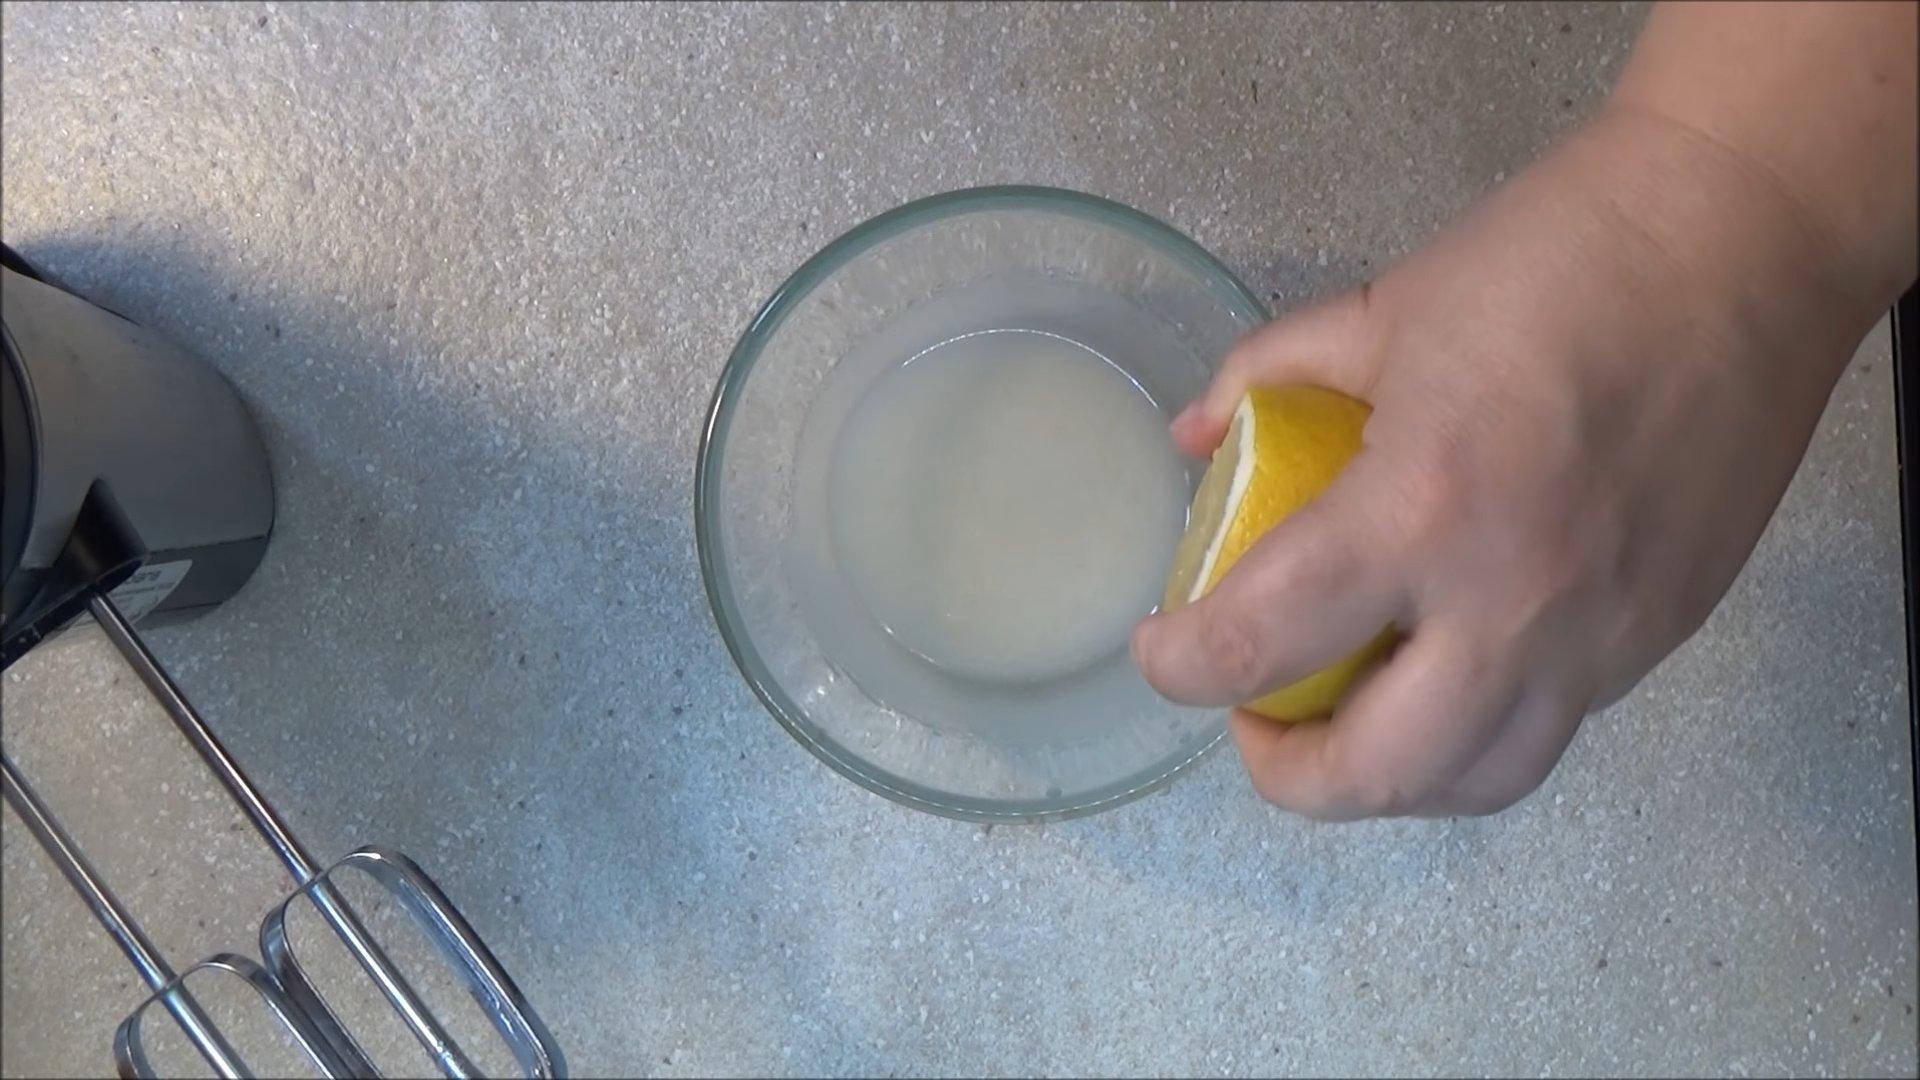
Pour in lemon juice and mix the mixture at maximum speed.
Step 5
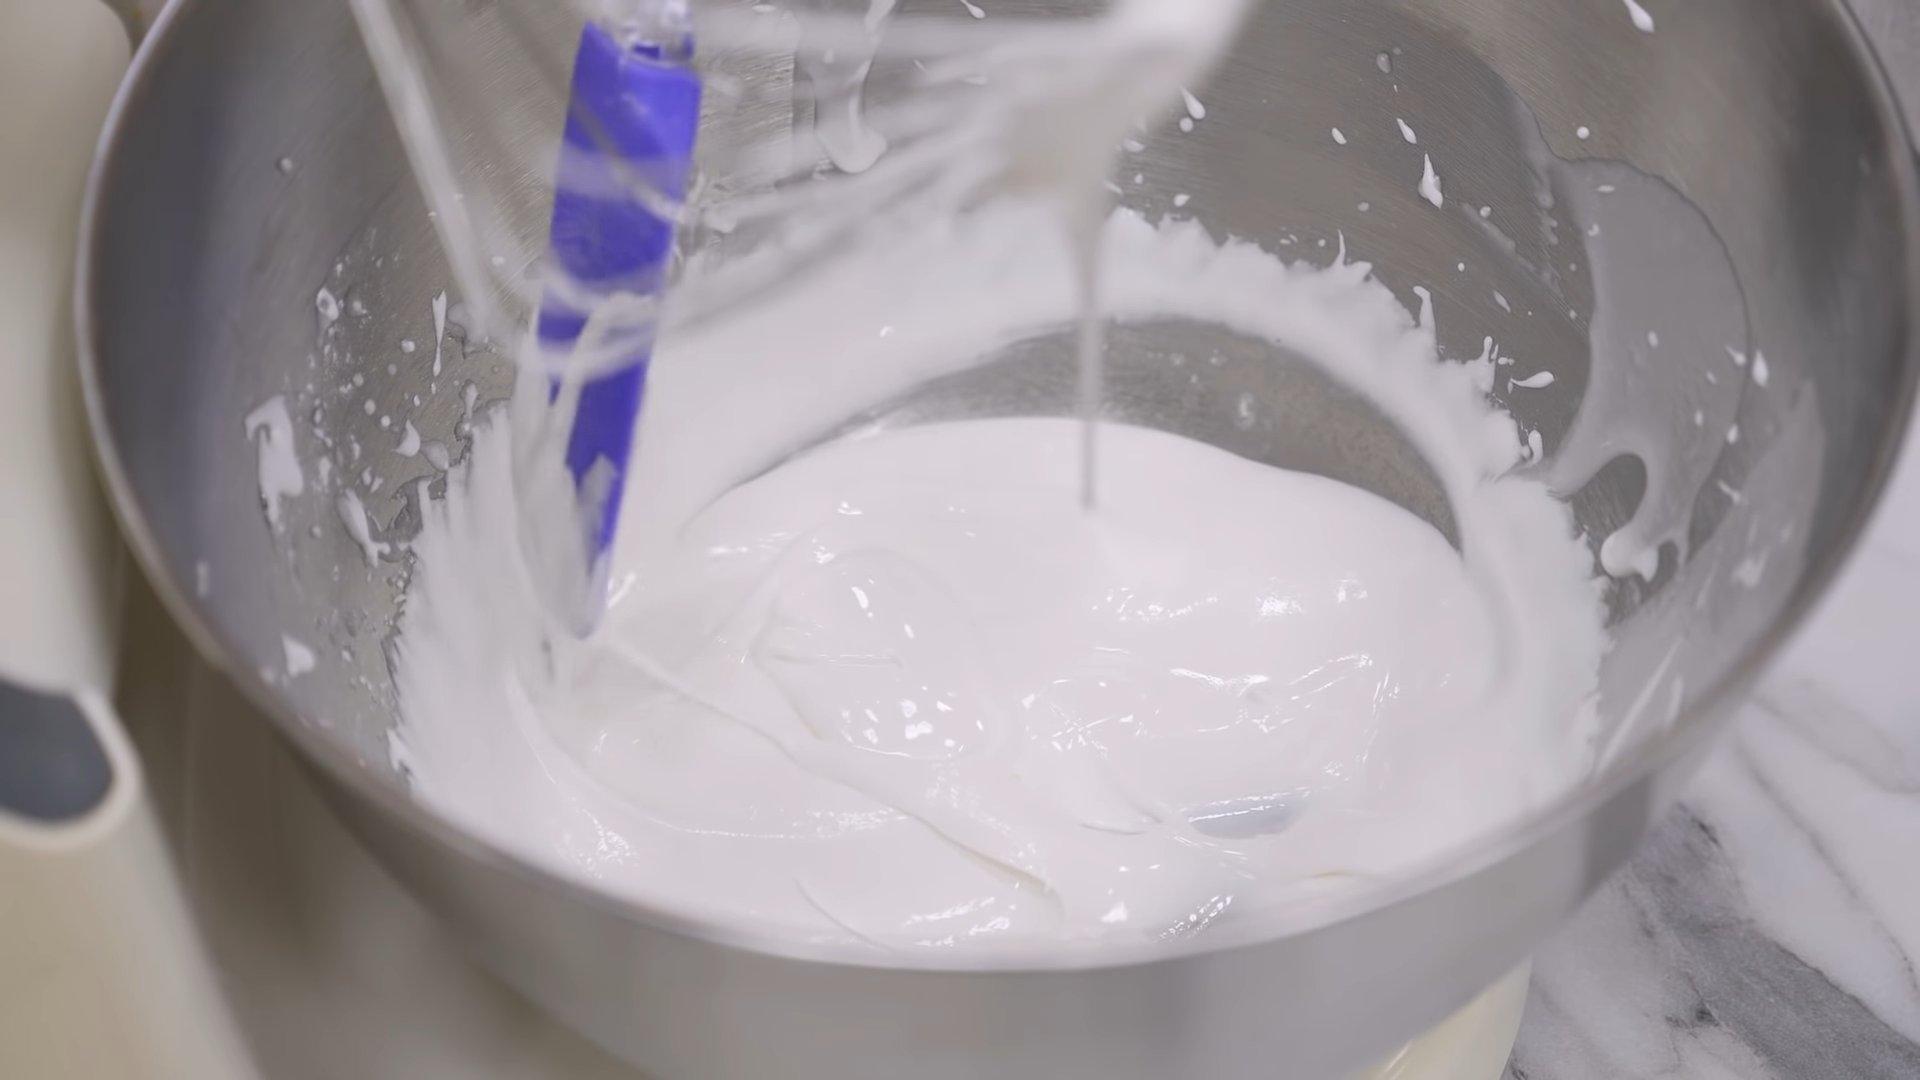
When the glaze becomes smooth and glossy, turn off the mixer.
Step 6
The icing is ready. If desired, you can color it and decorate gingerbread cookies or other baked goods.

Icing without protein (on water)
This is a simple water-based icing recipe. It's suitable for vegans or those who, for whatever reason, avoid egg whites. The icing is smooth and glossy. Agar gives it elasticity, and lemon juice adds a fresh note and a white color. You can adjust the consistency of the icing by adding more water or powdered sugar.
Ingredients
- Powdered sugar - 80 g
- Agar - ½ tsp.
- Water - 30 ml
- Lemon juice - 4-5 drops
Cooking time: 20-30 minutes
Servings: 1
Step-by-step recipe
Step 1
We prepare the necessary ingredients.

Step 2
Pour 1 tablespoon of water over the agar and leave for 10 minutes to swell.
Step 3
Pour powdered sugar into a thick-bottomed saucepan or saucepan.
Step 4
Pour the remaining water into the powdered sugar in small portions.
Step 5
Mix the ingredients until smooth.
Step 6
Place the pan over medium heat. Stirring constantly, heat the mixture until it boils.
Step 7
Turn off the heat. Add the swollen agar to the hot mixture and mix thoroughly.
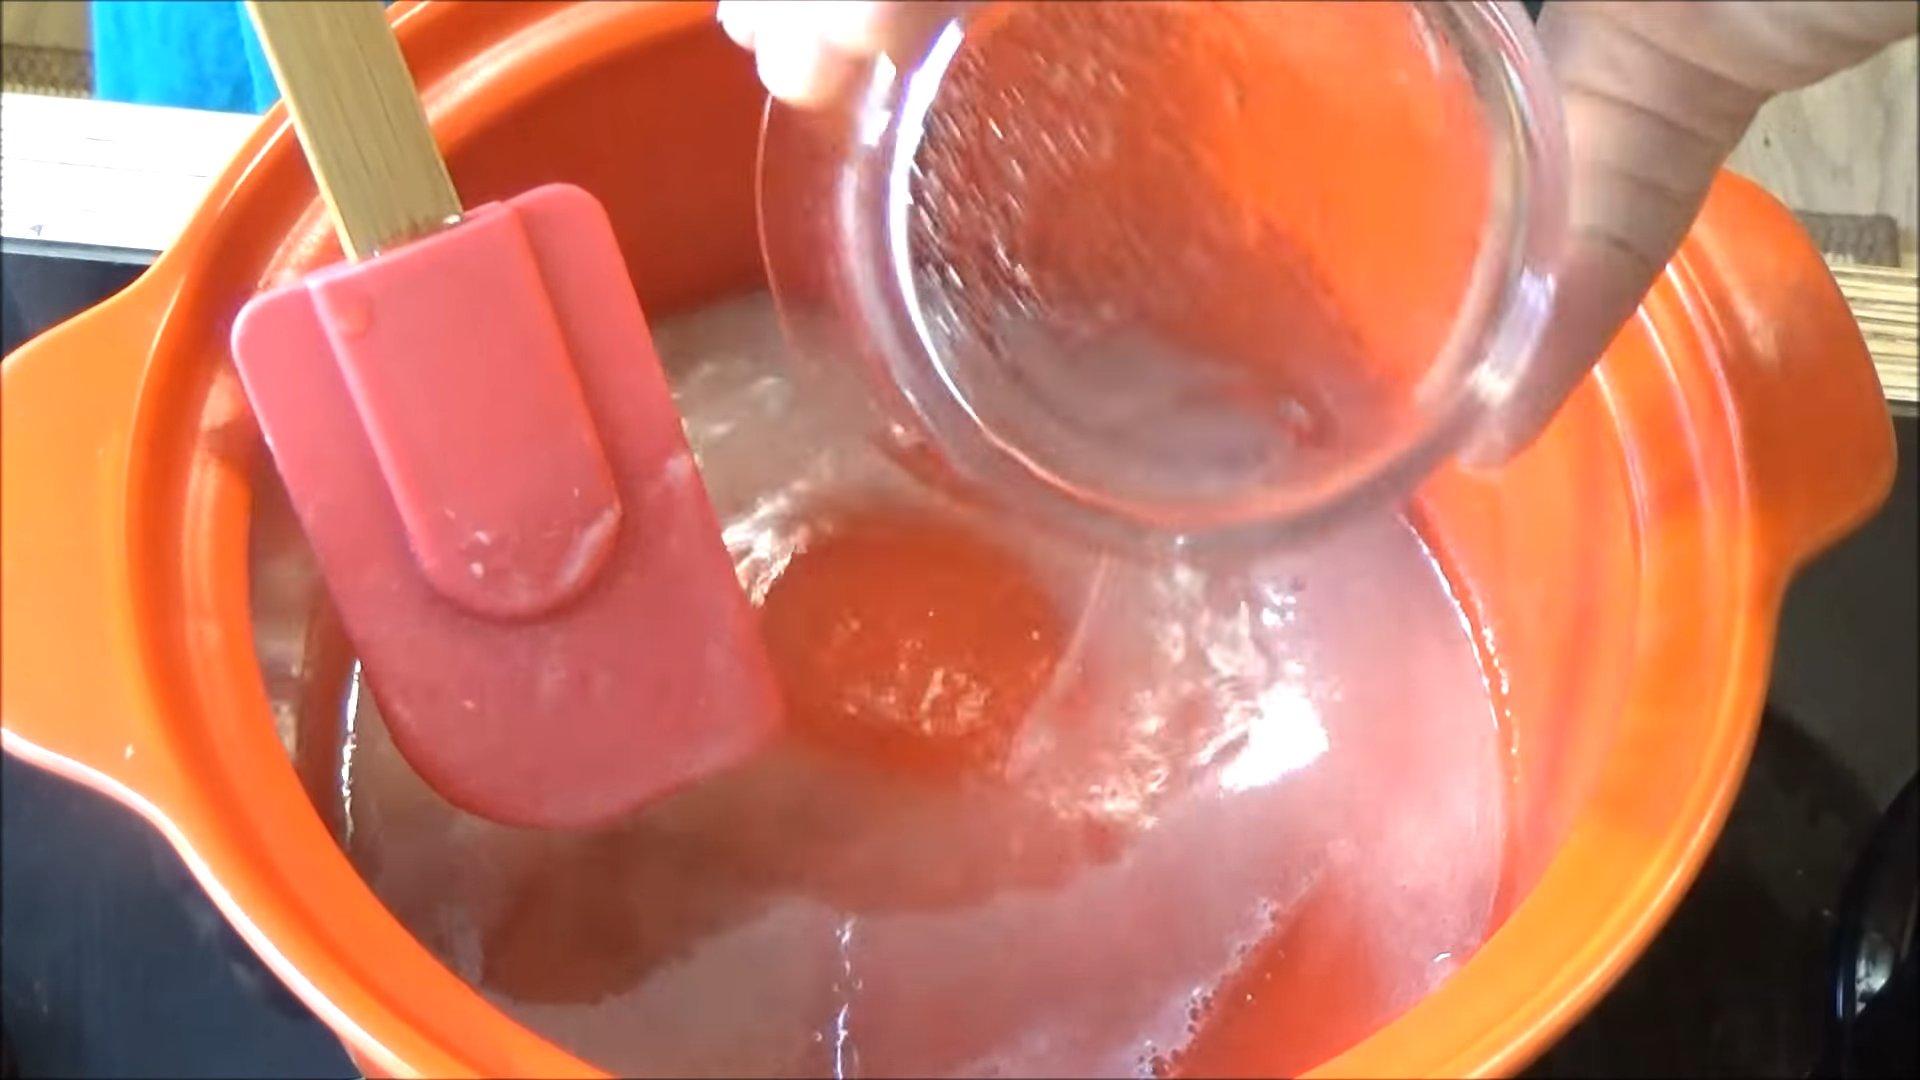
Step 8
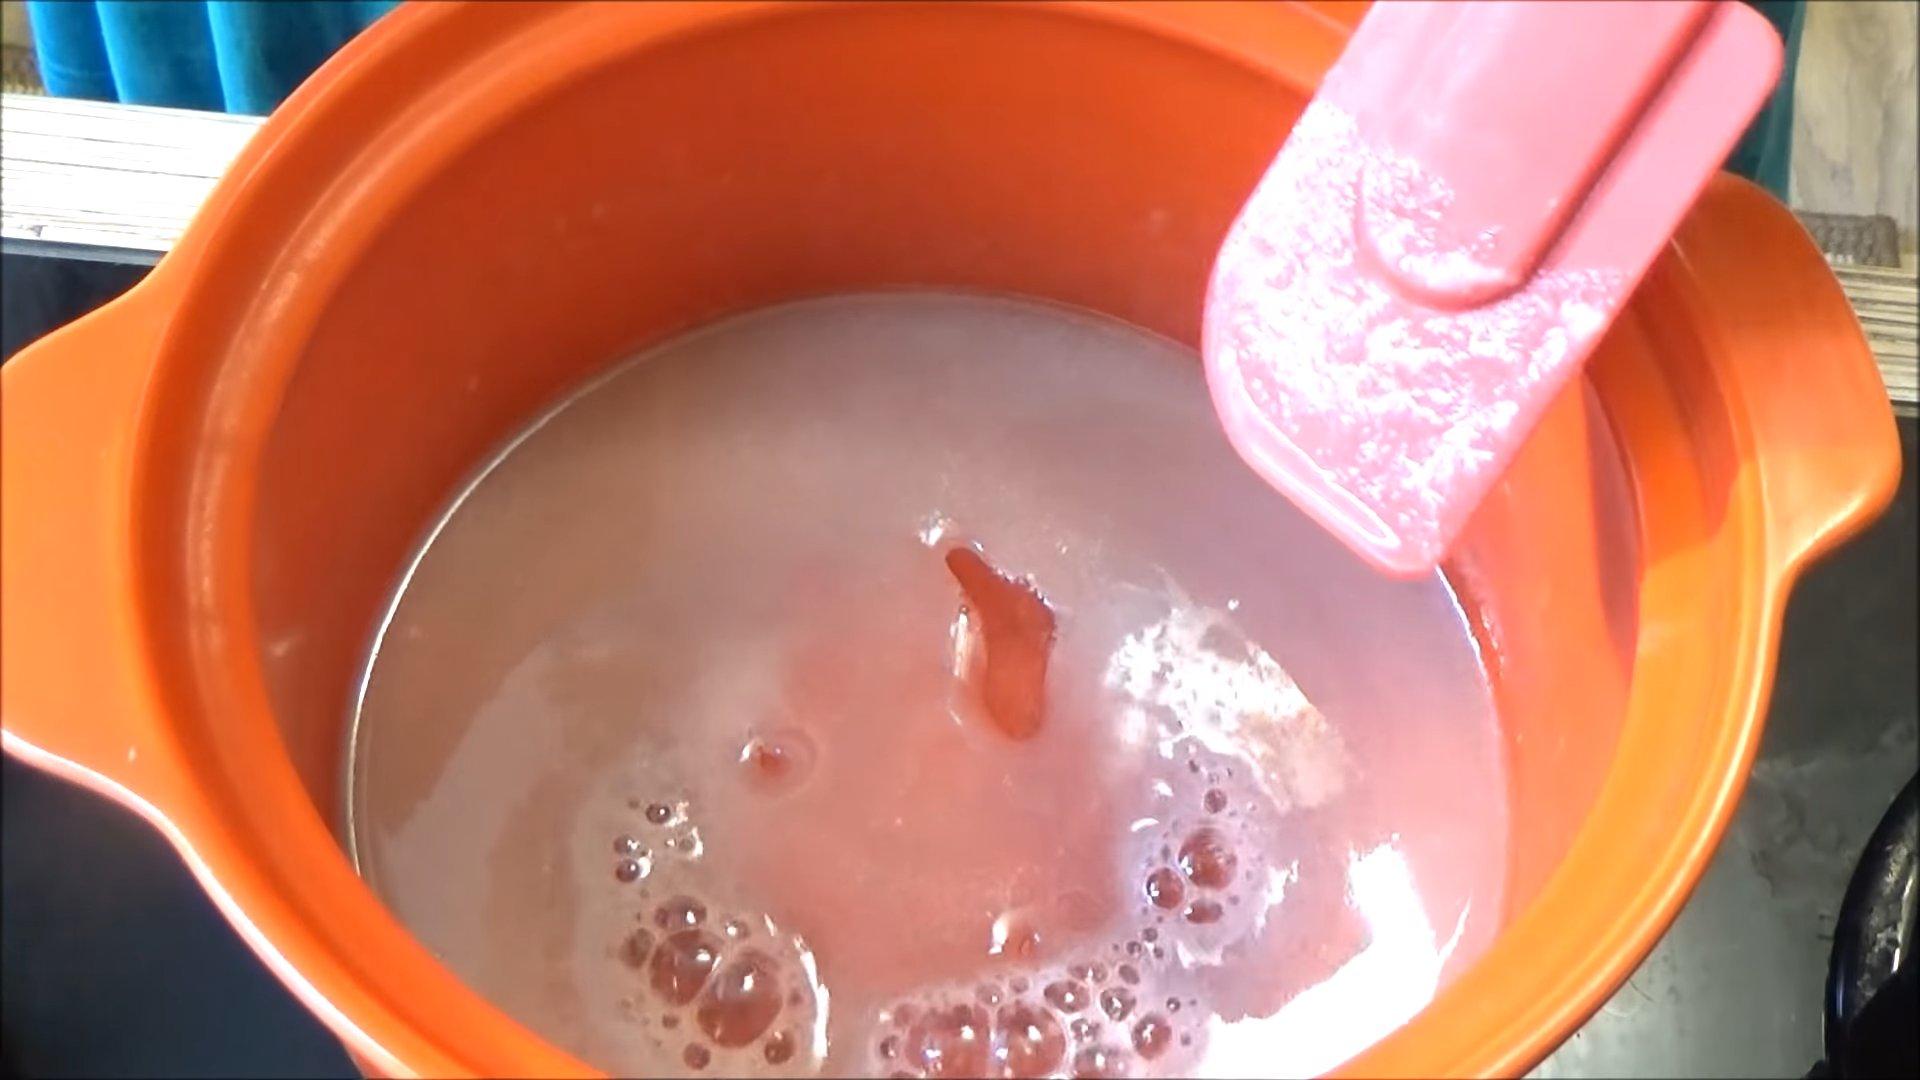
Pour the glaze into a deep glass container and beat the glaze until it becomes a shiny, homogeneous mass.
Step 9
Add a few drops of lemon juice and stir the glaze again.
Step 10
Icing without protein is ready for further use.
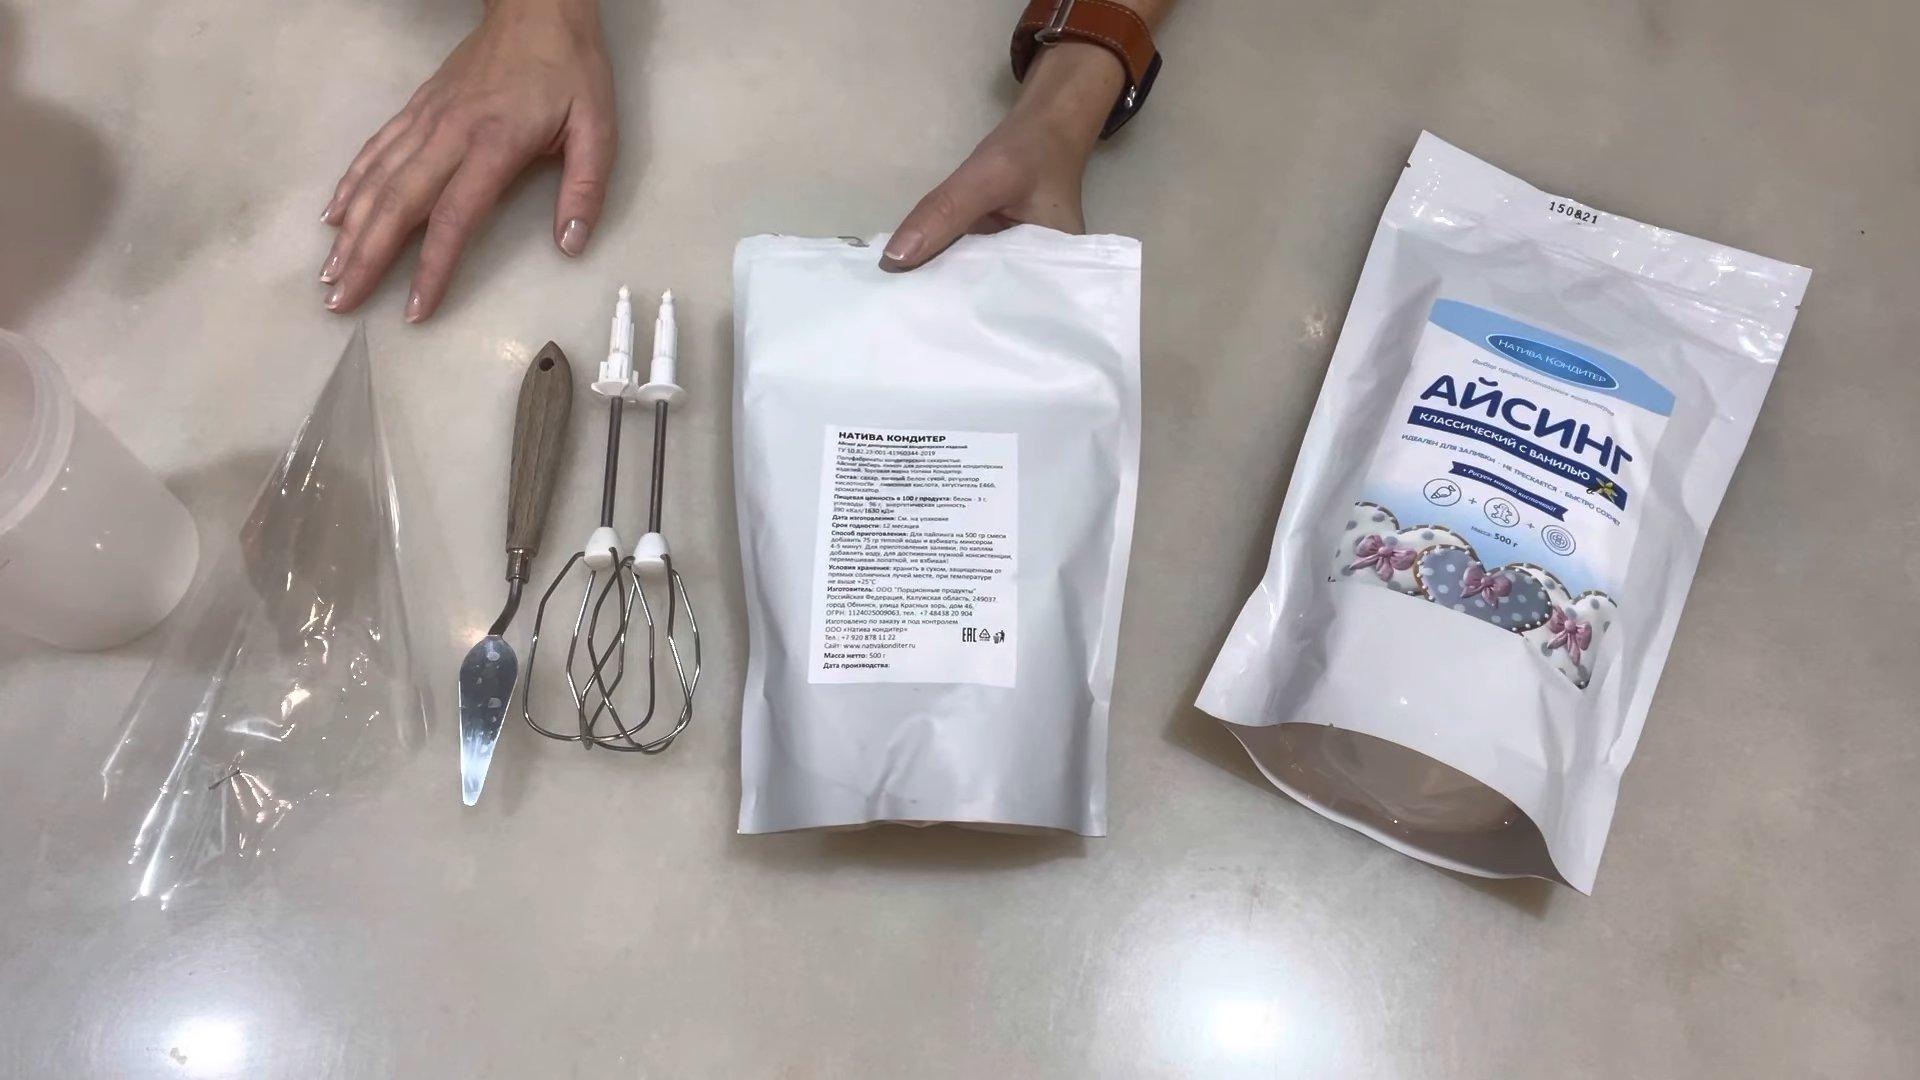
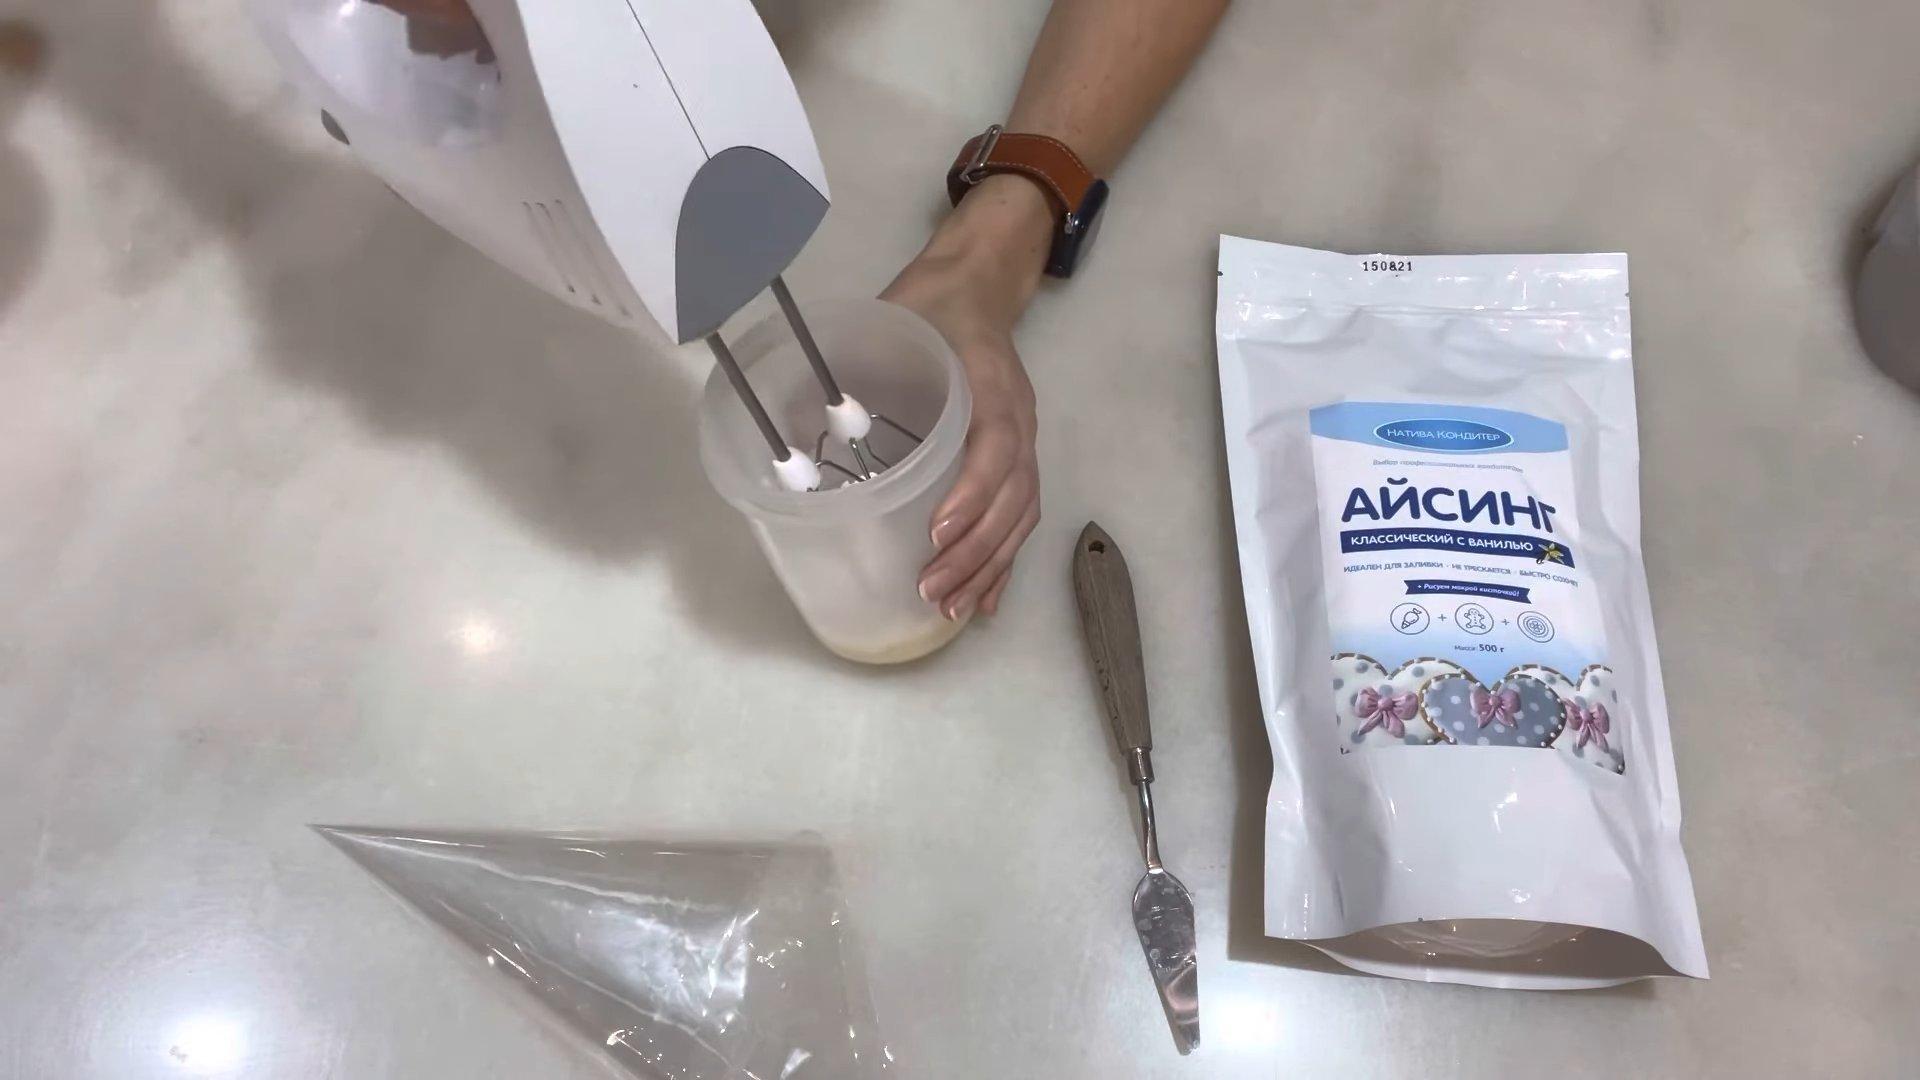
How to dilute dry icing mix
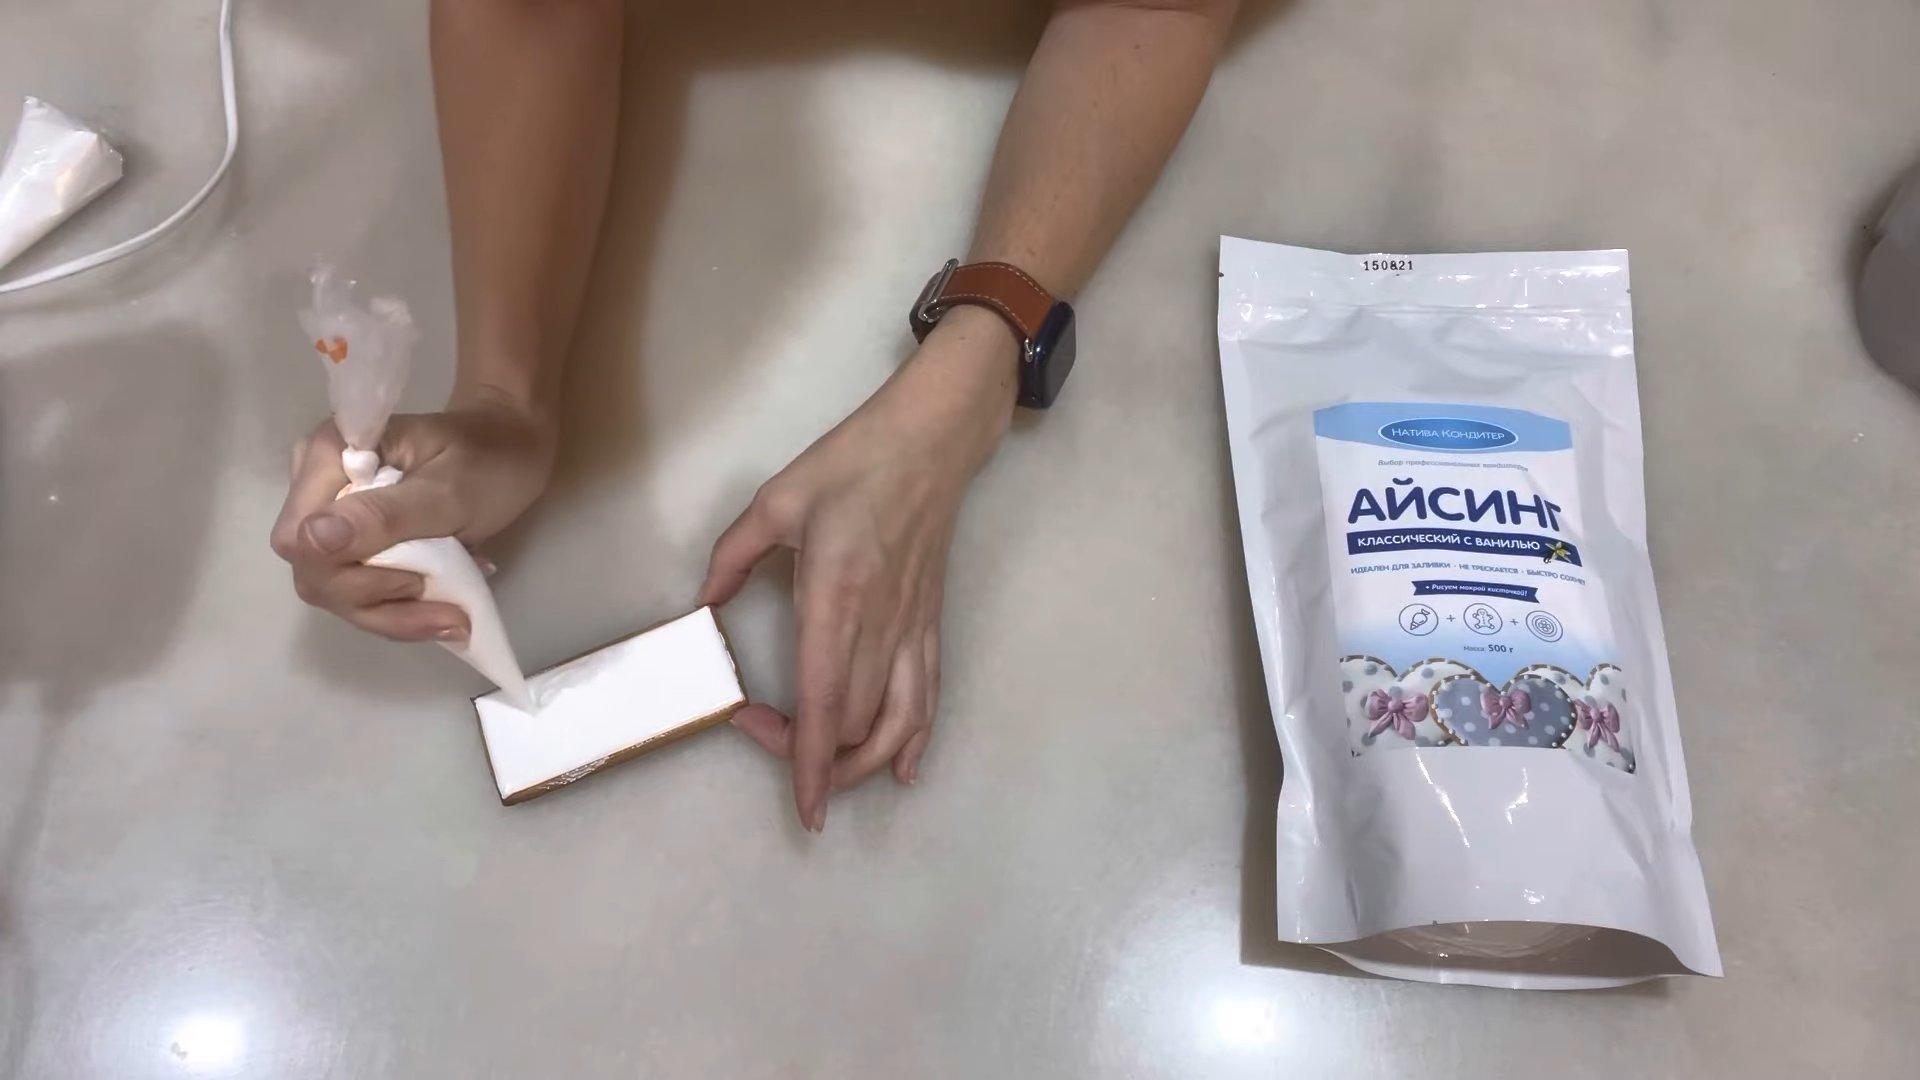
If you want to make the perfect icing without wasting time experimenting and searching for the right ingredients, use a dry icing mix. It's readily available at bakery stores. This simple and convenient solution will save you precious time and result in a smooth, uniform, glossy icing for decorating gingerbread, cookies, and other baked goods.
Ingredients
- Dry mix "Icing" - 100 g
- Water (boiling water) - 15 ml
Cooking time: 7-10 minutes
Servings: 1
Step-by-step recipe
Step 1
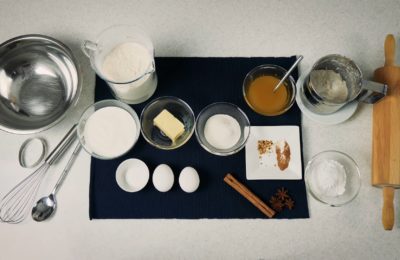
Prepare the ingredients.
Step 2
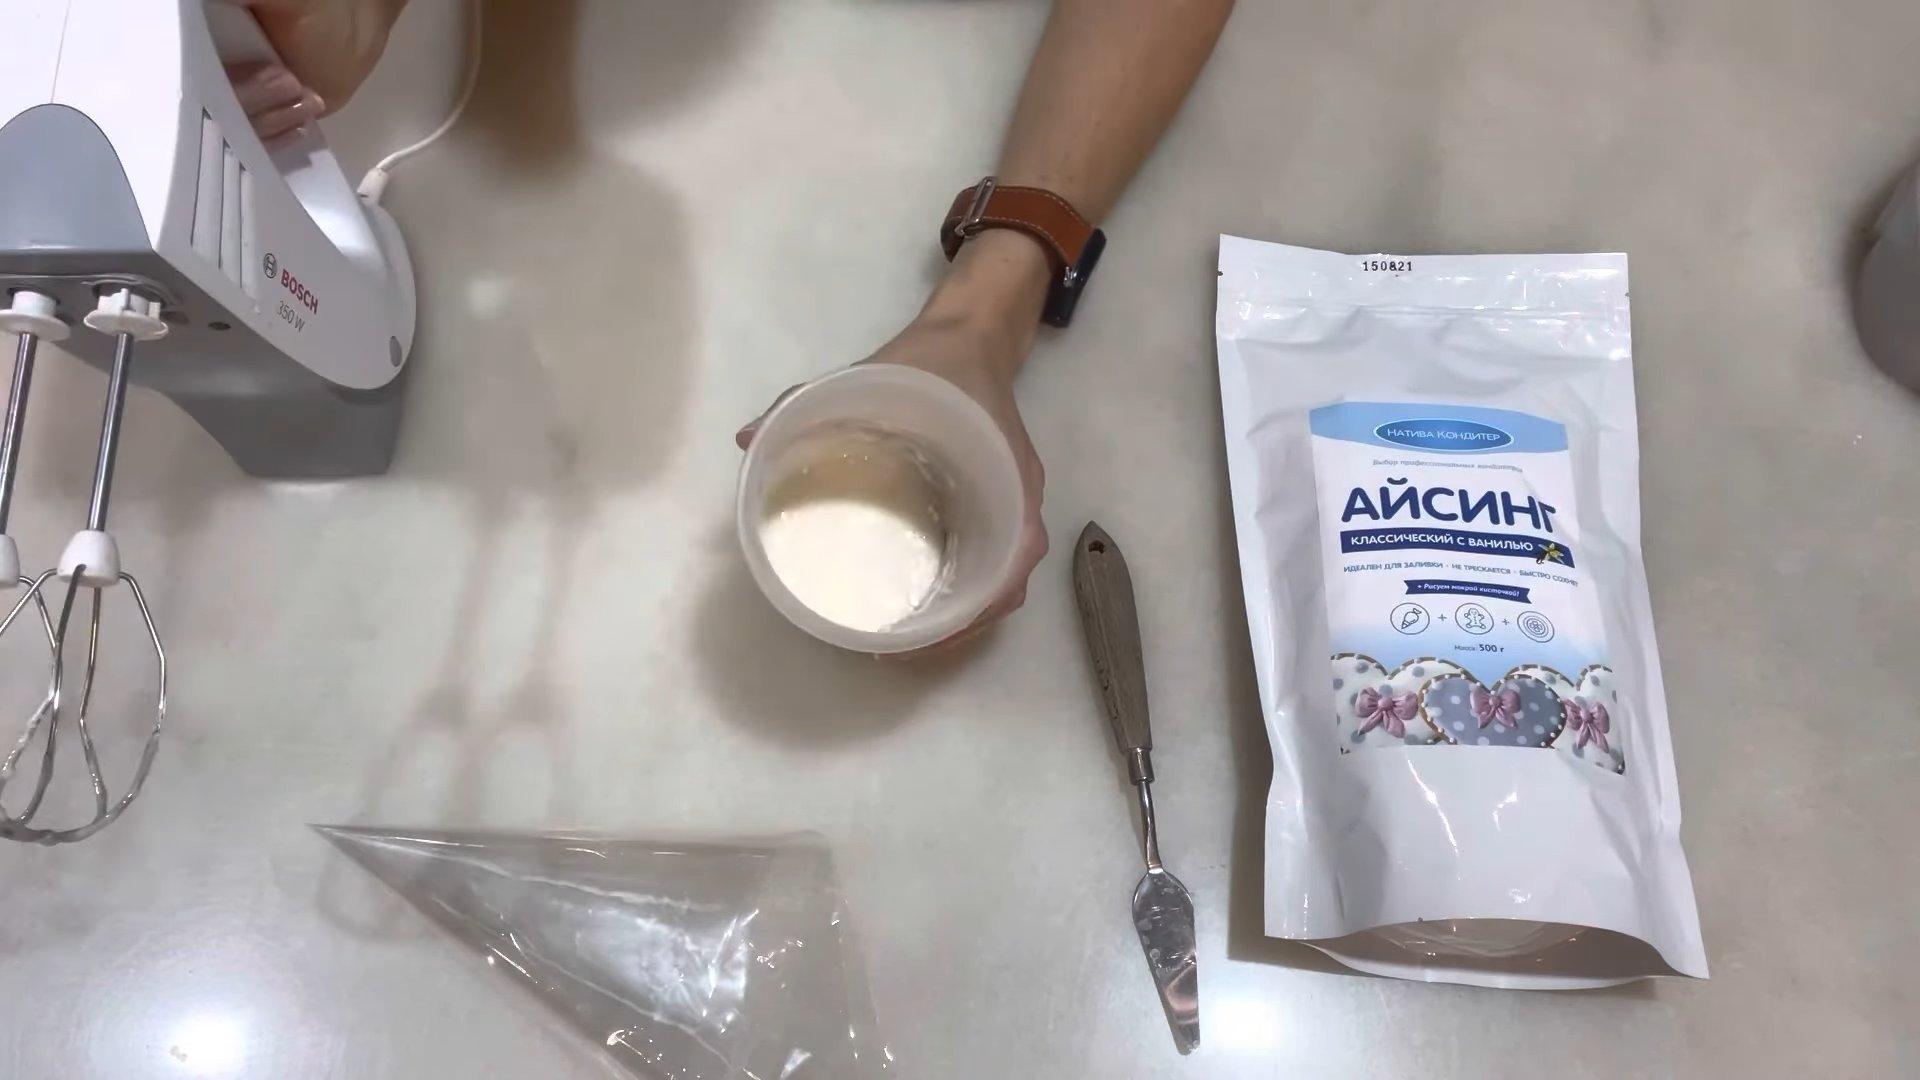
Pour the required amount of dry icing mixture into a tall container.
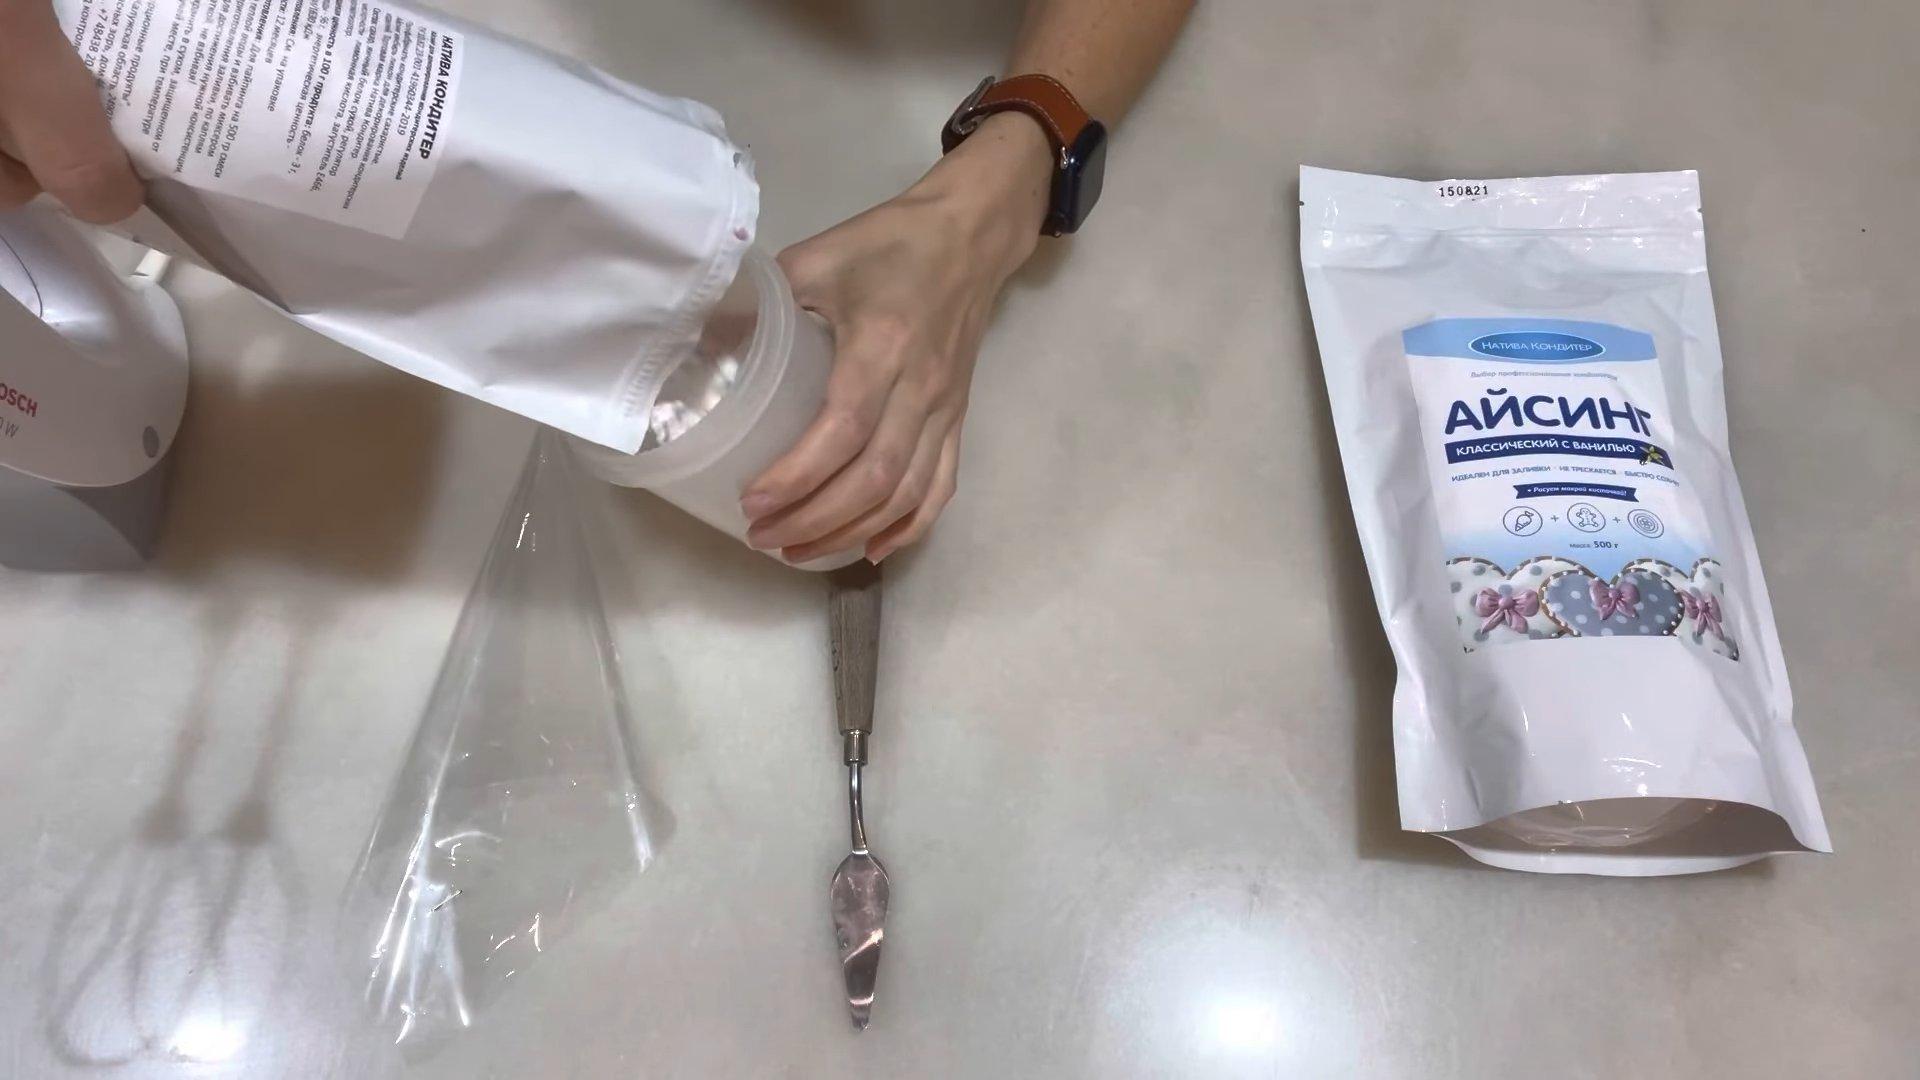
Step 3
Pour boiling water over the dry mixture (in a proportion of 150 ml of water per 1 kg of mixture).
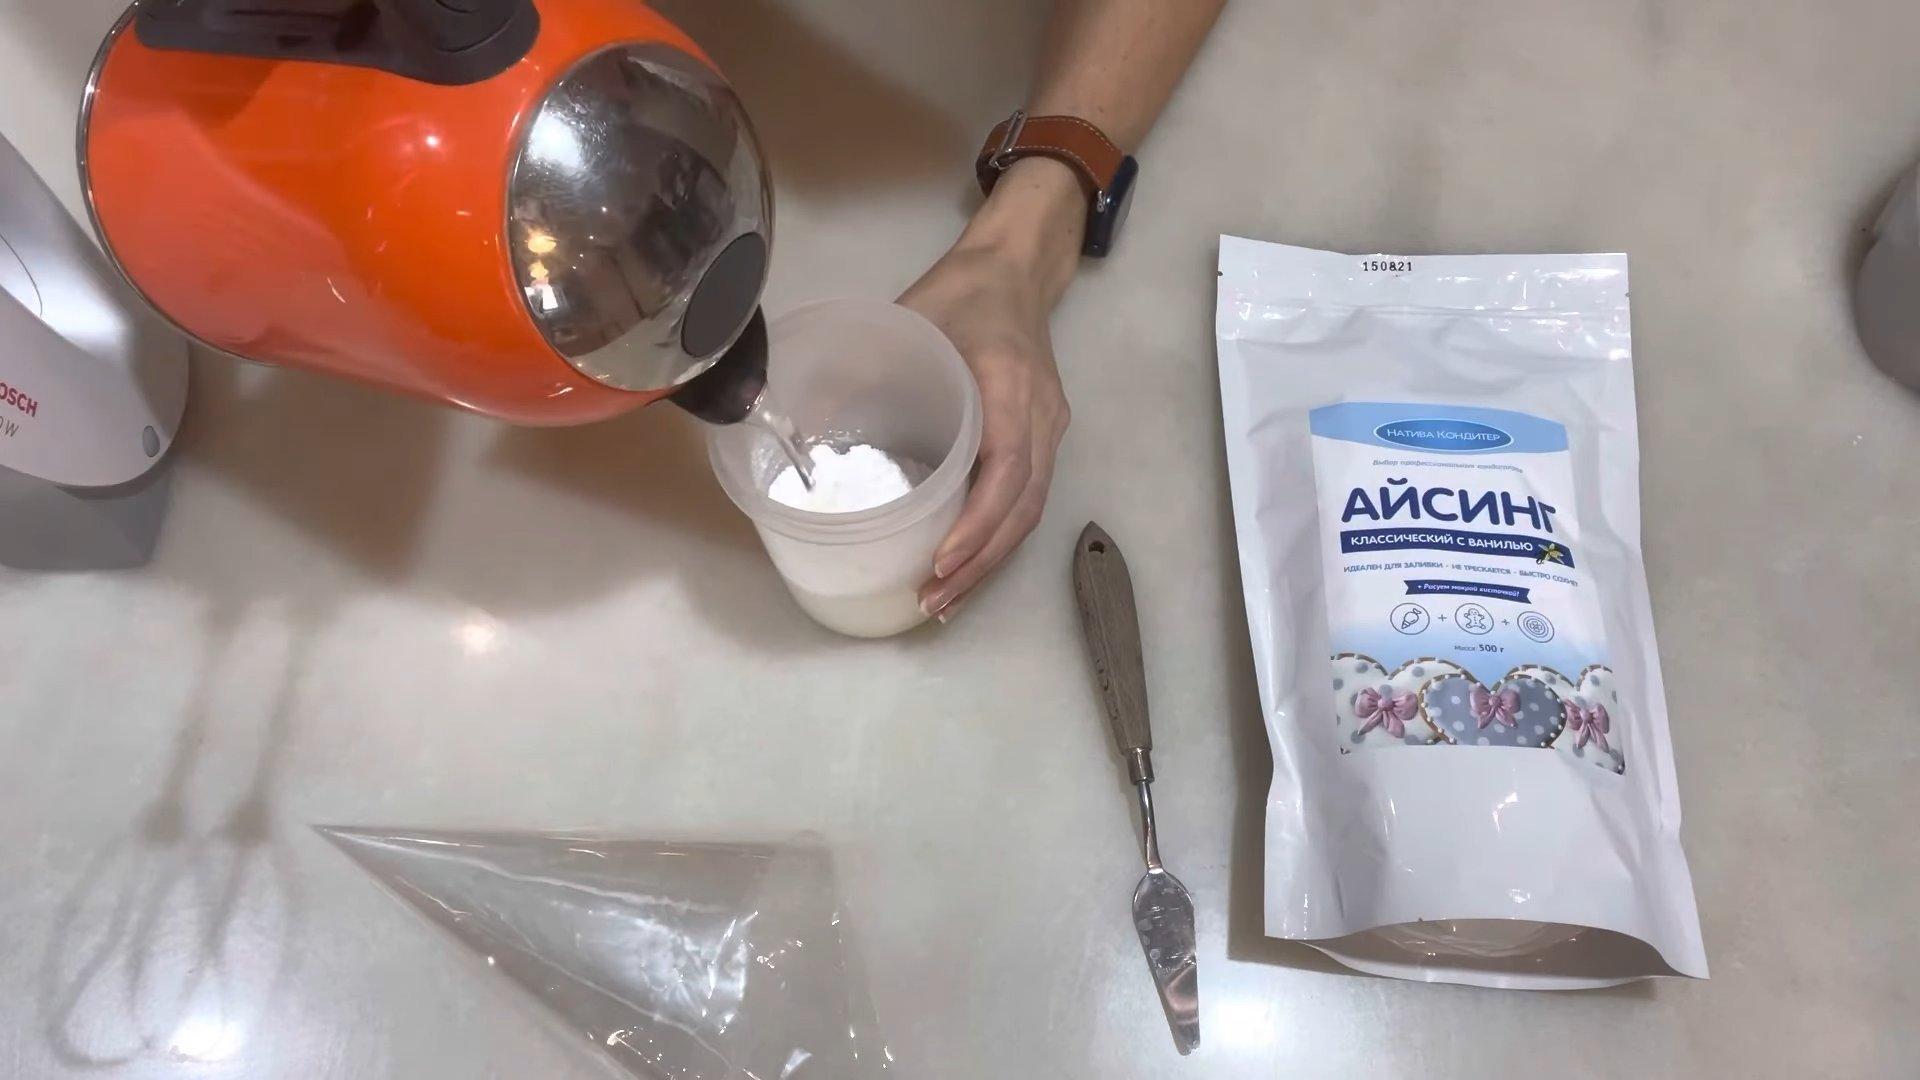
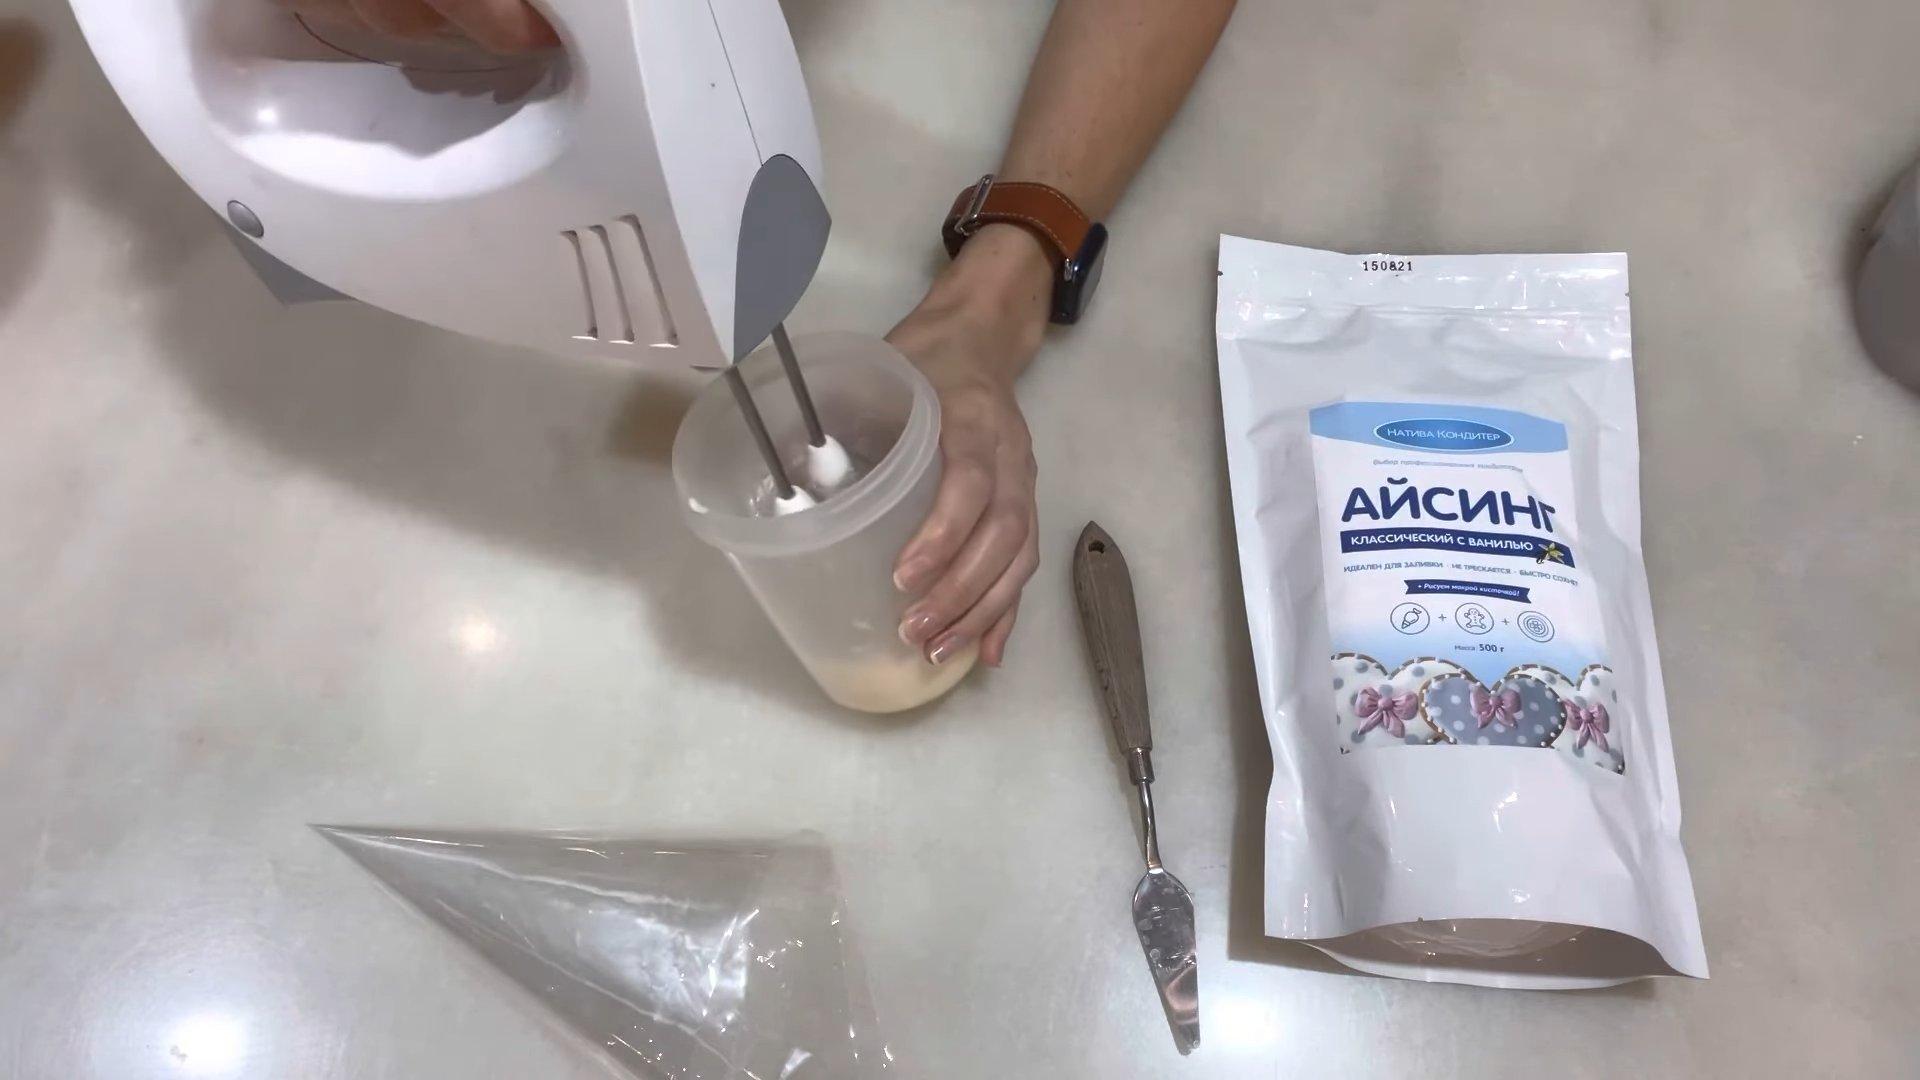
Step 4
Mix the ingredients at low speed with a mixer.
Step 5
Once the mixture is smooth, turn on high speed. Beat the glaze for 3-5 minutes, until it turns white.
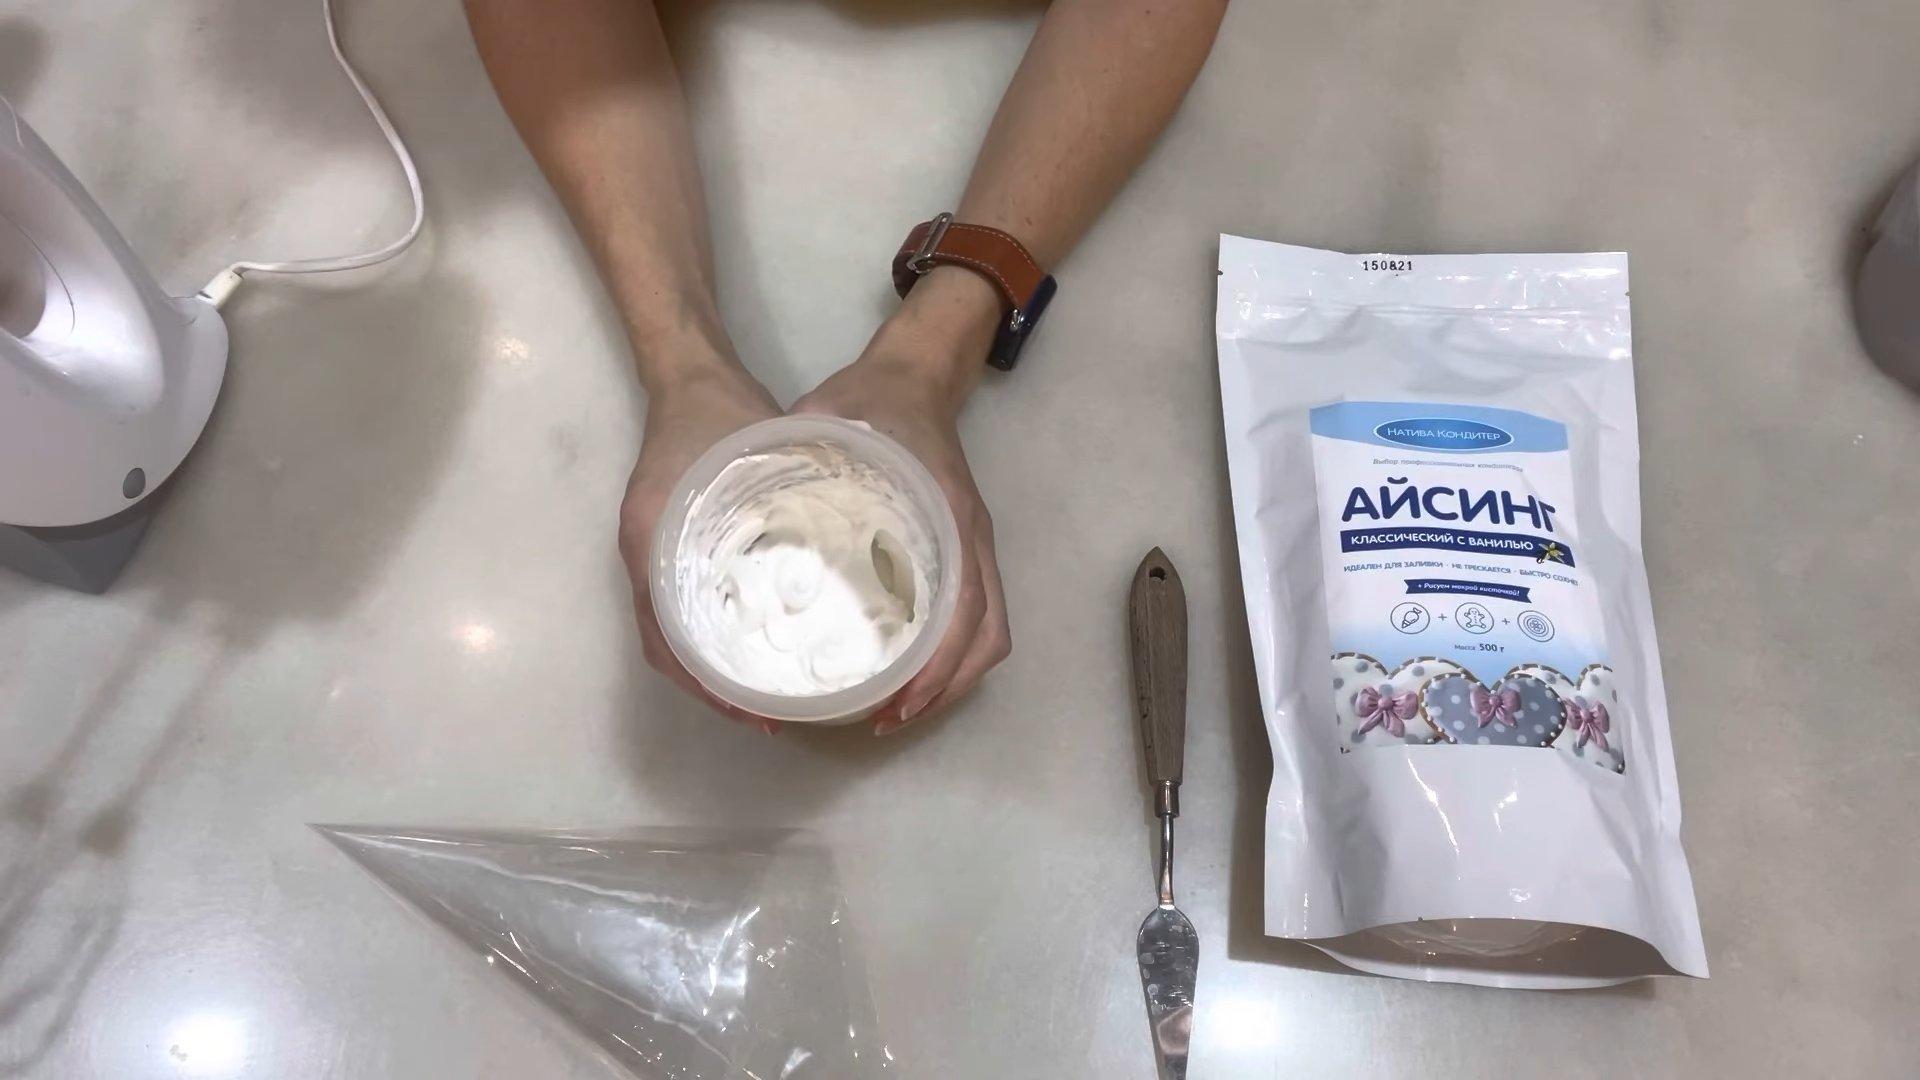
Step 6
We transfer the finished icing into a pastry bag and can begin decorating the baked goods.
How to work with icing
Icing can transform any confection into a true masterpiece. To ensure flawless results, it's important to follow a few simple rules:
- Find your perfect recipe. There are many variations of glaze. Try a few and find your perfect one.
- Don't overbeat. Icing should be mixed by hand or at the lowest speed of a mixer. Overbeating will saturate the icing with air bubbles and make it lose its elasticity.
- Sift the dry ingredients. This is necessary to ensure the icing is smooth and uniform.
- We get rid of excess air bubbles by smoothing the mass with a silicone spatula.
- Choosing the right consistency.
- Apply icing only to well-cooled confectionery products.
- Cover the icing. If you won't be working with the icing for a few minutes, cover it to prevent it from drying out or drying out.
Follow these rules, and your icing will be truly royal. Below, I'll answer some frequently asked questions about icing.
Basic consistencies
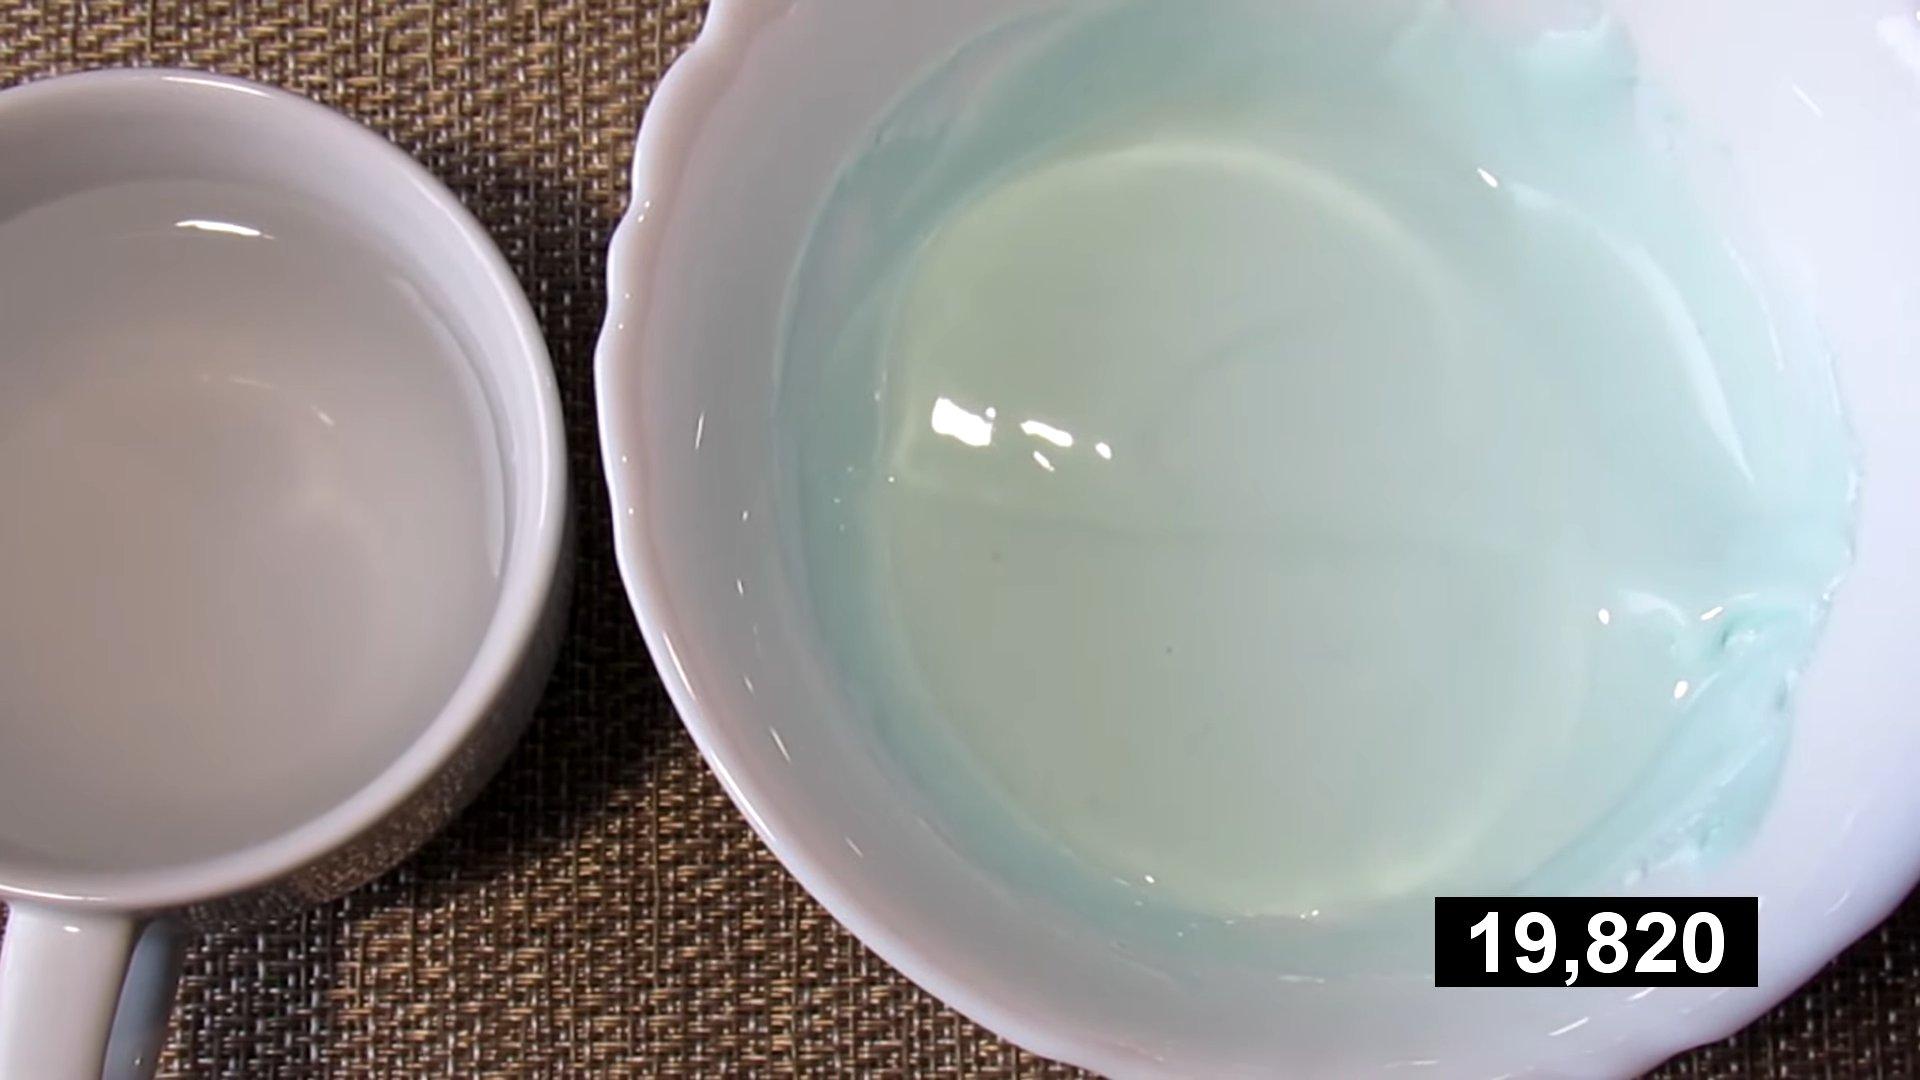
To ensure the design or pattern on your gingerbread looks flawless, it's important to choose the right icing consistency. Let's look at the main types.
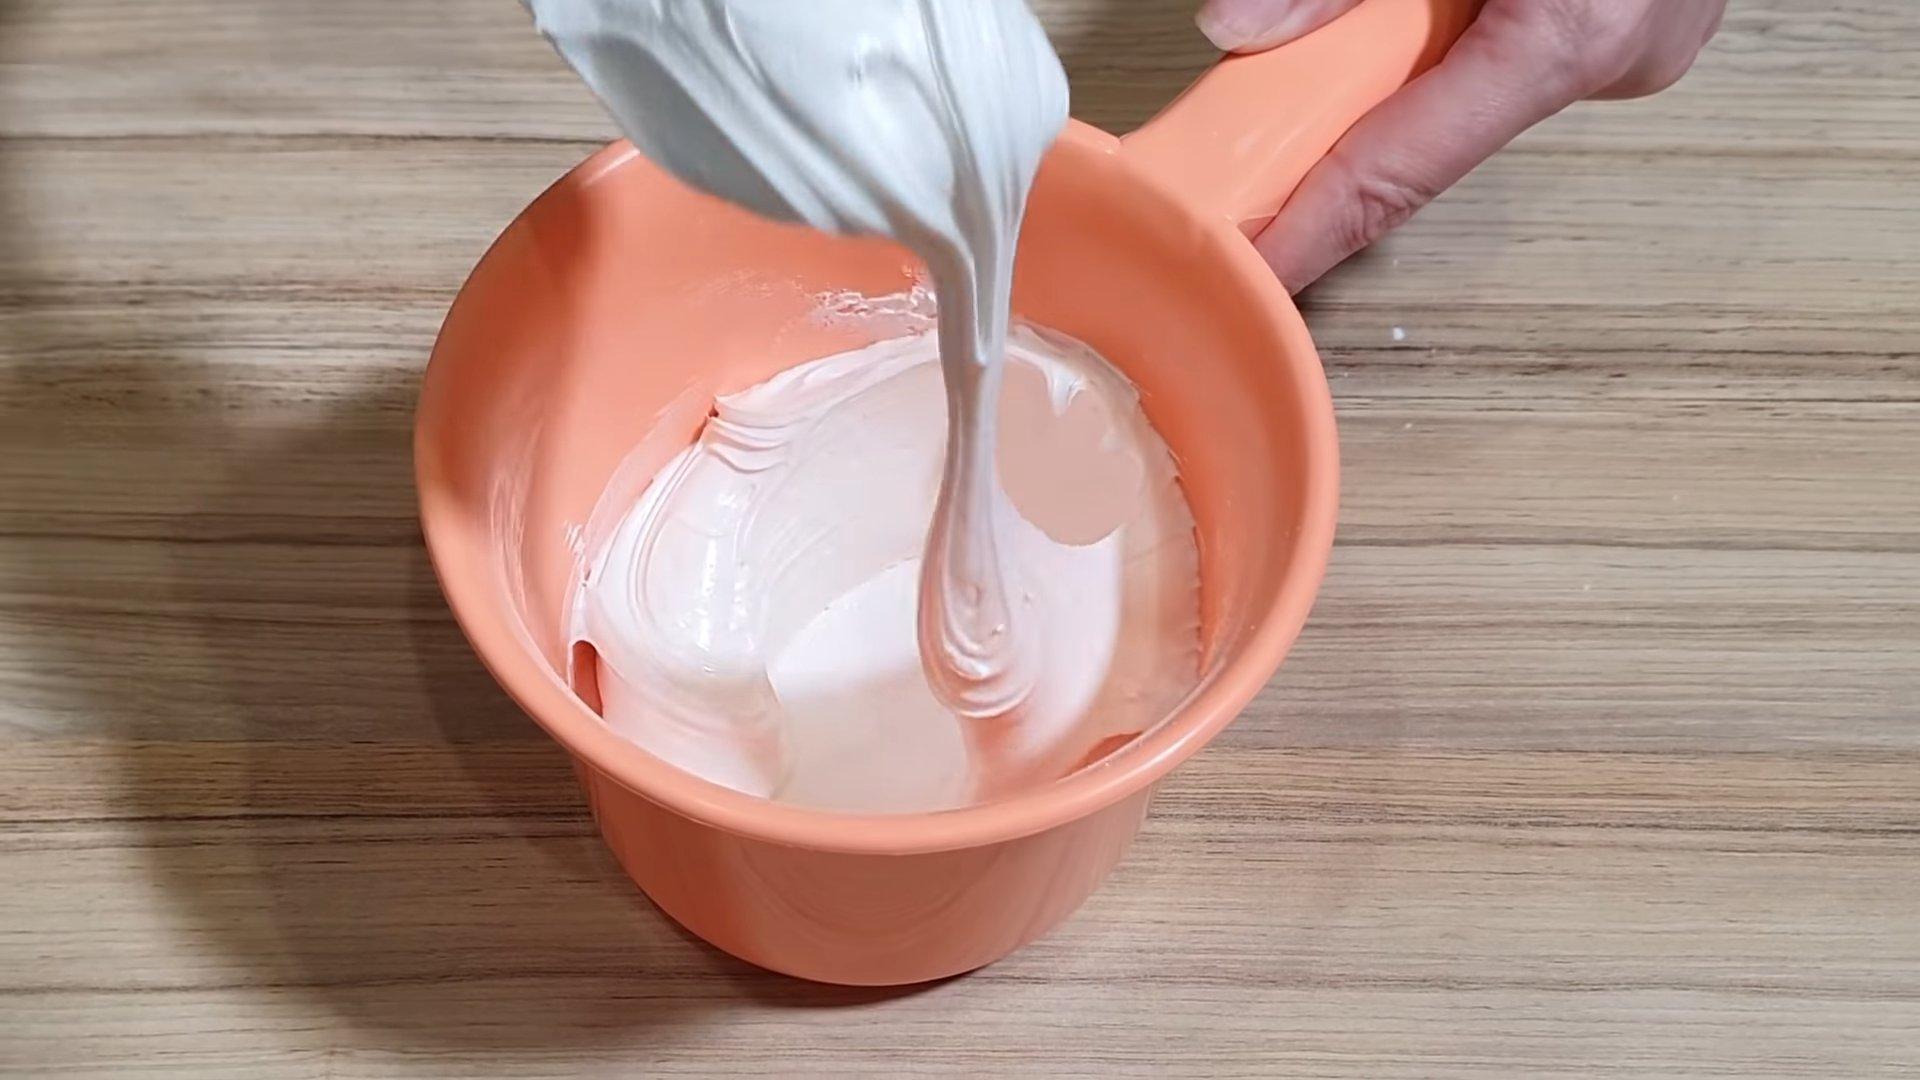
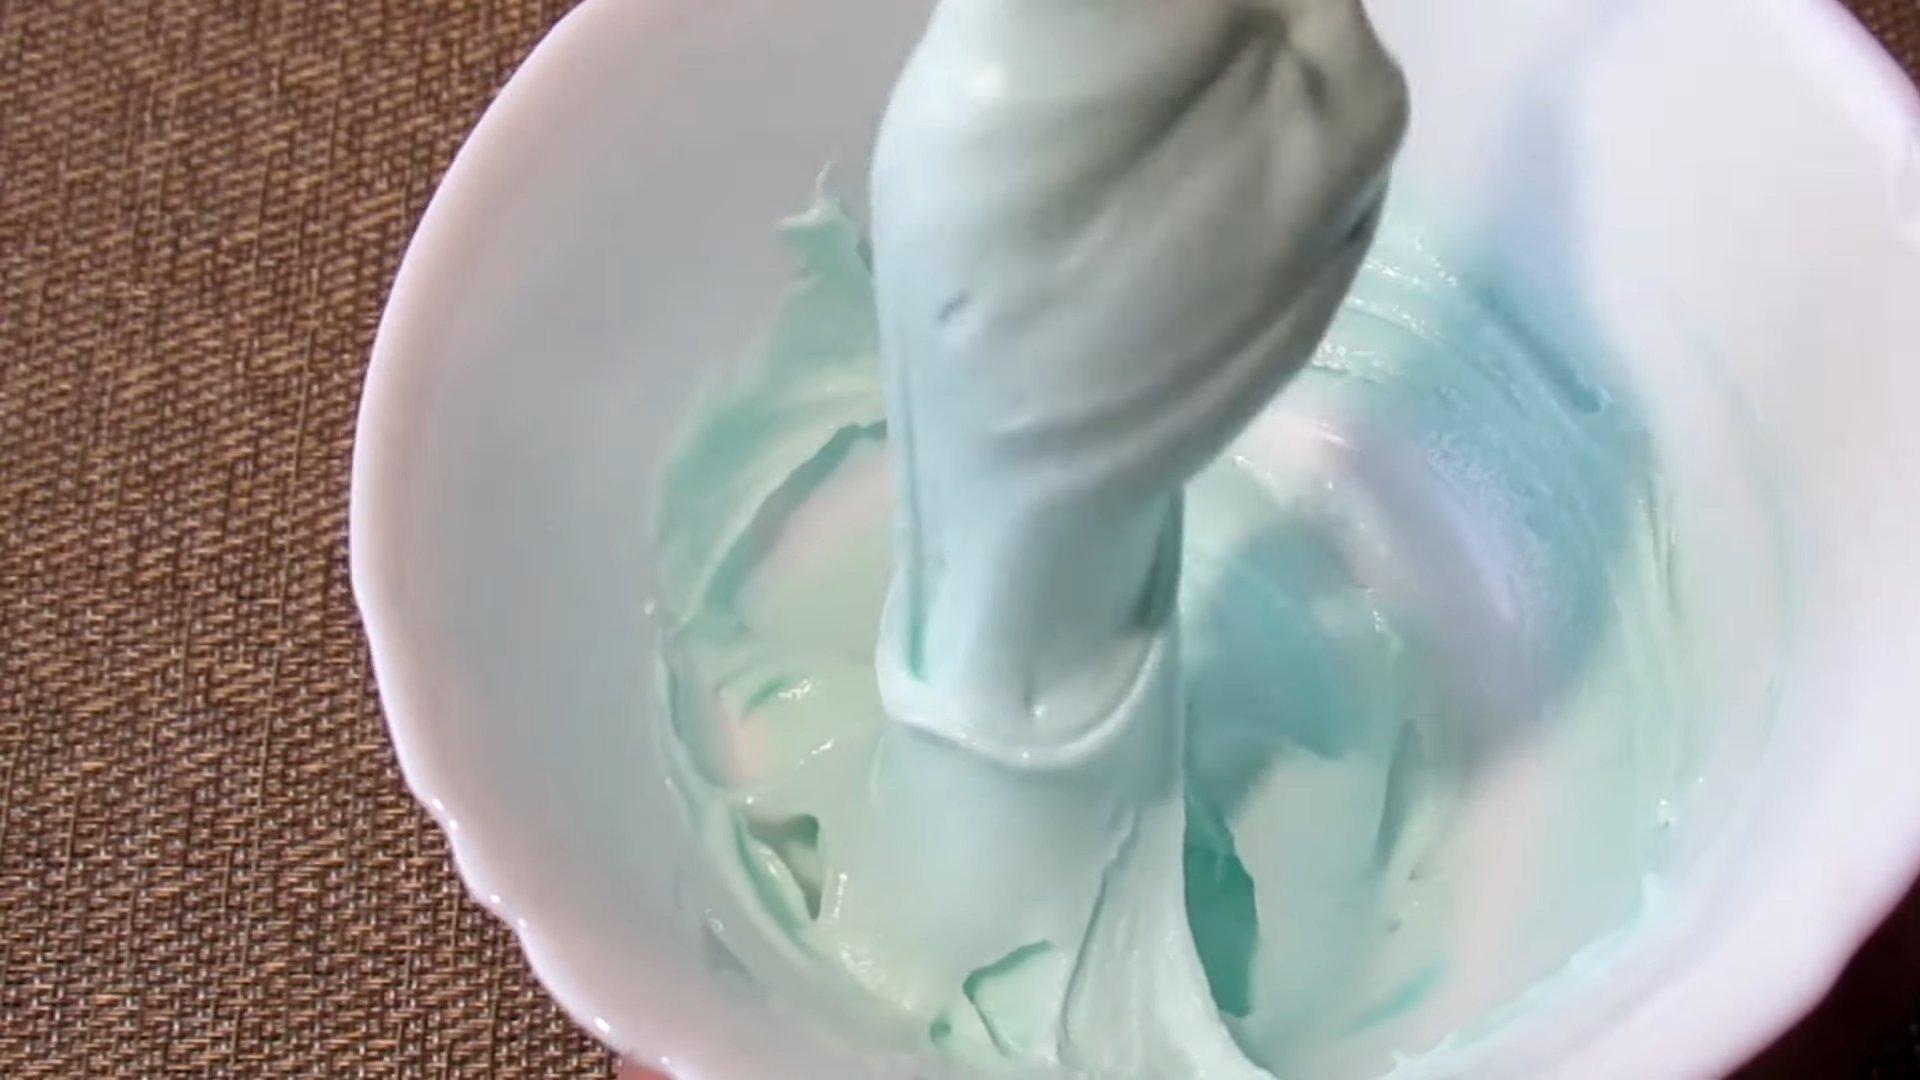
Basic
The thickest consistency of icing. This icing flows very slowly, forming peaks. It's ideal for creating outlines, embroidery, lace, various patterns, and lettering.
Photo 1
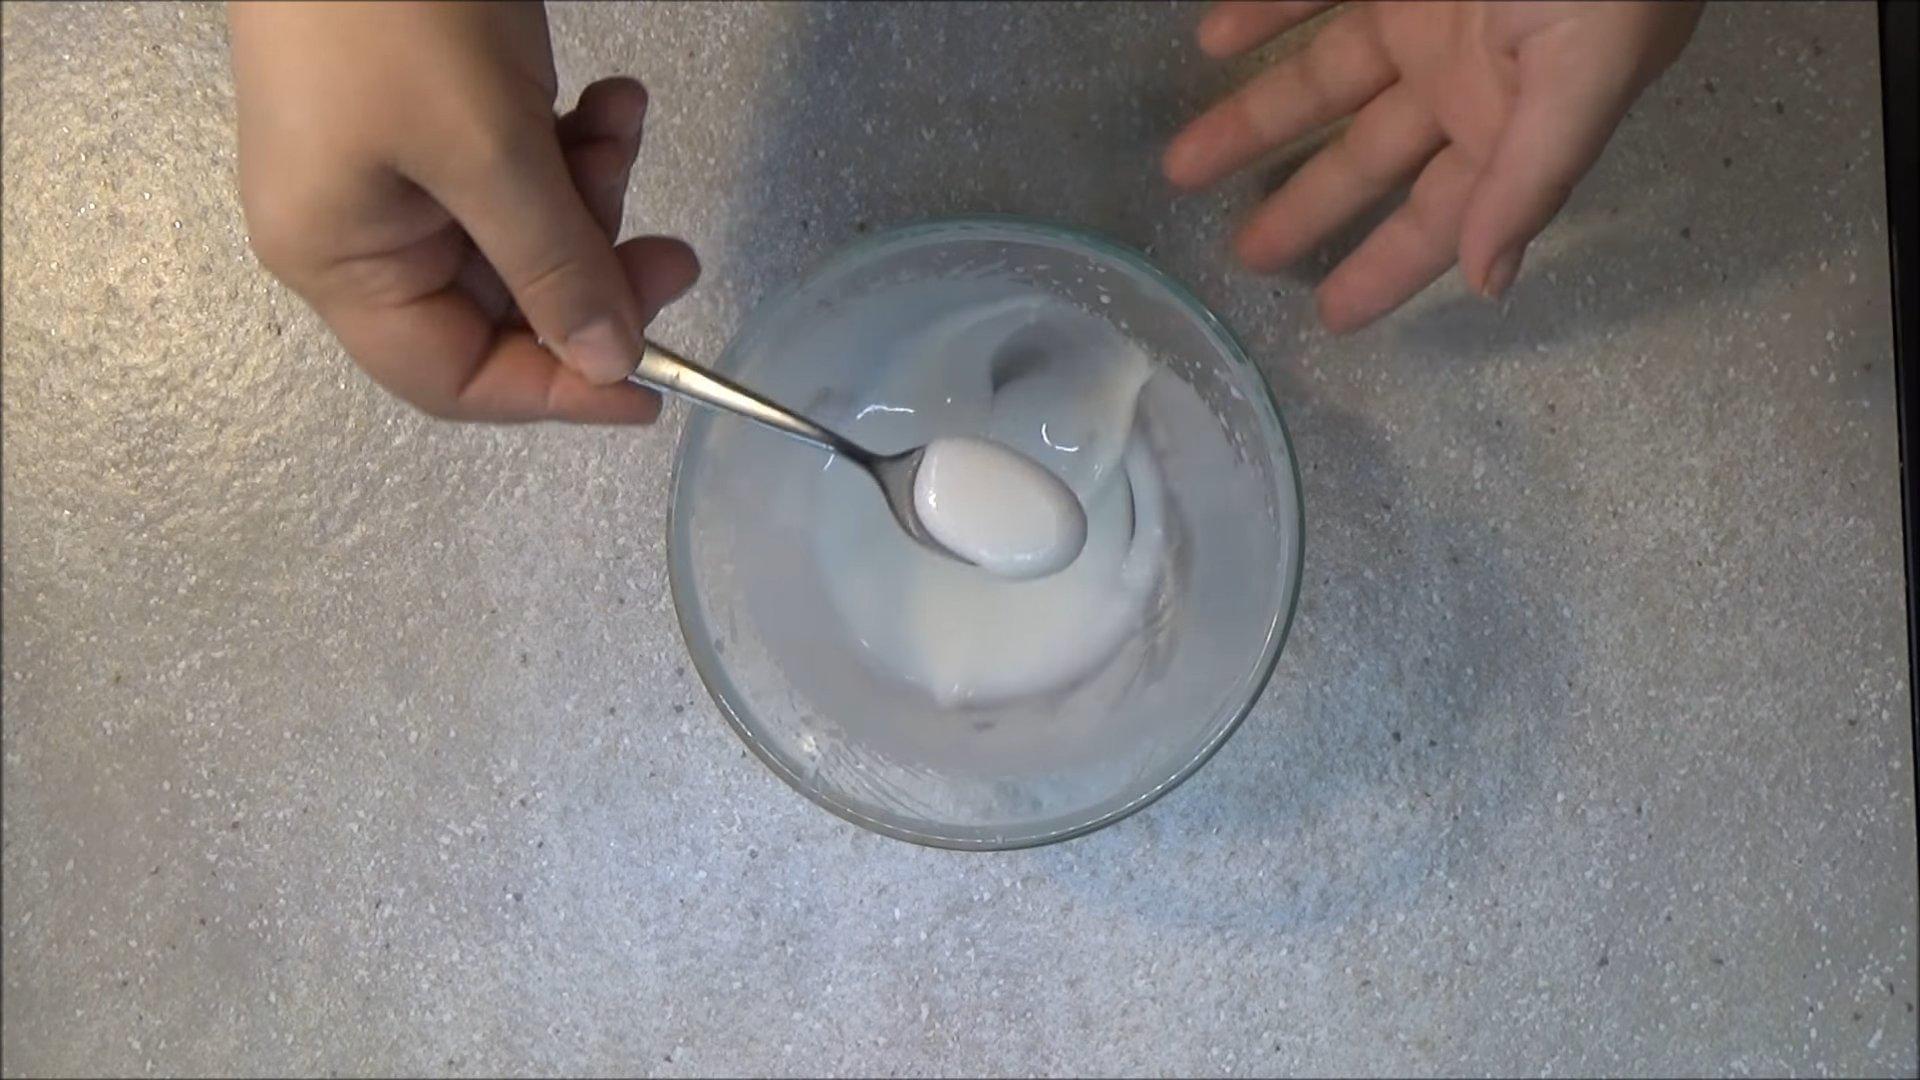
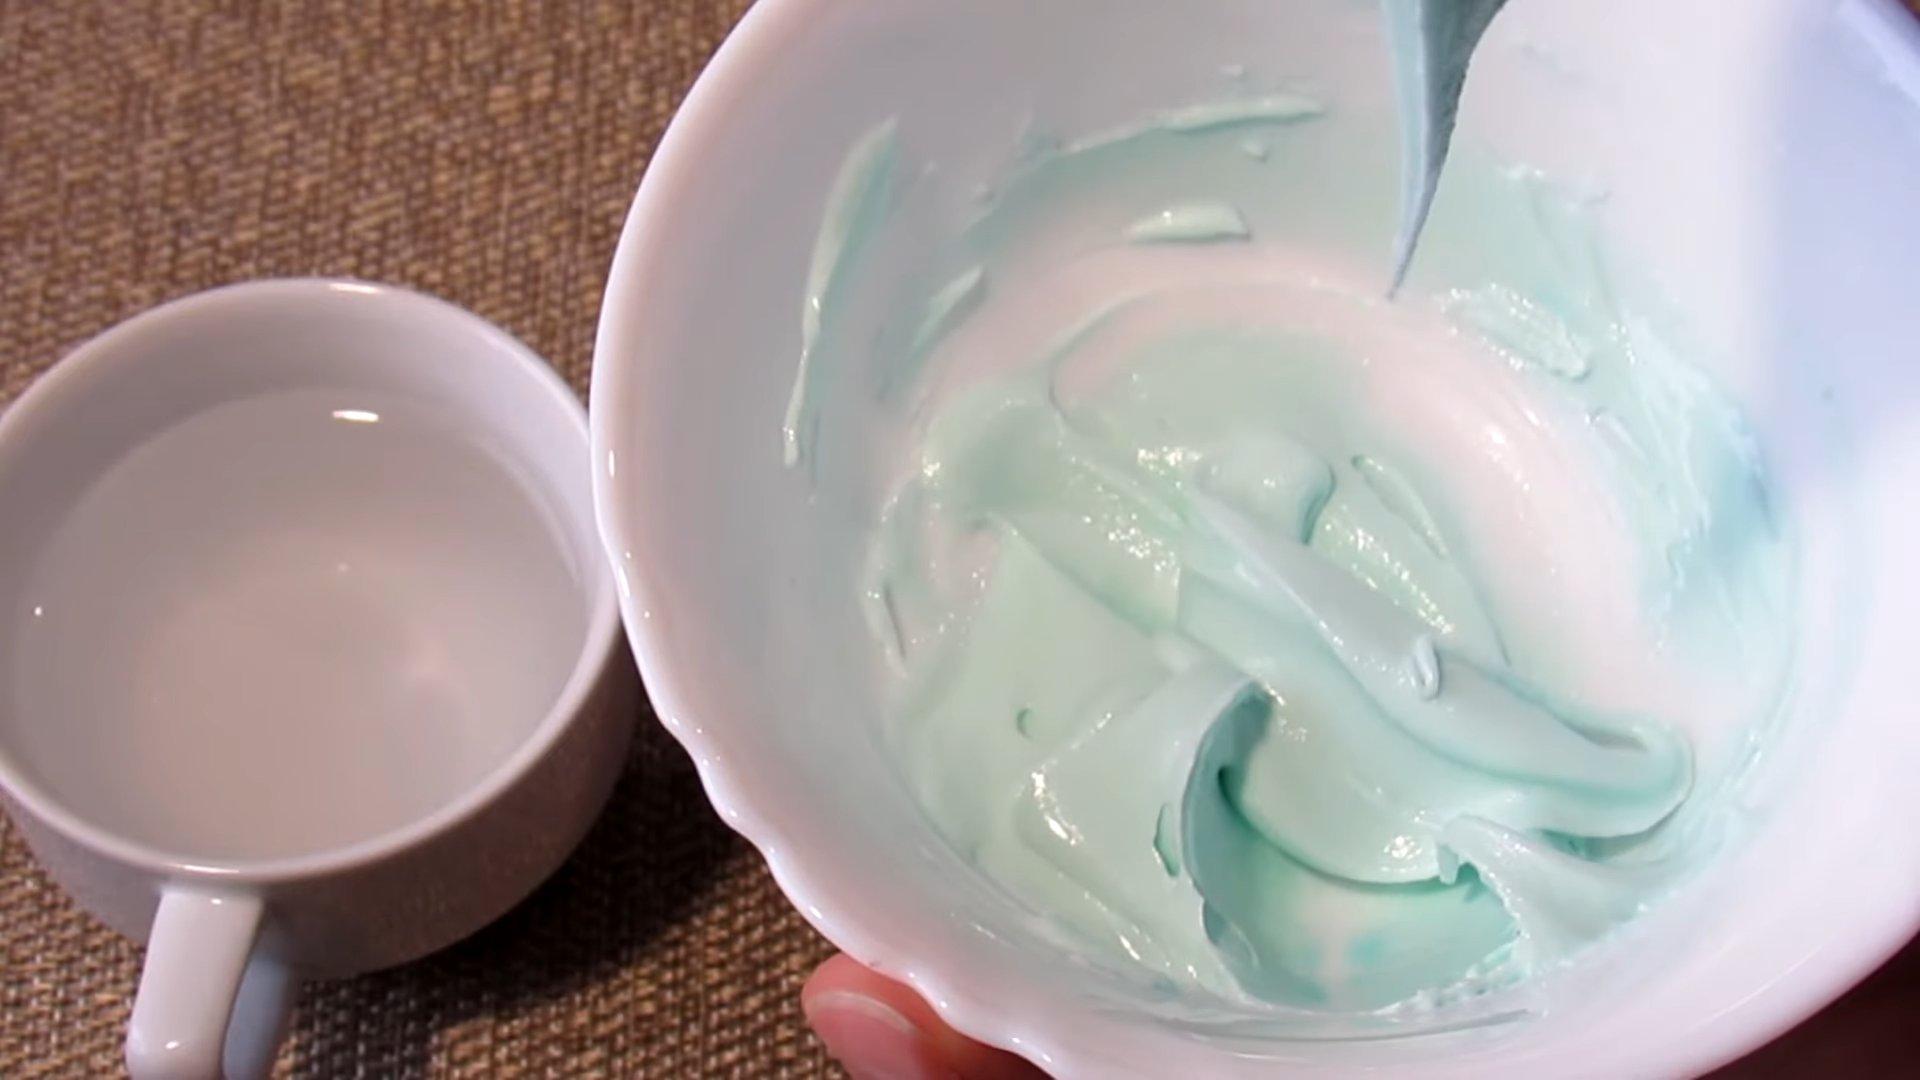
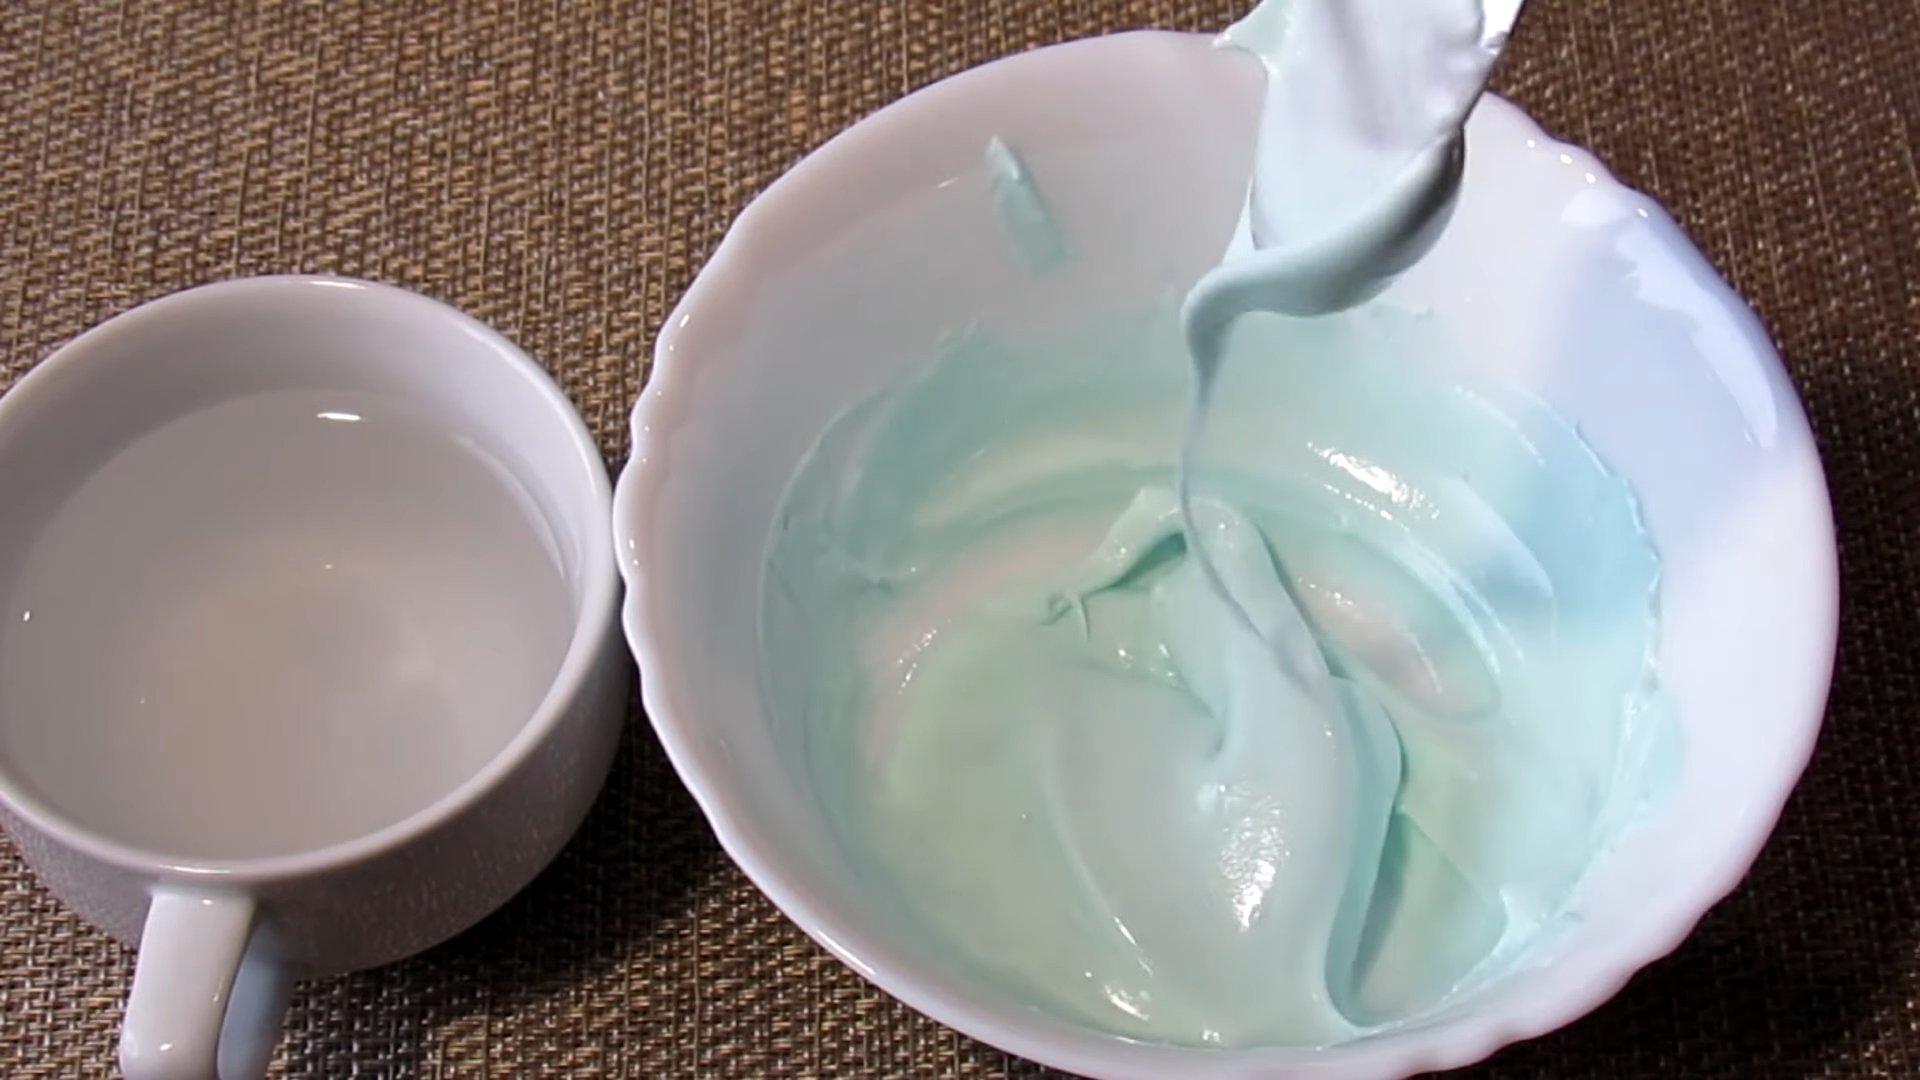
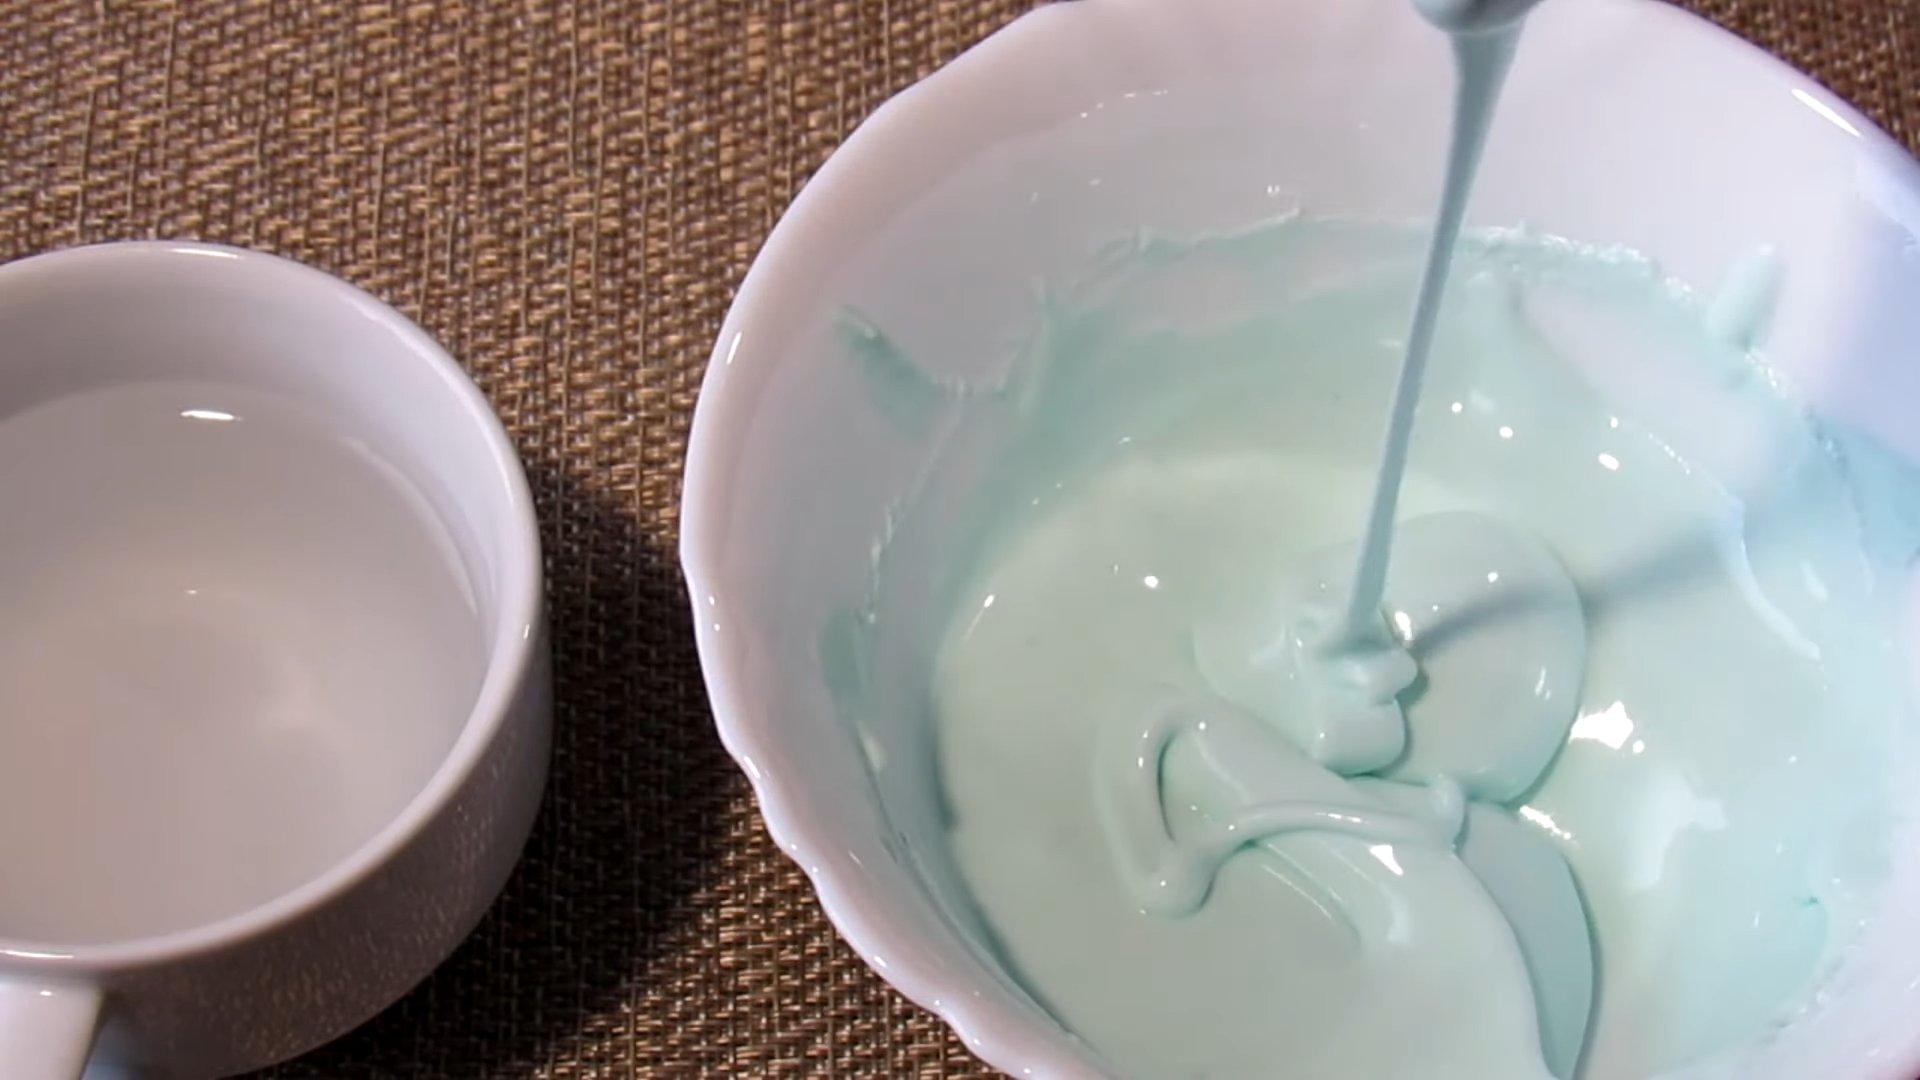
Piping
Add a little water to the glaze with a basic consistency. It becomes more elastic, holds its shape well, and is suitable for filling. If you run a spoon through it, the resulting groove will not disappear.
Photos 2, 3
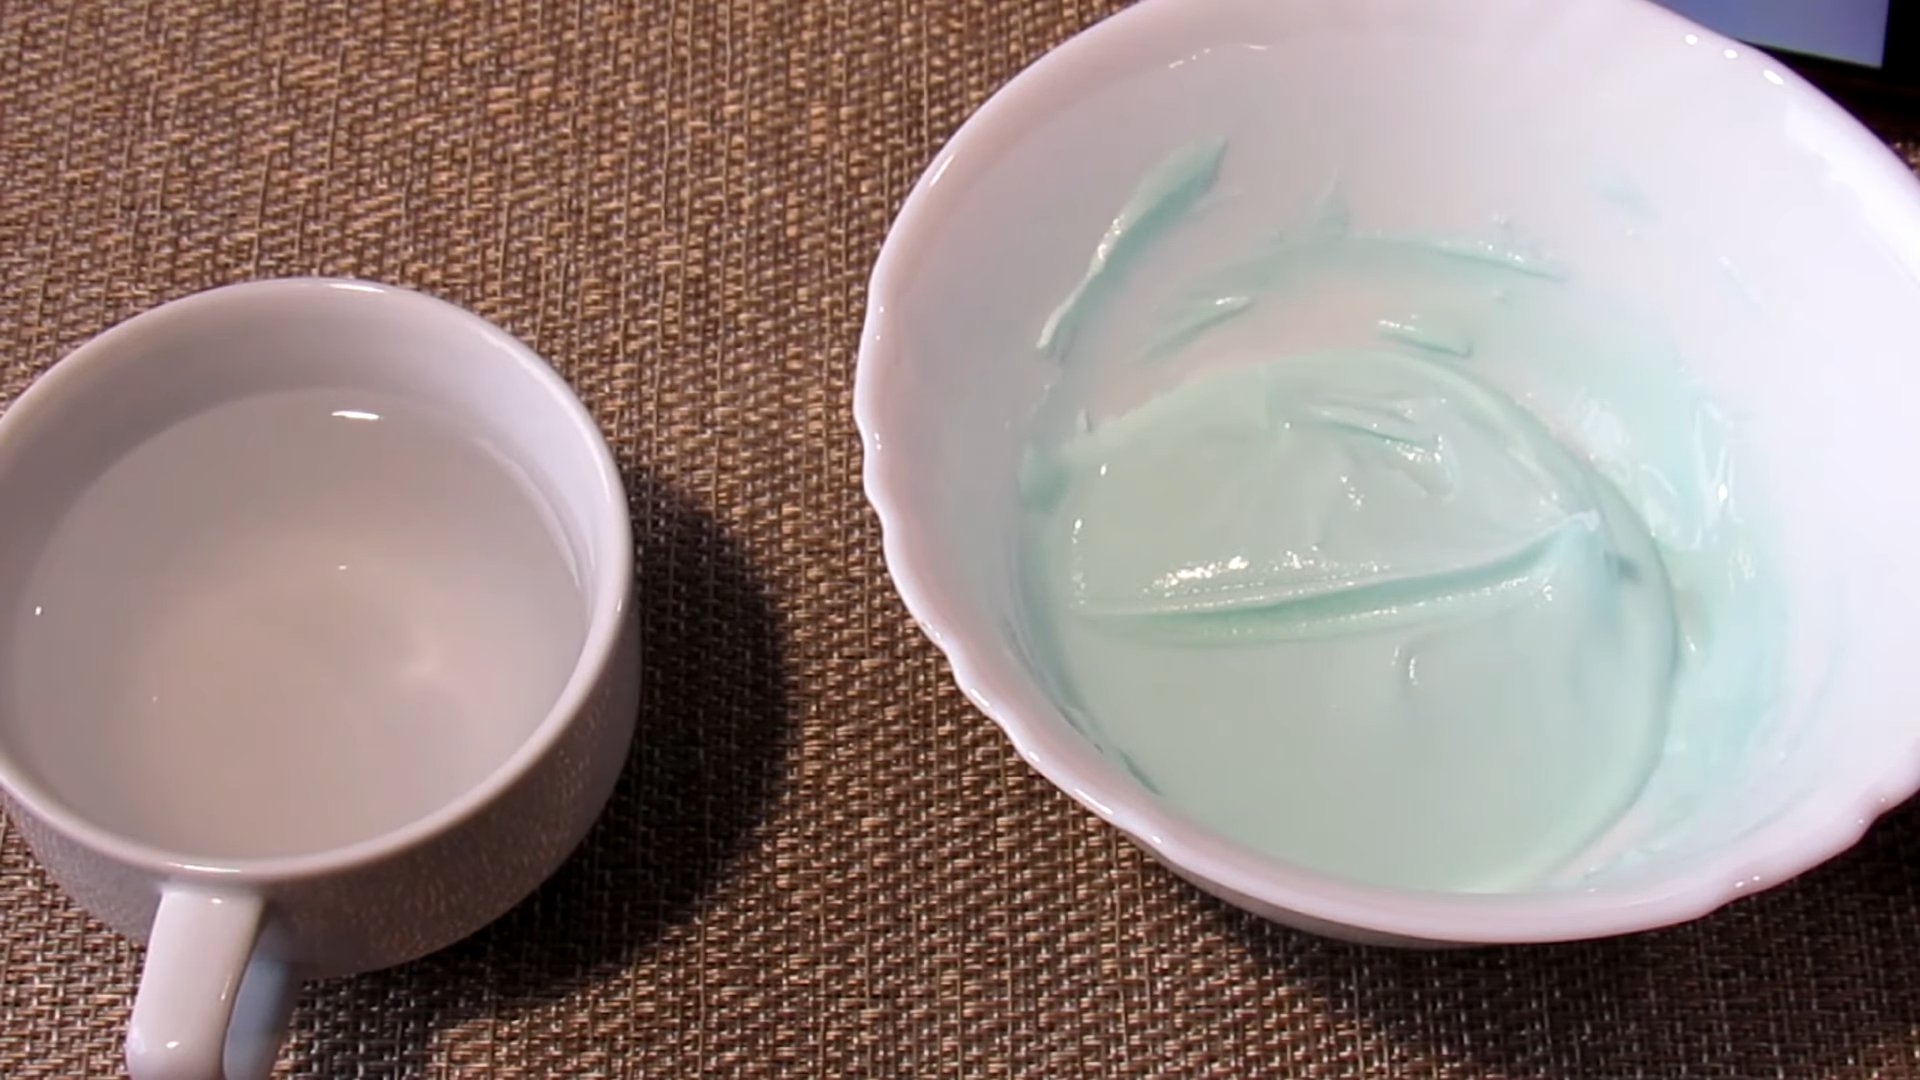
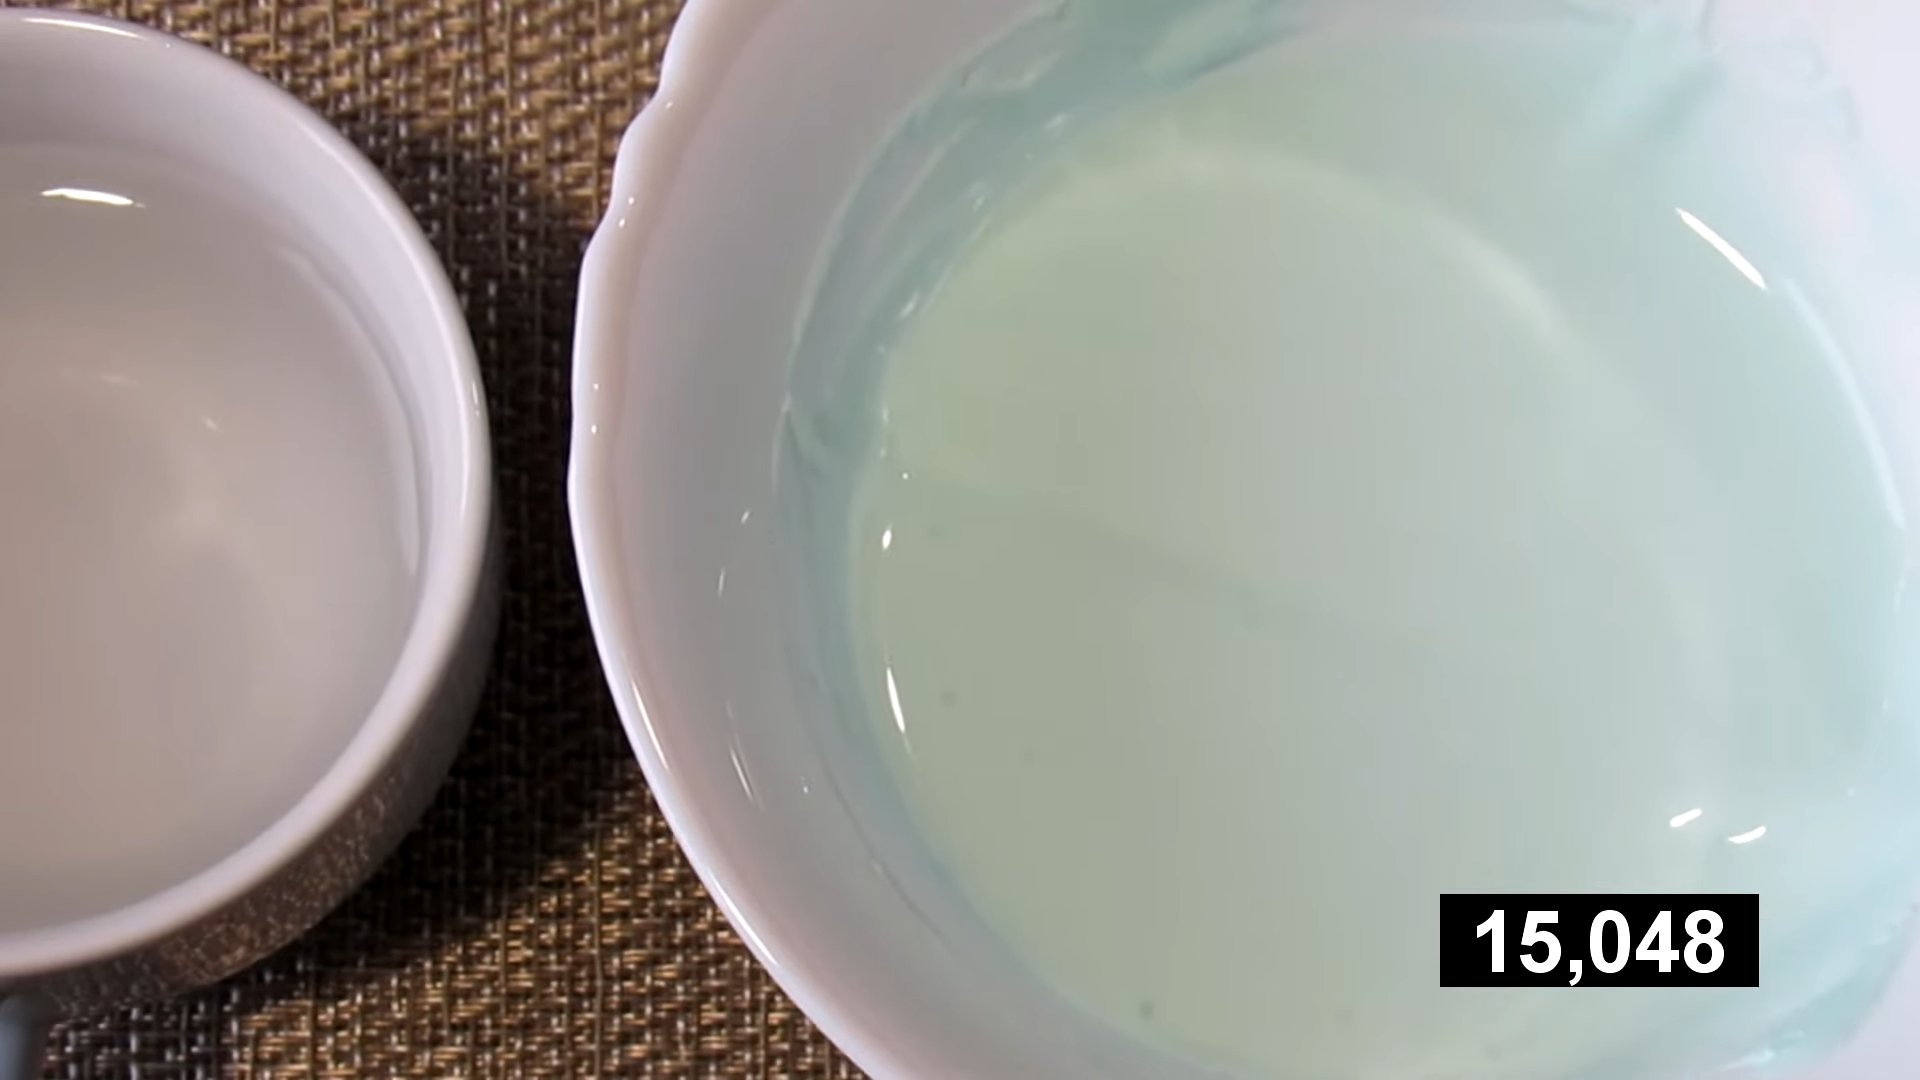
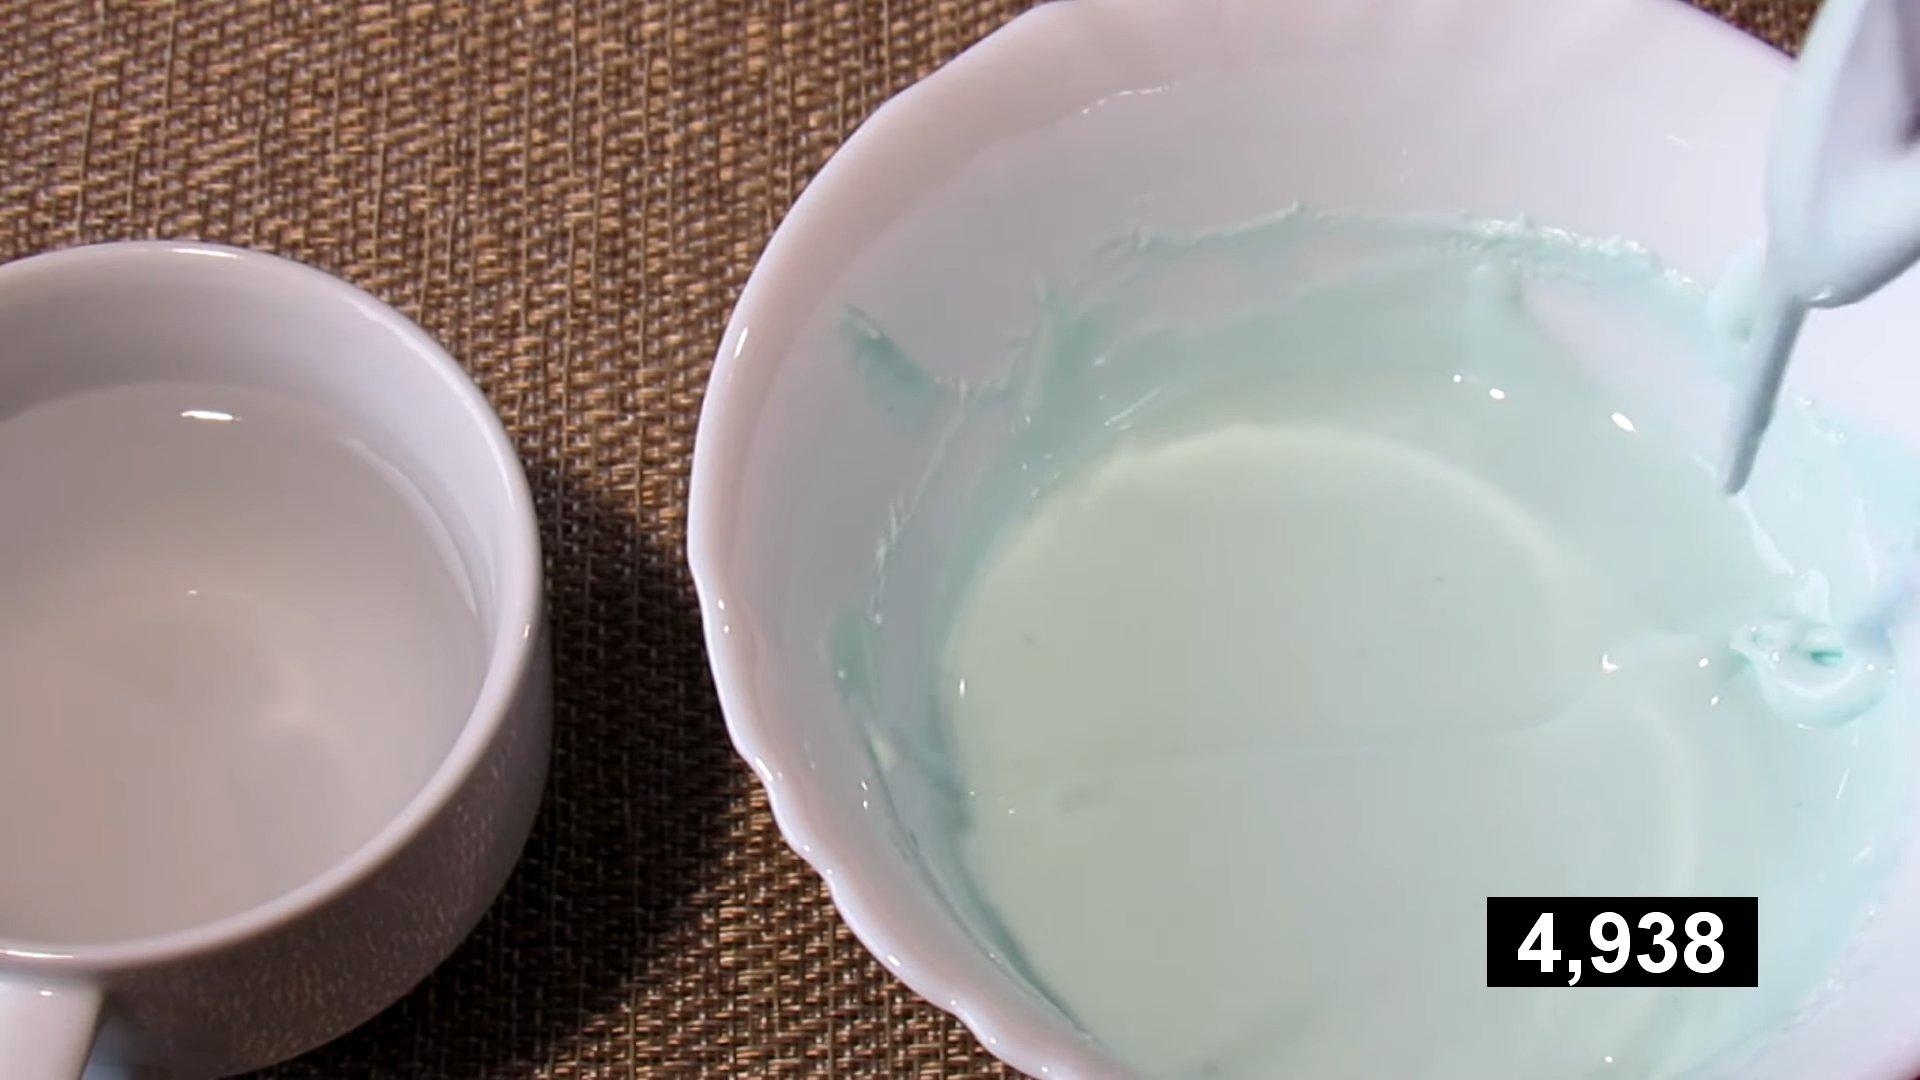
20 seconds
Add a little more water and stir the icing. If the groove disappears within 20 seconds, the icing is suitable for contourless pouring. It holds its shape well and doesn't spread.
Photos 4, 5
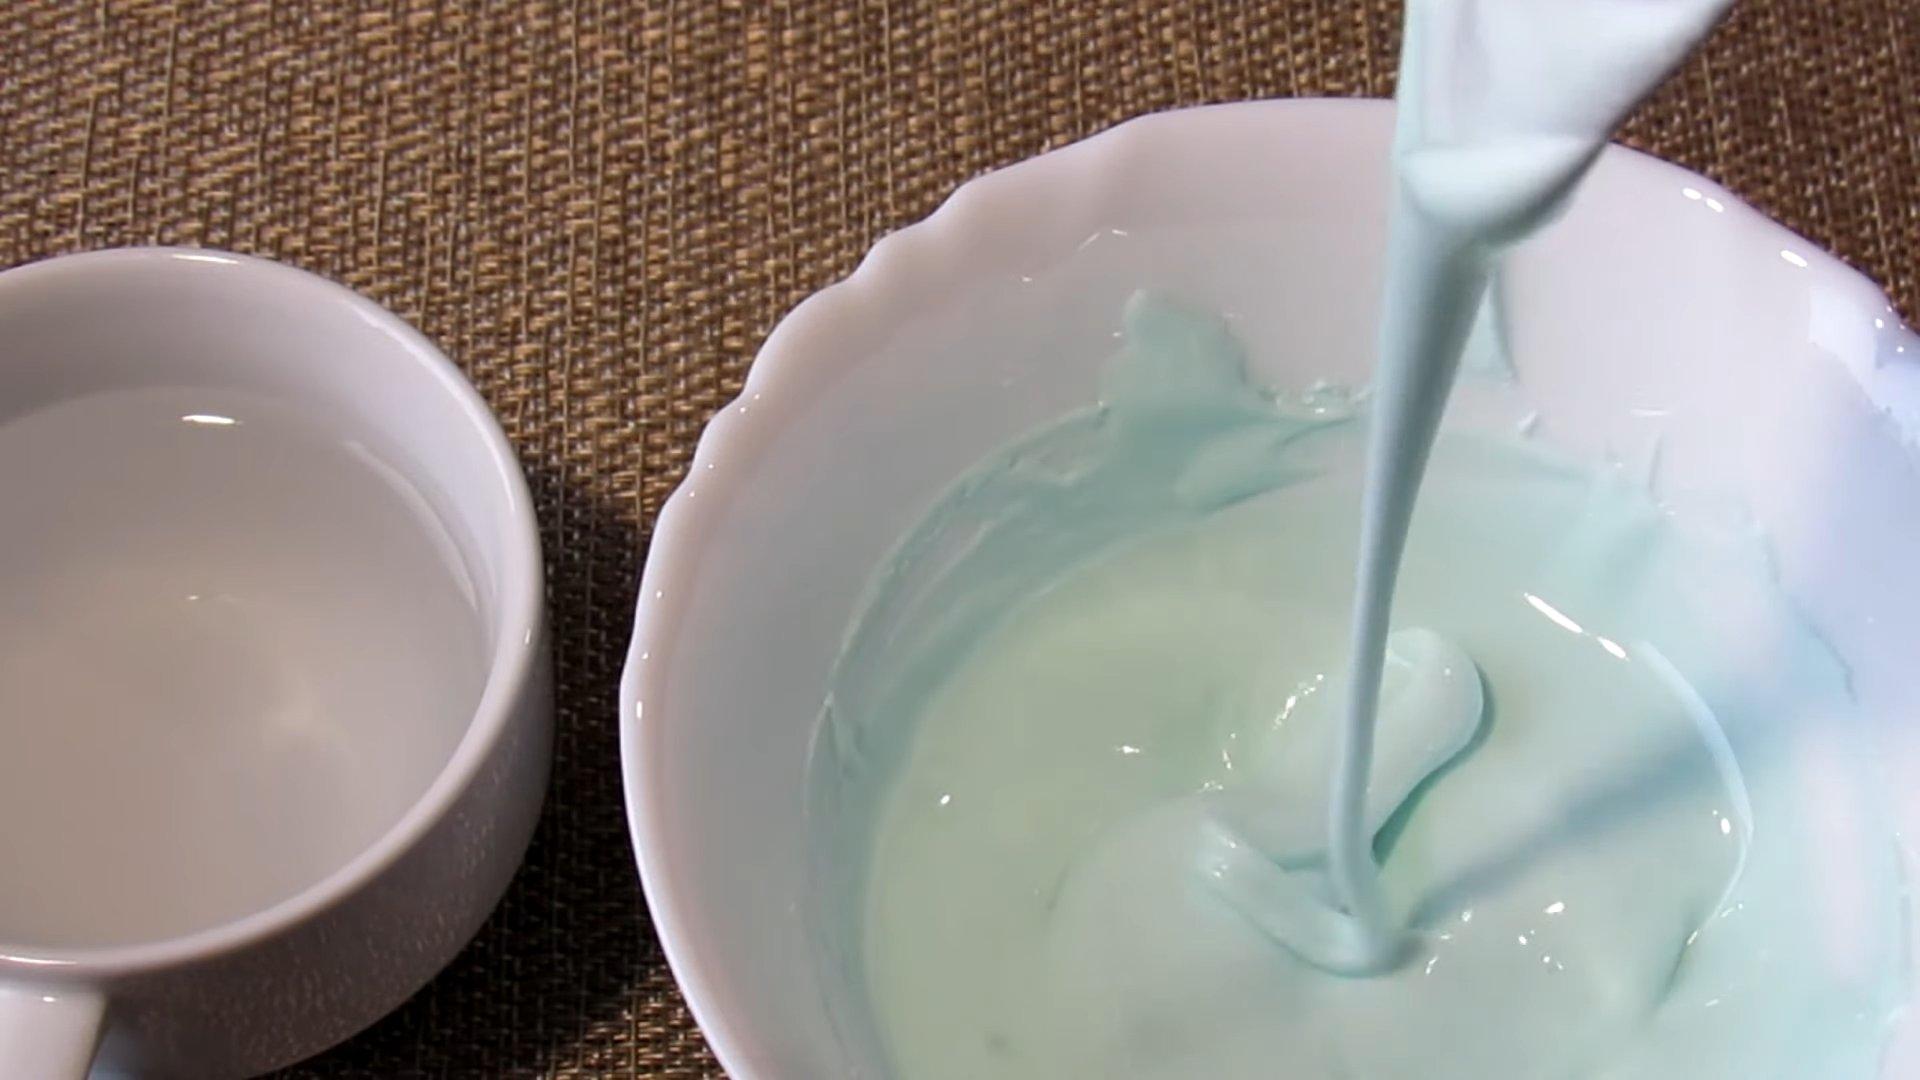
15 seconds
Add more water. If the groove disappears within 15 seconds, the icing is ready. Its consistency is now more runny and suitable for contour filling.
Photos 6, 7
5 seconds
Add a little more water and run a spoon over the icing. If the groove disappears within 5 seconds, the icing is now quite runny and suitable for basic gingerbread coating.
Photos 8, 9
What is needed for work
There are many different tools and materials that help with icing. Let's look at the main ones.
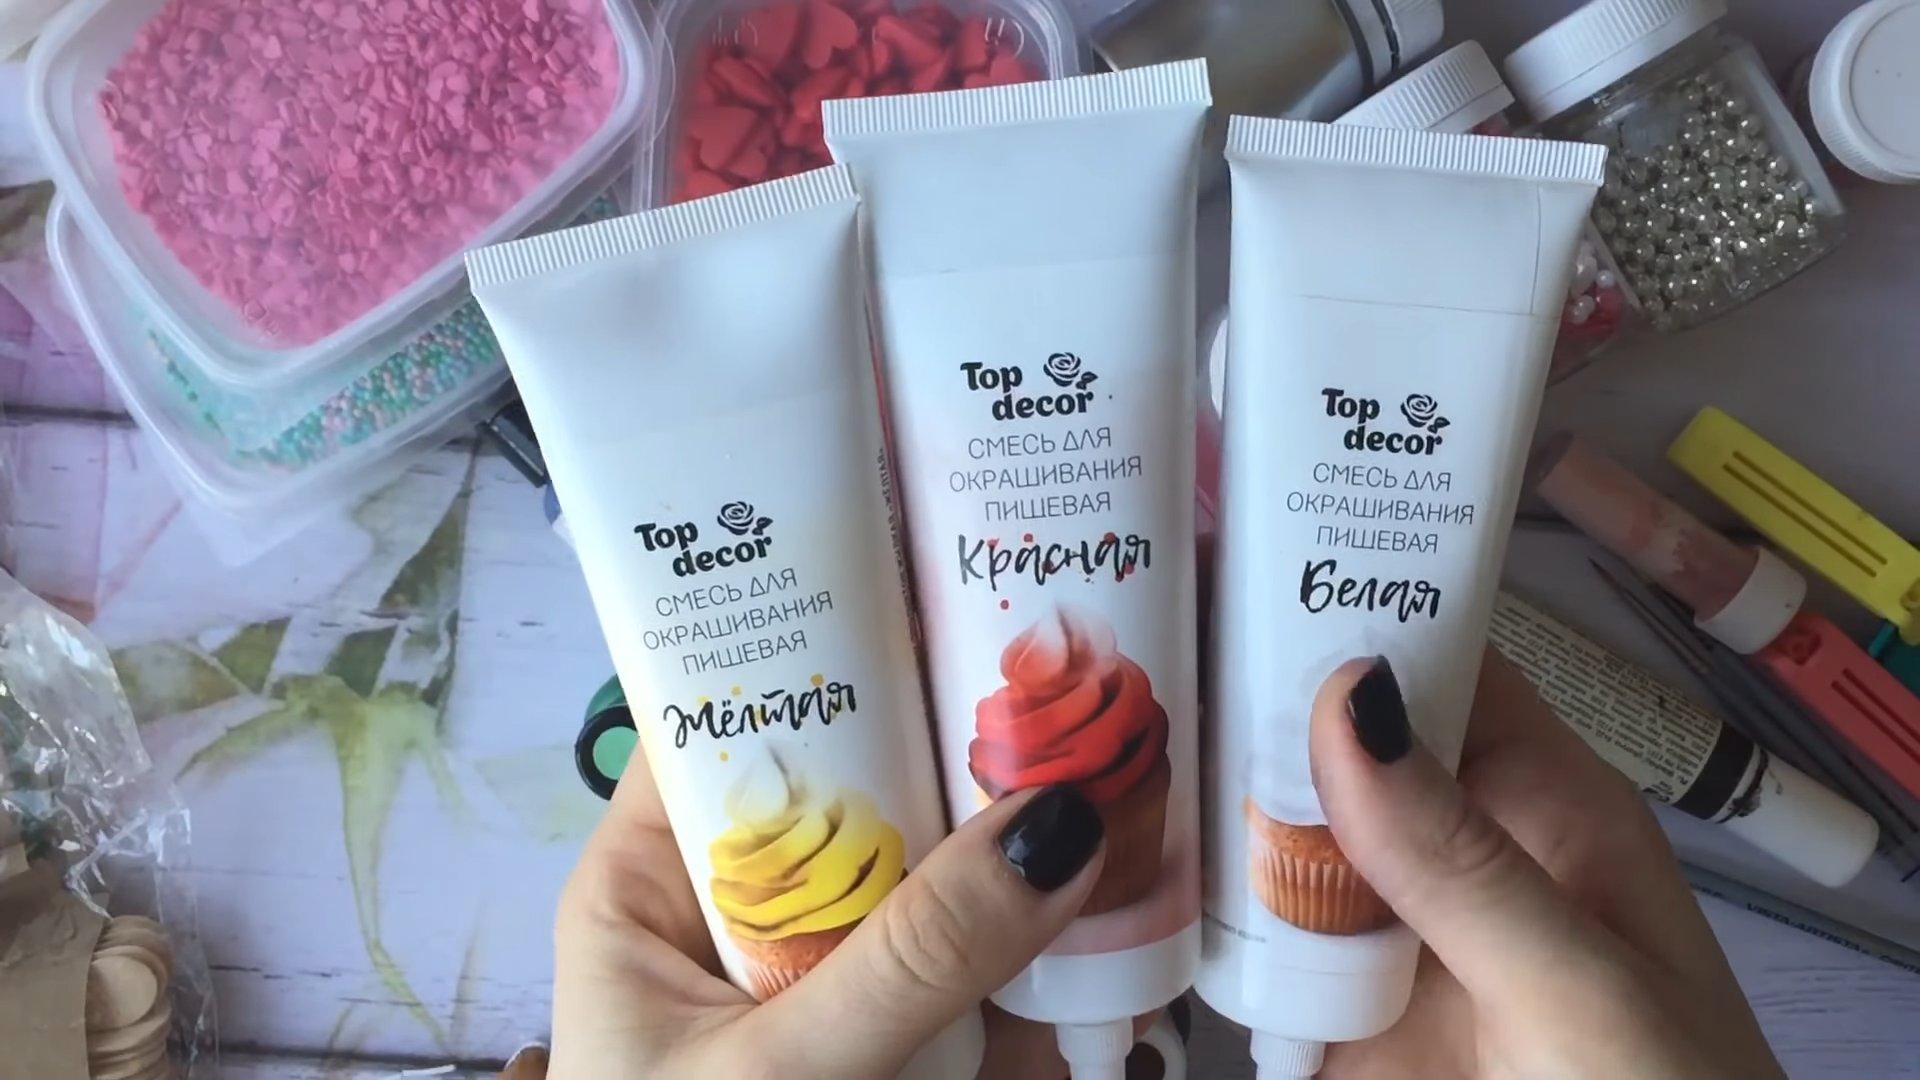
Food colorings
You can use them to give the icing any shade. Any food coloring is suitable for coloring the icing: gel, liquid, or dry.
Photo 10
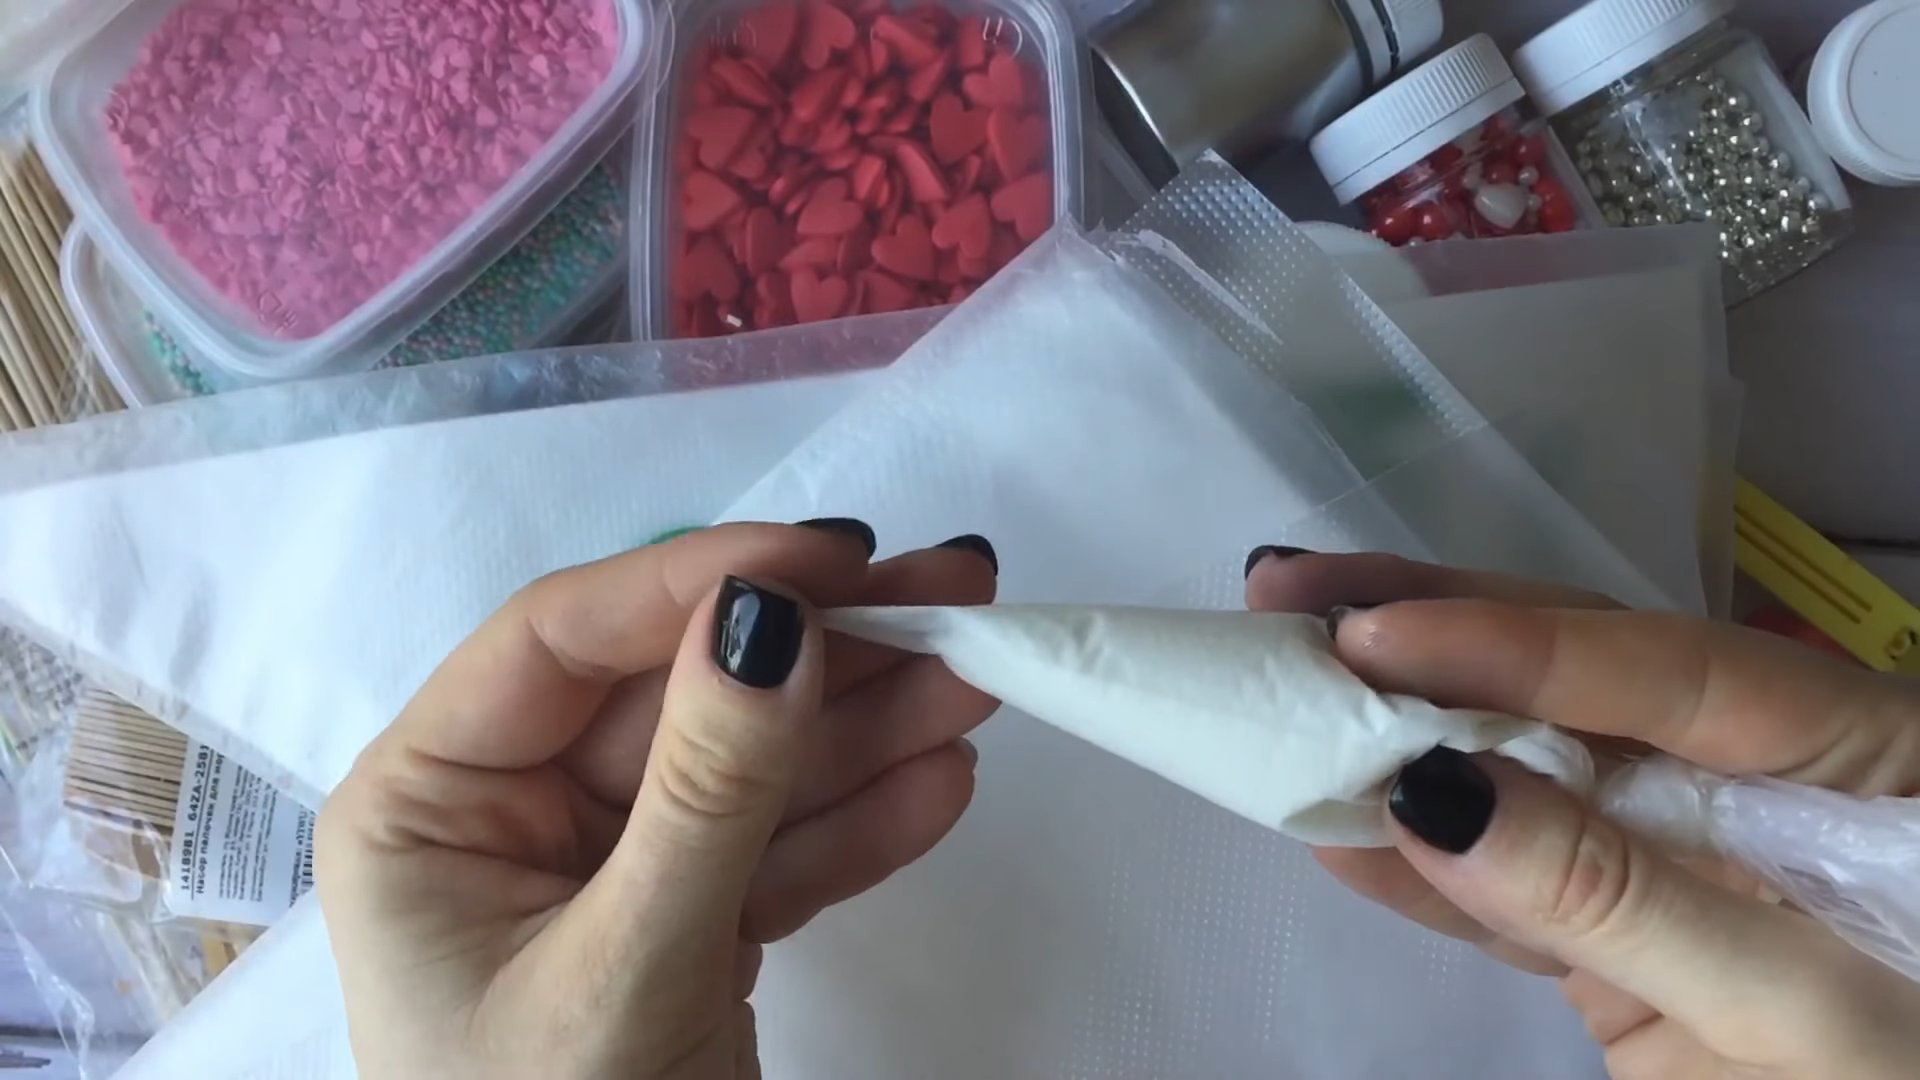
Pastry bags
They help you carefully apply glaze to your items. Special nozzles are used to create intricate details.
Photo 11
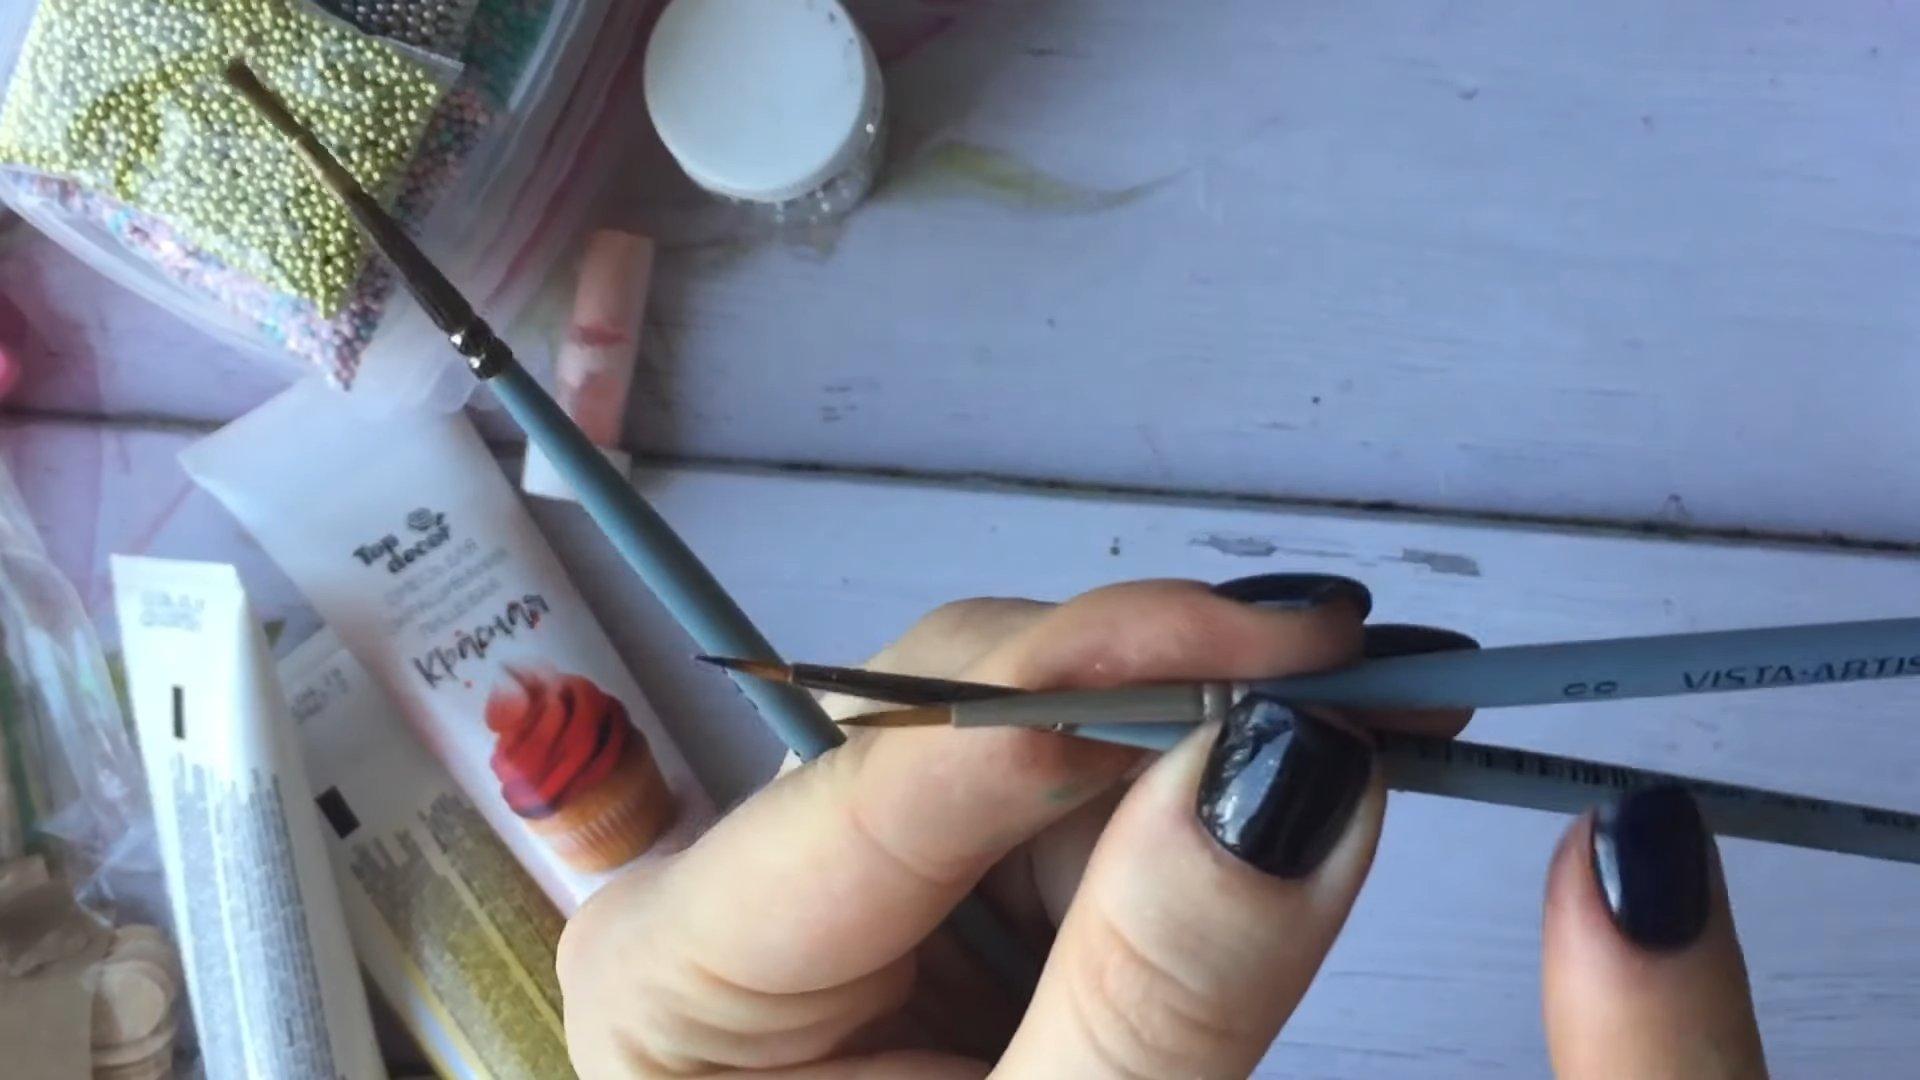
Tassels, awl
You will need these tools to beautifully apply the glaze, draw patterns on it, and remove air bubbles.
Photo 12
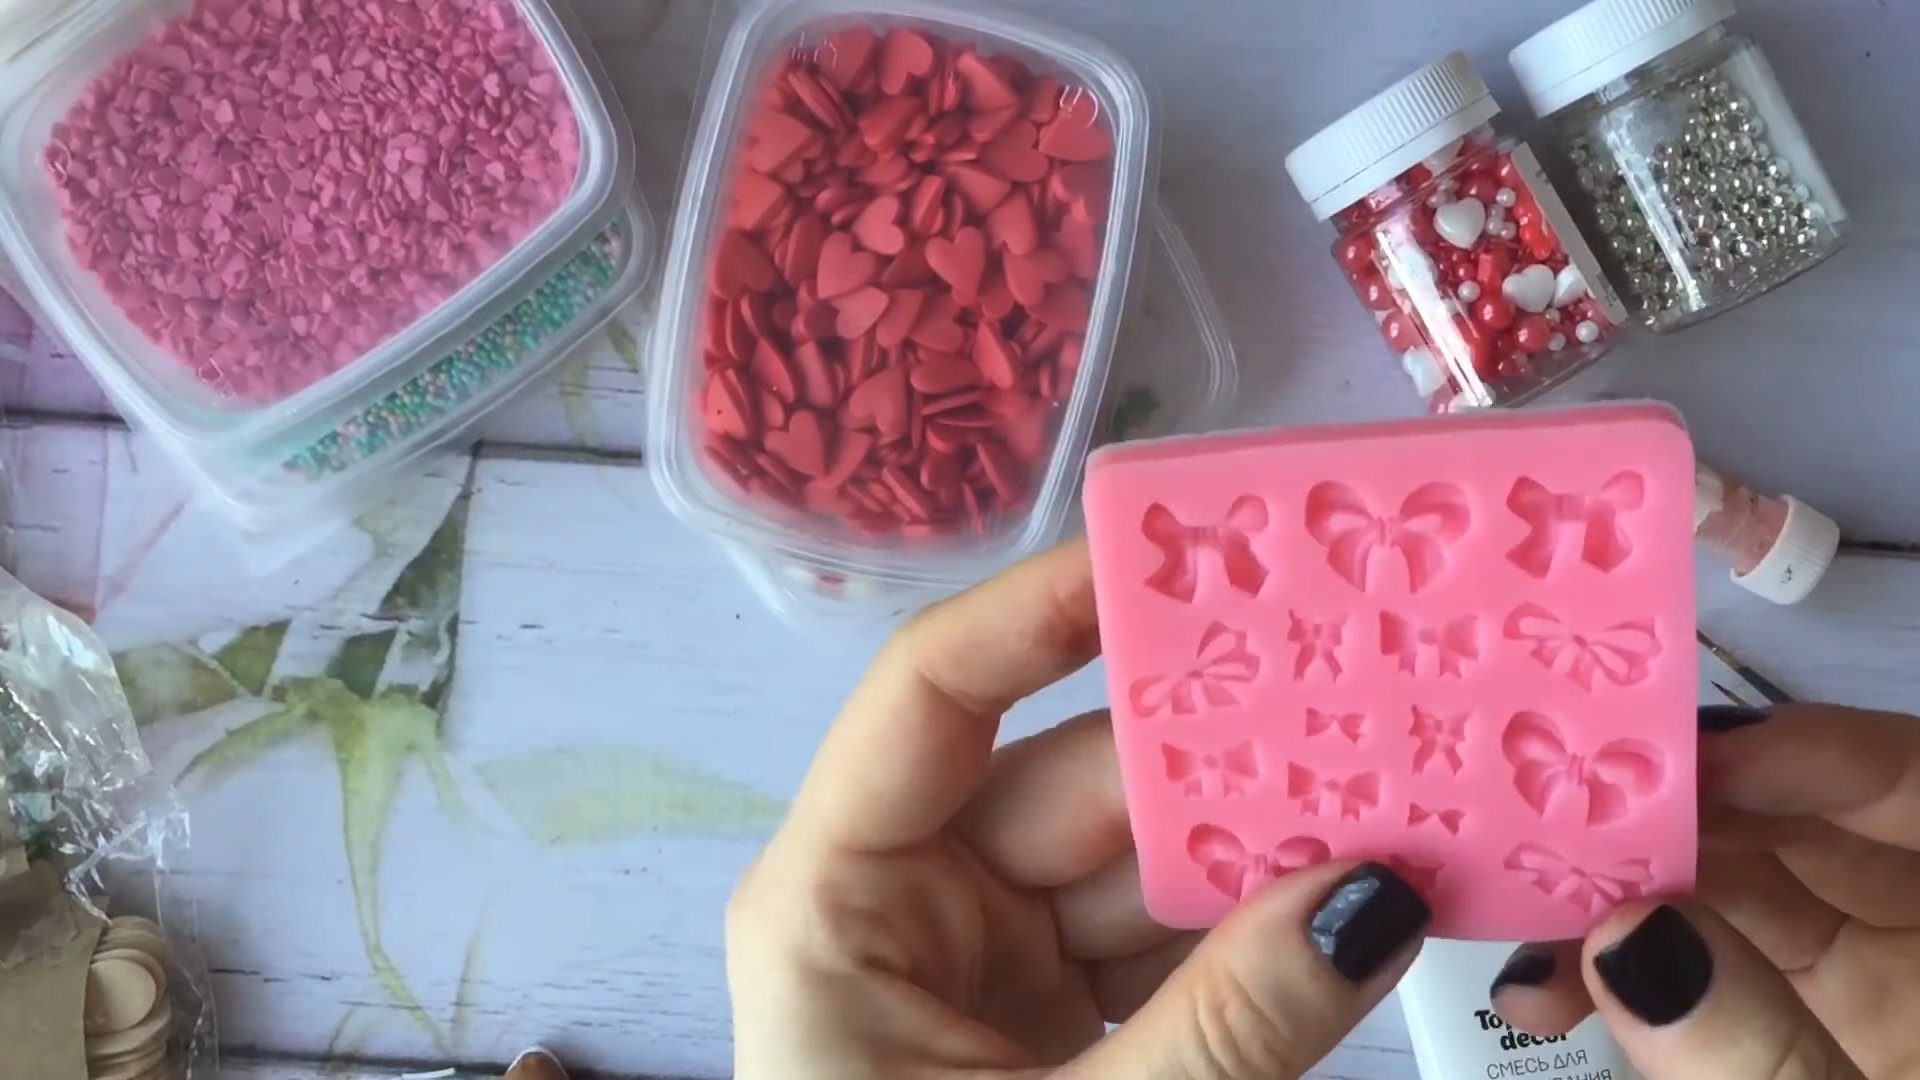
Silicone molds and mats
If you want to make small figures or lace from icing, you will need special molds.
Photo 13
Every pastry chef has their own set of icing tools. Experiment with different options and find the perfect set for you.
How long does icing take to dry?
The drying time of the icing depends on its consistency. Thick icing dries at room temperature in 30-60 minutes, while thin icing takes 2-3 hours. A thick layer of icing should be left to harden overnight.
How to store icing
Icing should be stored in a tightly sealed container for 1-2 weeks. It's crucial to keep it away from air, otherwise the icing will dry out and spoil.
Can you freeze icing?
Yes, you can freeze the finished icing in an airtight container. This will extend its shelf life.
Icing painting lessons for beginners
You've already learned the best icing recipes and how to work with it. Now it's time to learn how to properly apply this icing and what decorations you can create with it. Three wonderful master classes will help you with this. In them, you'll learn how to create a beautiful basic icing for gingerbread, as well as flowers and lace for cakes. Be inspired by these ideas, explore different techniques, and create true masterpieces in your own kitchen.
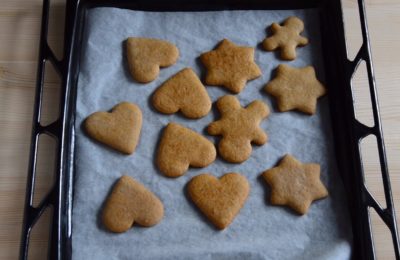
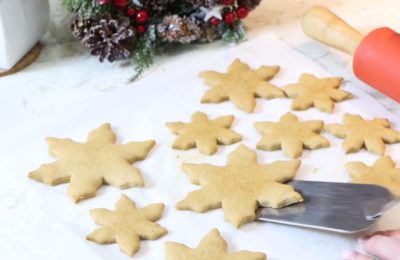
Basic icing for gingerbread
This master class demonstrates one method for a basic gingerbread icing. It uses two icing consistencies: a thicker one for the outline and a thinner one for the icing itself. This method will help create a perfectly even and smooth coating on the gingerbread.
Materials, tools
- Icing (thick)
- Water
- Stencil or die-cut
- Pastry bag
Cooking time: 10-20 minutes
Servings: 1
Step-by-step recipe
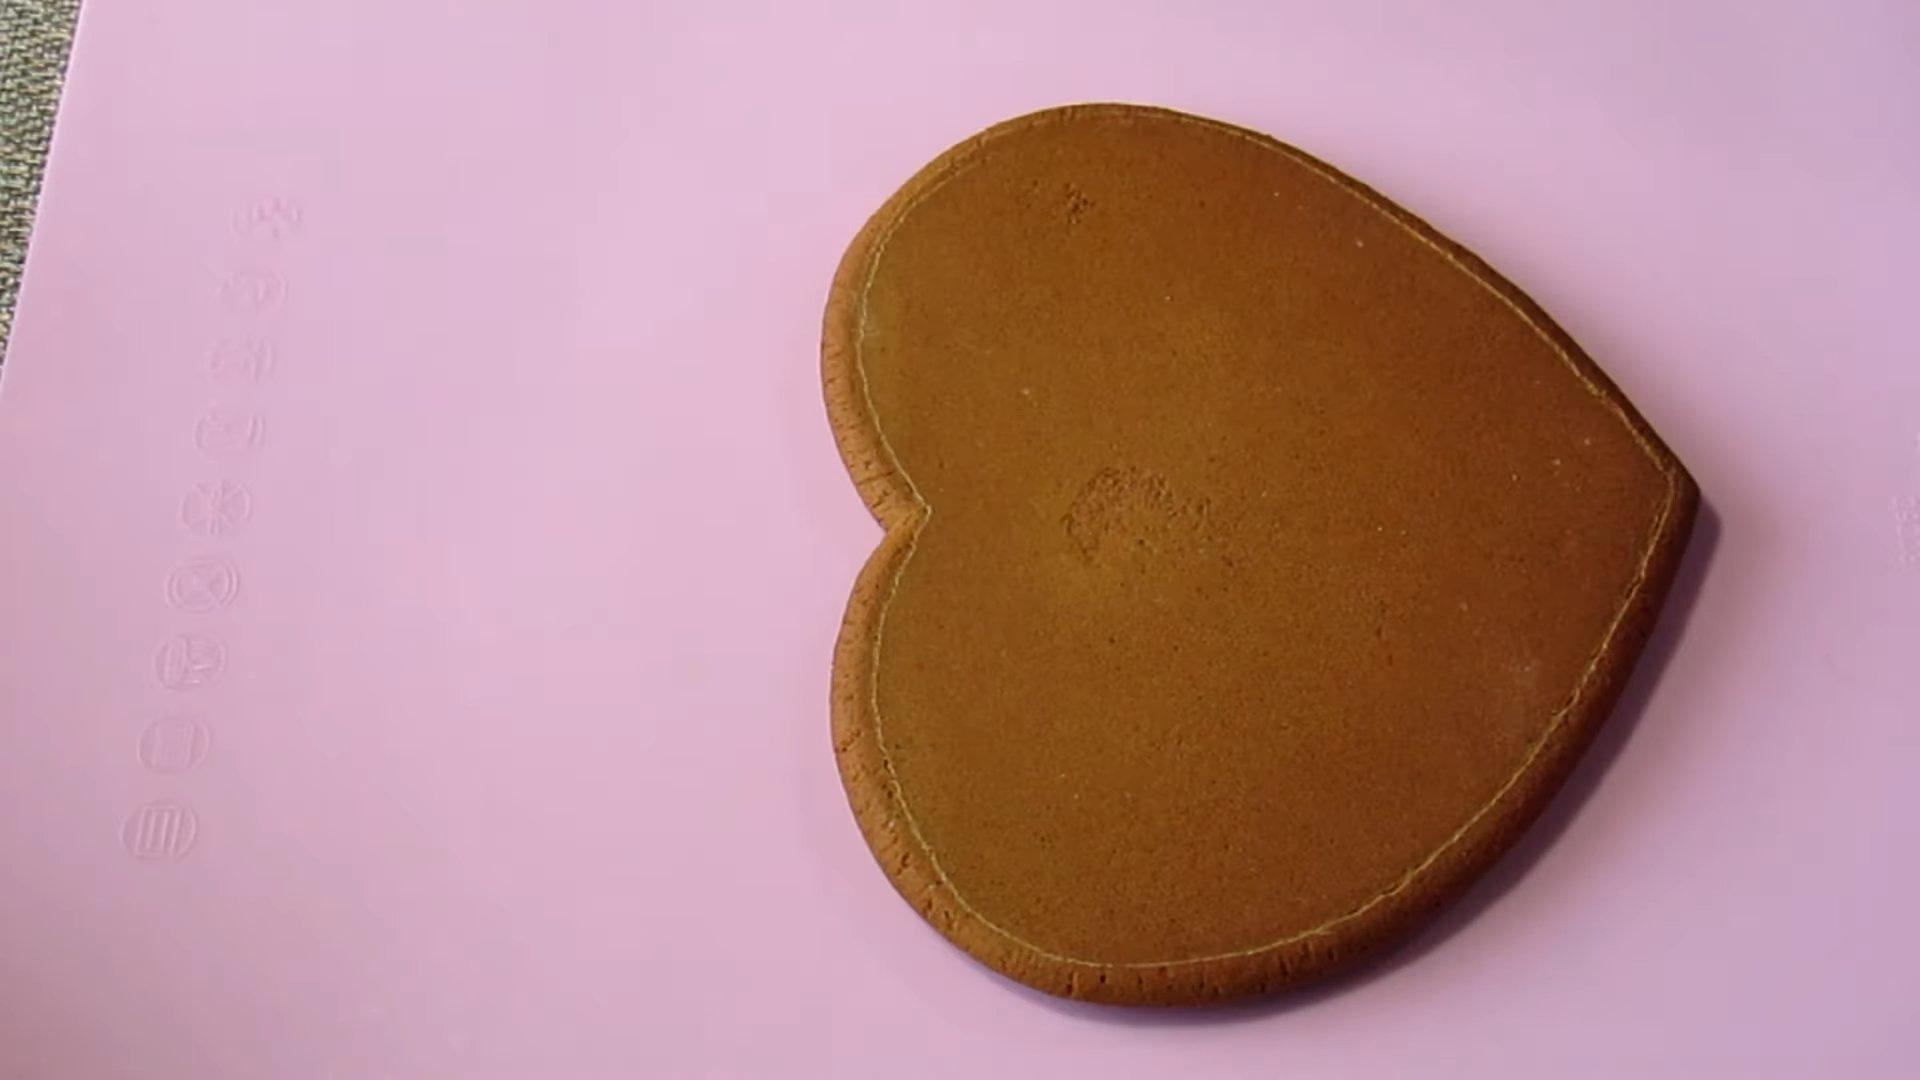
Step 1
We take the stencil (or cutter) with which the gingerbread was cut out and apply it to the finished product.
Step 2
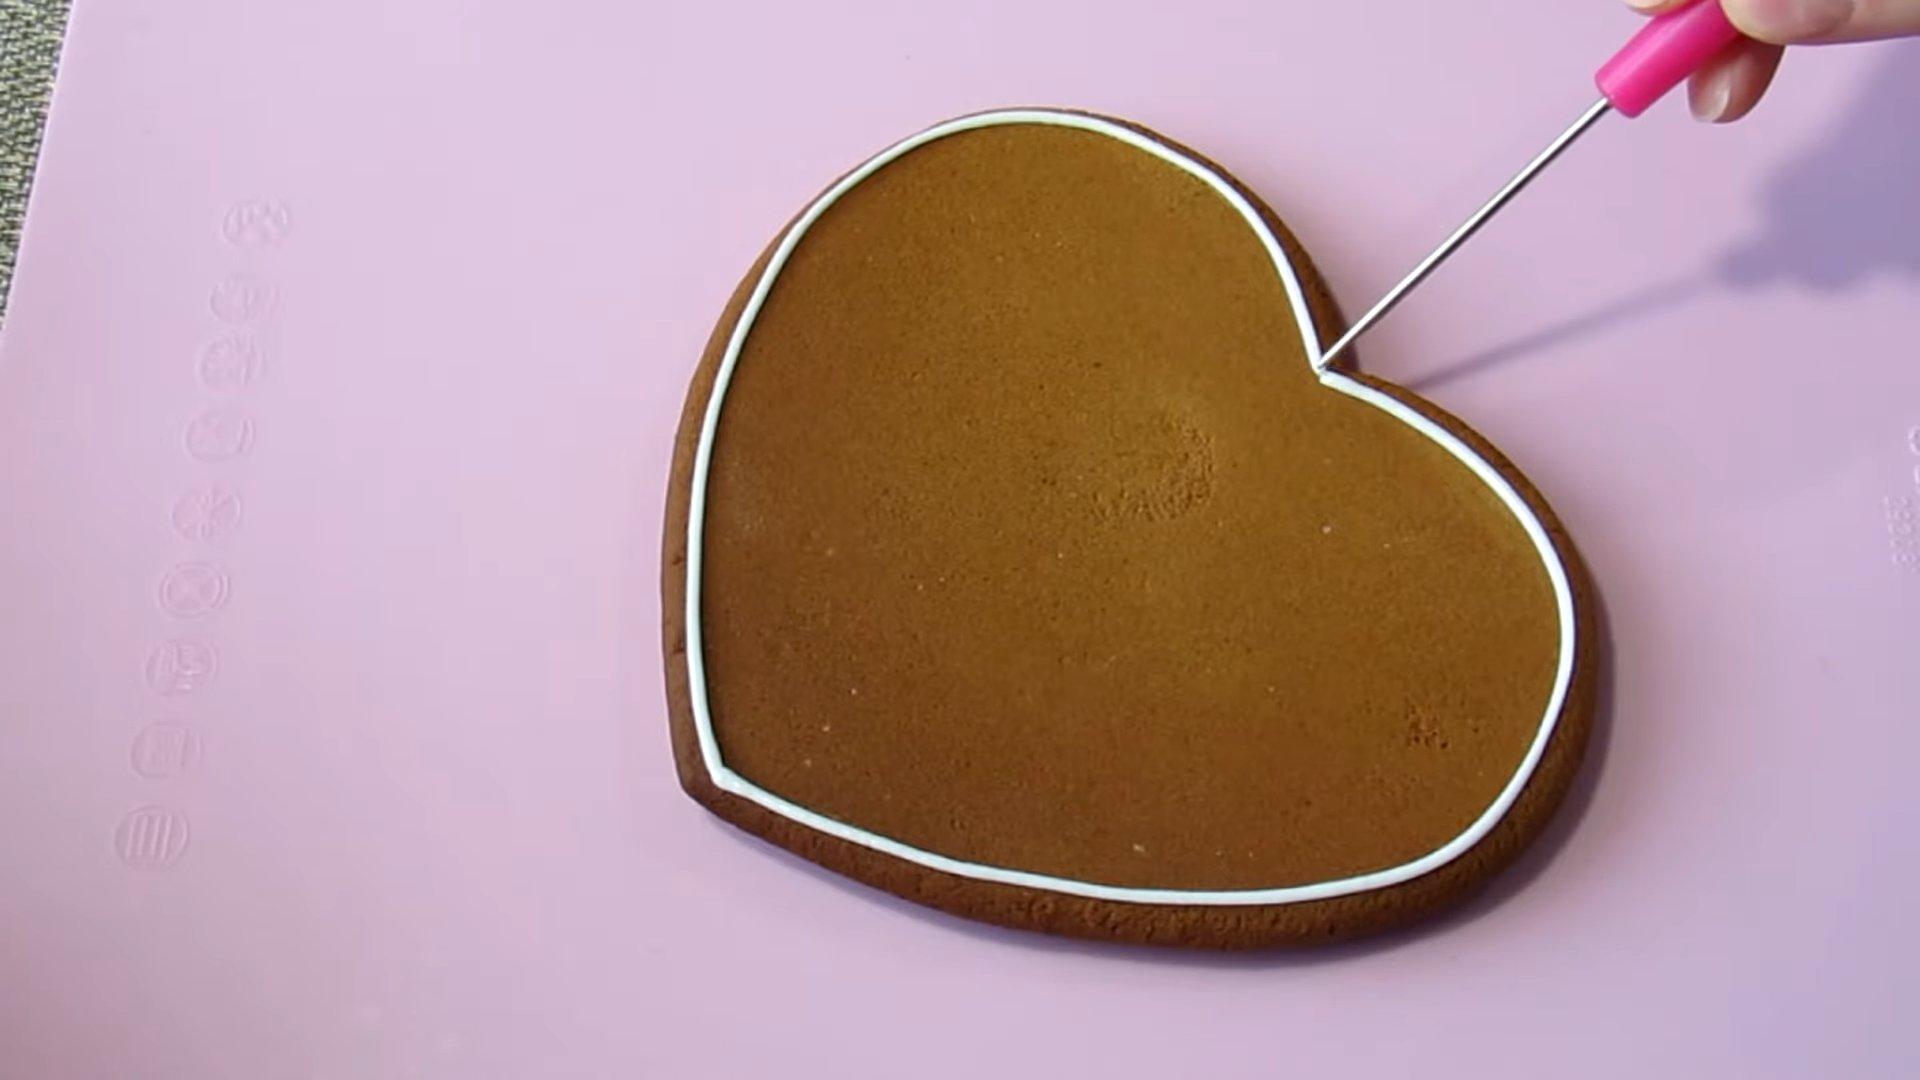
Using a toothpick or an awl, we apply the desired contours to the gingerbread.
Step 3
Place the thick glaze into a pastry bag and carefully draw the outlines.
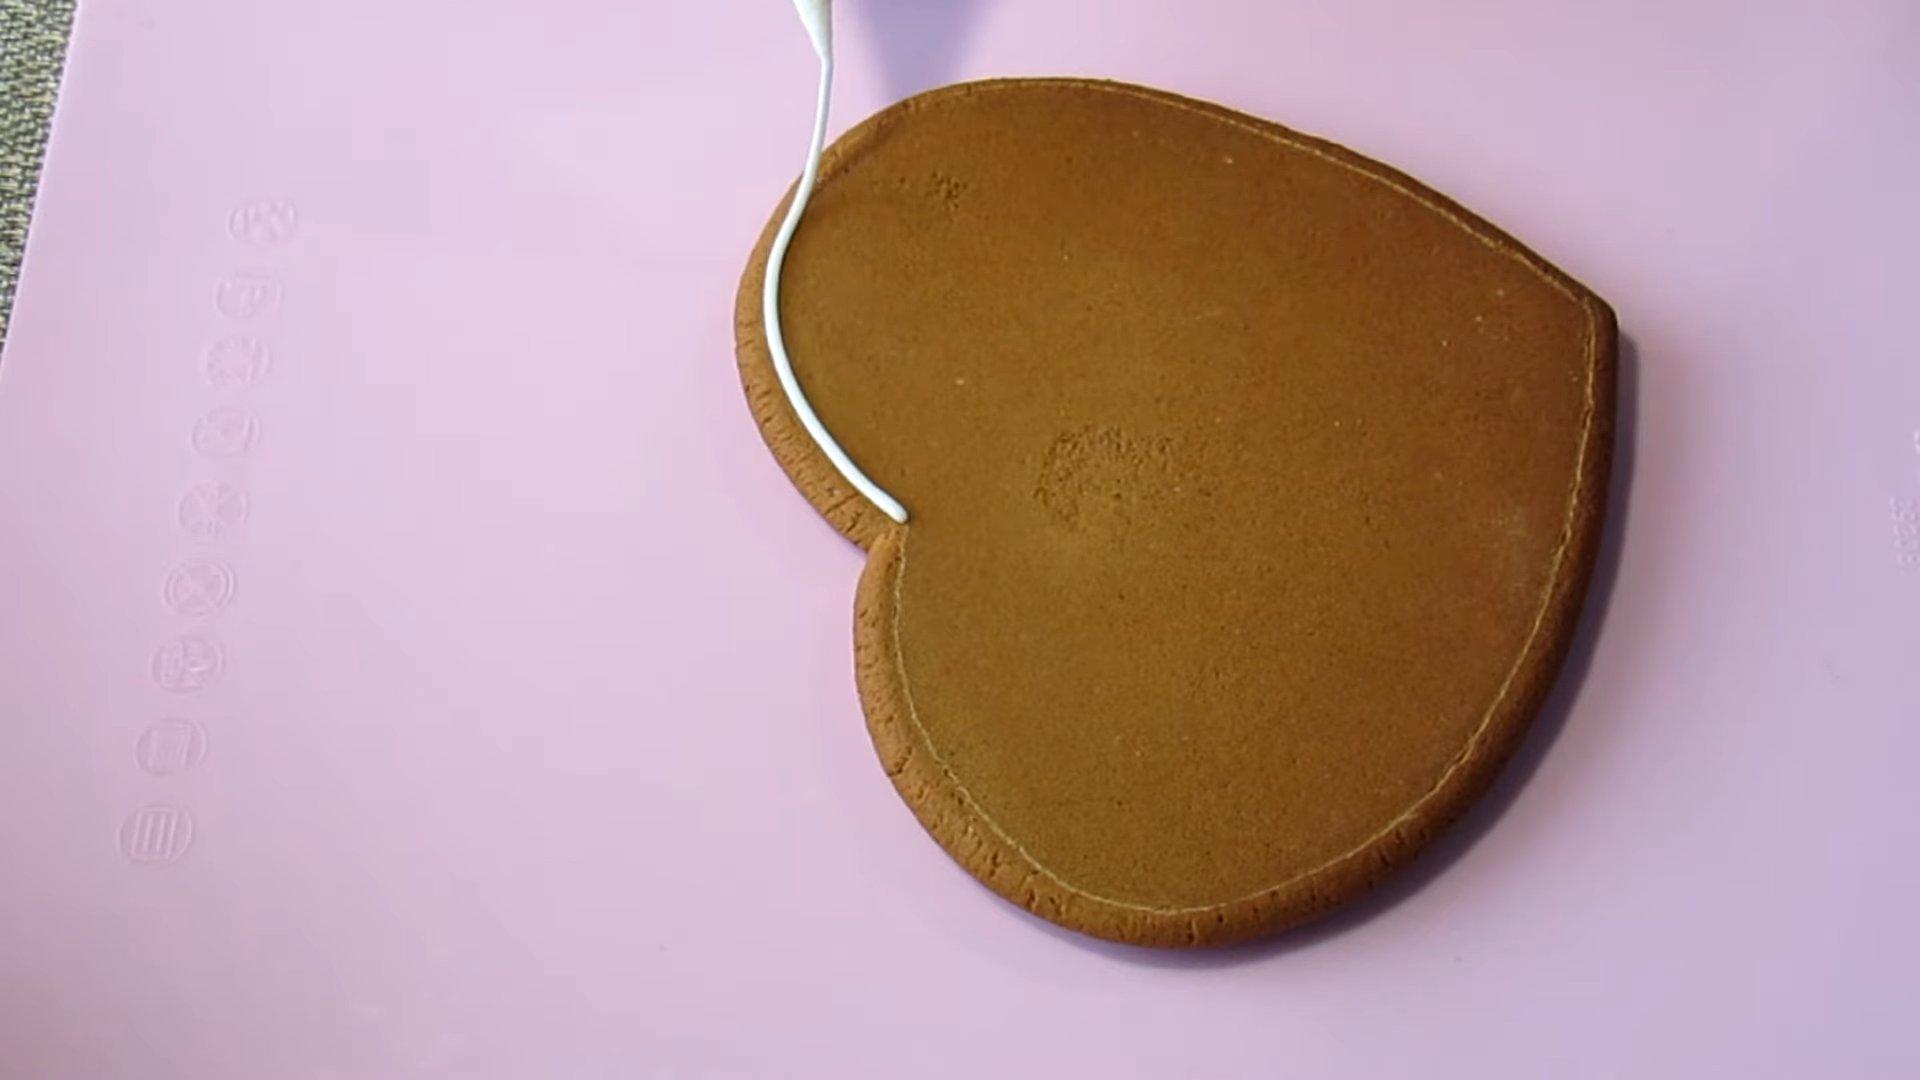
Step 4
Smooth out the icing joints with an awl or a damp brush.
Step 5
For the filling, dilute the thick glaze with a small amount of water.
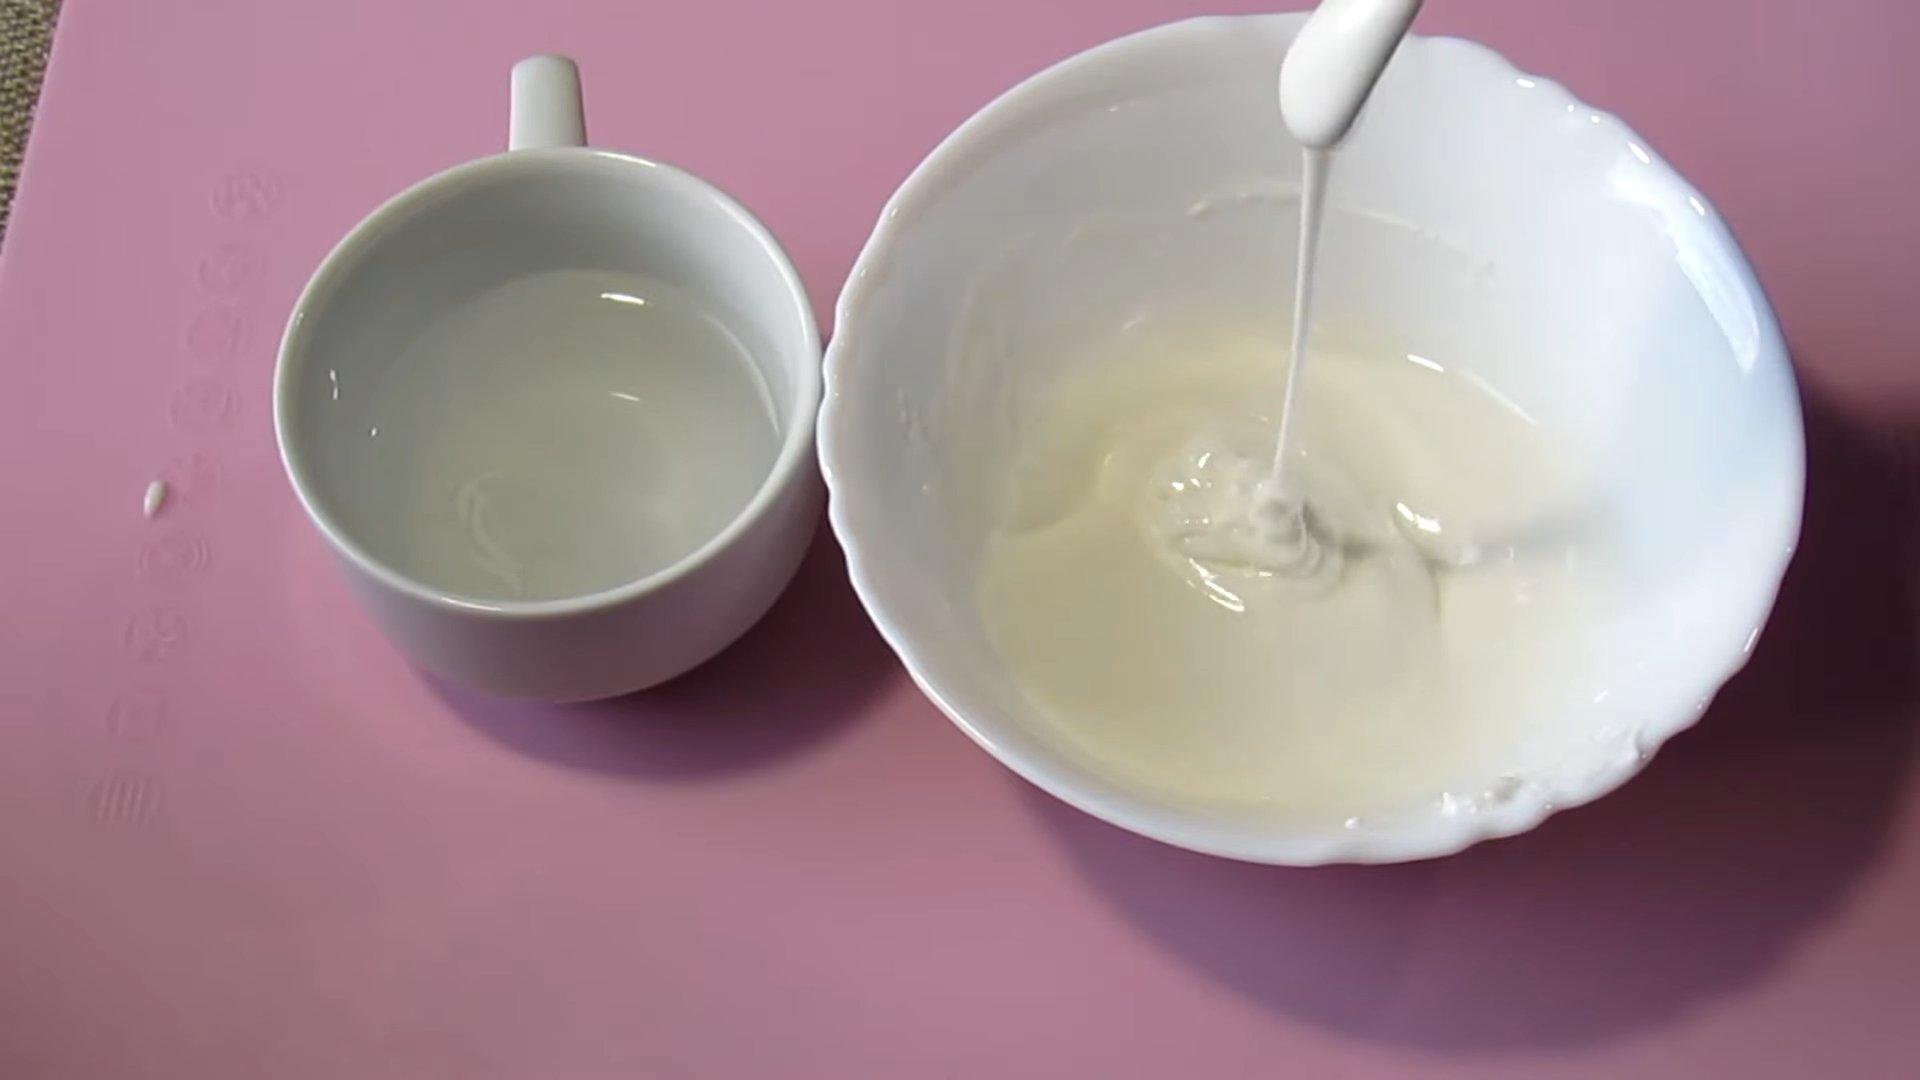
Step 6
Place the icing on the gingerbread and use a spoon to spread it evenly over the entire surface of the product.
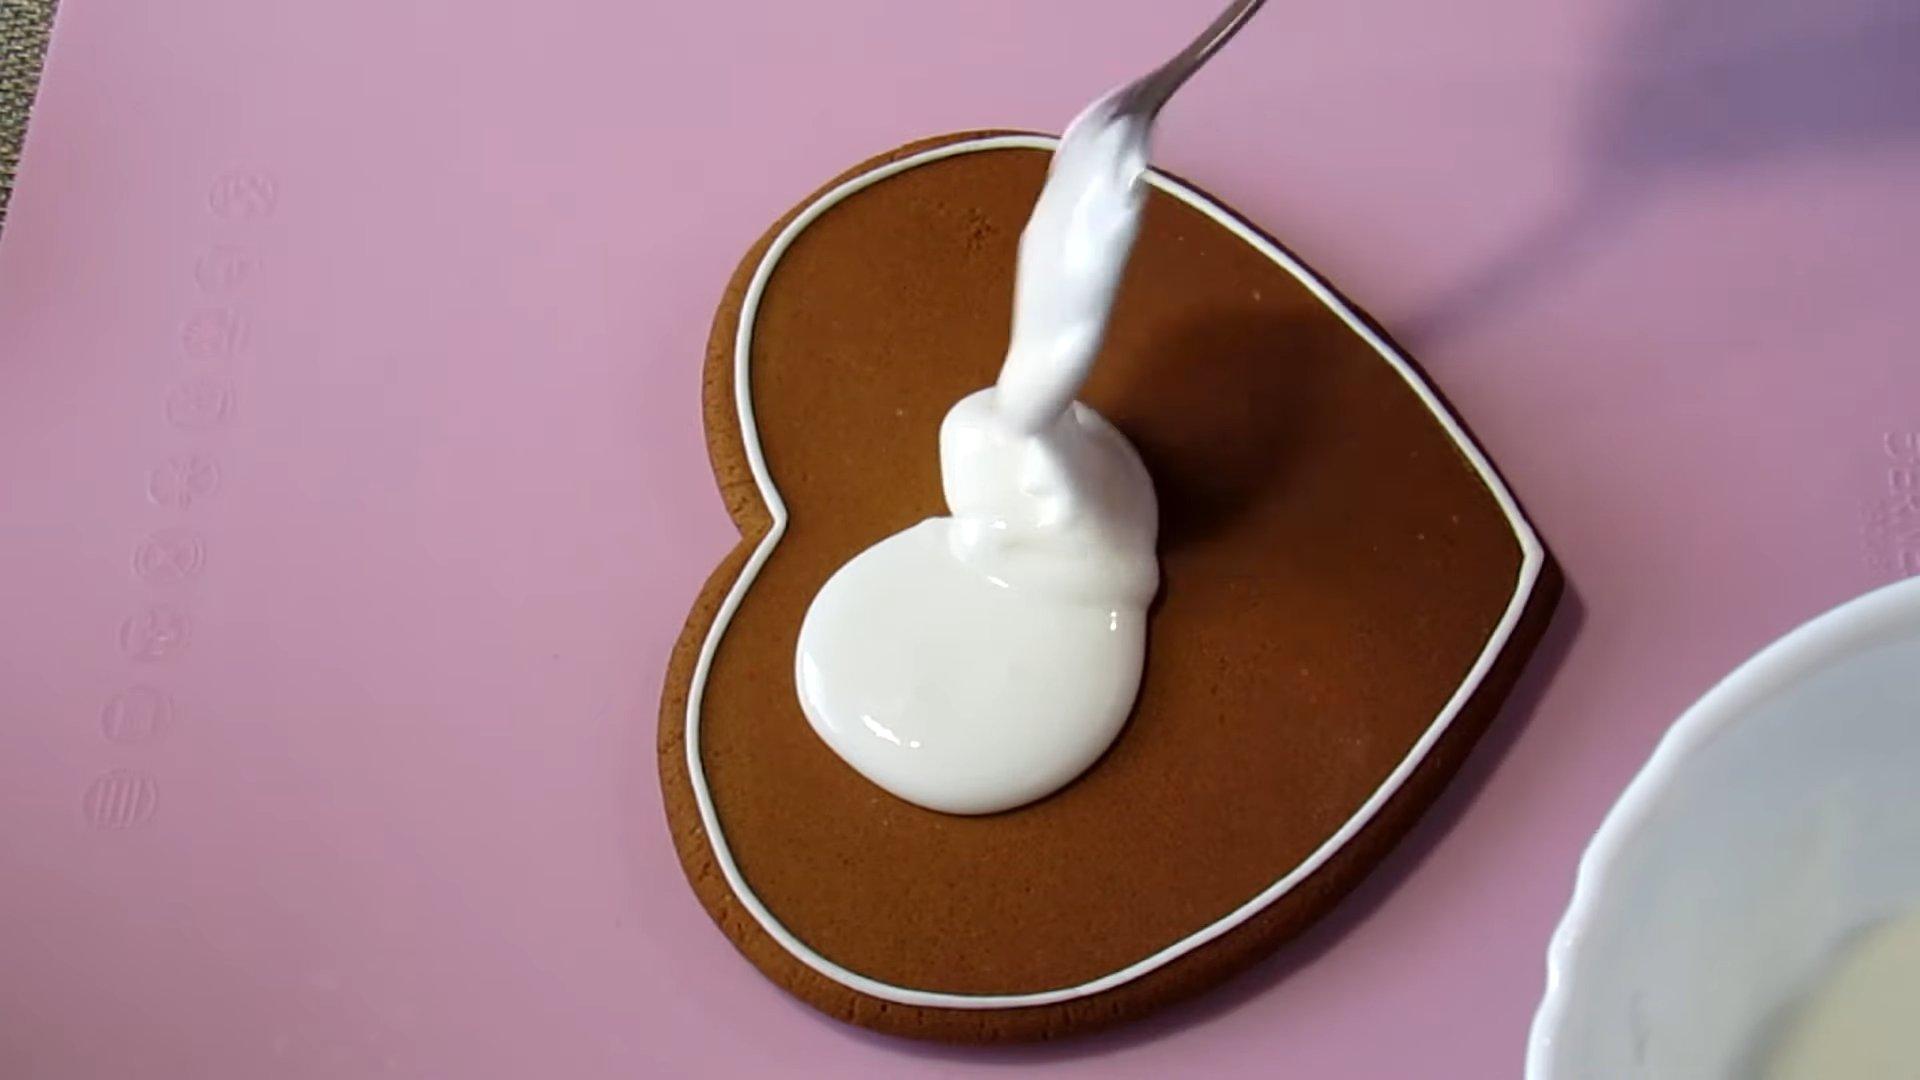
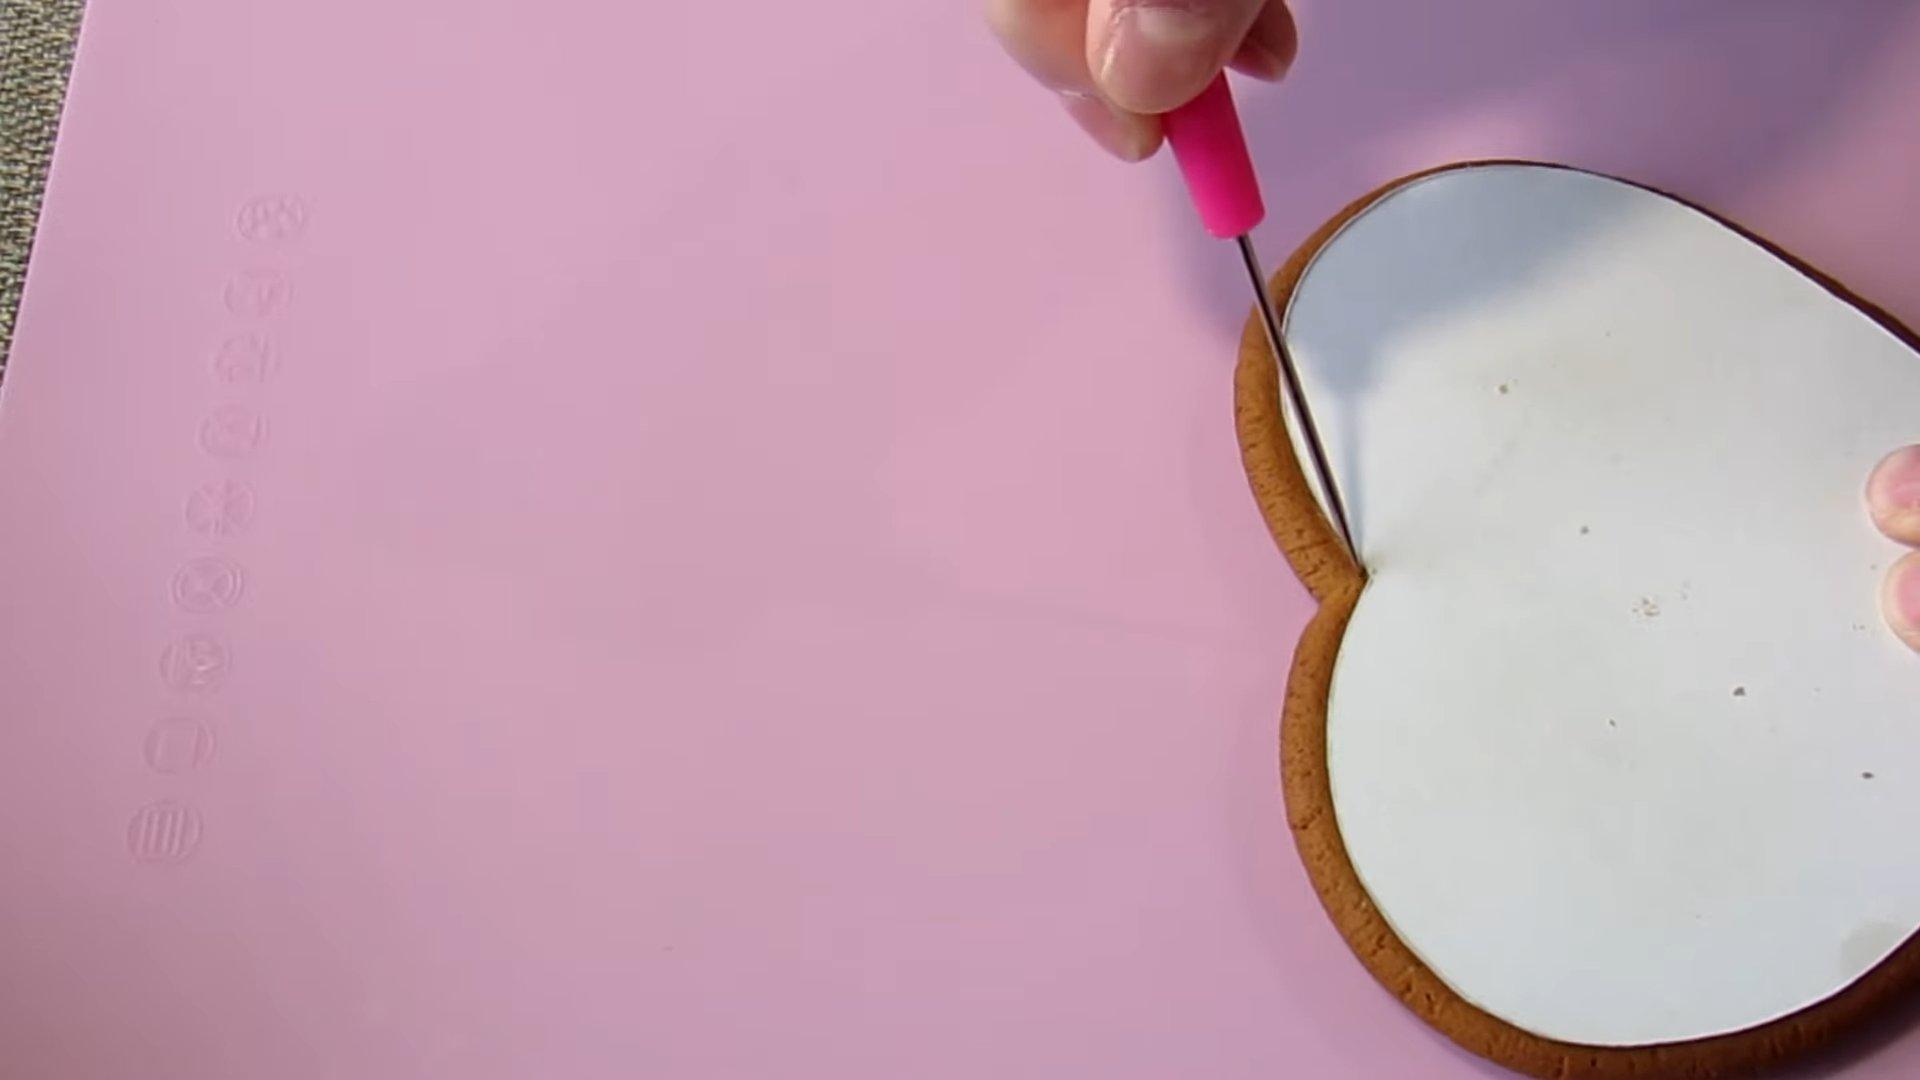
Step 7
We remove any bubbles that have formed using an awl or a toothpick.
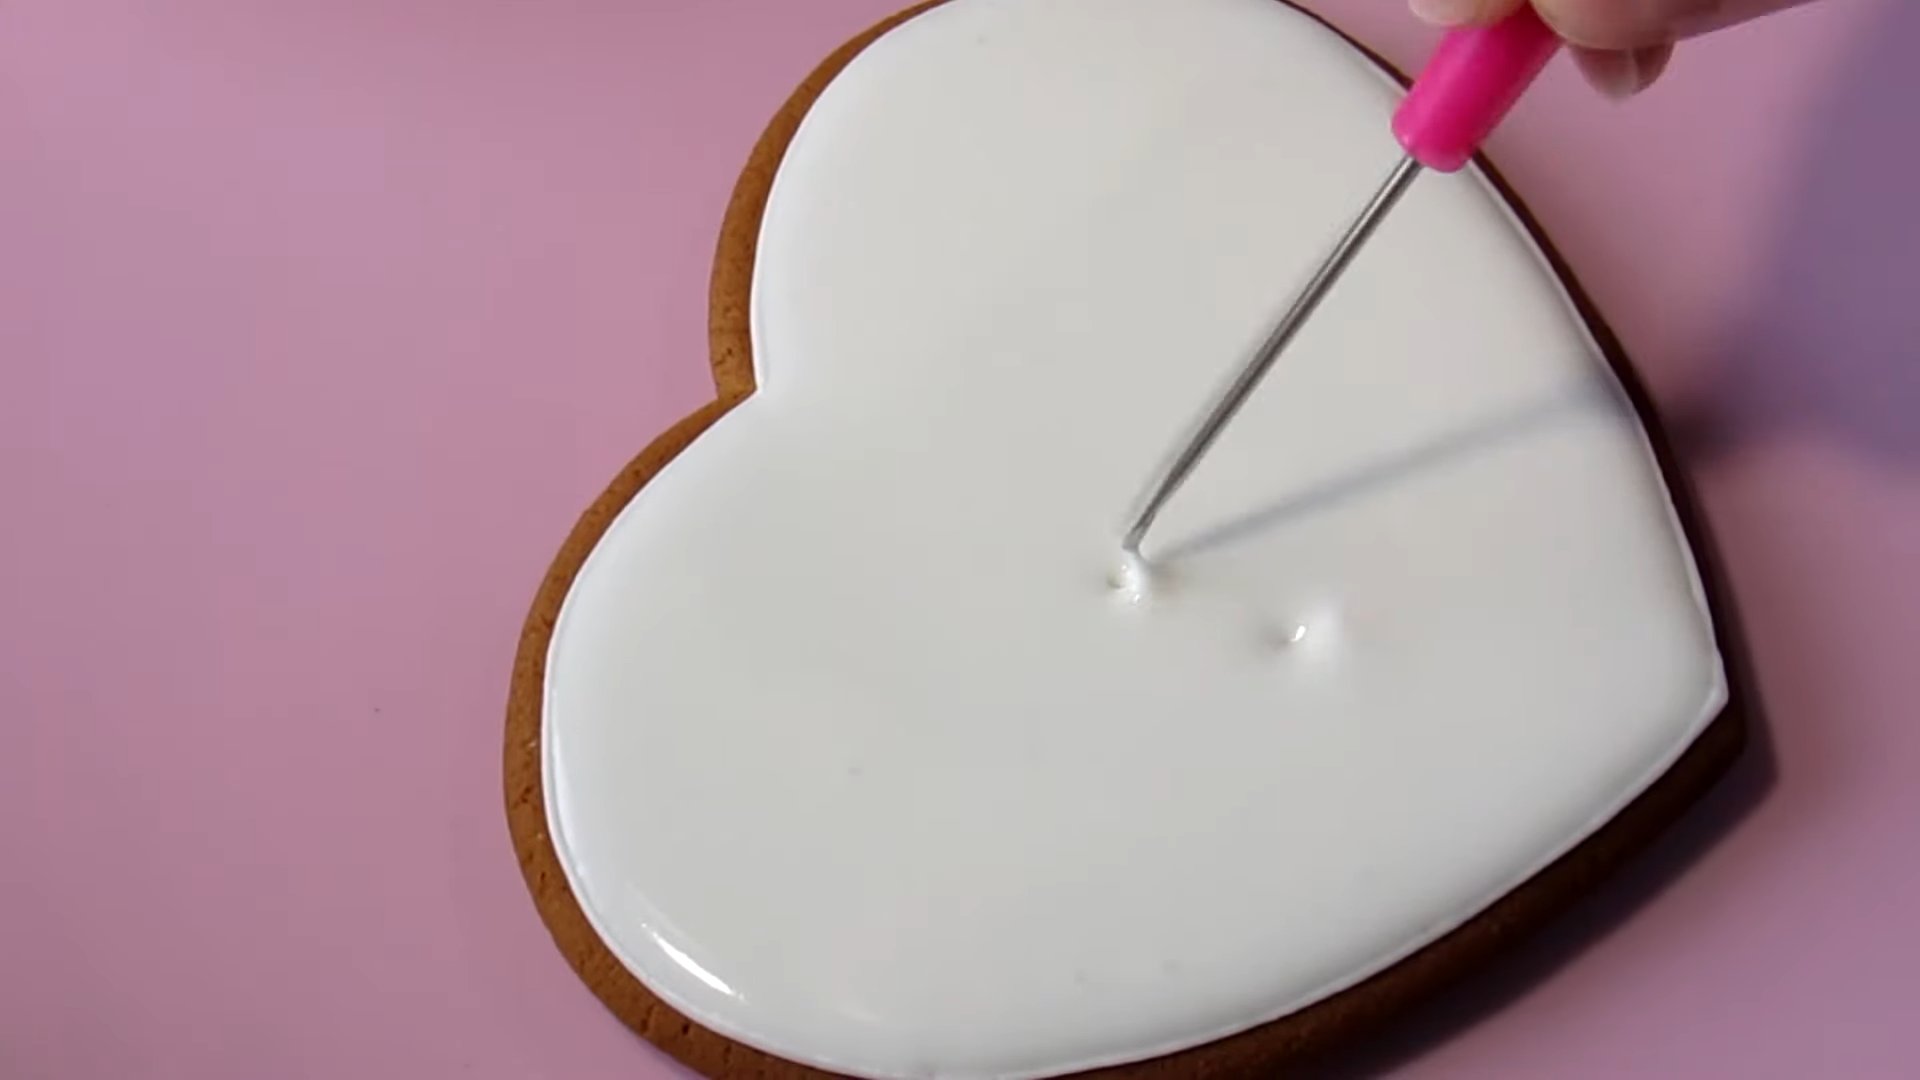
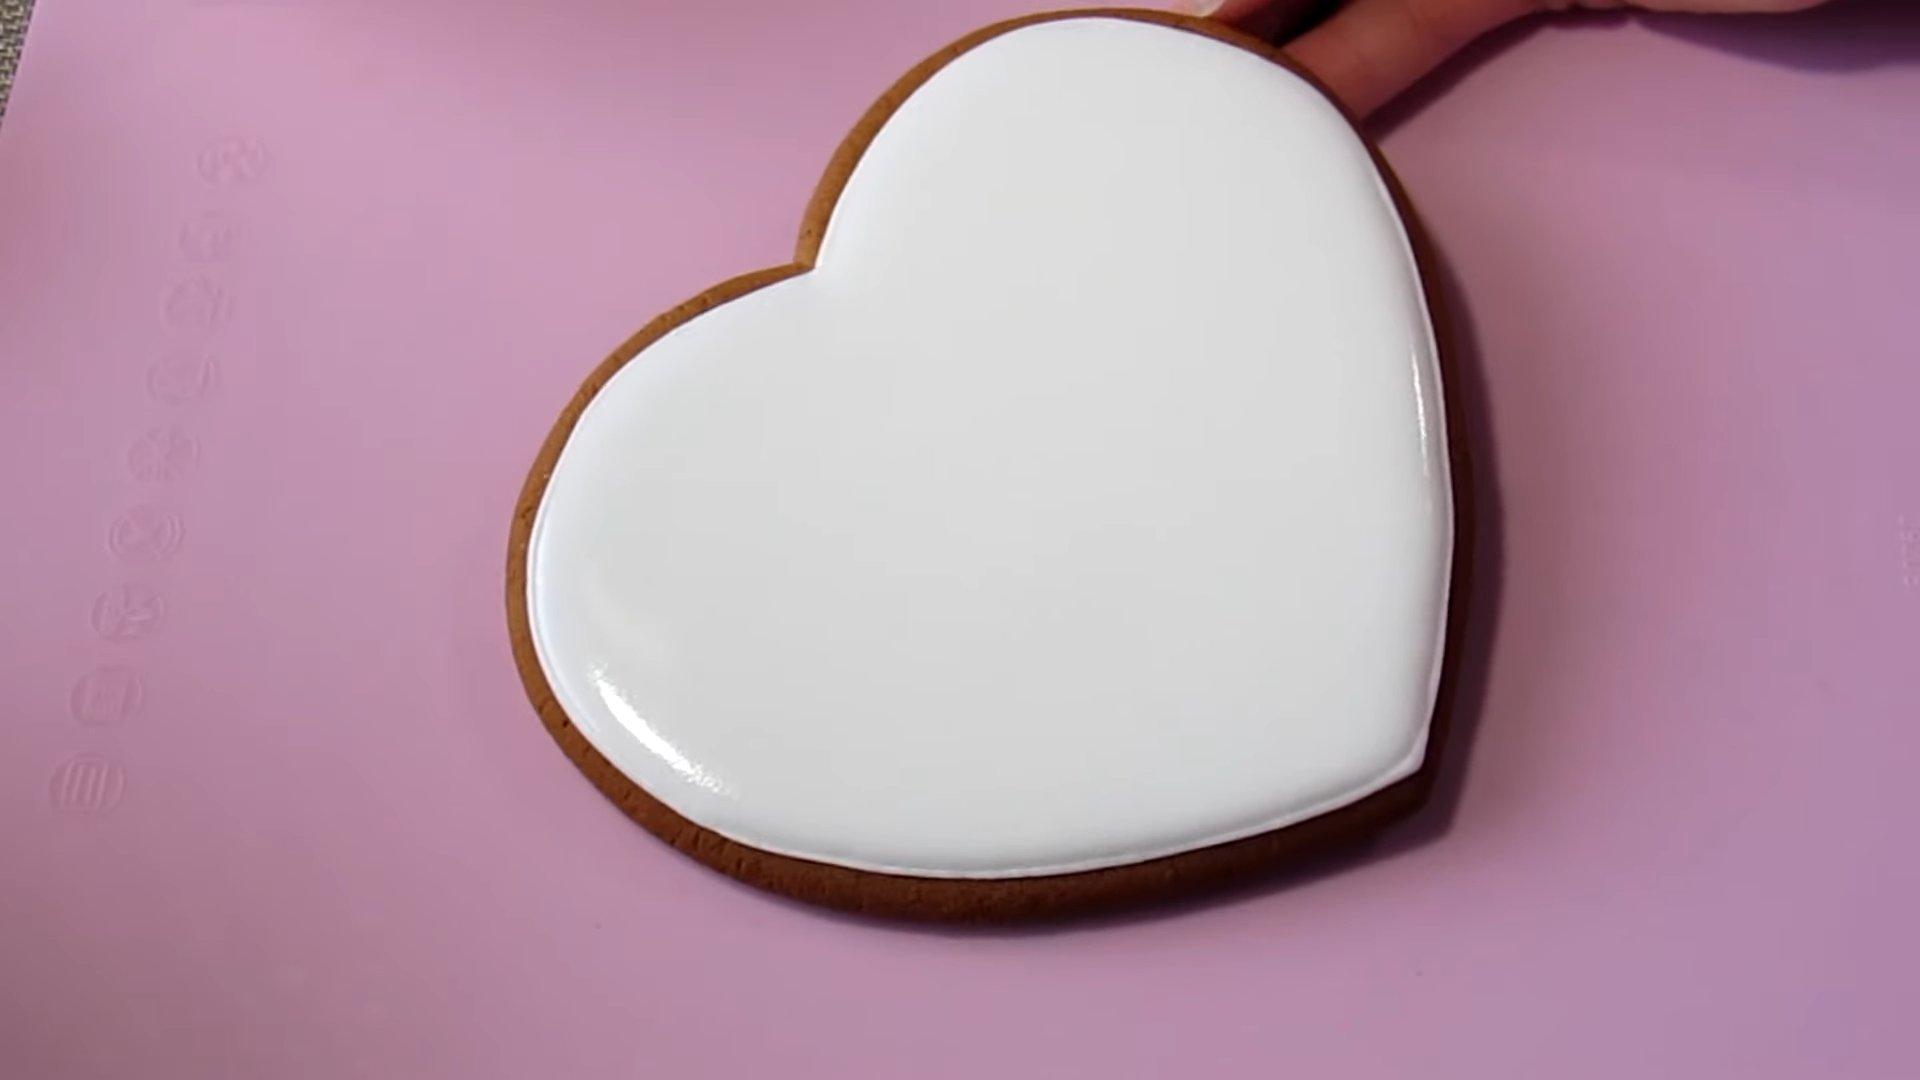
Step 8
Leave the gingerbread for 10-12 hours so that the icing on it hardens completely.
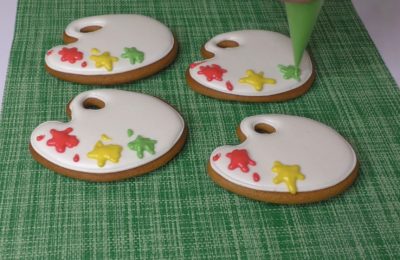
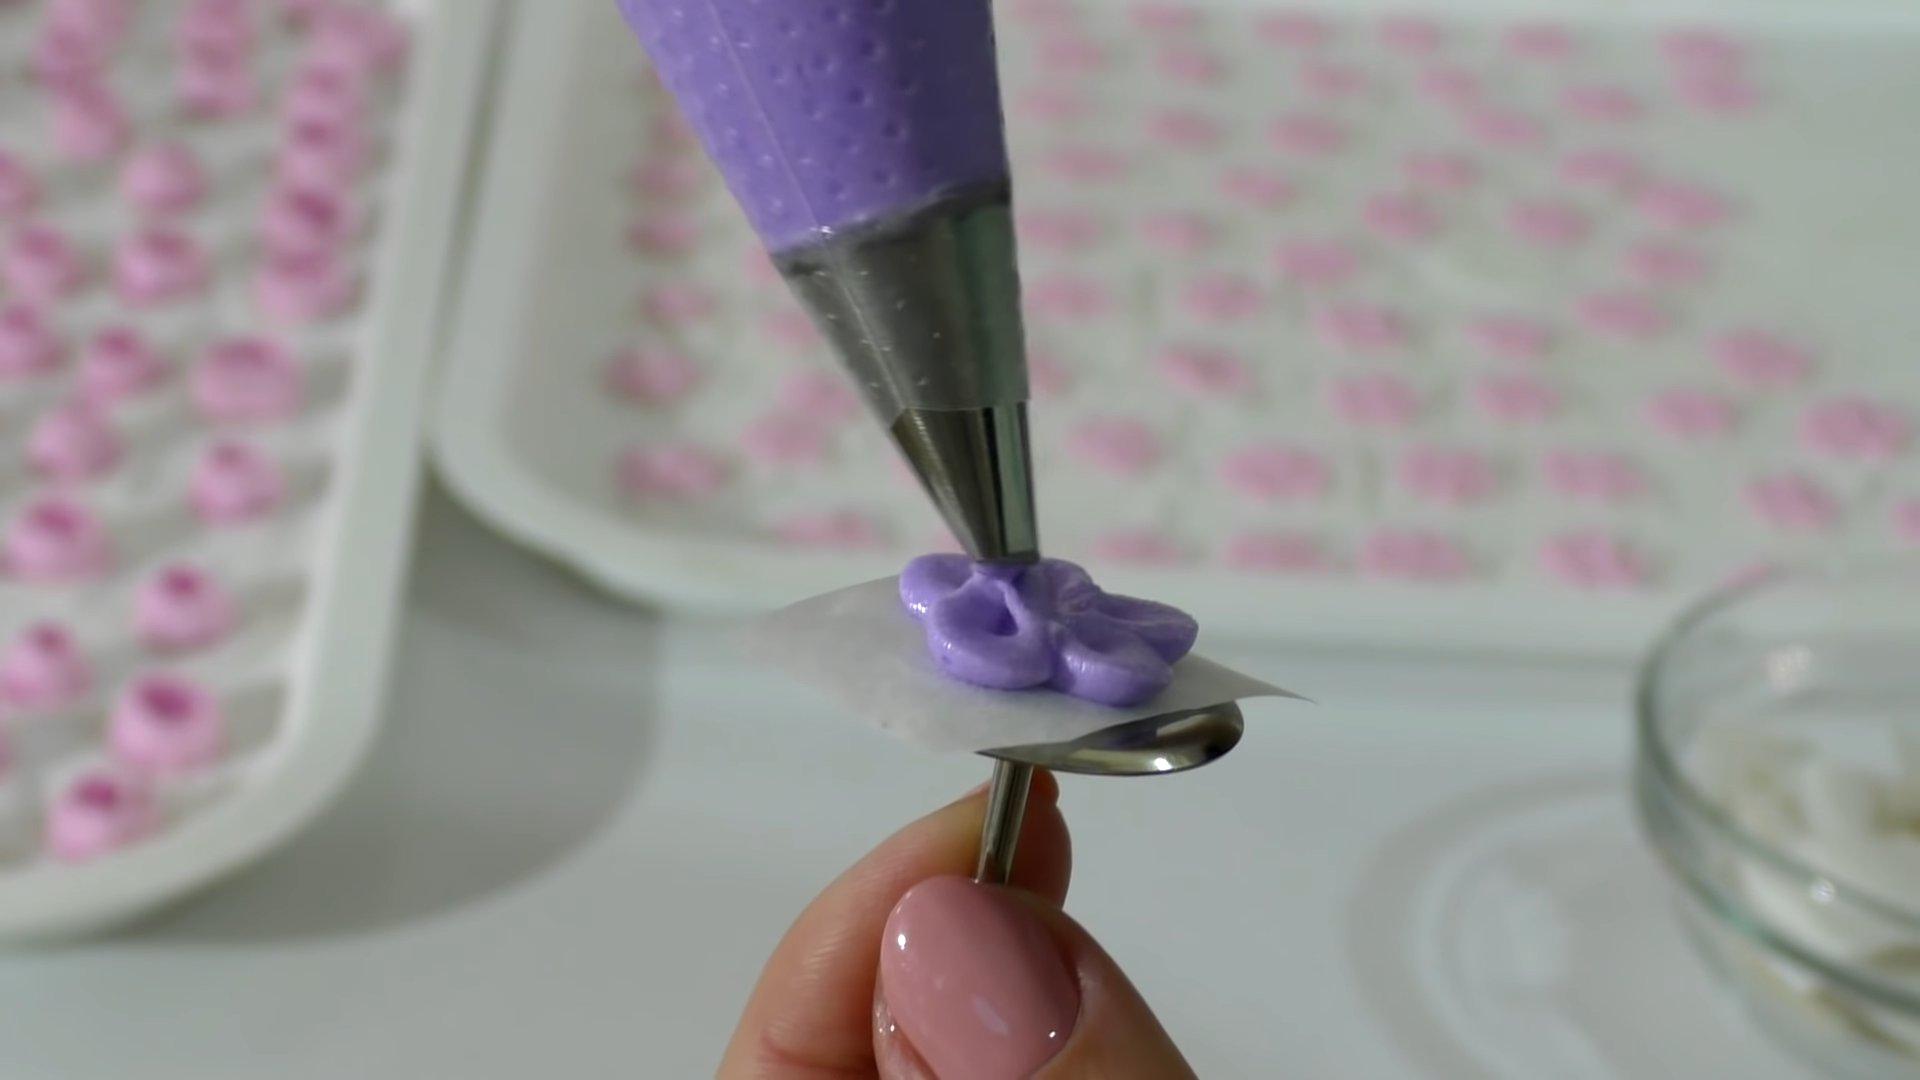
Icing flowers on gingerbread
This master class is dedicated to making various icing flowers. They can be used to decorate gingerbread, gingerbread cookies, cakes, and cupcakes. To create the flowers, the icing must be thick enough to hold its shape well. For each egg white, use 220-230 g of powdered sugar.
Materials, tools
- Icing (thick) - 2-3 shades
- Pastry bags
- Petal attachments
- Carnation (4 cm in diameter) - 1 pc.
- Paper
Cooking time: 20-30 minutes
Servings: 1
Step-by-step recipe
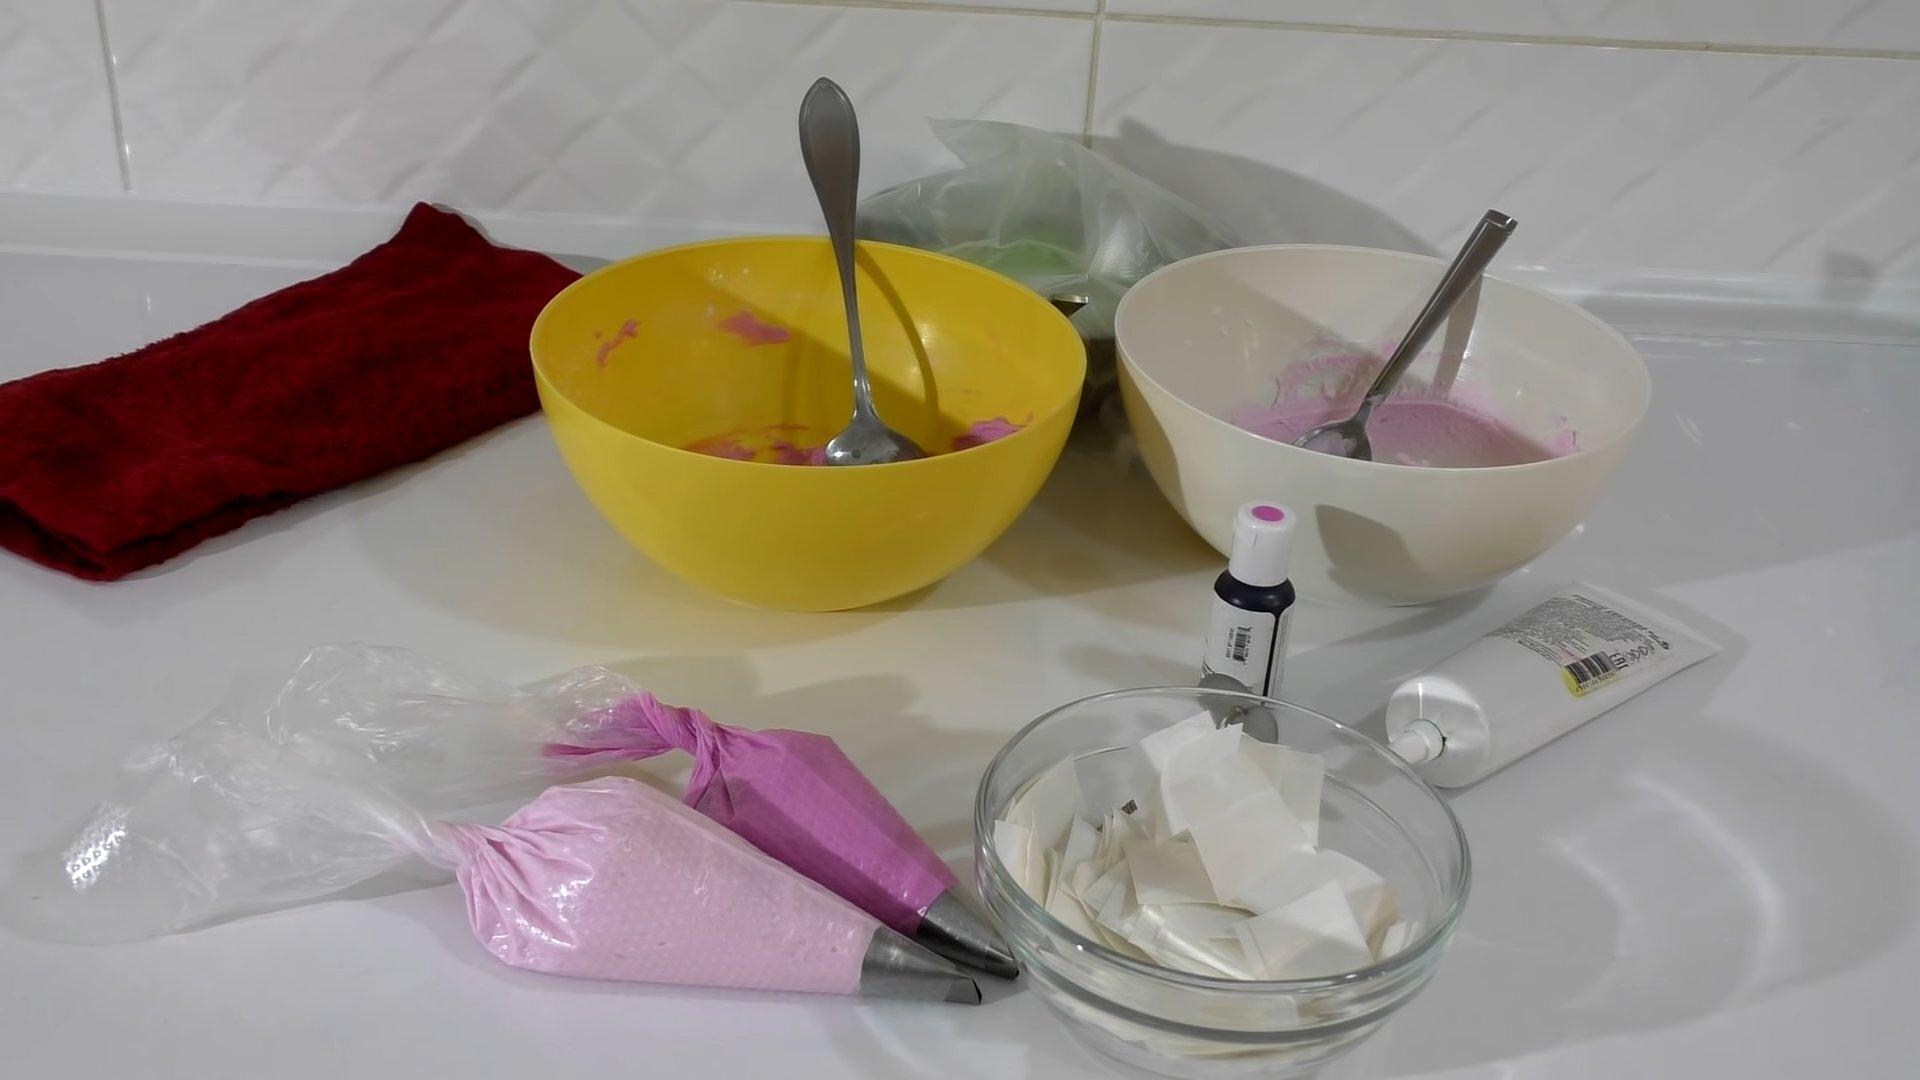
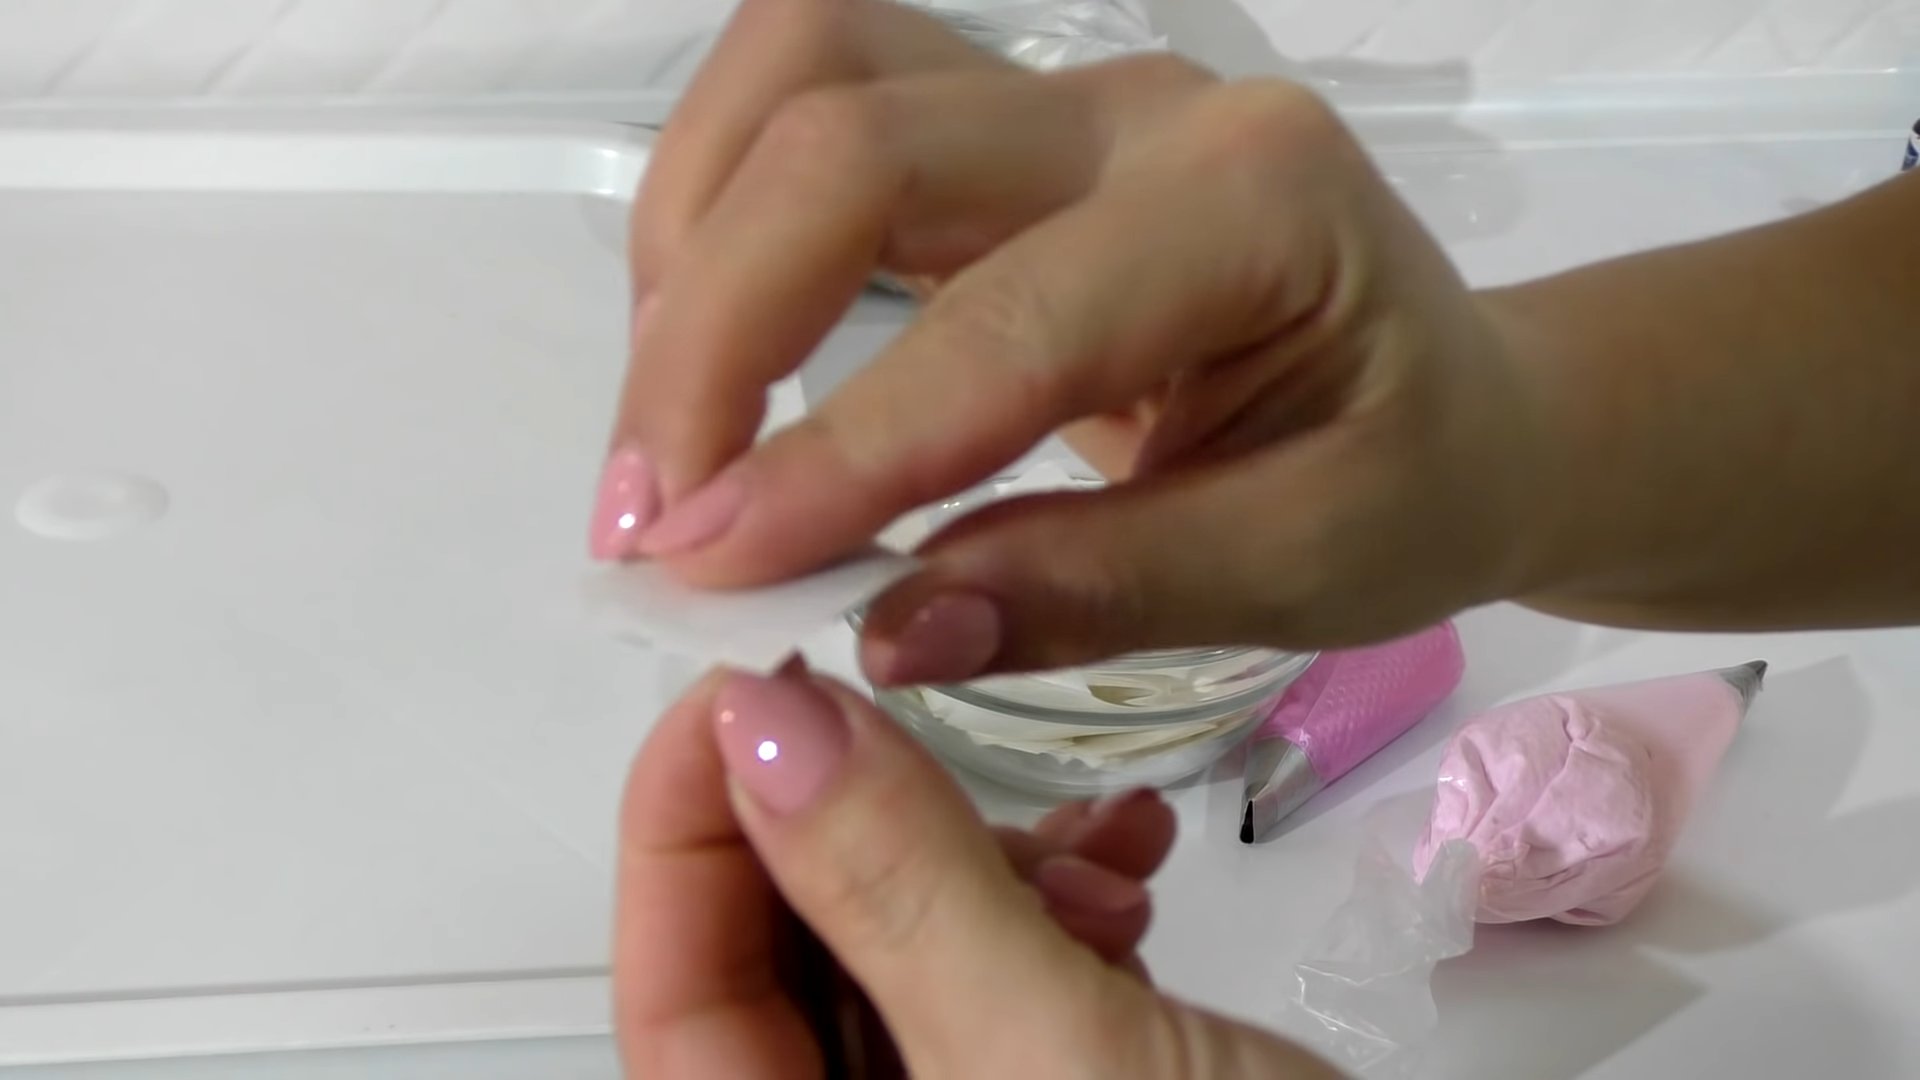
Step 1
We prepare the necessary materials and tools.
Step 2
Using icing, we fix a piece of paper onto a nail.
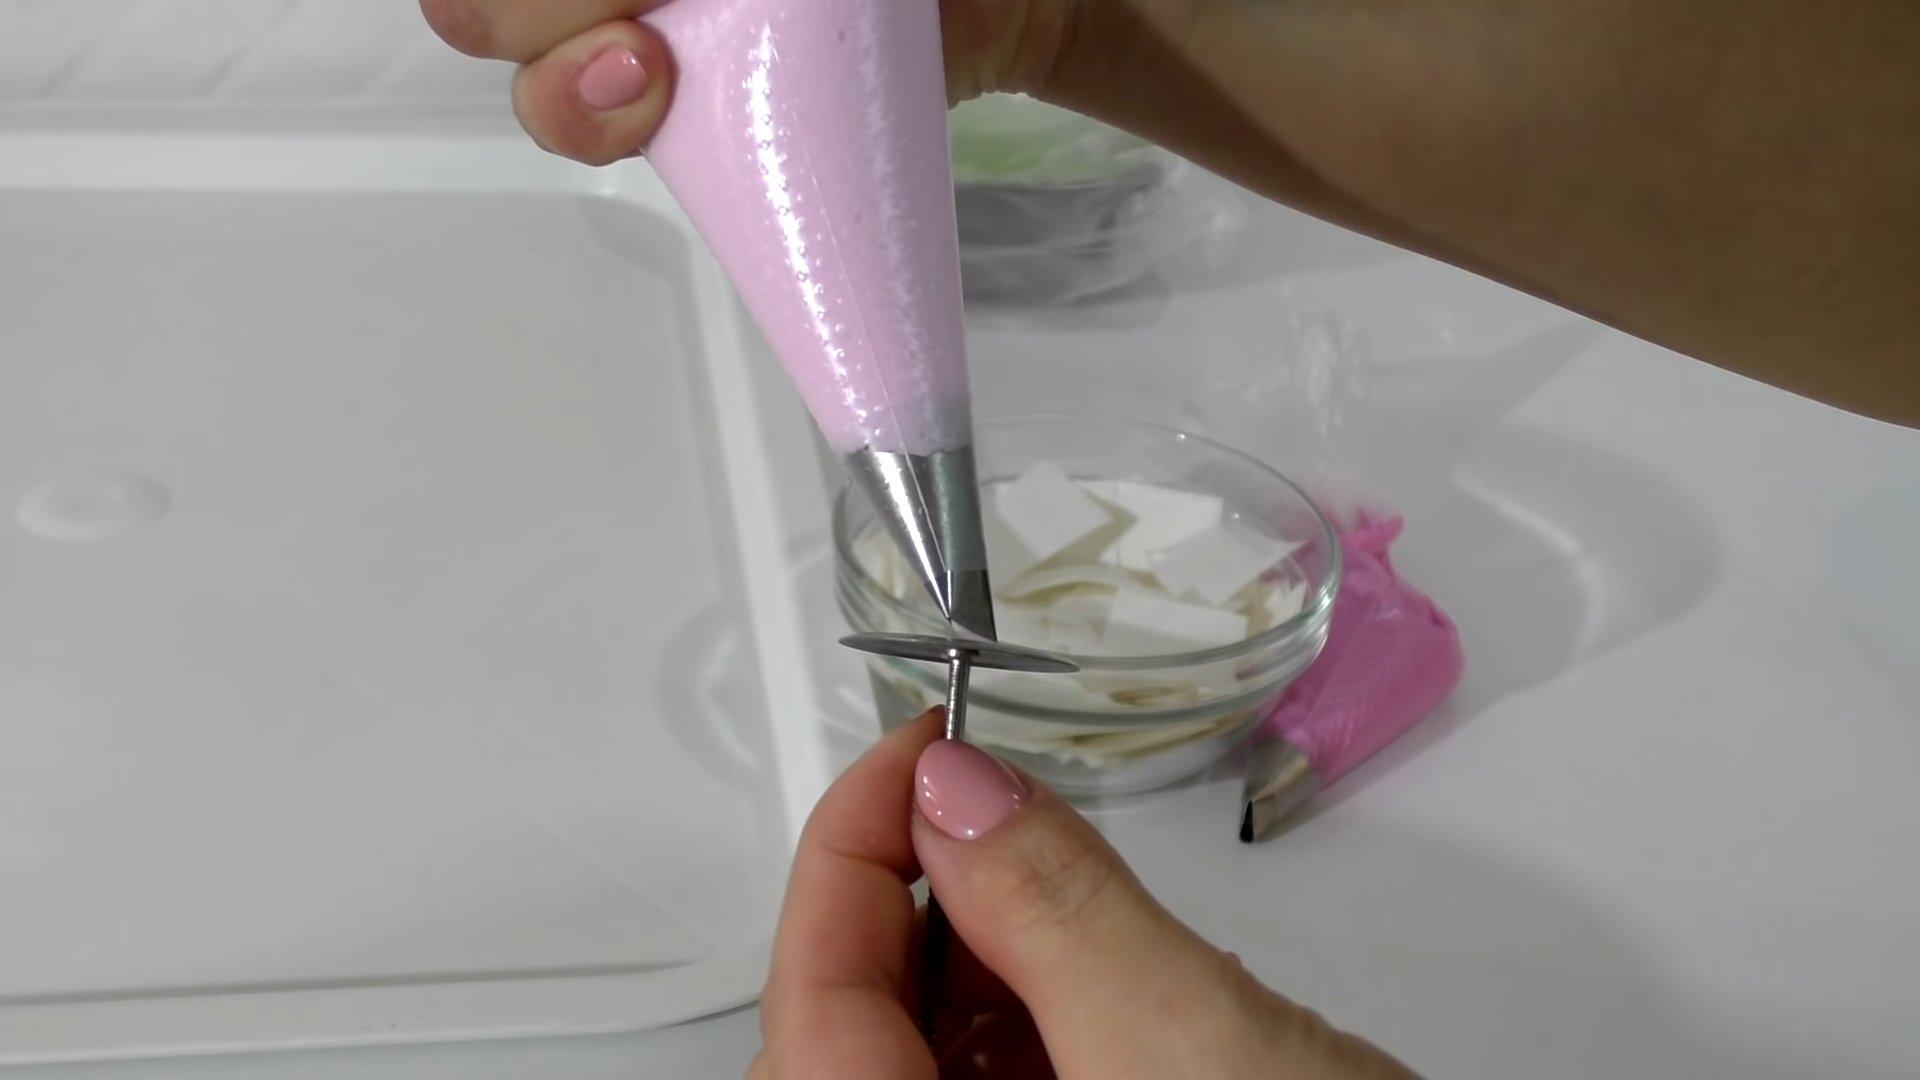
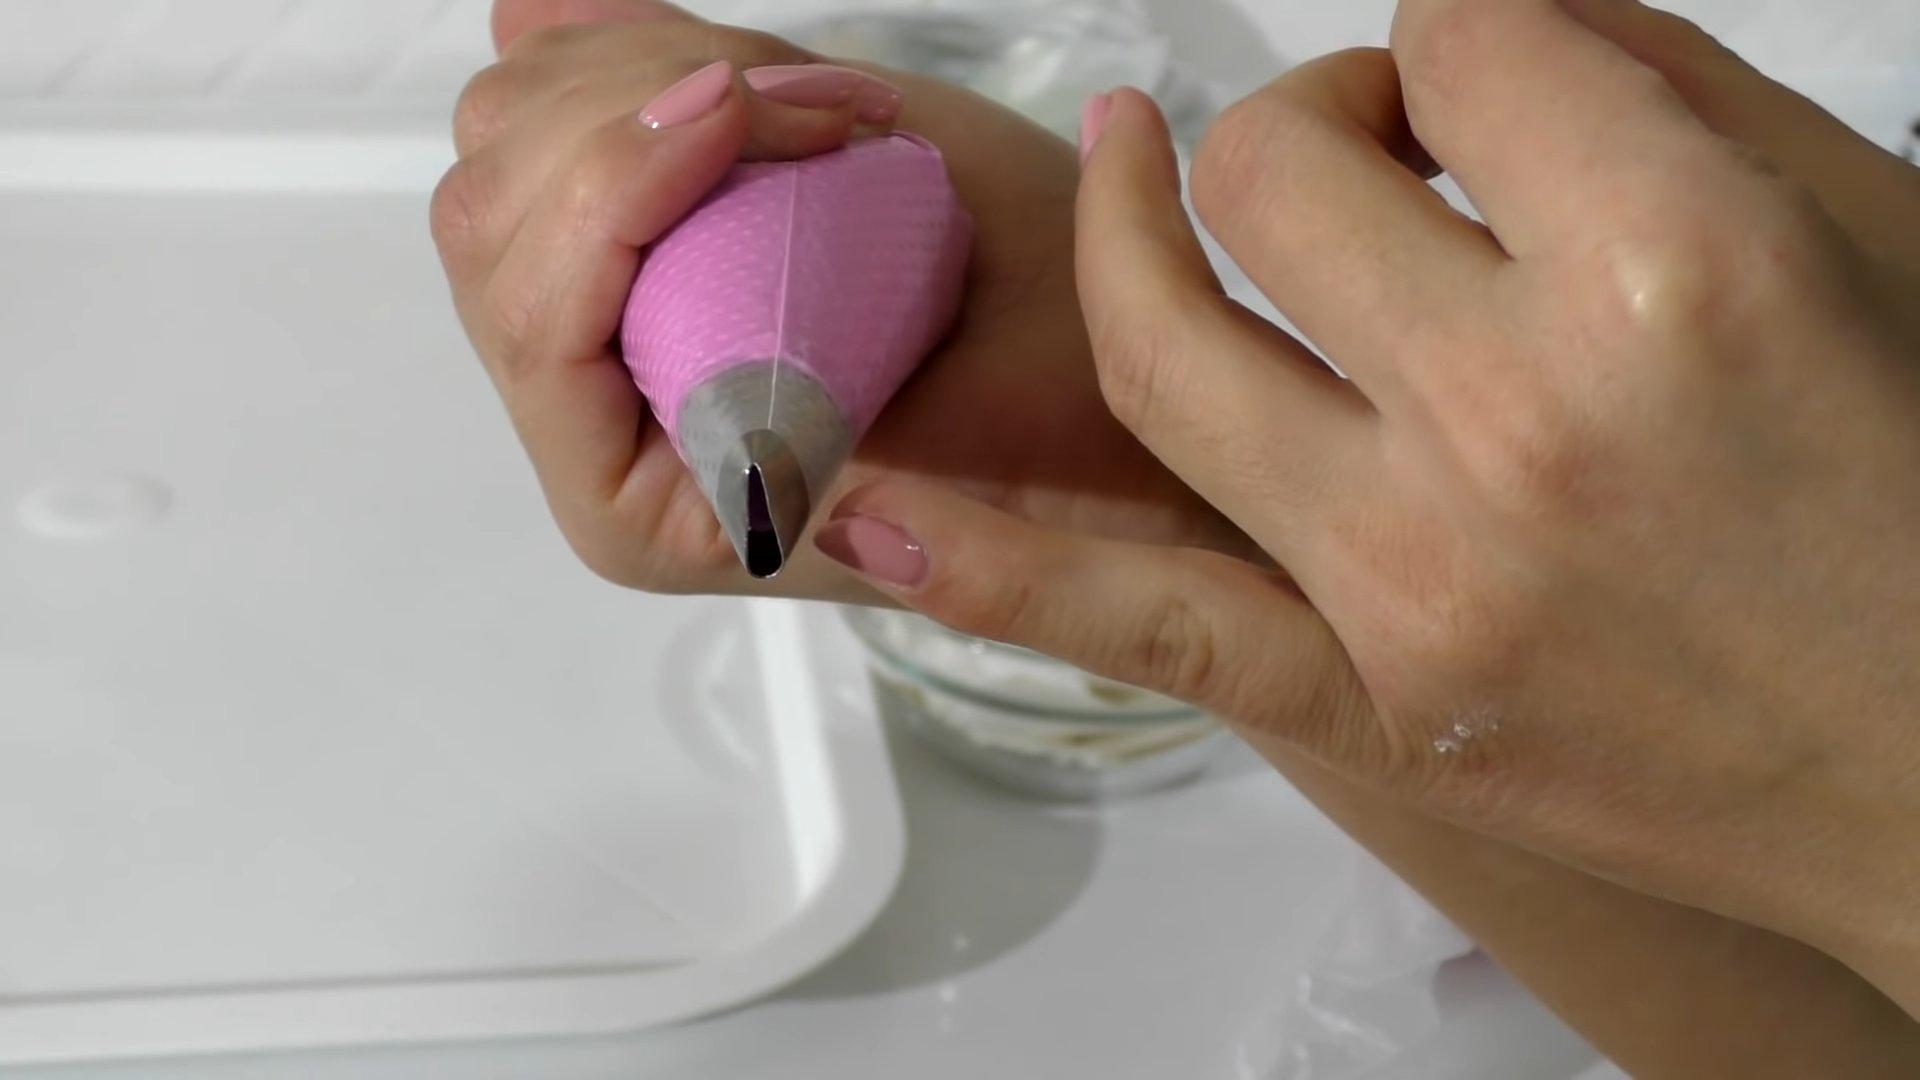
Step 3
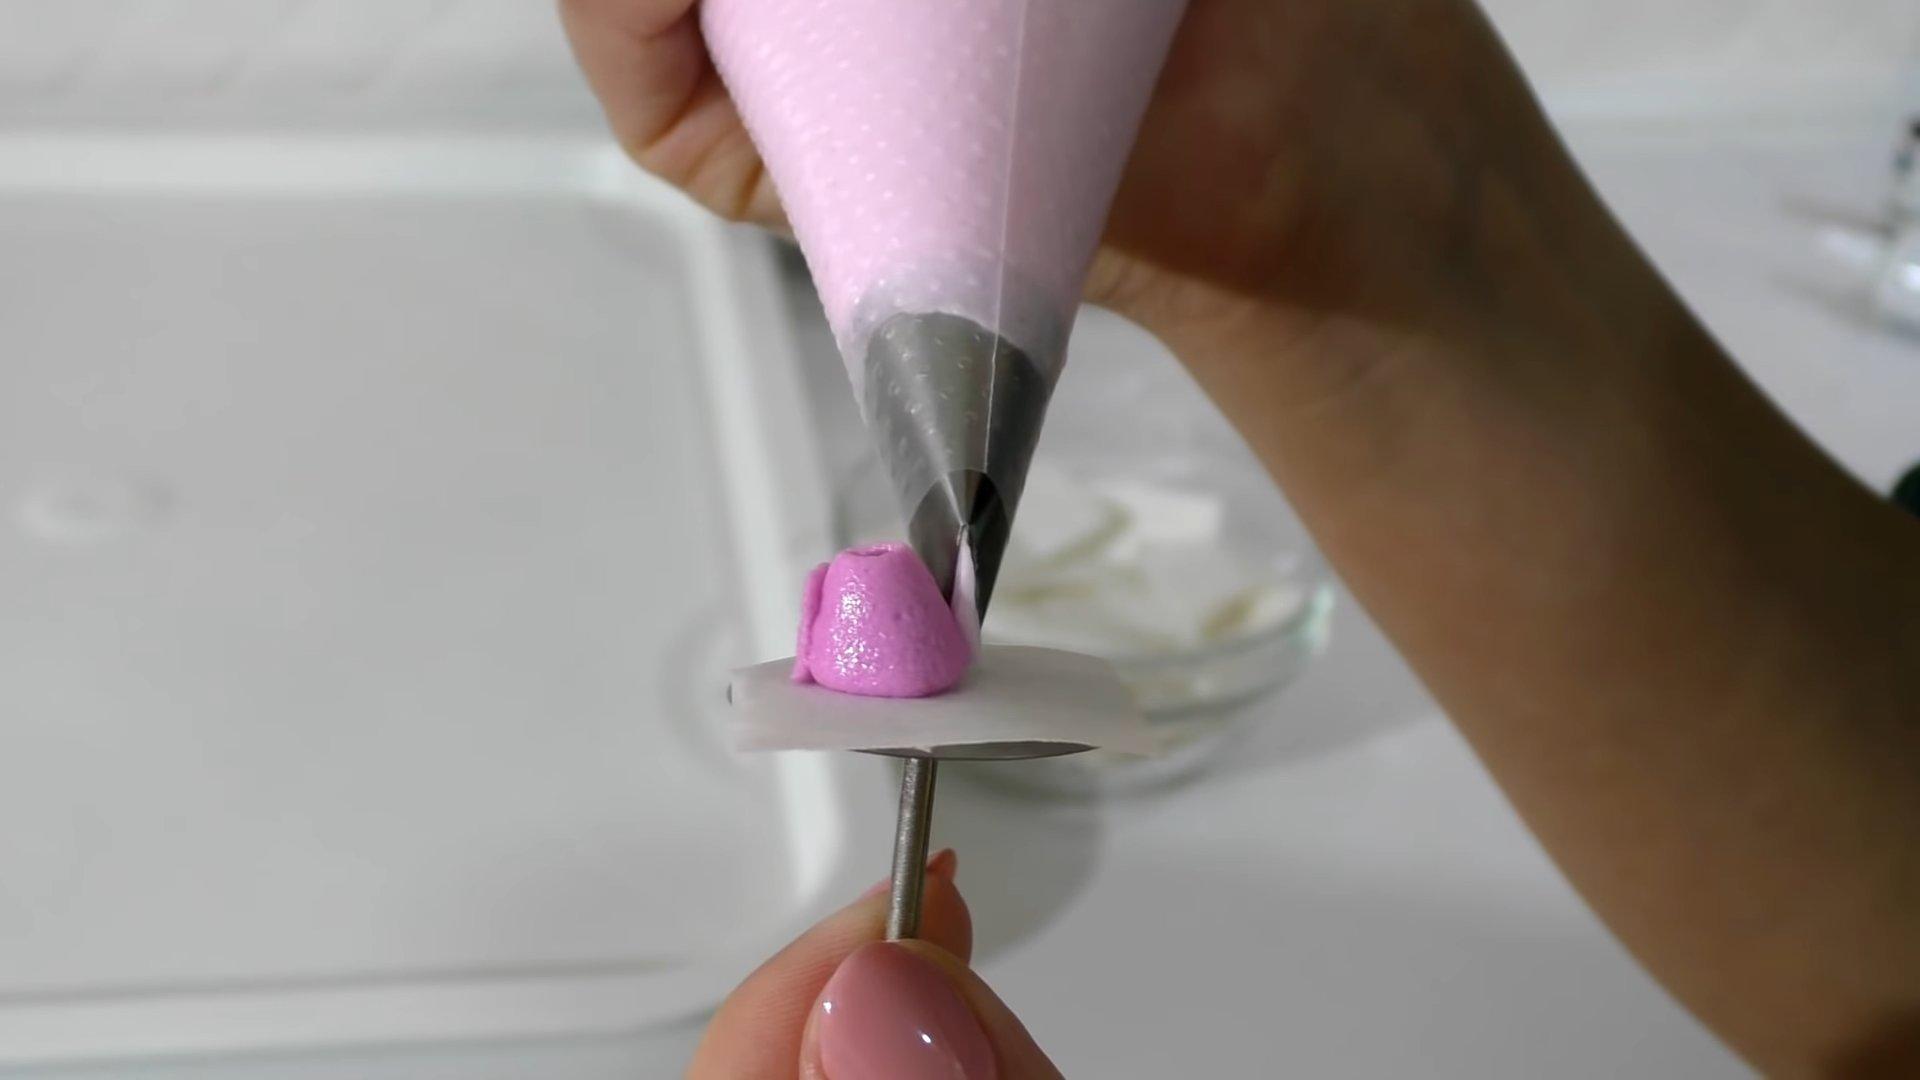
Let's make roses. Take a pastry bag filled with dark-colored icing. Hold it so the narrow end of the tip is at the top.
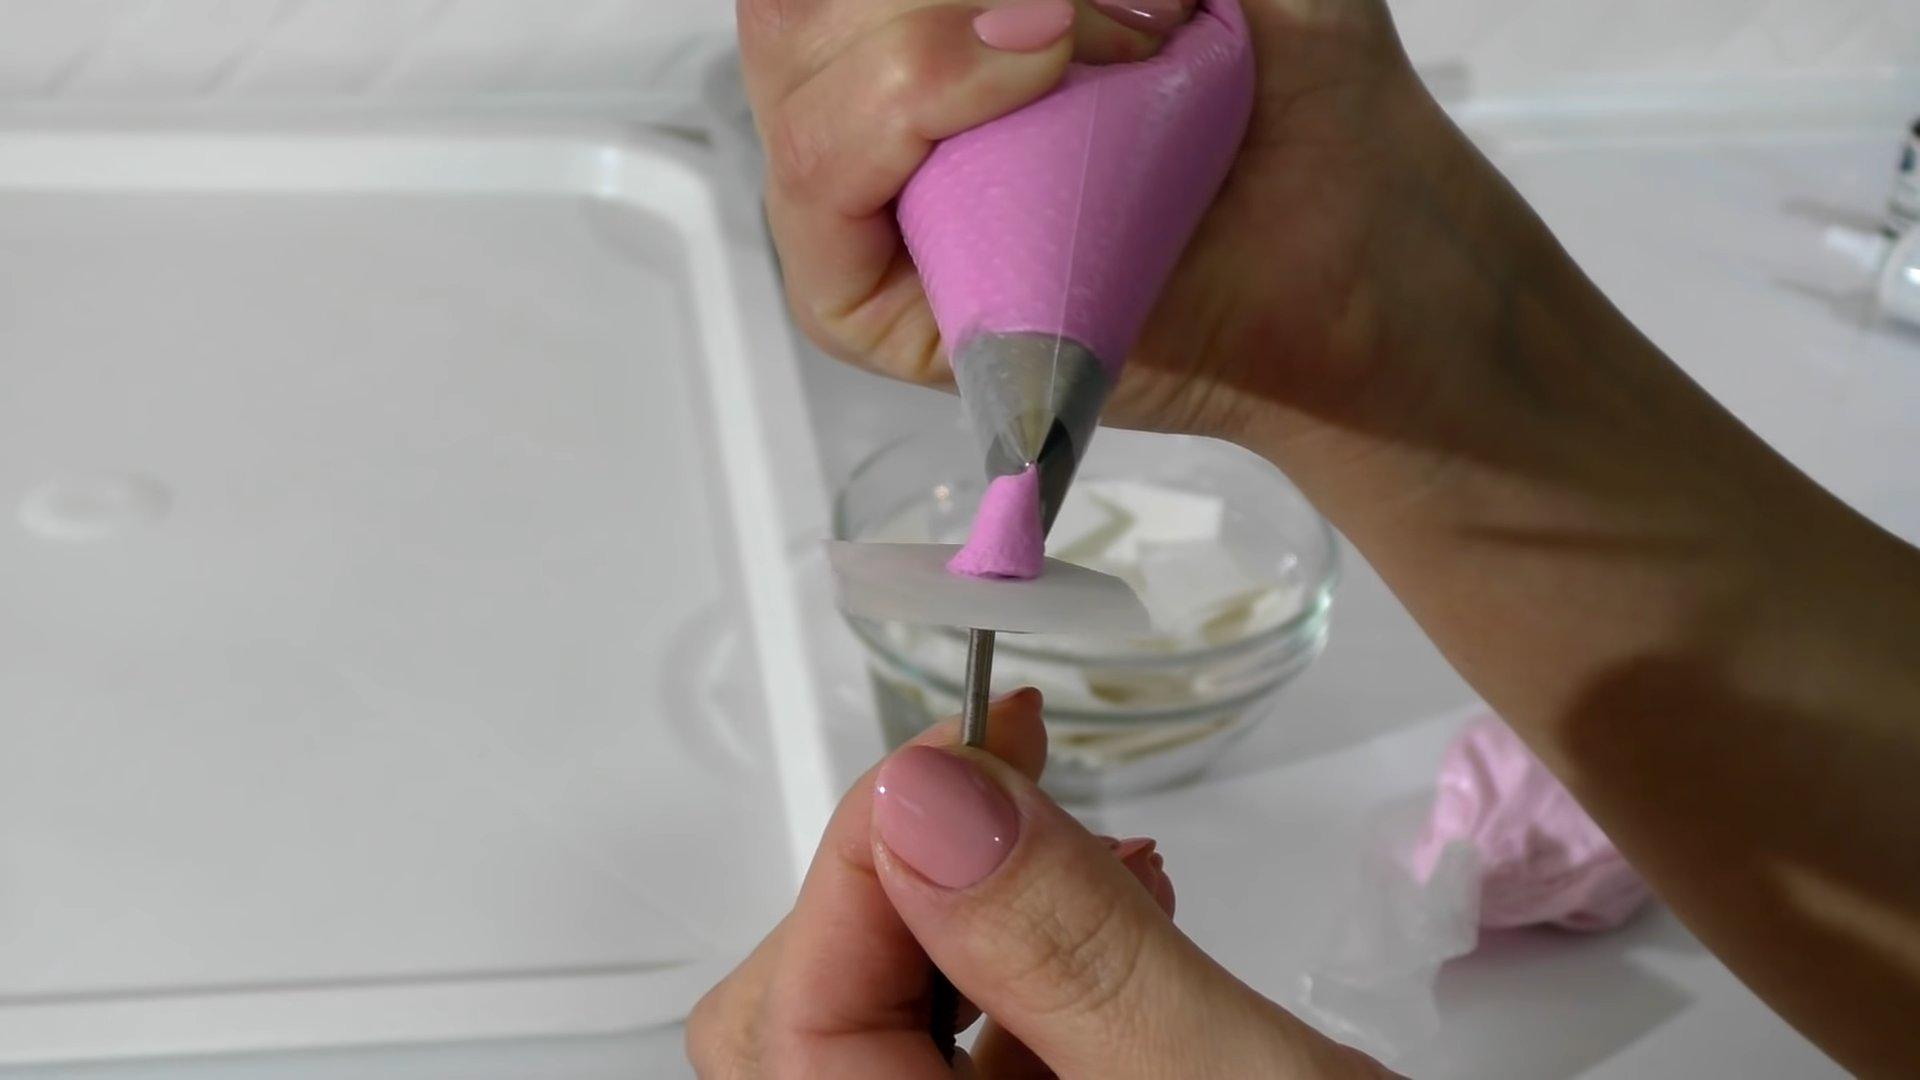
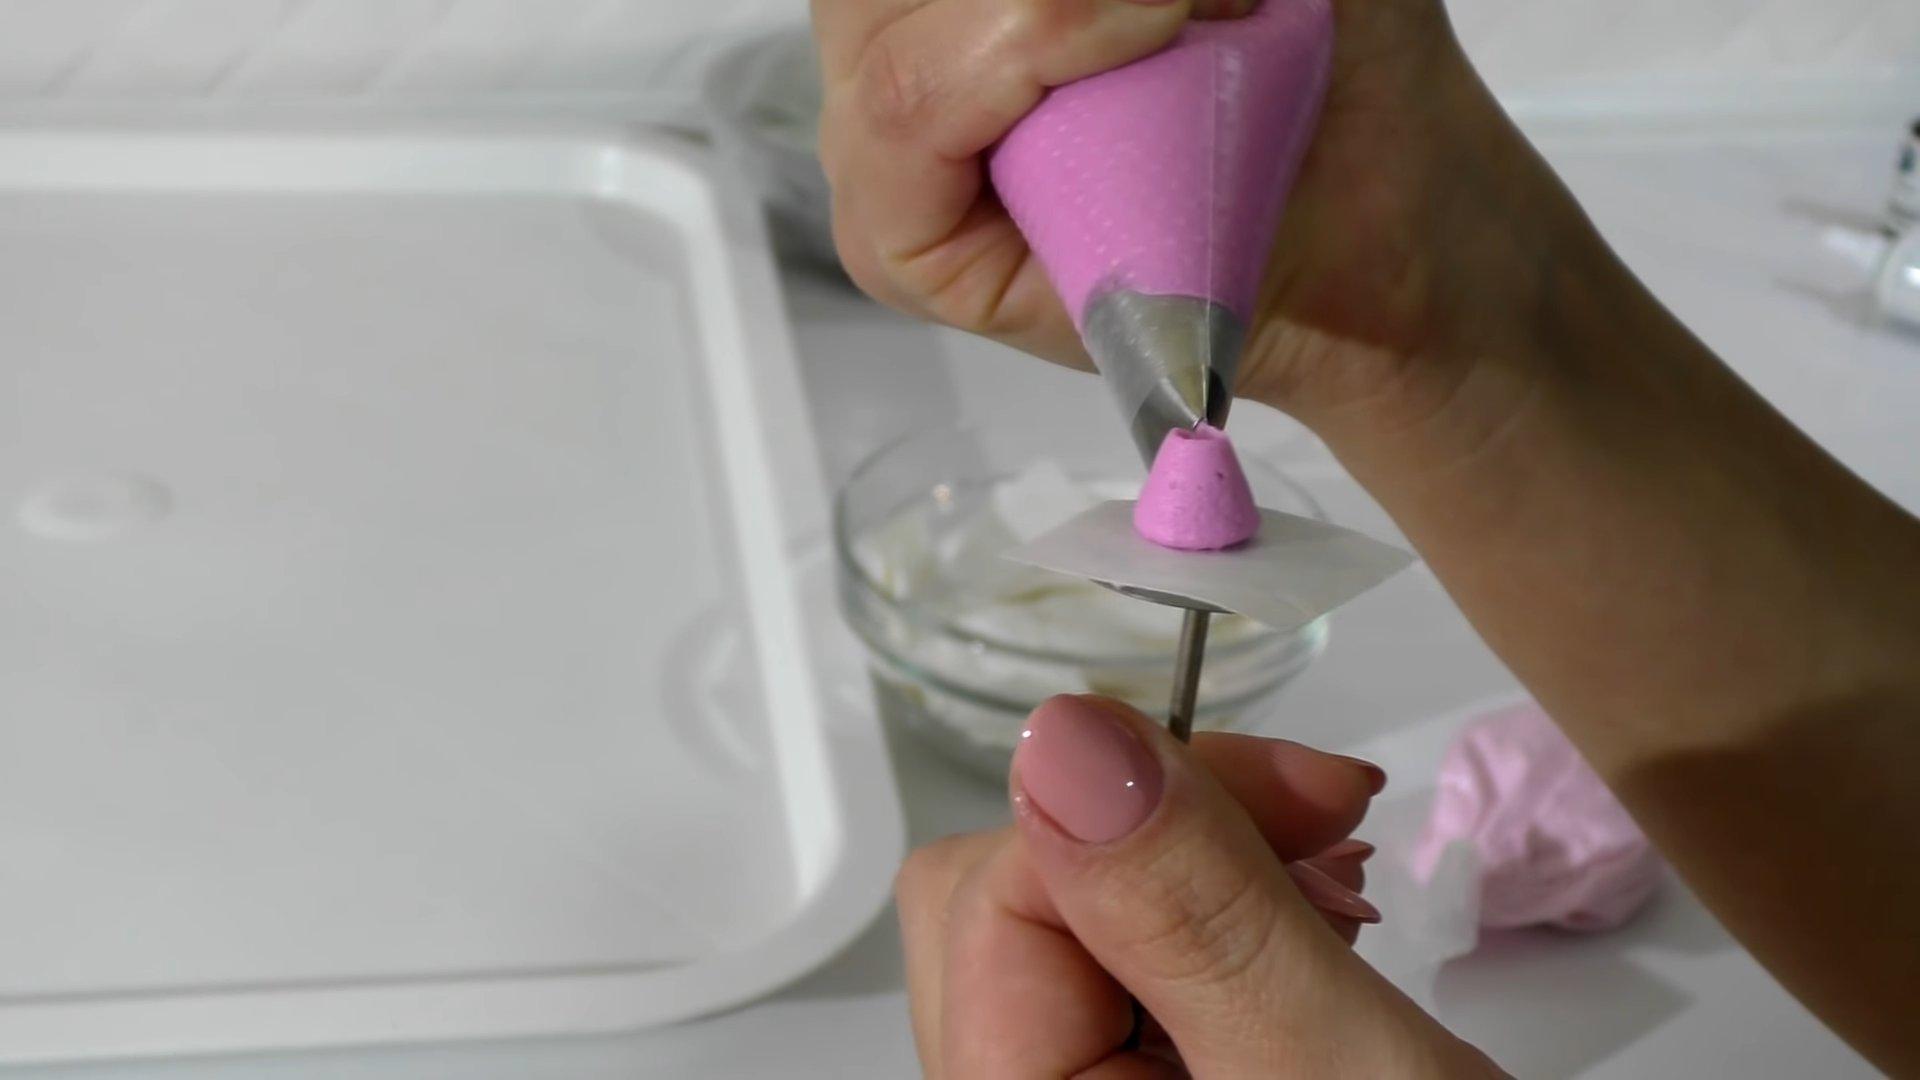
Step 4
Carefully form the center of the rose.
Step 5
We make rose petals from light glaze.
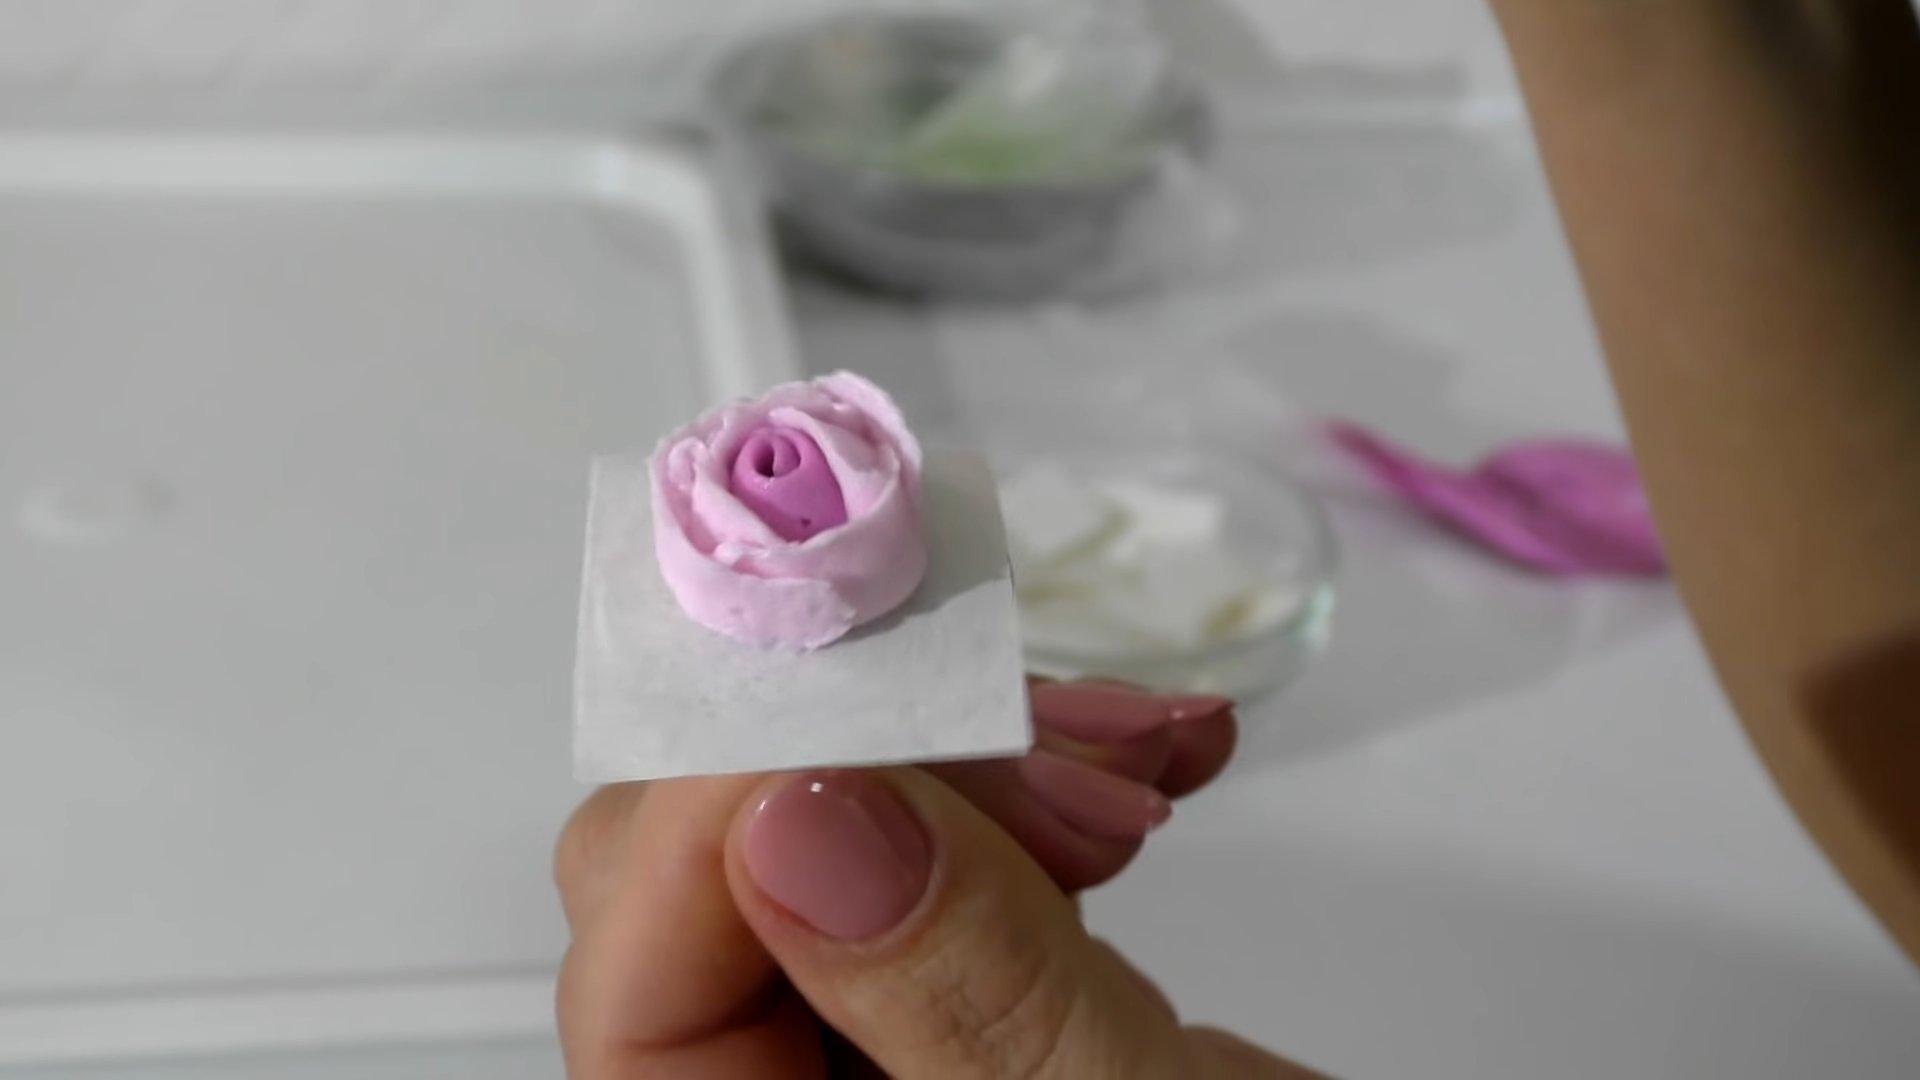
Step 6
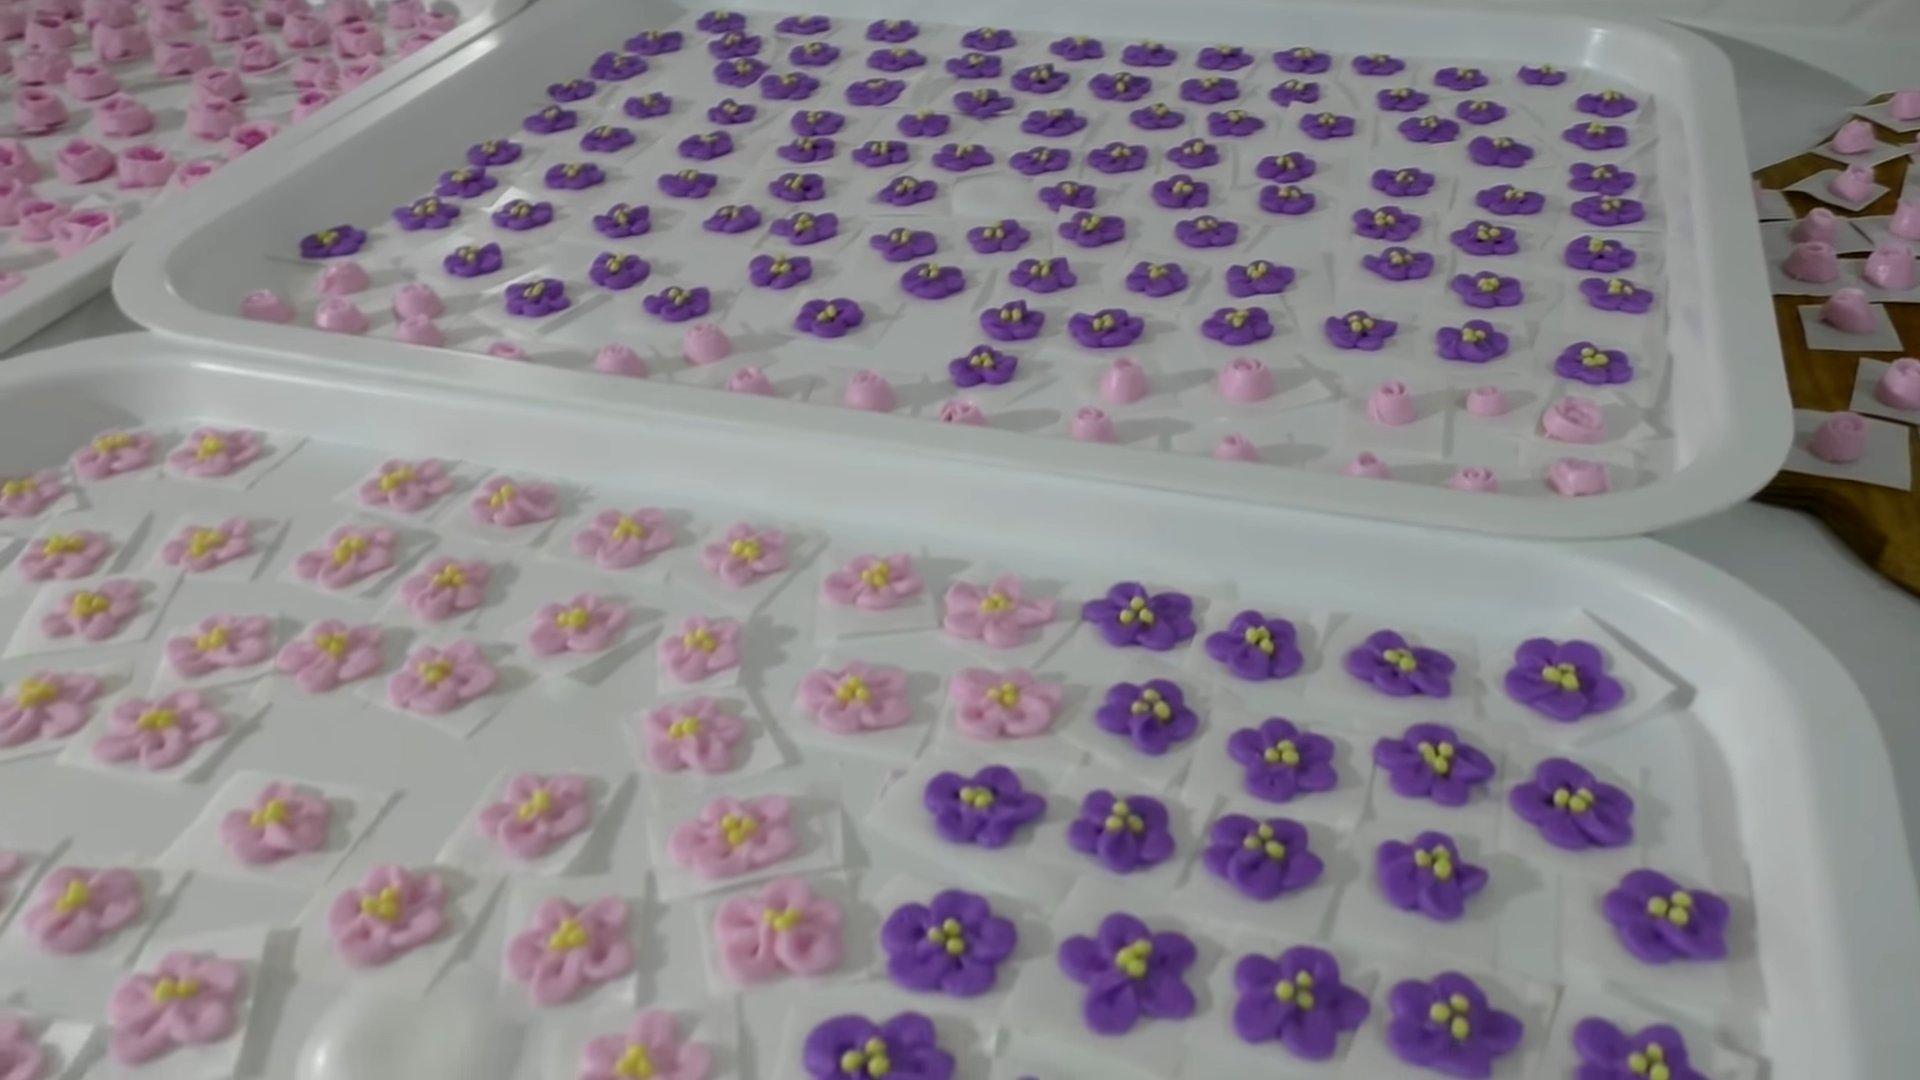
We remove the finished product from the nail and leave it on paper to dry.
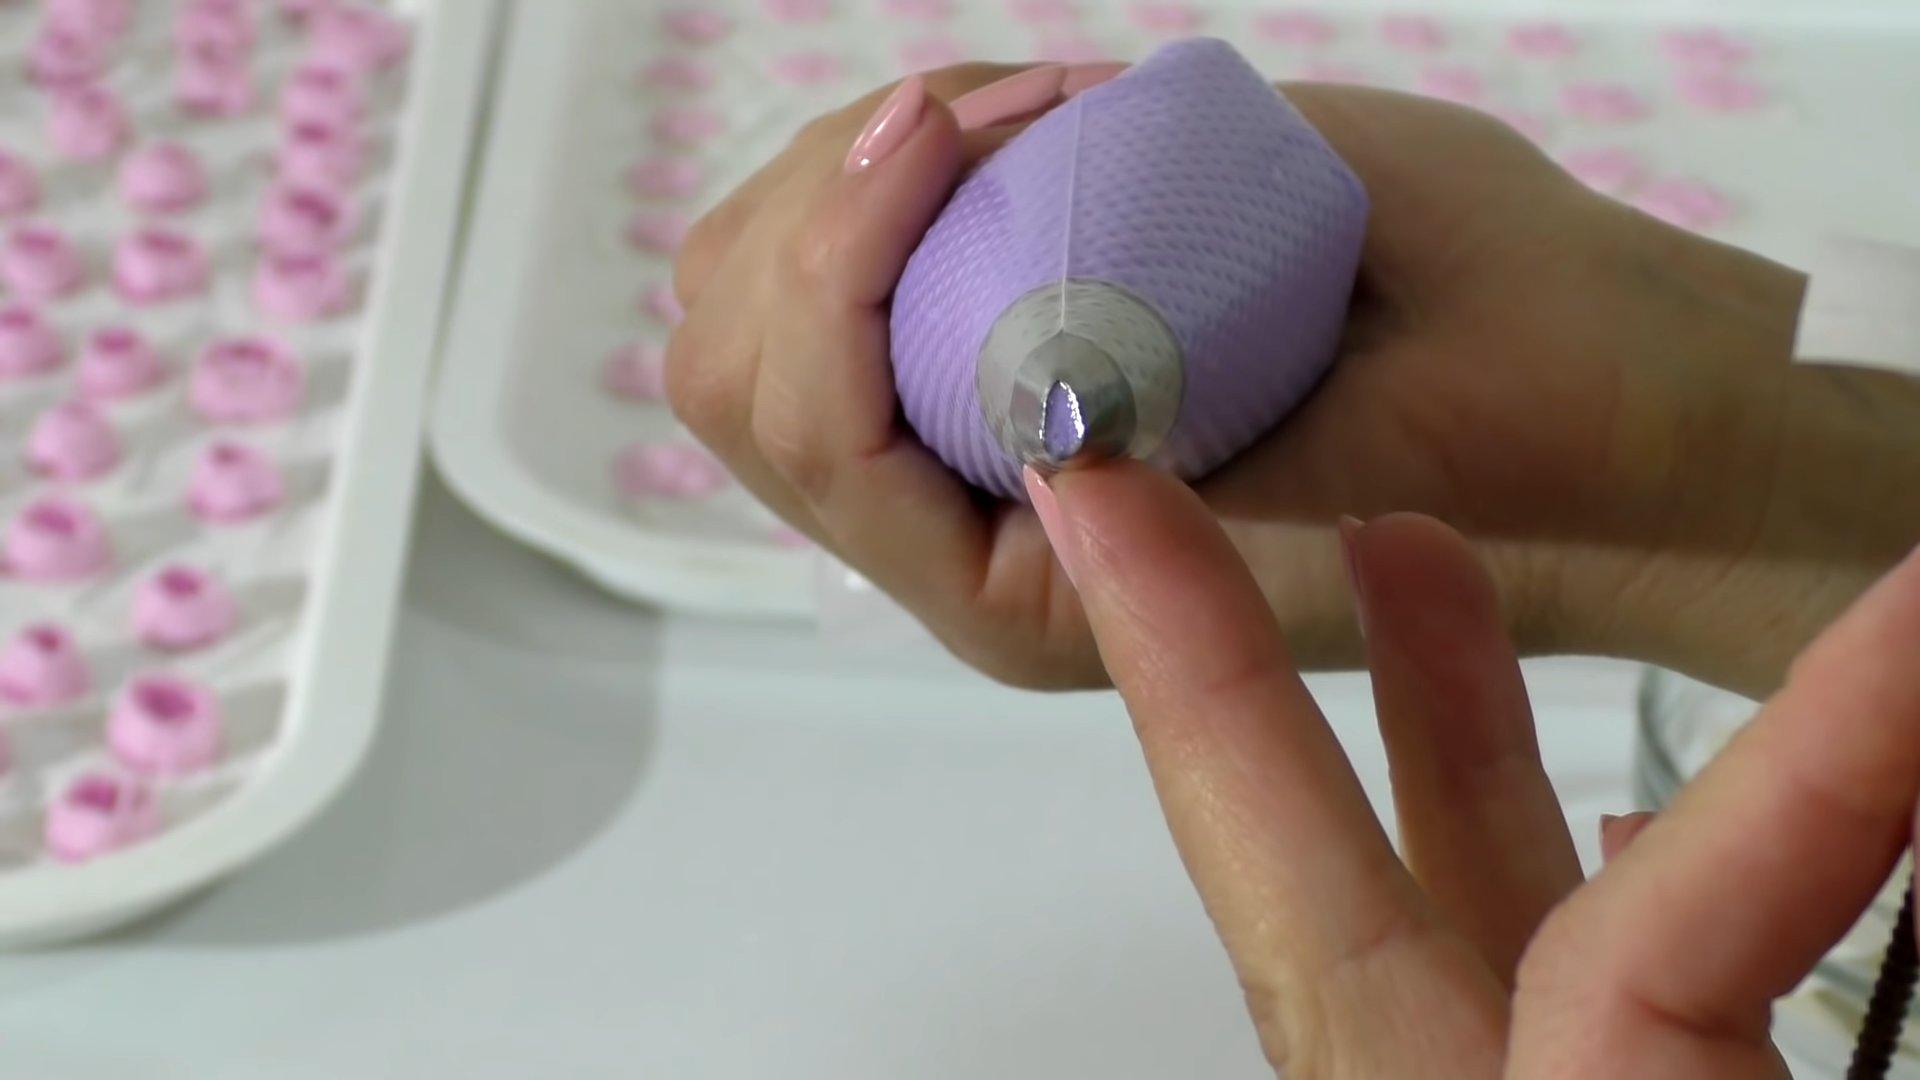
Step 7
We make small forget-me-nots using the same principle.
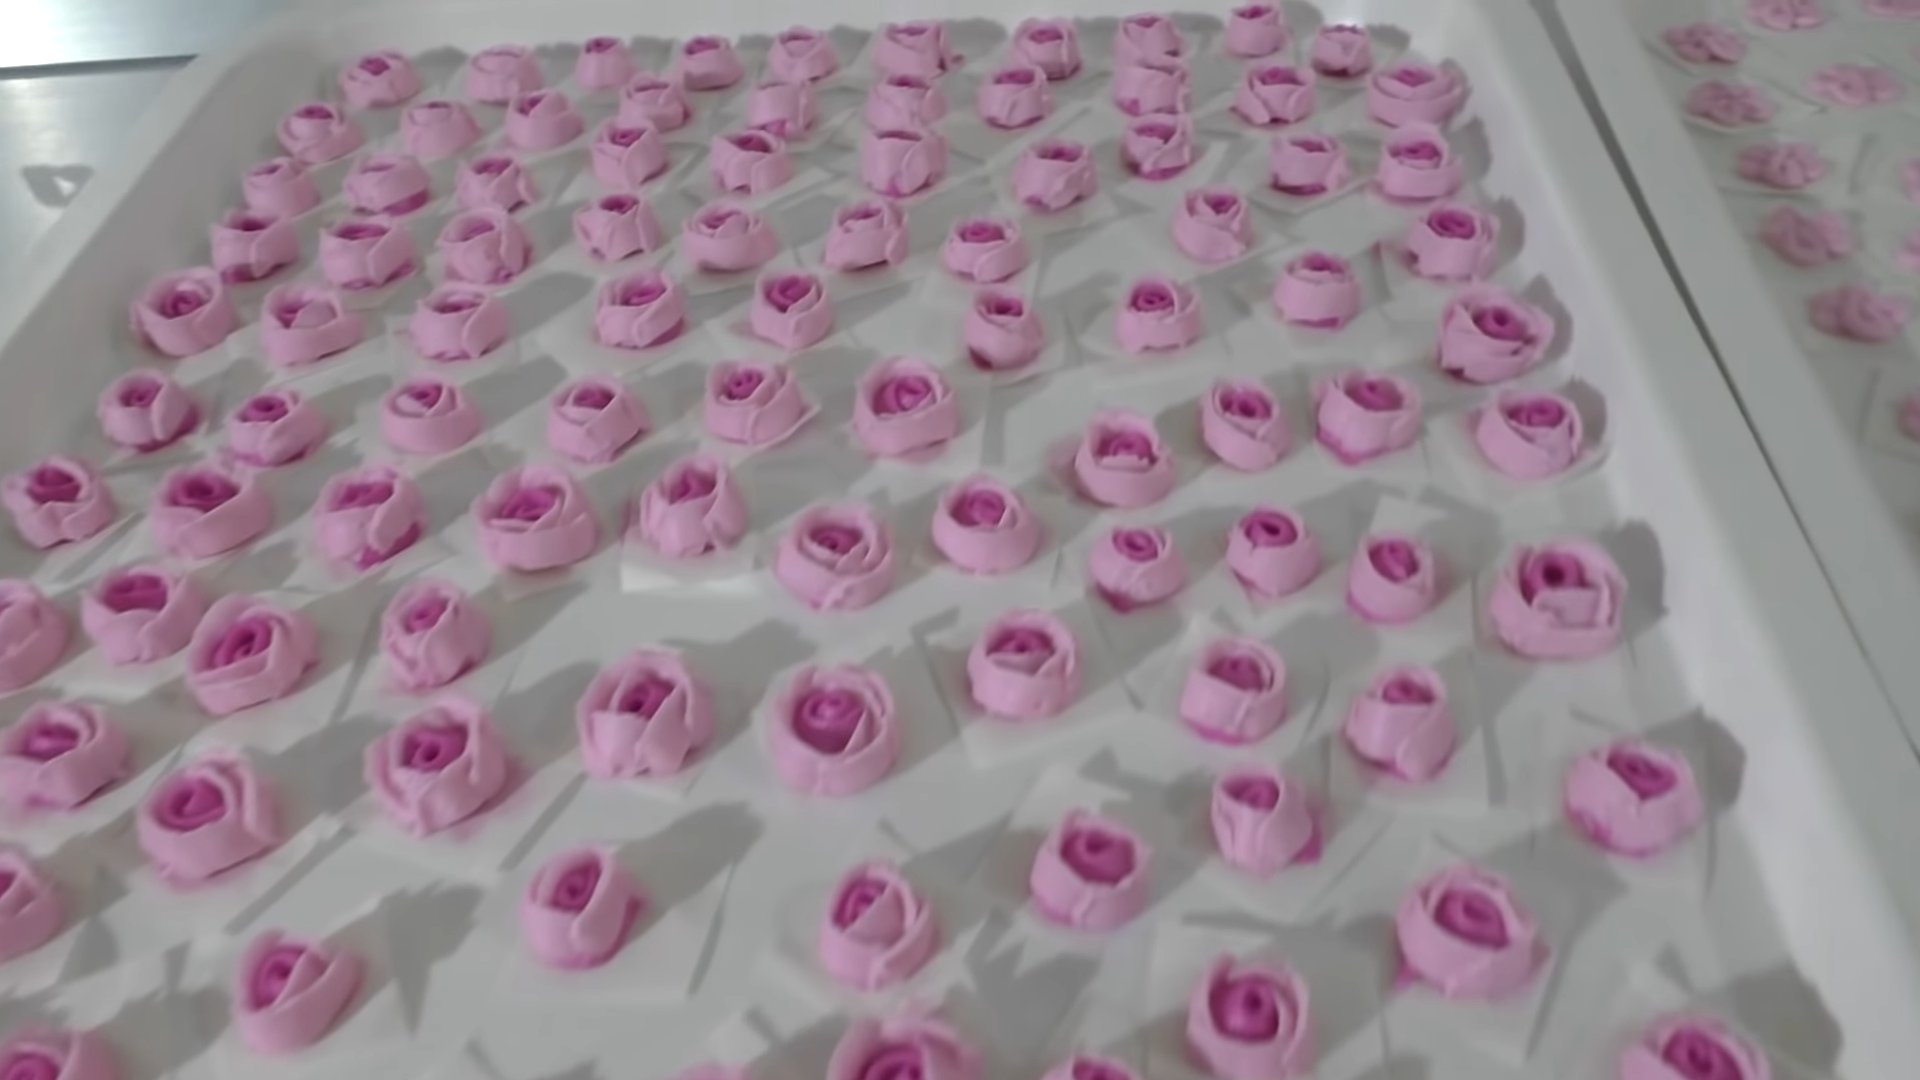
Step 8
Leave the finished flowers for 7-8 hours or overnight so that the icing can completely harden.
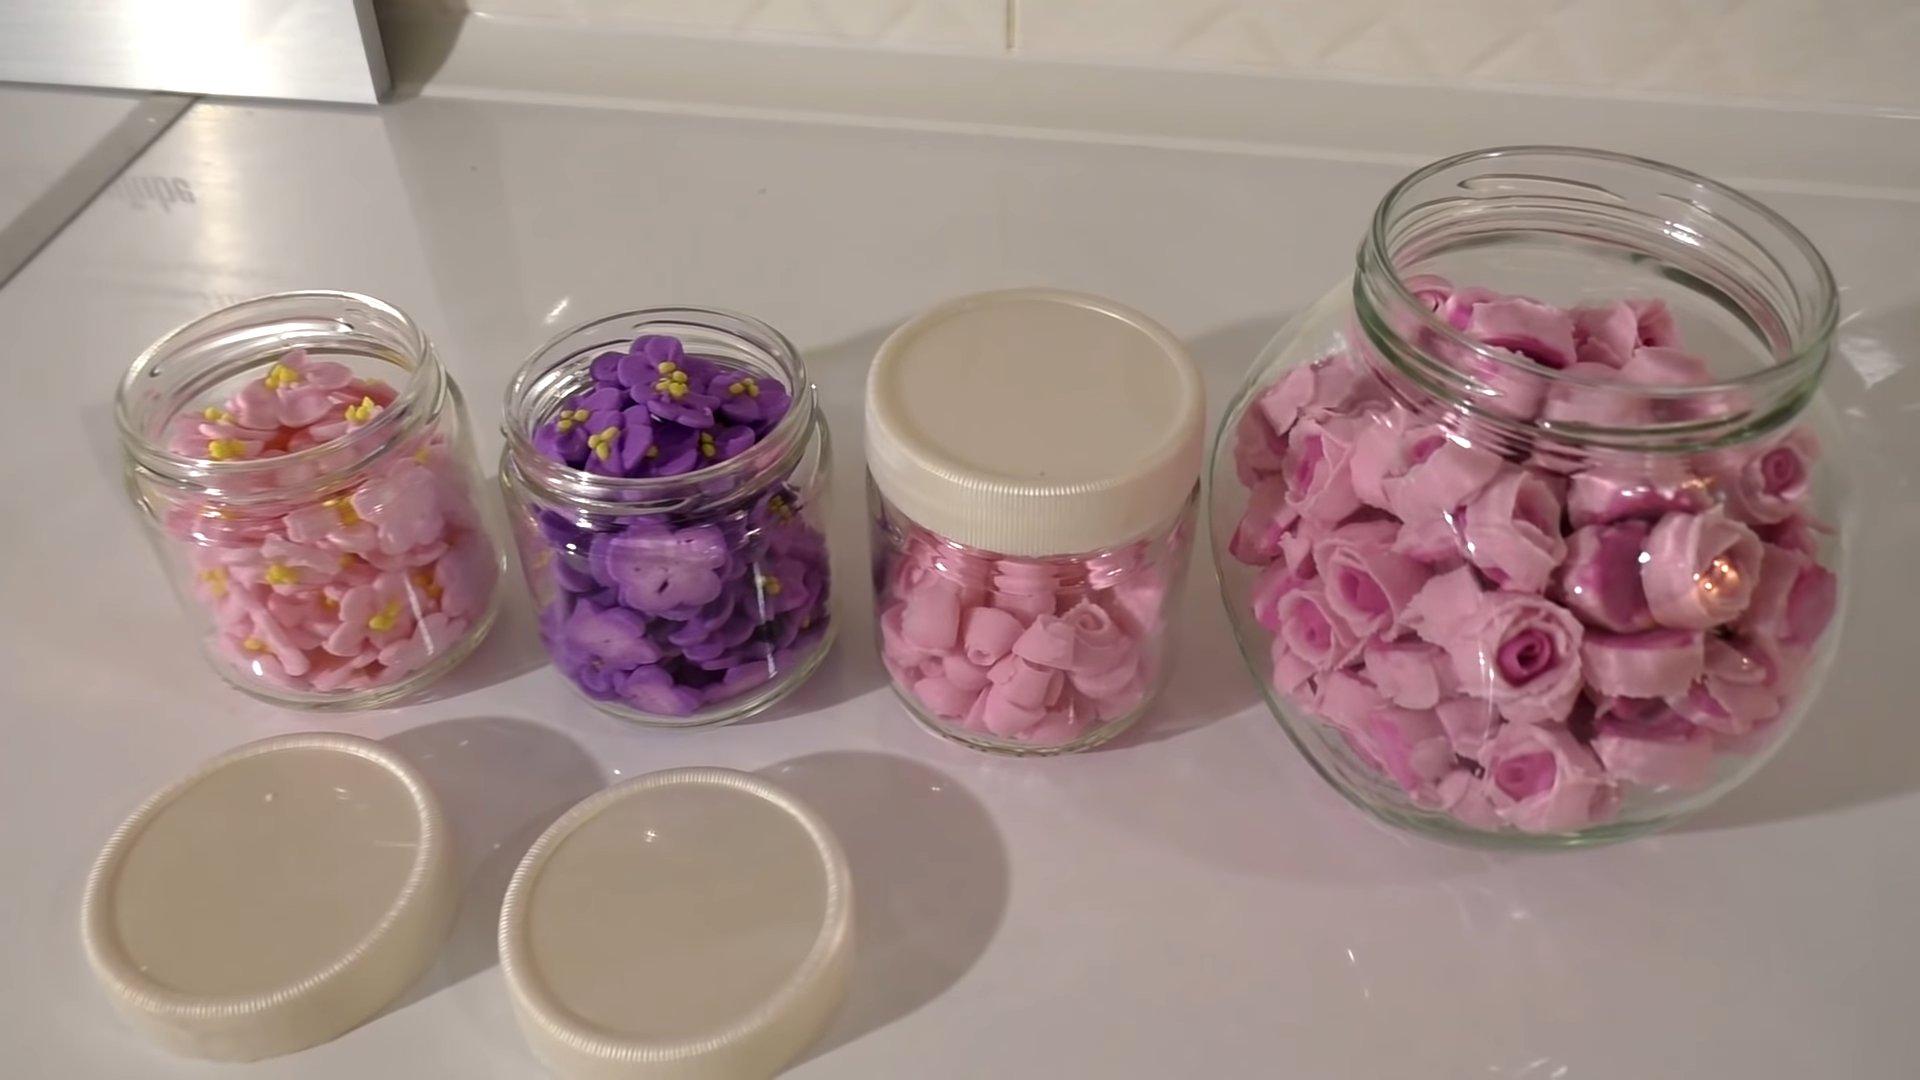
Step 9
The next day, remove the flowers from the paper and use them to decorate the gingerbread cookies. If you don't plan to use the icing right away, you can place it in jars and seal it tightly. They can be stored this way for up to 6 months.

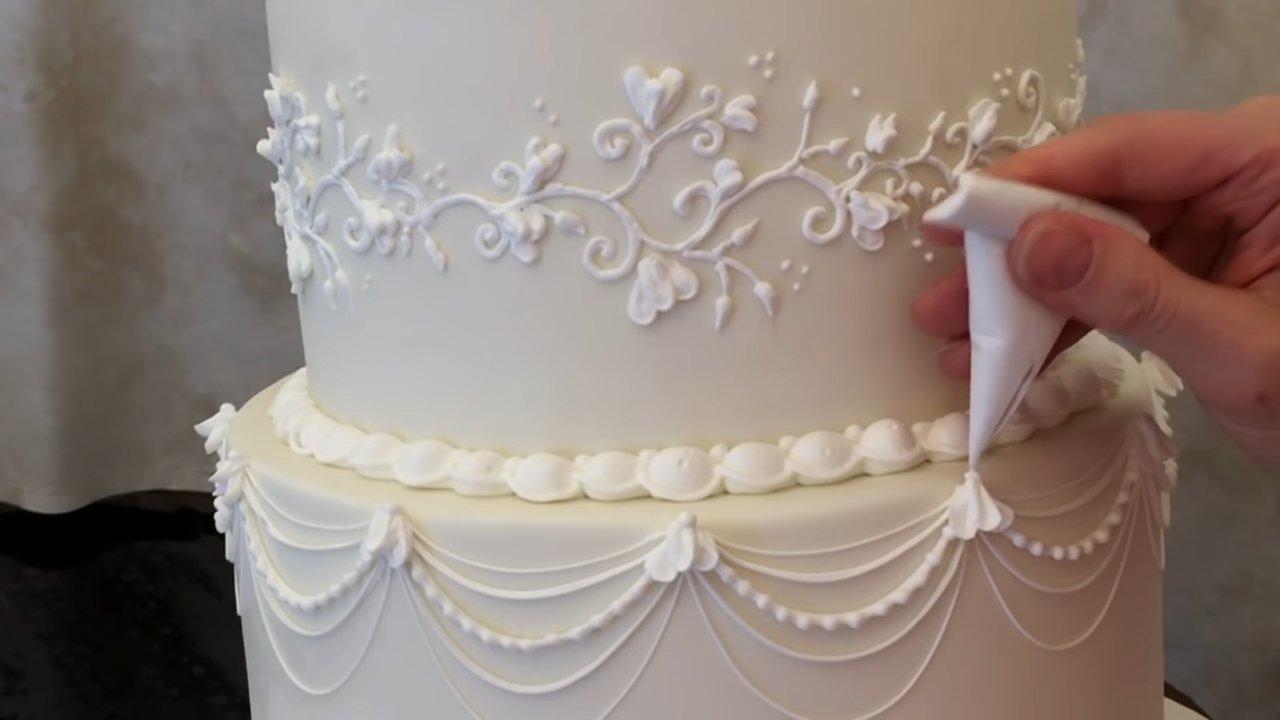
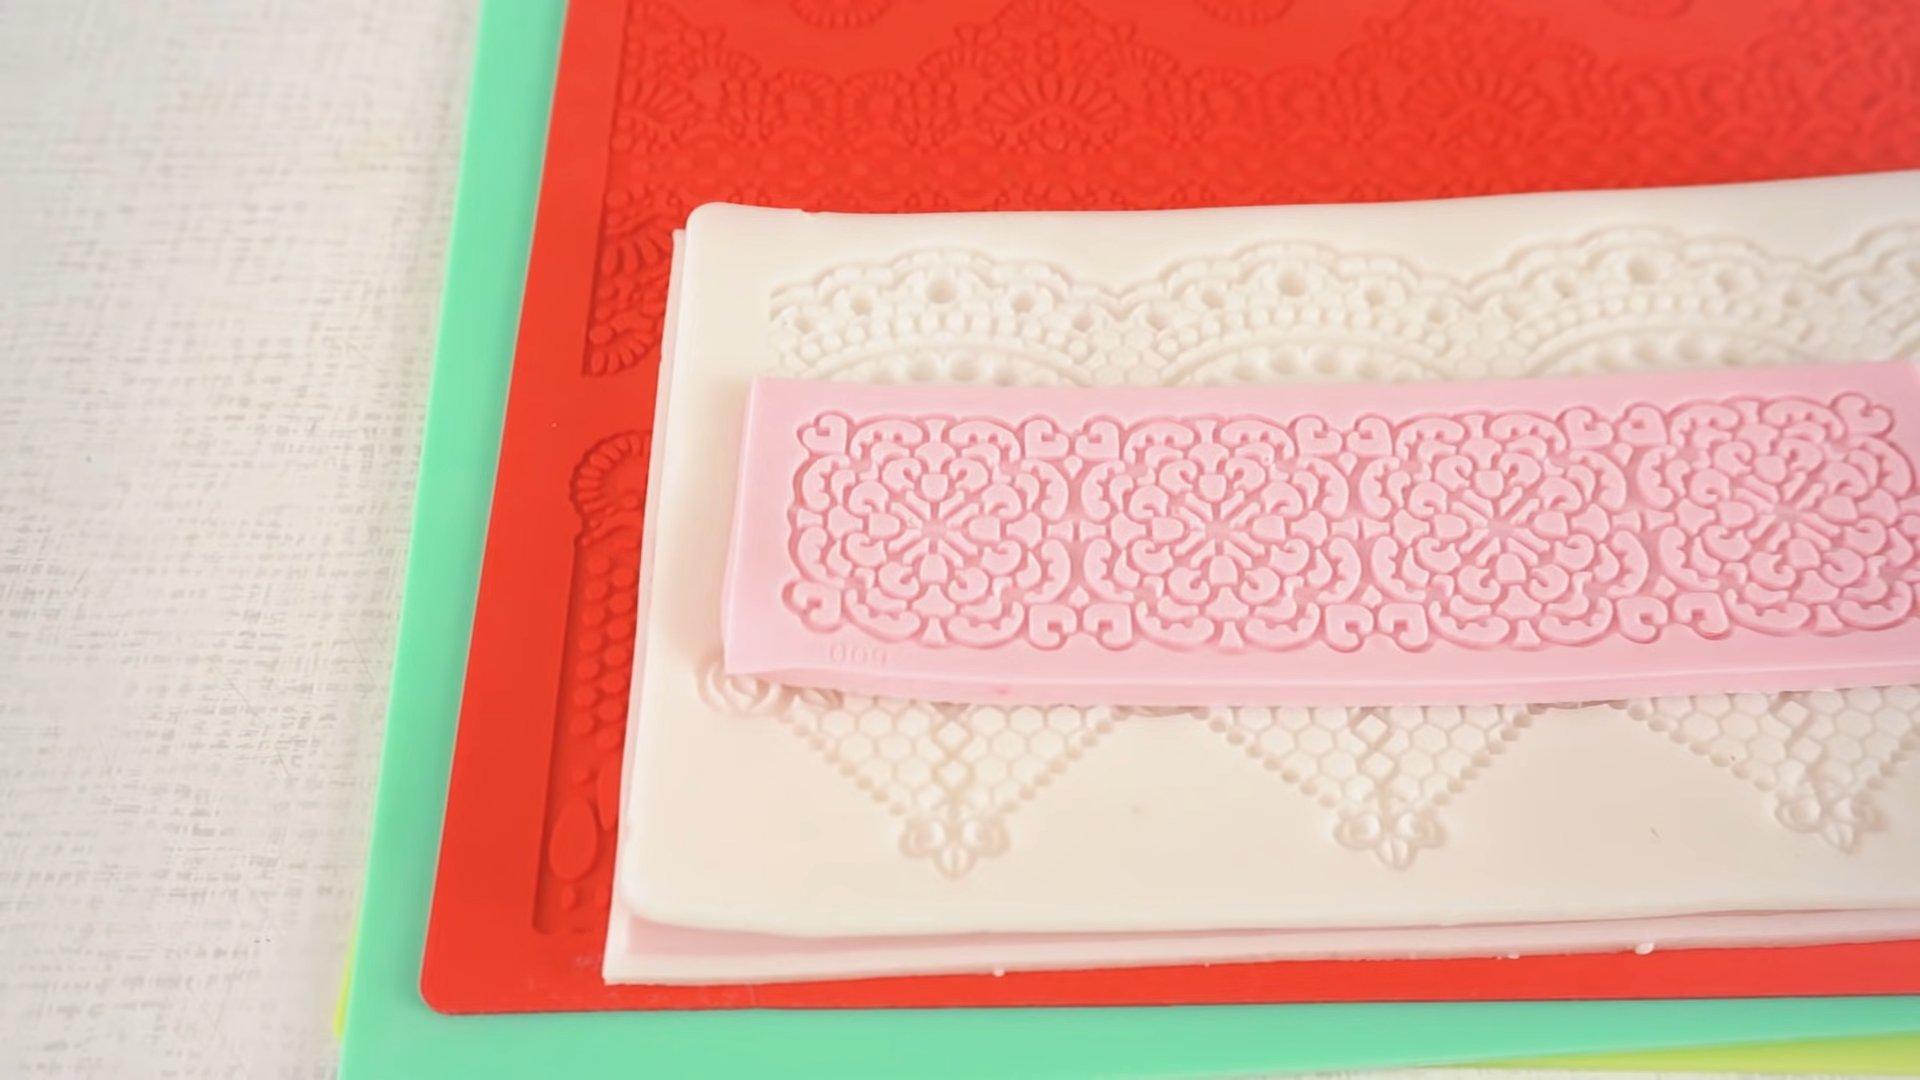
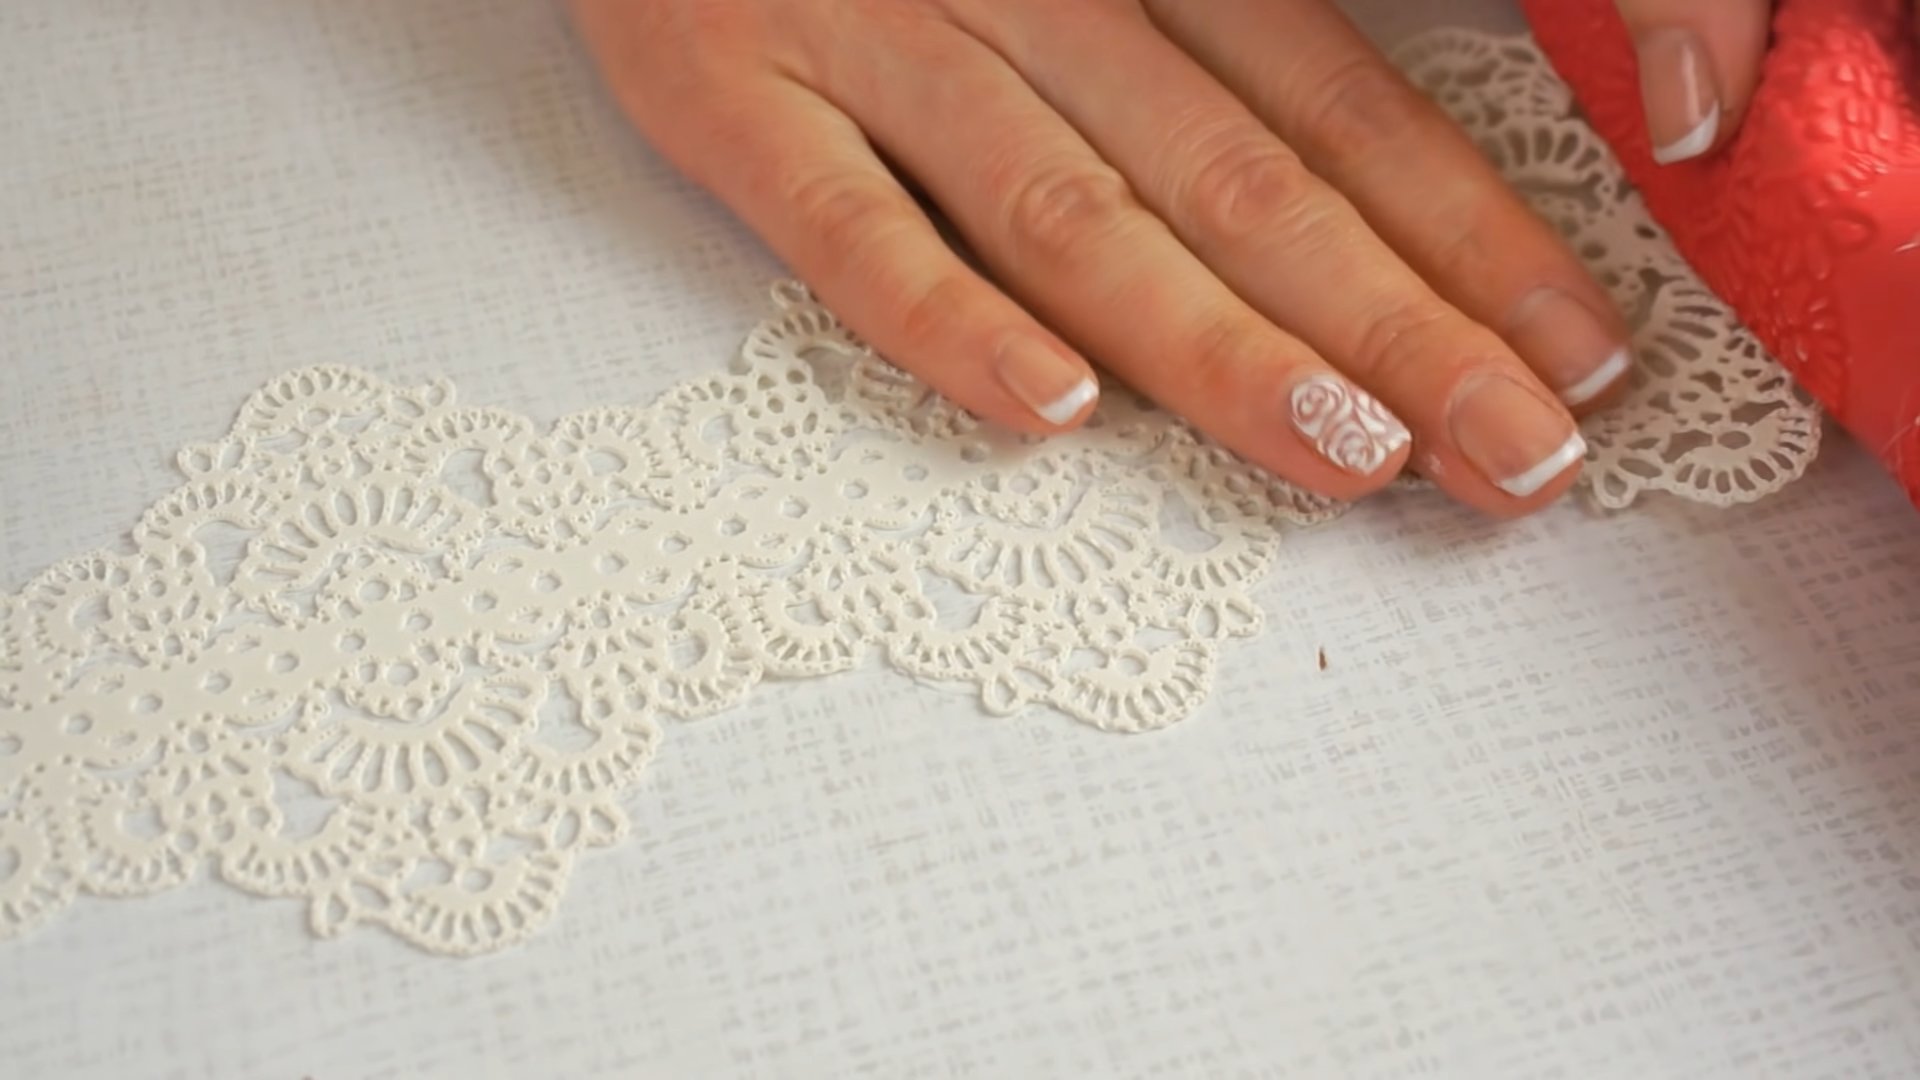
Lace on a cake made of flexible icing
This is a gorgeous tutorial on making lace from flexible icing. These pieces are perfect for cake decoration. You can make flexible icing using your own tried-and-true recipe and color it any color you like.
Materials, tools
- Flexible icing
- Silicone mat for lace
- shoulder blade
- Toothpick
Cooking time: 1 hour 10 minutes
Servings: 1
Step-by-step recipe
Step 1
Prepare the required amount of flexible icing and select a silicone mat.
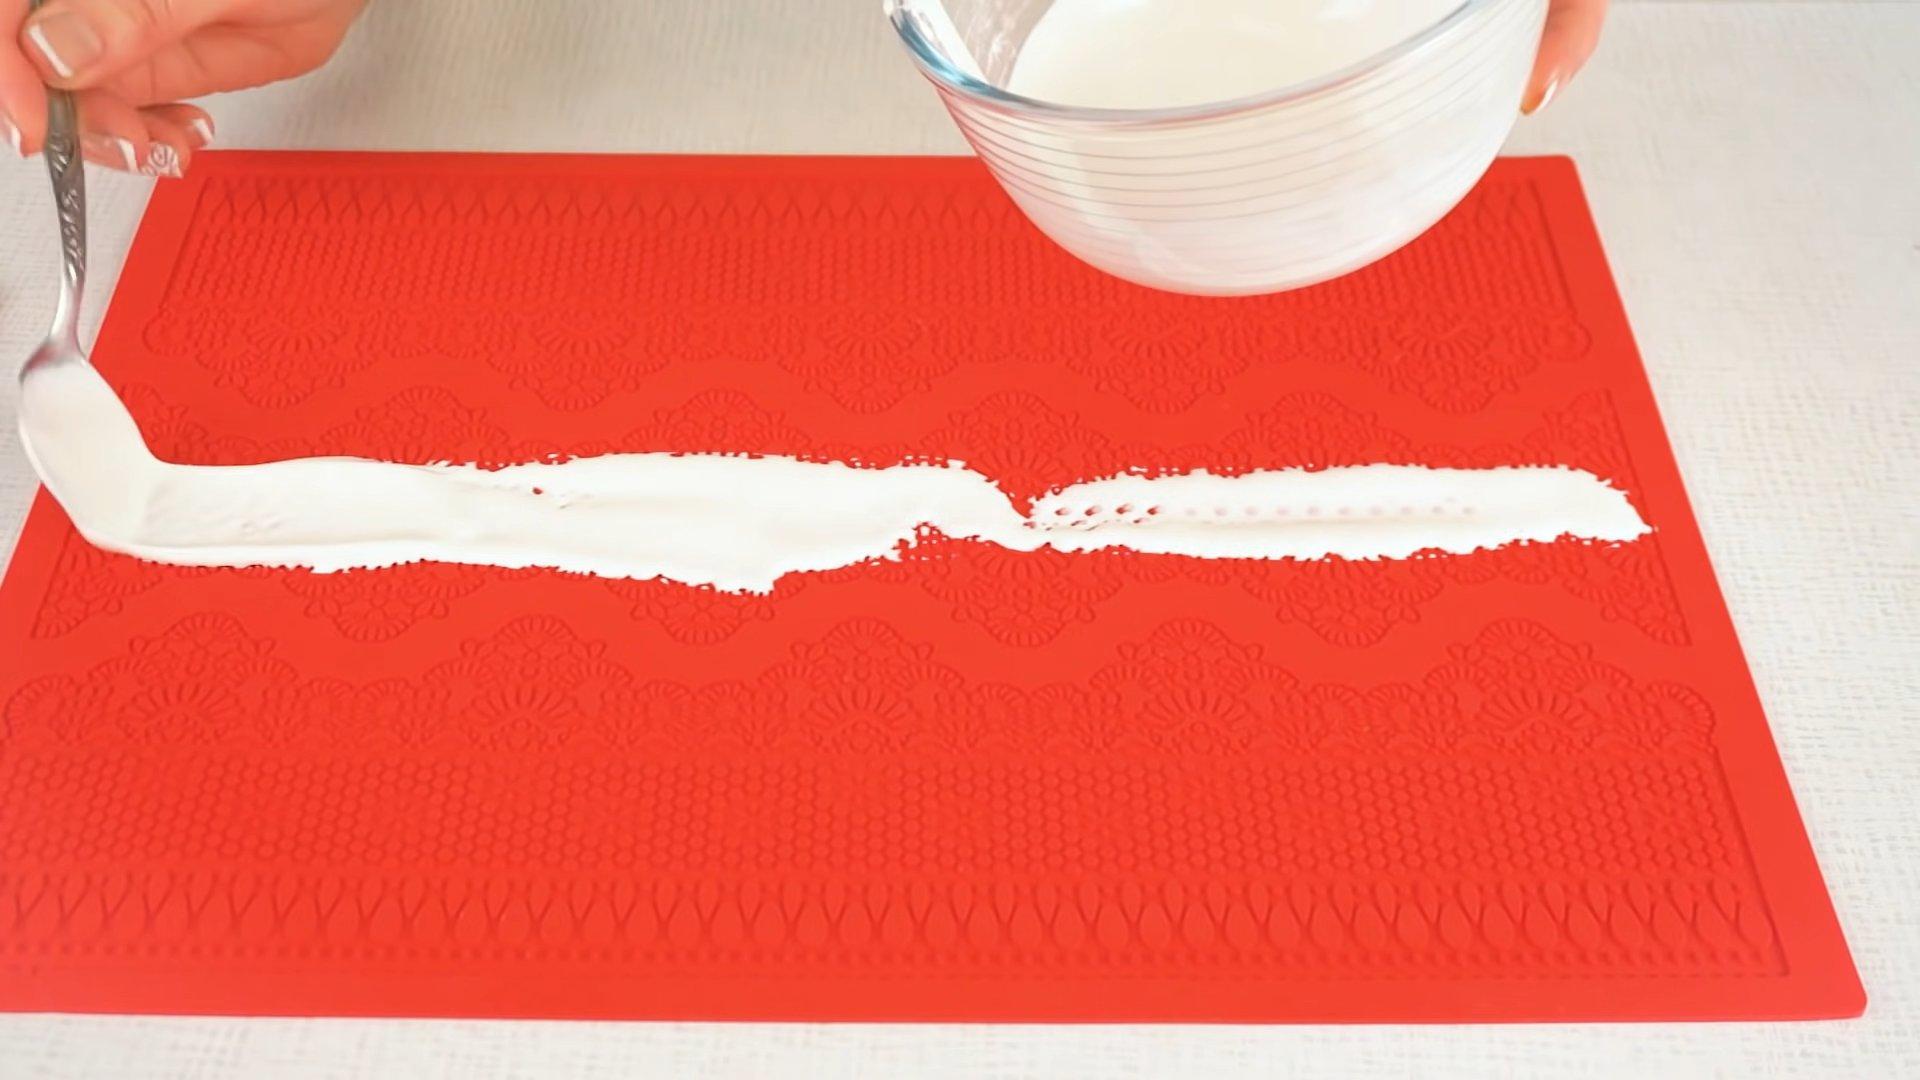
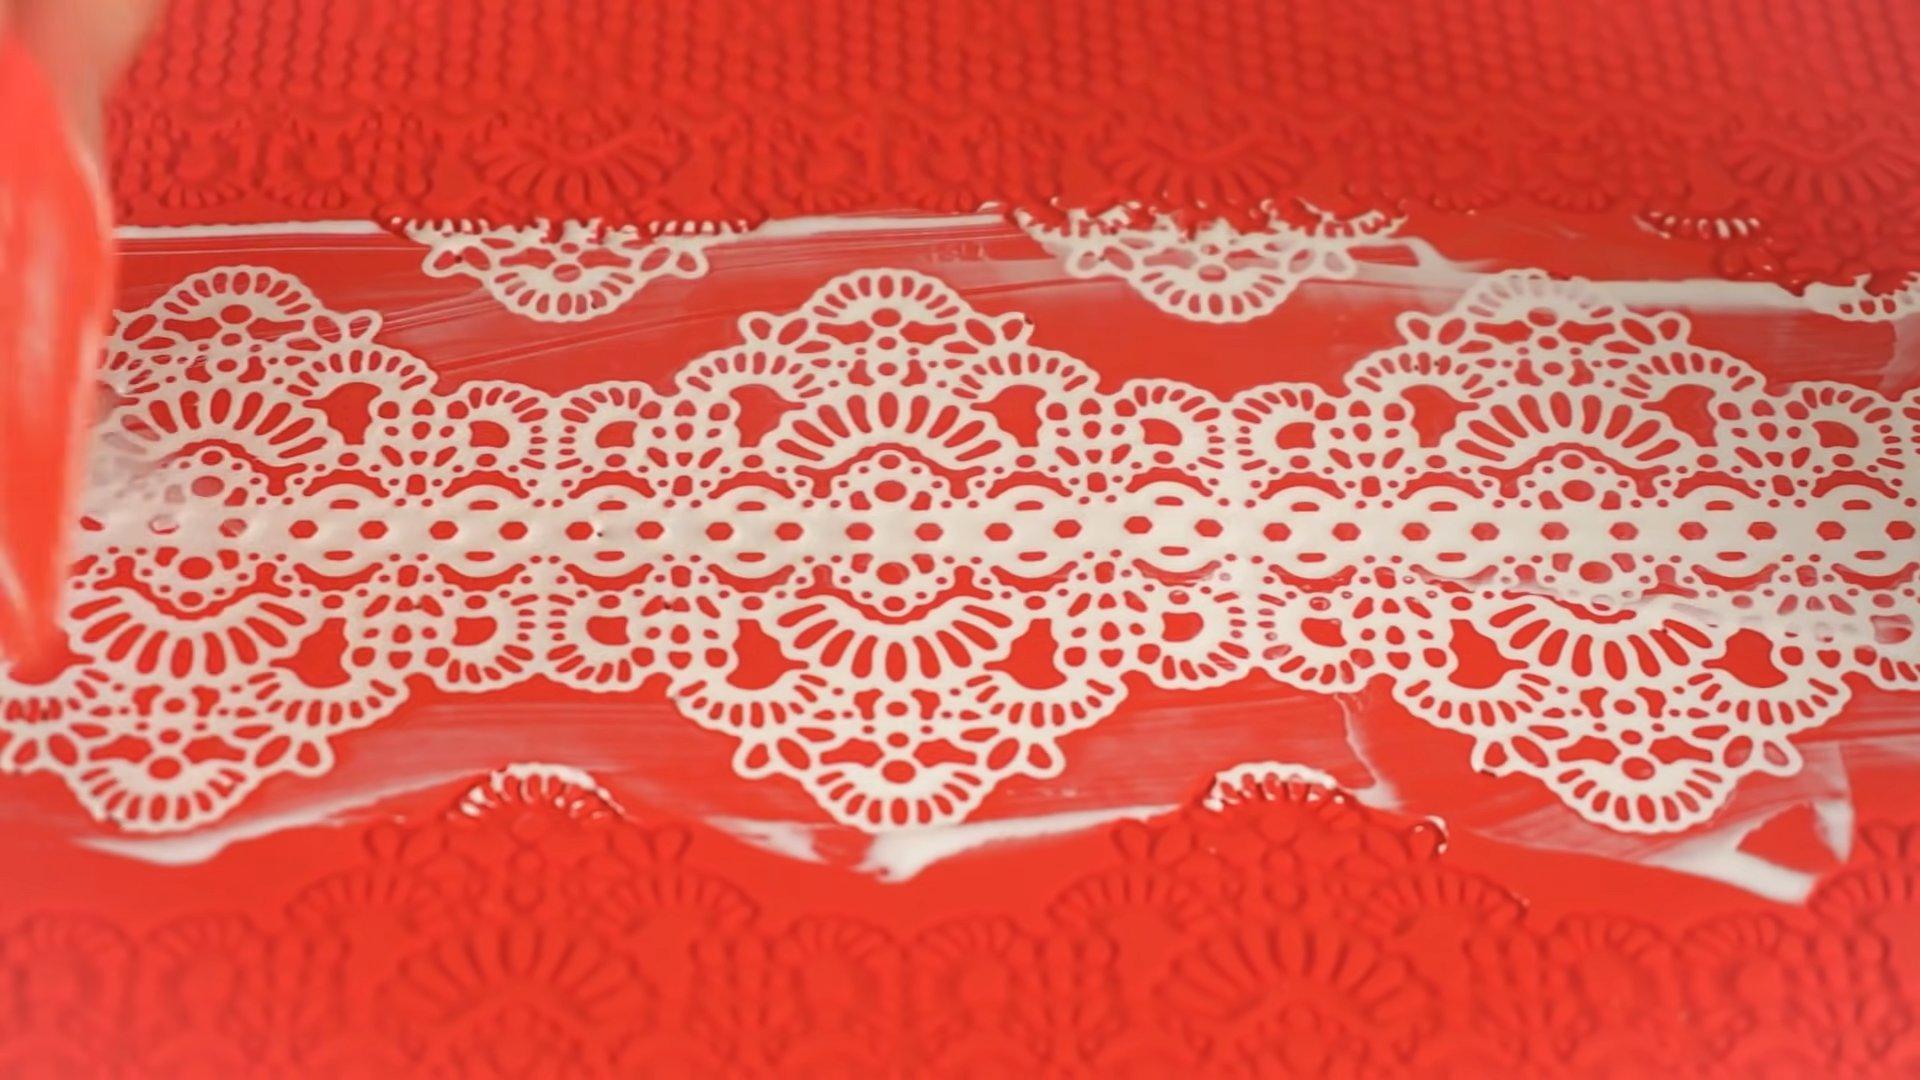
Step 2
Using a spoon, place a small amount of icing onto the mat.
Step 3
Using a spatula, spread the icing over the entire pattern.
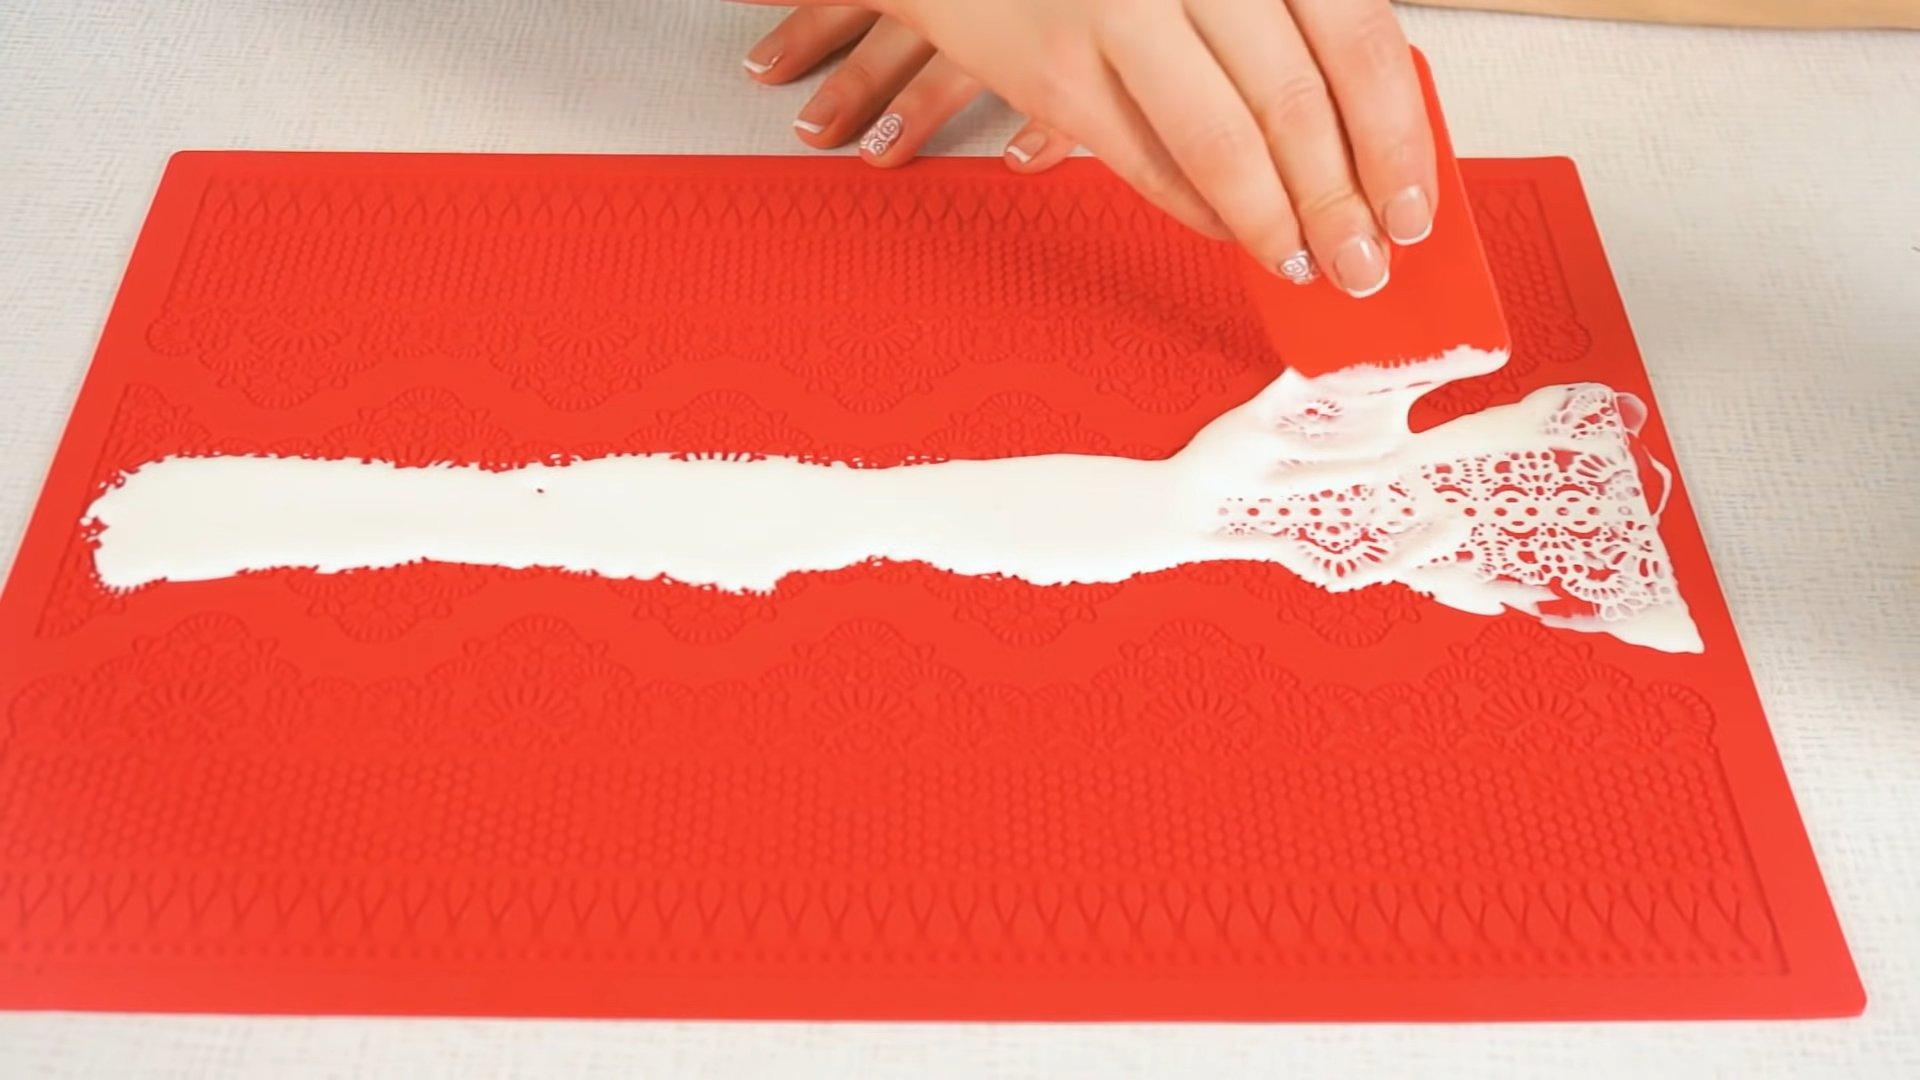
Step 4
Remove excess glaze with a spatula.
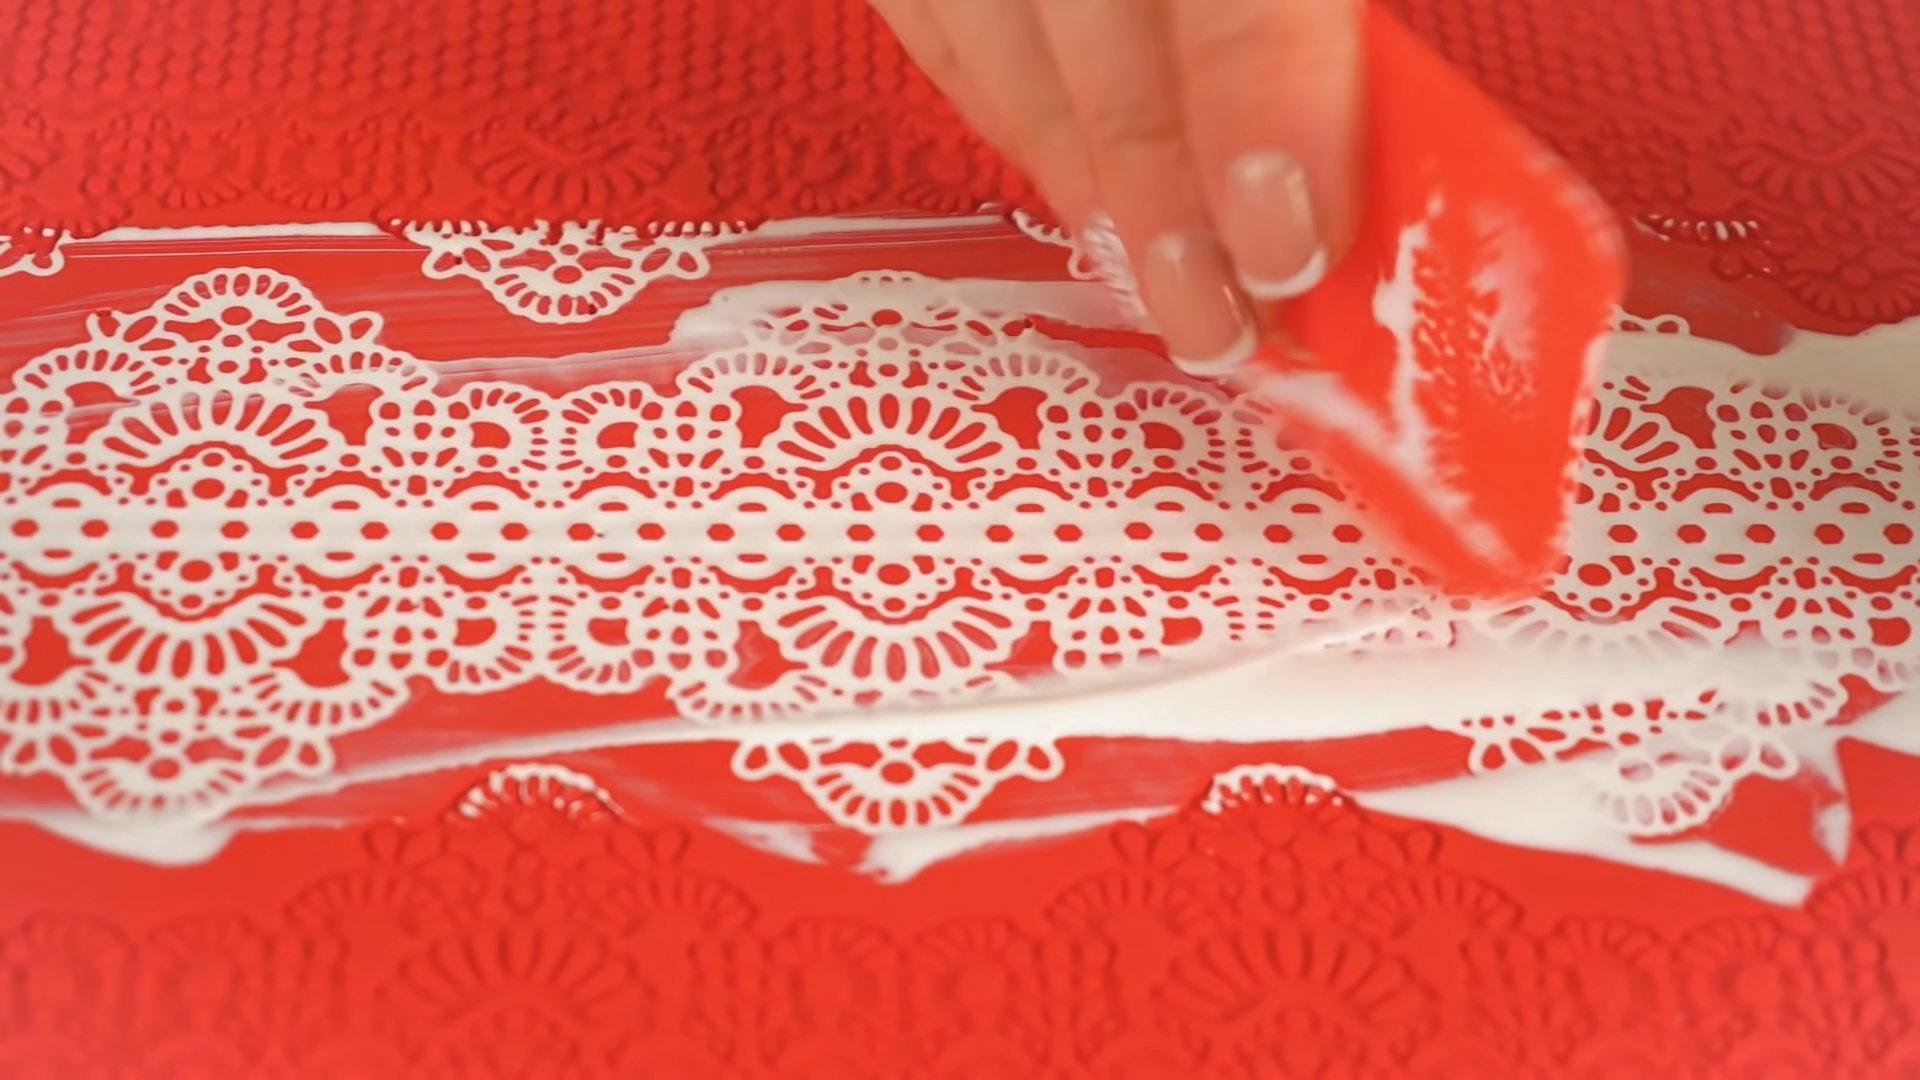
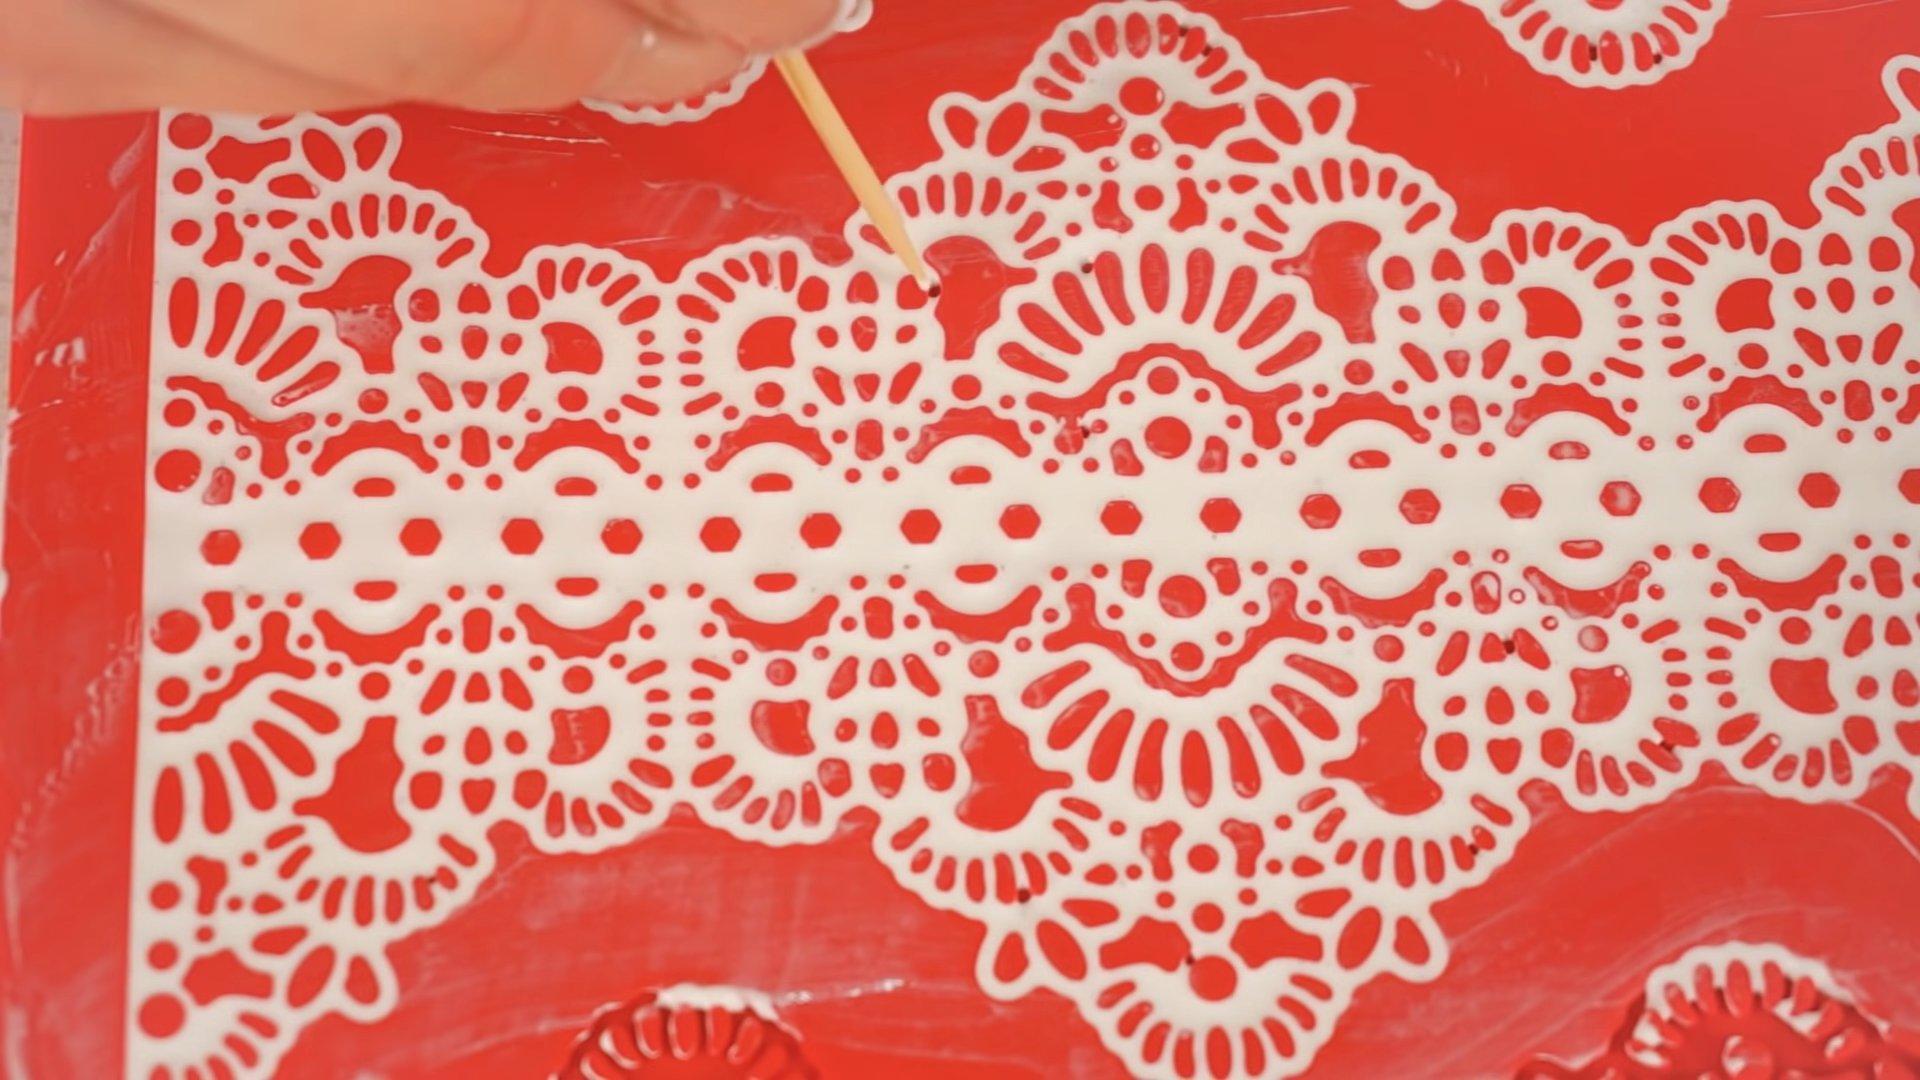
Step 5
If air bubbles form on the future lace, remove them with a toothpick.
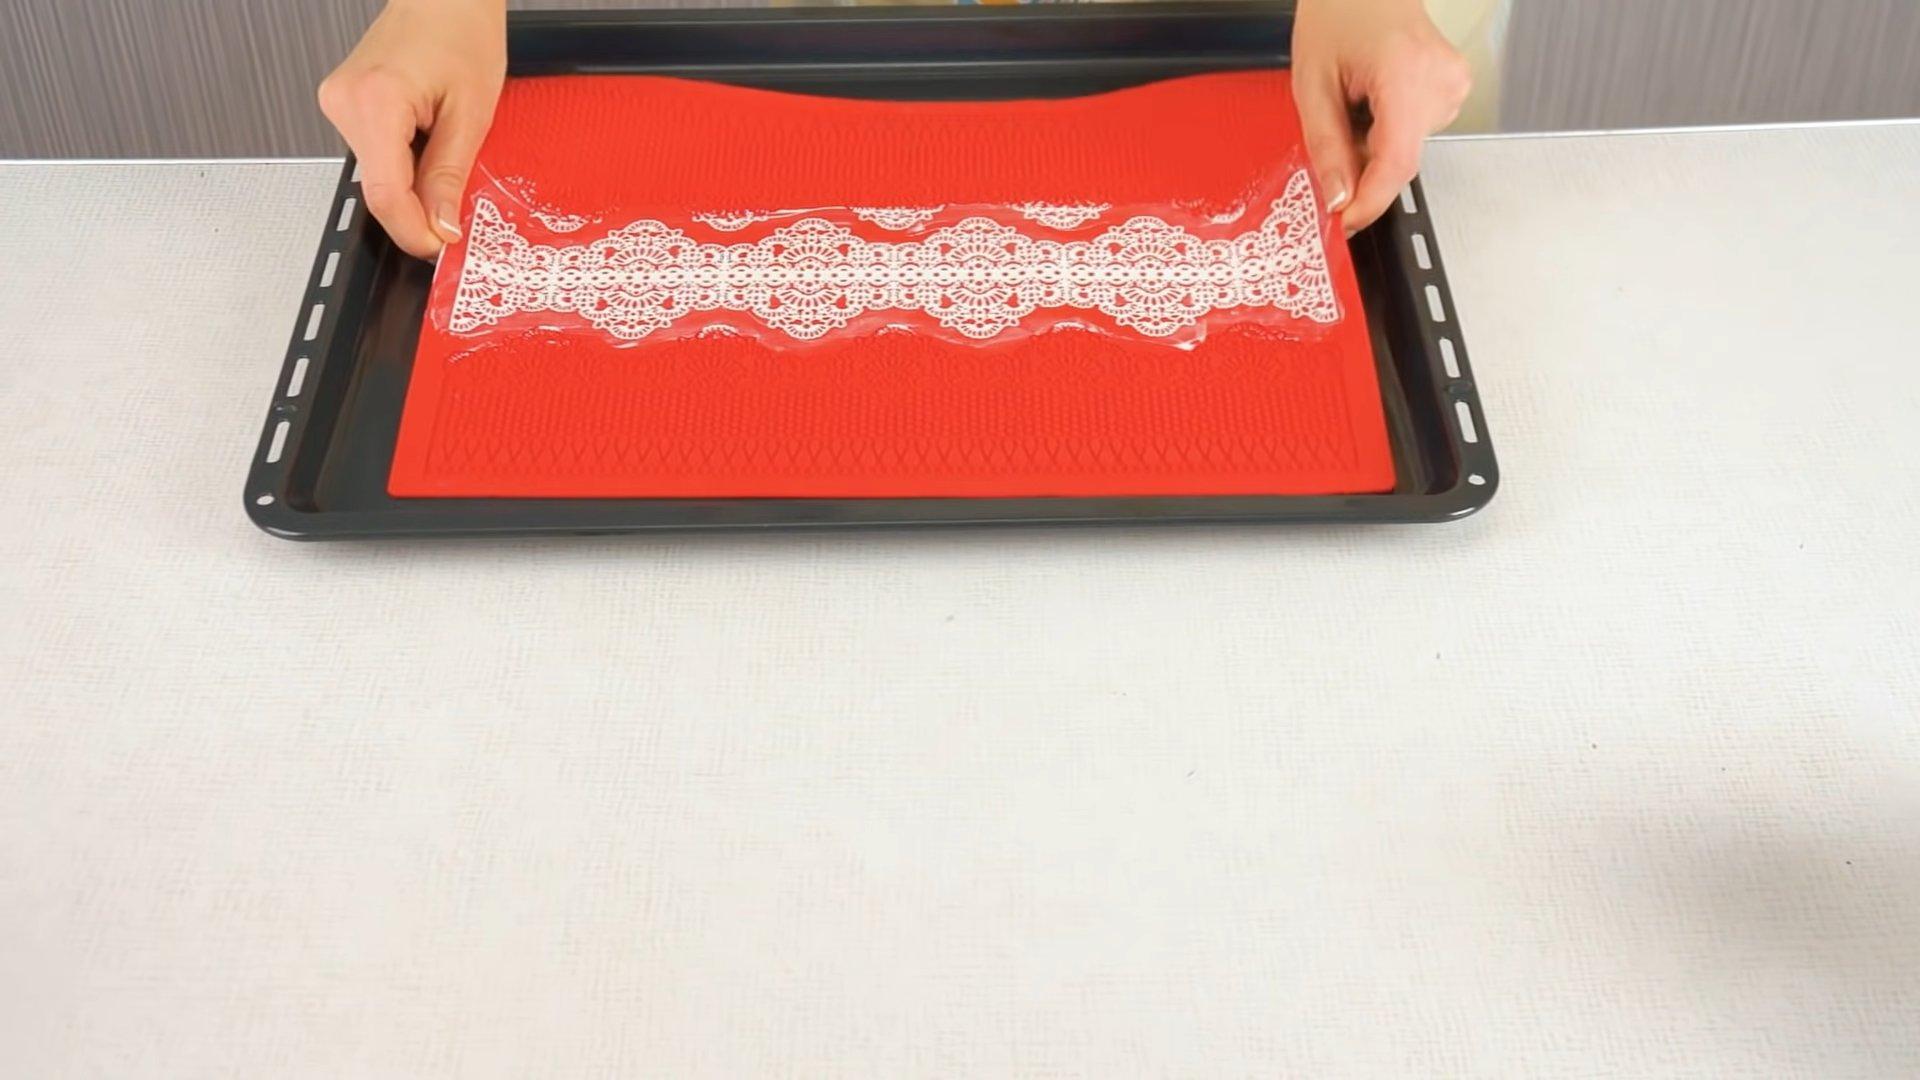
Step 6
Transfer the mat to a baking sheet and place the lace in an oven preheated to 70 degrees Celsius (165 degrees Fahrenheit). Set the oven to convection mode and let it dry for 50-60 minutes.
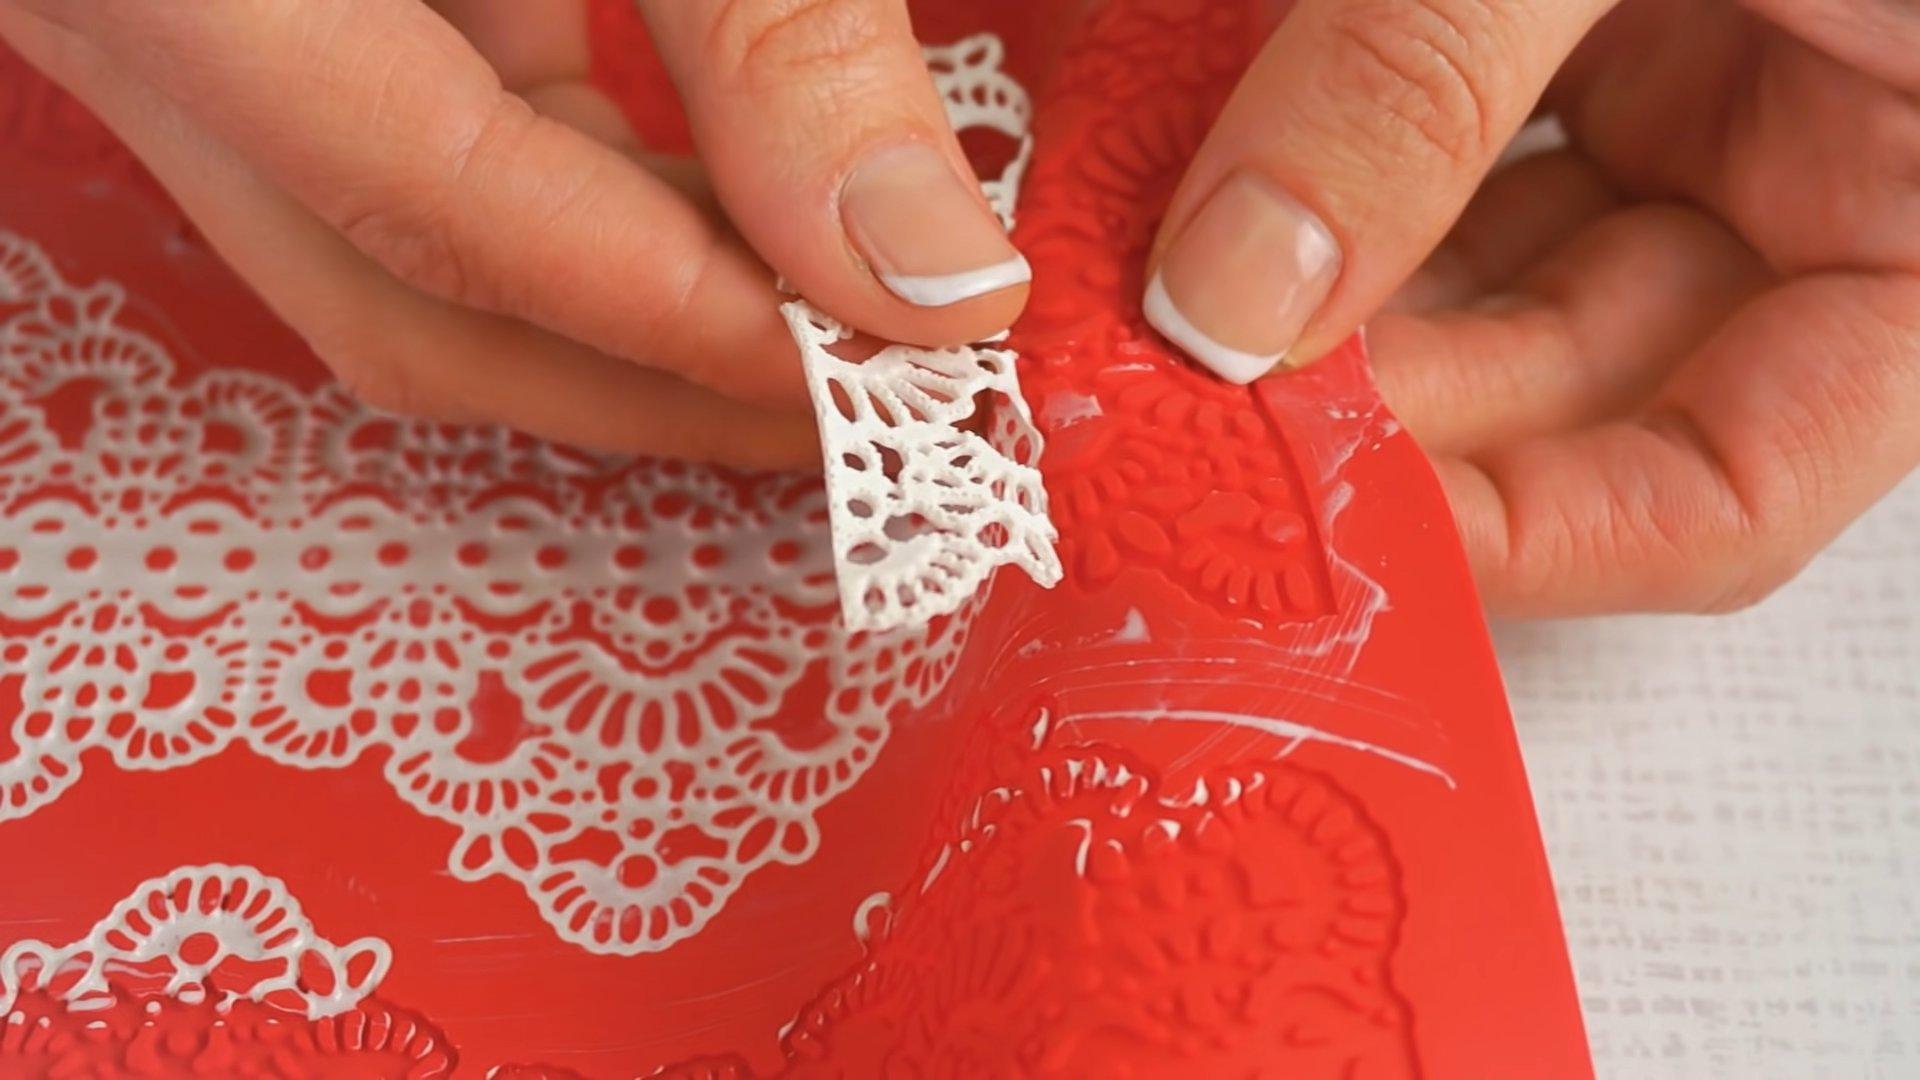
Step 7
We take the mat out of the oven and carefully remove the lace.
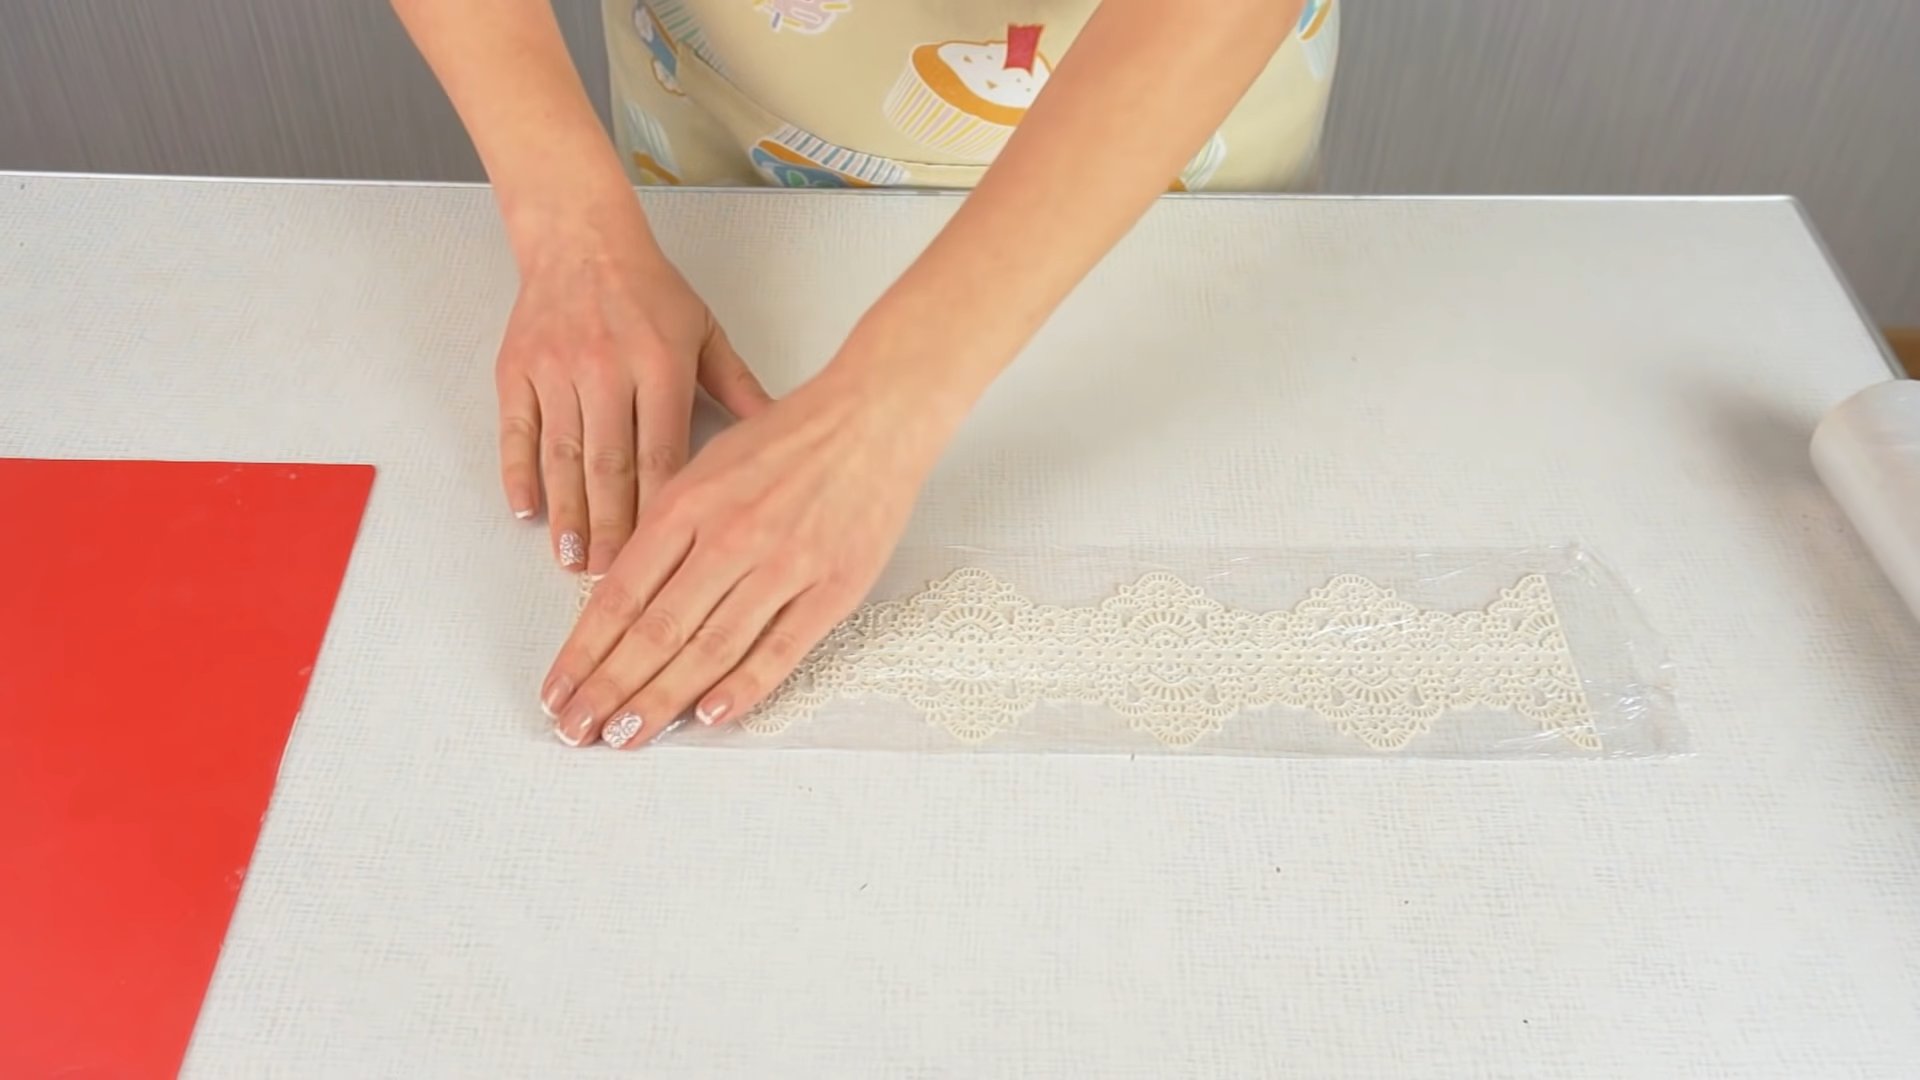
Step 8
If you don't plan to use the flexible icing lace right away, you need to wrap it carefully in cling film.
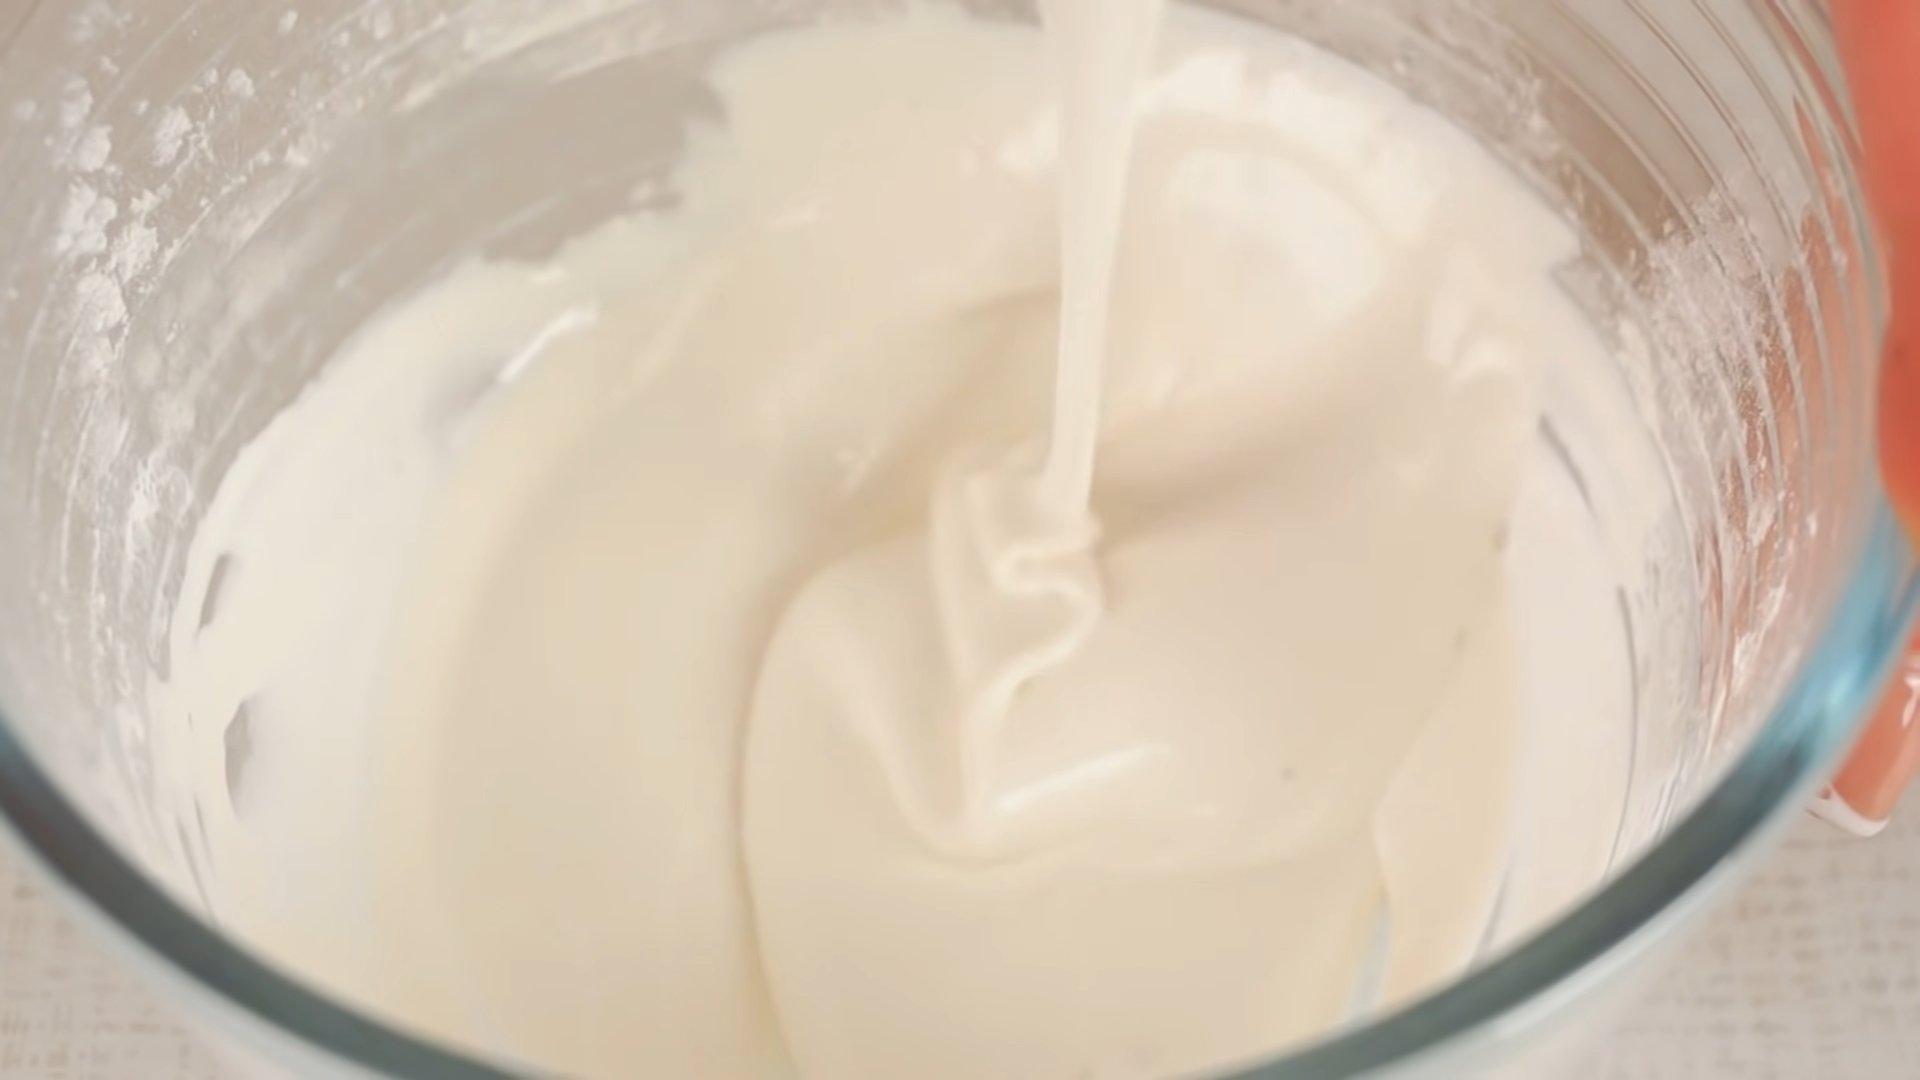
Video - A Simple Icing Recipe + Basic Consistencies
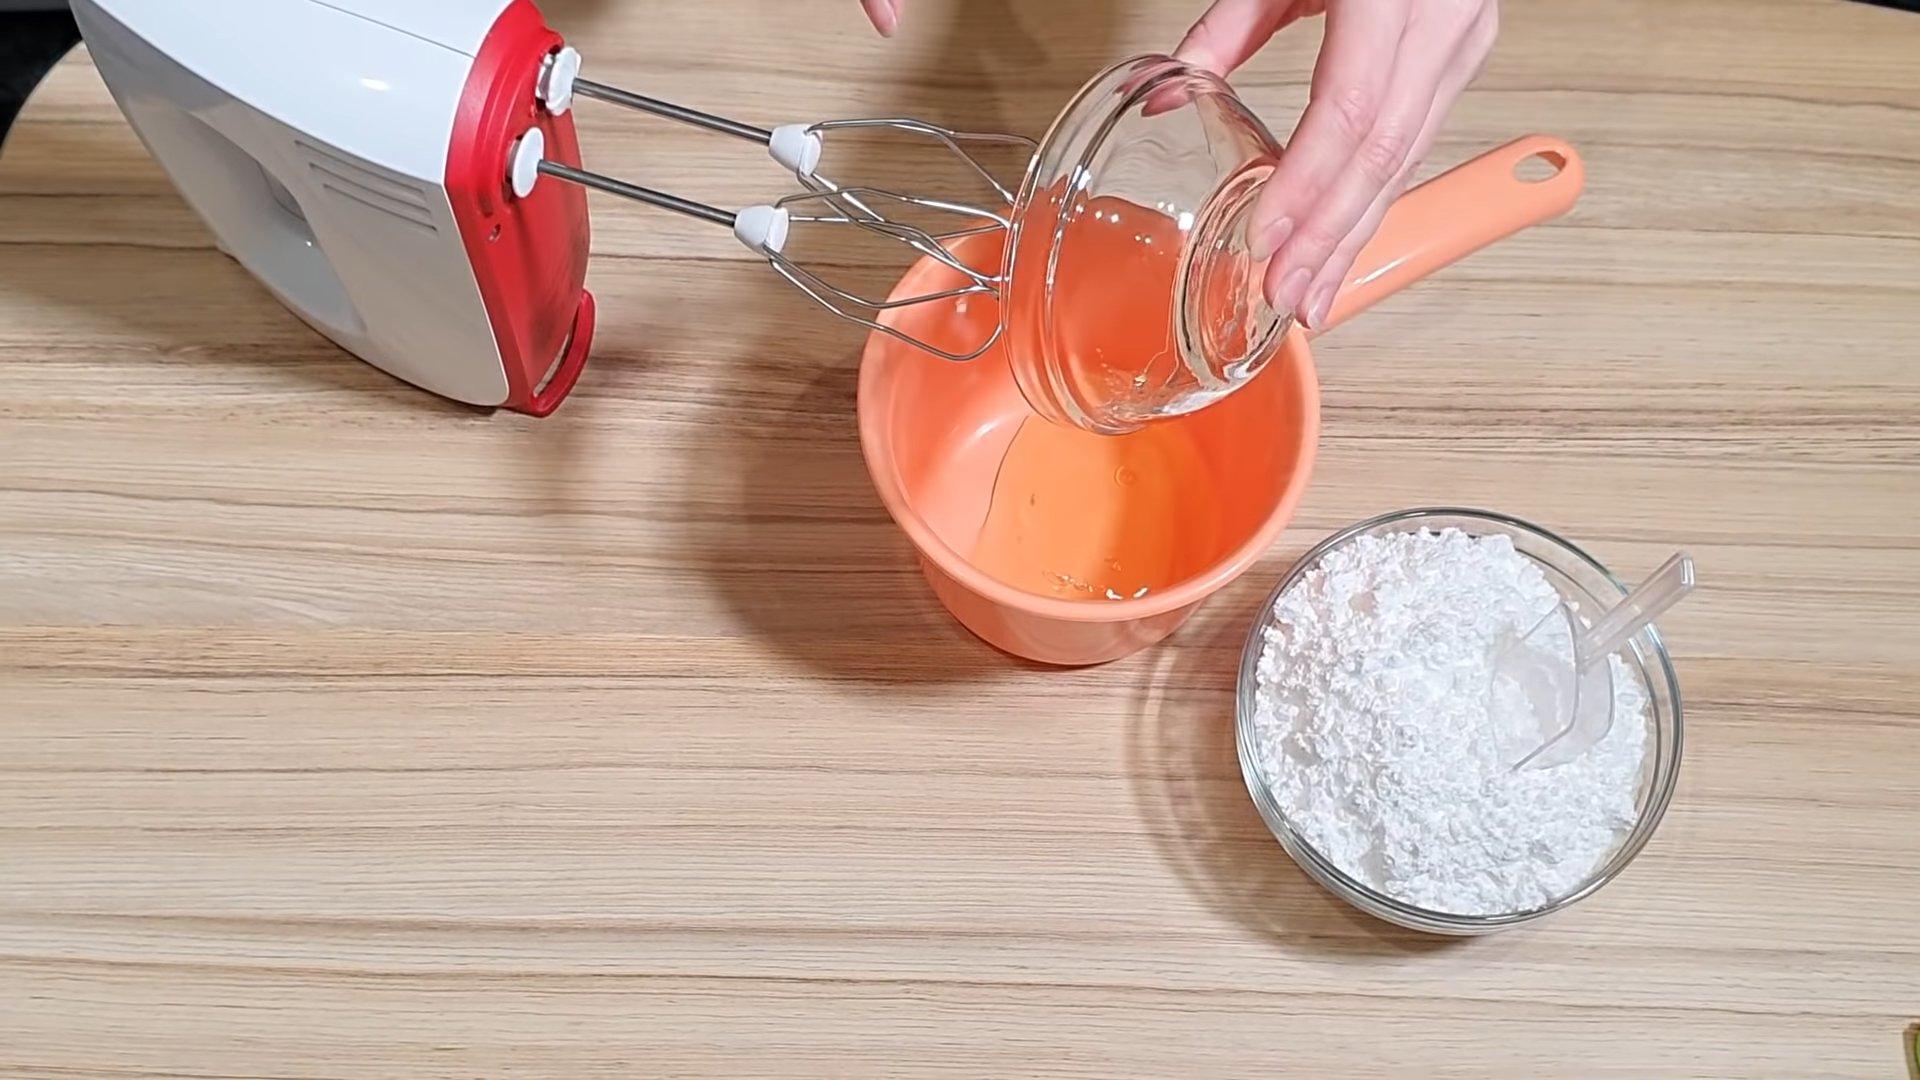
Not sure how to make the right icing for decorating gingerbread, cookies, cupcakes, or cakes? Then you definitely need to watch this video. It shows the easiest way to make icing, easy even for a novice pastry chef. Icing made with real egg whites produces a smooth and shiny finish. It adheres perfectly to baked goods and sets without cracking.
The video's creator demonstrates the basic icing consistencies and explains the uses of each. The pastry chef also shares a proven method for coloring icing. After watching this video, you'll easily prepare the perfect icing to decorate your homemade baked goods.