
Candied Pumpkin: A Step-by-Step Recipe for Making at Home
Candied pumpkin – a delicious and incredibly healthy natural treat that can be served with tea or added to any baked goods. Using the simple step-by-step recipe provided on this page, you can make your own fragrant candied pumpkin at home.

- Proteins: 0.5 g
- Fats: 0.1 g
- Carbohydrates: 52.2 g
- Total time:
- Time in the kitchen:
-
Complexity:
It's easy and straightforward to prepare, but it does require some experience. Not everyone can do it right the first time.
- Number of servings: 1
You can make delicious sweet candied fruits from the peel of lemon, orange, a wide variety of fruits, berries, and even vegetables.
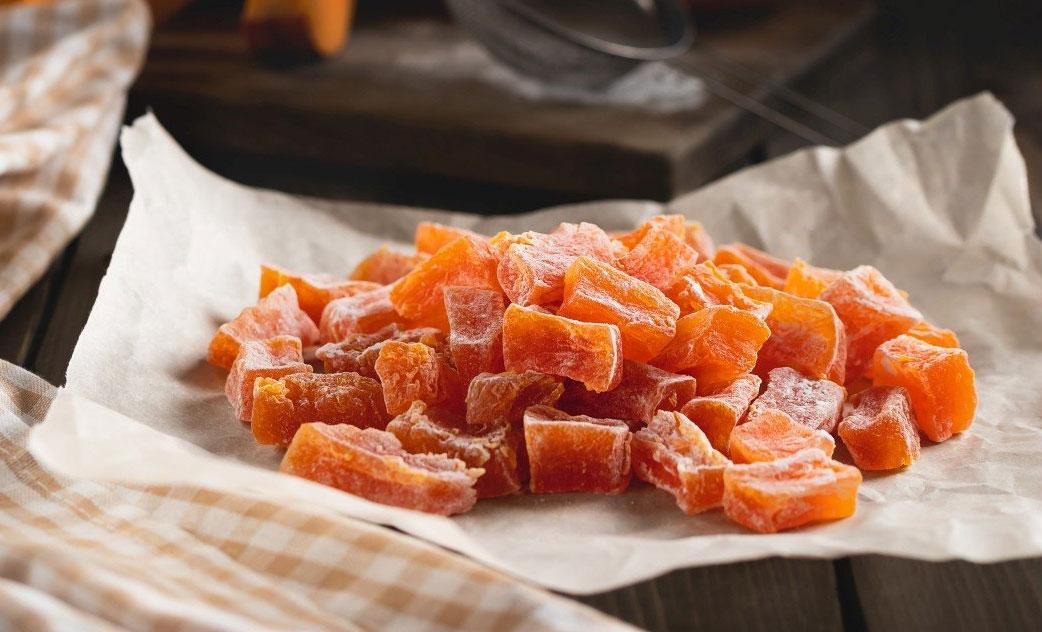
Homemade candied pumpkin peel has a particularly vibrant flavor with a subtle citrus note. Moreover, the finished dish completely lacks the characteristic pumpkin flavor, and if you didn't know the recipe was based on pumpkin, you might think it was made from ripe fruit.
There are several ways to dry candied fruits:
- natural drying – long (3-5 days), but the simplest option;
- Drying in the oven is a fairly quick method (2-5 hours), but it’s easy to overdry the pumpkin pieces and they will become too hard;
- Drying in a special dryer is a simple, fast and convenient method, but you will need to purchase the appropriate device.
We'll be making delicious candied pumpkin peel at home by drying it in a regular oven. Using our recipe, you can make softer (instead of candy-like) or drier (for long-term storage) versions of the candied peel simply by varying the drying time.
-
Pumpkin800 G
-
Sugar400 G
-
Water100 G
-
Lemon0.5 pcs
-
Orange zest1 pcs
-
Cinnamon sticks1 pcs
-
Starch3 tbsp
-
Powdered sugar3 tbsp

Step 1 – preparing the pumpkin.
We'll be baking sweet candied pumpkin peels using butternut squash, but you can use any other variety. Even if the pumpkin isn't sweet enough, you can adjust the situation with sugar, as the syrup will infuse it with the desired sweetness during the baking process.

Peel the pumpkin, remove the seeds (if you have a different type) and cut into pieces of about 1.5 cm.

Our simple and quick recipe is based on the proportions of ingredients for 800 grams of already peeled and diced pumpkin!

Step 2 – cook the syrup.
Place 400 grams of sugar and 1000 ml of water in a heavy-bottomed saucepan. Also squeeze in the juice of half a lemon (this will prevent the sugar from crystallizing during cooking).

Place the ladle over medium heat and bring the syrup to a boil, stirring constantly.

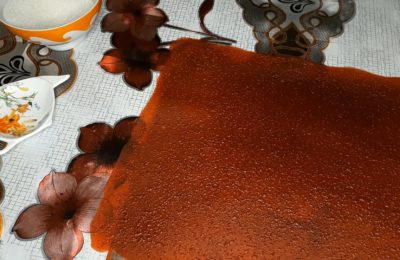
Simmer the syrup over medium heat for about 5 minutes.

The finished syrup has a liquid consistency and a light amber hue, as shown in the photo.

Step #3 – blanching the pumpkin.
Place the chopped pumpkin into a saucepan and pour in the hot syrup.

Place the pan on the stove and bring to a boil. At first, it may seem like there's not enough syrup, but as the pumpkin cooks, the liquid will increase.
After boiling, cook the pumpkin for about 5-7 minutes, stirring constantly.

Remove the pan from the heat, cover with a lid and let the pumpkin pieces cool completely in the syrup.

This process (boiling for 5-7 minutes and letting it cool completely) should be repeated 3-4 times. The number of blanching steps depends on the density of the pumpkin. The denser the pumpkin, the more times it needs to be boiled.

Place the hot candied fruits in a sieve and let the syrup drain completely.

Stage No. 4 – drying.
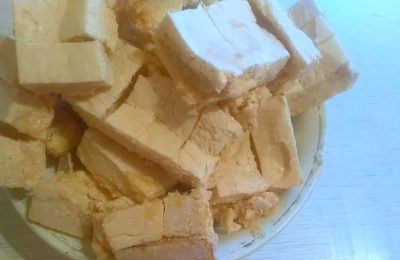
Once the pumpkin pieces have cooled in a sieve and have gotten rid of excess moisture, we transfer them to a baking sheet, first lining it with paper or a silicone mat.

The easiest and fastest way to dry candied pumpkin at home is in the oven. Dry at a temperature of 50-60°C:
- with convection the process will take 2-4 hours;
- without convection 3-5 hours.
Dry the candied fruit to your desired degree of dryness. Some people prefer soft, jelly-like candies, while others prefer a drier texture.

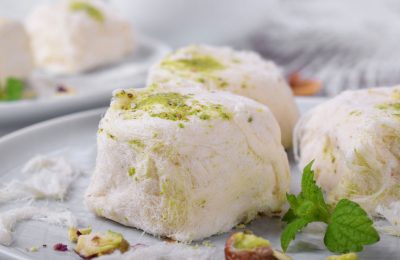
We cover the finished candied fruits with a mixture of starch and powdered sugar (1:1) so that the sweet pumpkin pieces do not stick together during storage.
Store the finished candied fruit in an airtight jar or vacuum-sealed packaging. At room temperature (no higher than 25°C) and humidity no higher than 70%, these natural candies will retain their flavor and nutritional properties for up to 9 months. You can store the candied fruit in the refrigerator for even longer (about a year). For longer storage, you can even freeze them, but chances are, all your sweets will be eaten long before their expiration date.
Also see how to make delicious candied pumpkin in an electric dehydrator:
If you want to stock up on natural, sugar-free sweets for the winter, invest in a modern dehydrator—a useful appliance that lets you prepare the healthiest dried fruits and vegetables.
- 12 hours 30 minutes
- 126.9 kcal
- 2284
- 24 hours 30 minutes
- 84.2 kcal
- 1960

- 6 hours 20 minutes
- 263 kcal
- 1113

- 1 hour
- 424 kcal
- 303
- 3 hours
- 443 kcal
- 224
- 1 hour
- 450 kcal
- 4727
- 10 hours 30 minutes
- 212 kcal
- 3134
- 3 hours 30 minutes
- 84.2 kcal
- 747