
Sponge moss for cake: a step-by-step recipe
Sponge cake moss, also often called "molecular moss," is a simple and striking cake decorating option. Today, we'll share a classic step-by-step recipe for baking fluffy, porous moss using sponge cake batter in the microwave or oven, and we'll also show you how to make your homemade cake truly special by offering a few unique design ideas.

- Proteins: 7.8 g
- Fats: 5.1 g
- Carbohydrates: 45.8 g
- Total time:
- Time in the kitchen:
-
Complexity:
A simple recipe.
- Number of servings: 8
Confectionery moss is indispensable for cake designs. It can be used to recreate the following in dessert decorations:
- in fact, moss of any shade, from light green to brown;
- green grass on the lawn;
- tree crown;
- seabed.
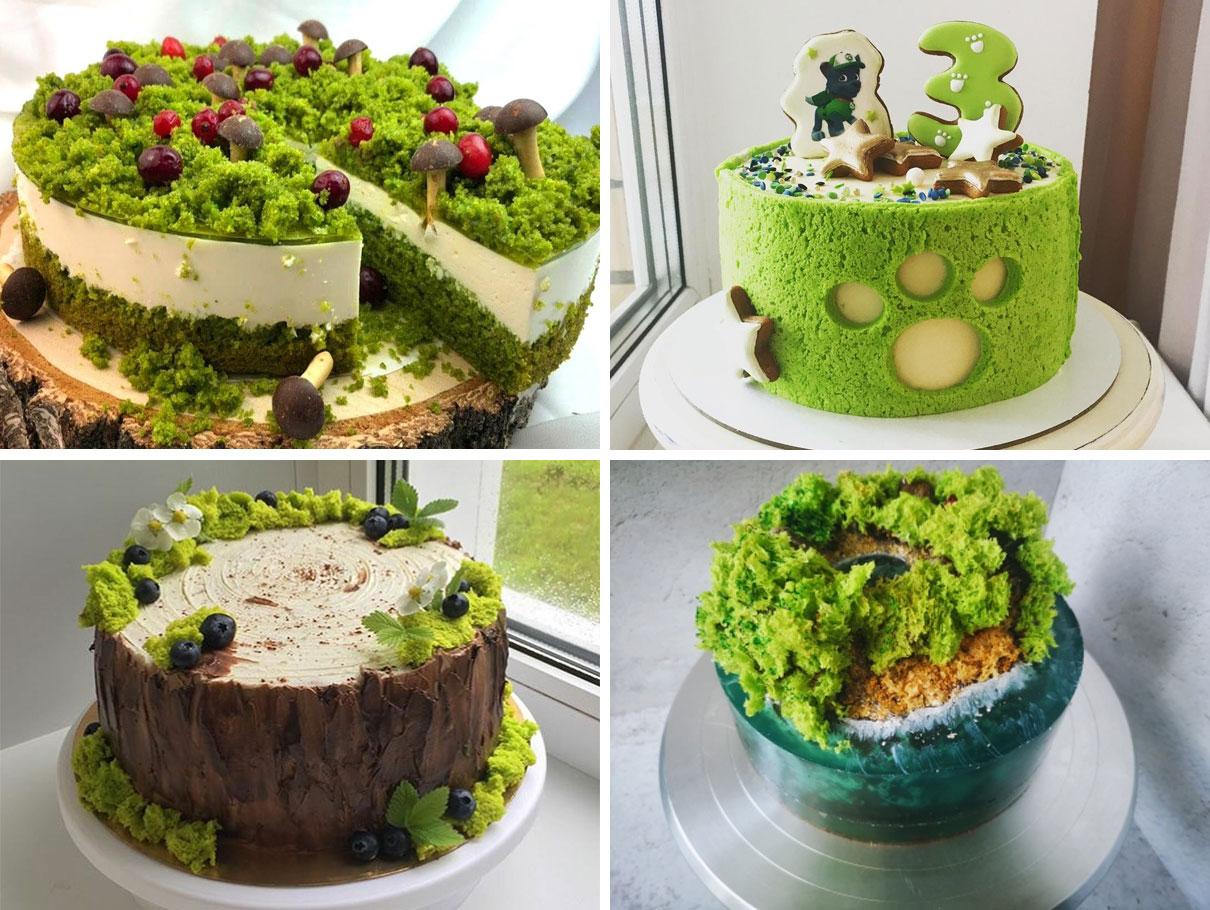
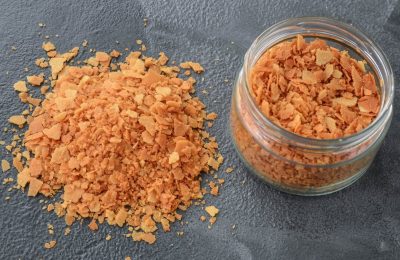
Biscuit moss can also be crushed into fine crumbs and used as a decorative sprinkle.
The result is a velvety layer that looks no worse than a complex velour coating.
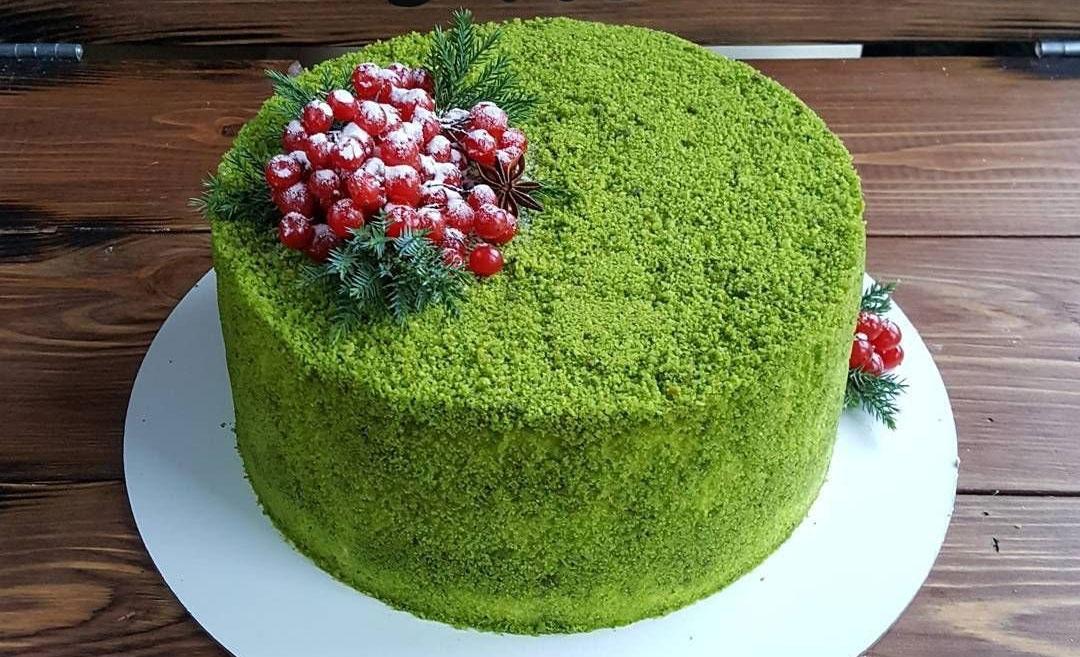
These cakes look absolutely stunning, but few people know that it's very easy to recreate this unique design at home. Making this edible confectionery moss in a regular microwave oven takes no more than 30 minutes, and the recipe is so simple that even a novice pastry chef can make it.
-
Sugar30 G
-
Egg C11 pcs
-
Flour20 G
-
Vegetable oil5 G
-
Baking powder5 G
-
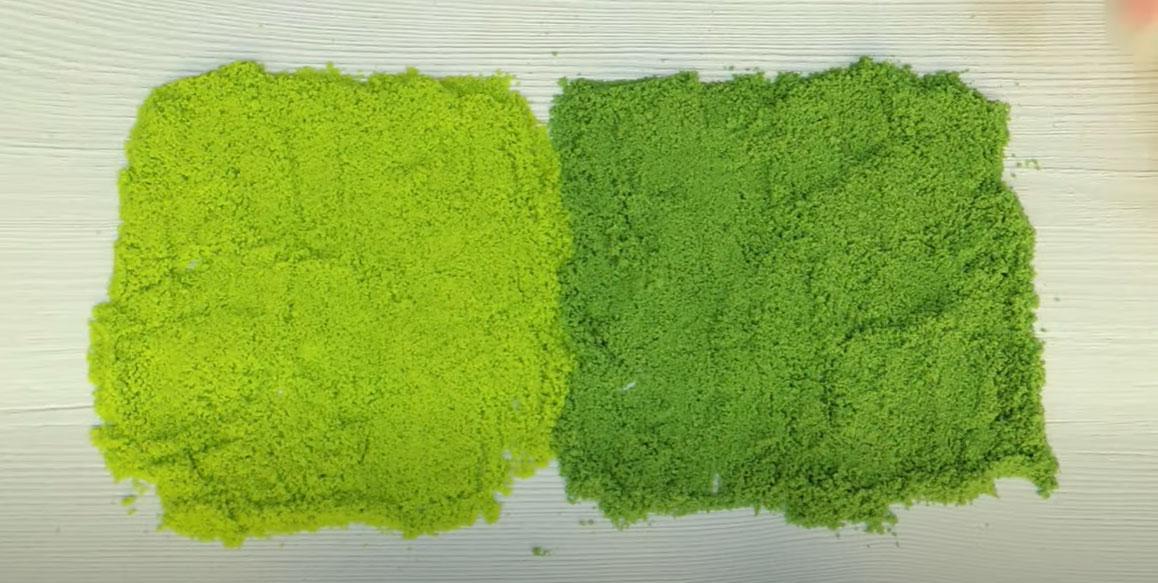
Green food coloring

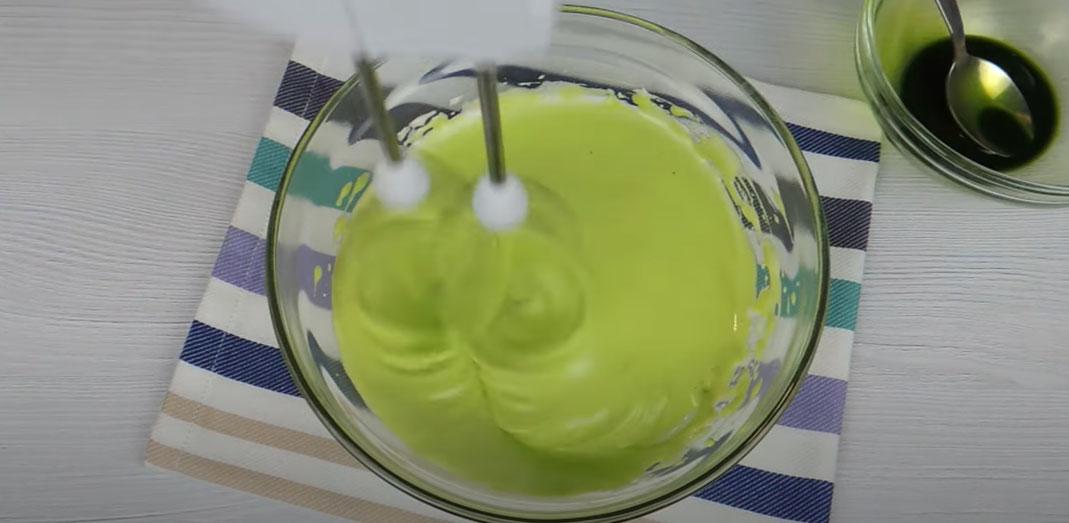
We begin preparing the biscuit moss by whisking the egg and sugar until thick and fluffy. To do this, place the egg white and yolk (without separating them) and 30 grams of sugar in a mixing bowl.

Beat with a mixer at high speed until a stable foam forms, as in the photo.

Add green food coloring to the egg mixture and mix thoroughly until smooth.

Mix together 20 grams of sifted flour + 5 grams of baking powder and add to the egg mixture.

We knead the dough not with a mixer, but with a silicone spatula so that the sponge cake does not sink and retains its fluffy, porous texture.

Add 5 grams of vegetable oil and mix with a spatula until smooth.

Fill baking pans 1/3 full with biscuit dough.

Cooking time depends on the individual characteristics of your microwave and may be slightly longer than indicated.
Bake 1-2 cups at a time. If you microwave 4 cups at once, the batter may not bake through.

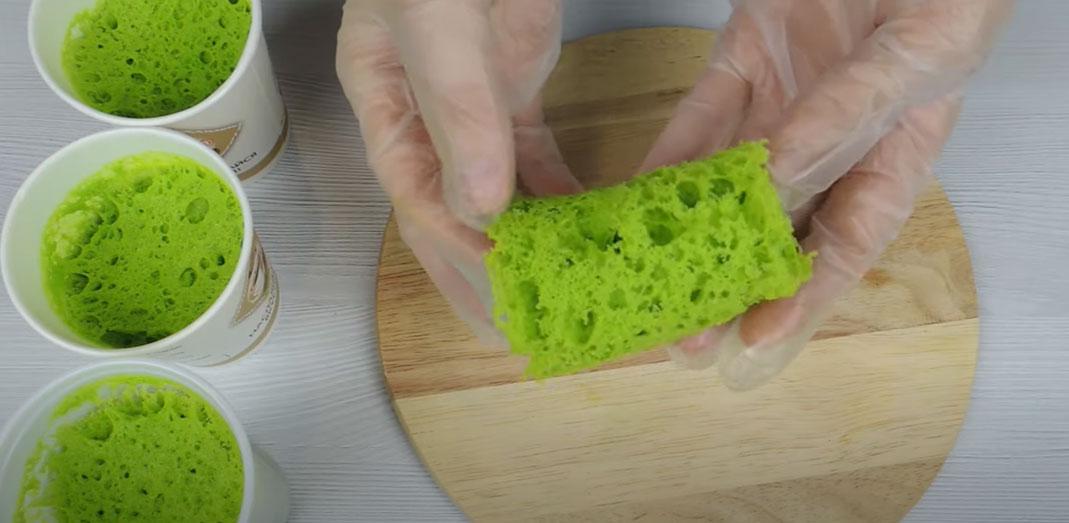
Cool the finished moss on a wire rack upside down, as shown in the photo.

When the dough has cooled, carefully cut the cup and remove the moss.
We wash the leaves, dry them, chop them, and then grind them in a blender.
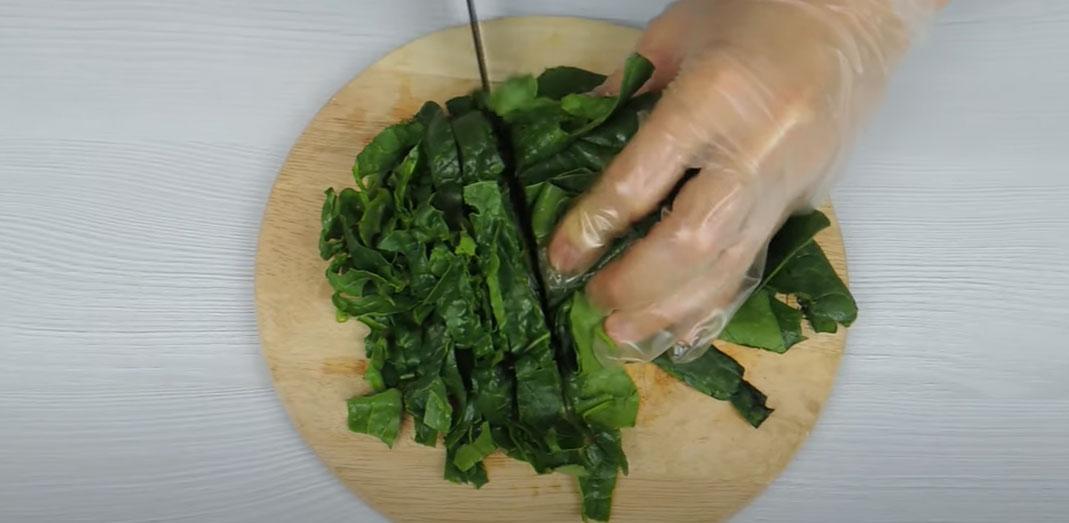
We squeeze the juice out of the resulting gruel through cheesecloth.
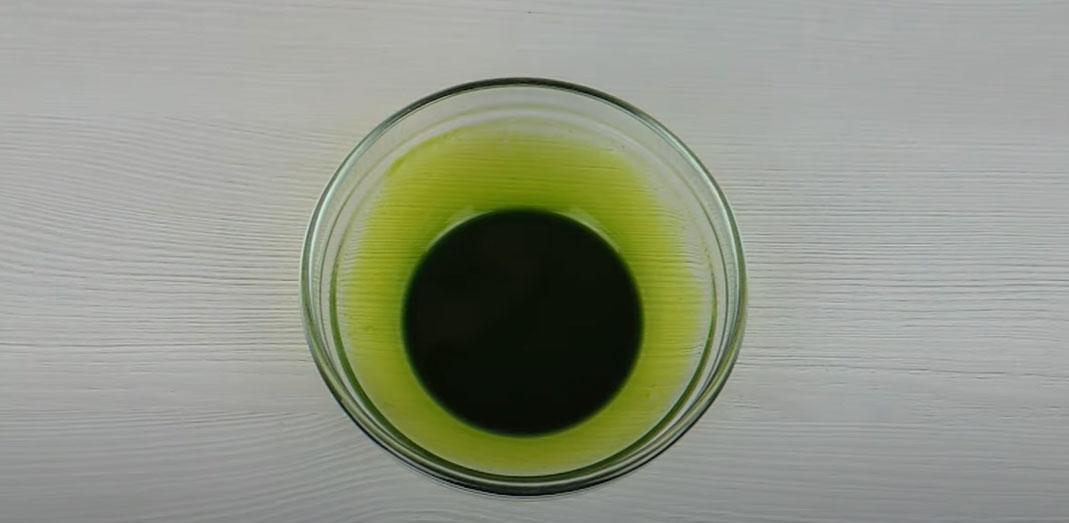
To color the egg foam to the shade shown in the photo, 4 teaspoons of natural spinach dye were needed.
The result is a beautiful green moss with an unusual spinach flavor that can be used to decorate a wide variety of dishes.
For step-by-step instructions on how to make a unique moss sheet cake, as well as how to decorate a cake in a unique forest theme, watch this video:

- 15 min
- 341.9 kcal
- 518
- 4 hours
- 380.7 kcal
- 246
- 30 min
- 450.0 kcal
- 3086