
Mushroom Cookies - A Quick and Easy Step-by-Step Recipe
Mushroom Cookies – for many, this is a sweet treat “from childhood,” because this quick and simple step-by-step recipe, for which you don’t even need a special pan, can be found in many cookbooks of mothers and grandmothers.

- Proteins: 5.0 g
- Fats: 14.0 g
- Carbohydrates: 64.0 g
- Total time:
- Time in the kitchen:
-
Complexity:
A simple recipe.
- Number of servings: 15
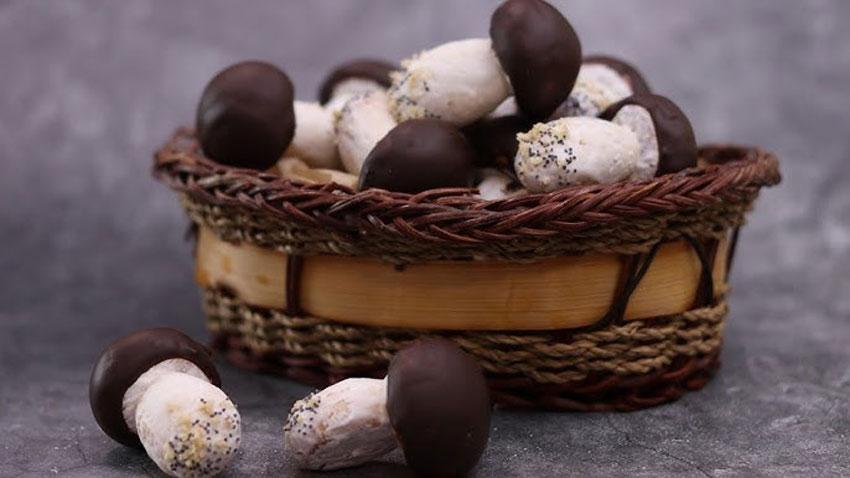
These unique mushroom-shaped cookies make a wonderful sweet gift for a holiday or a table decoration. This dish looks truly impressive when served in a beautiful wicker basket.
Anyone born in the USSR will remember well the "Mushroom" cookies, which were typically made using heavy cast-iron molds heated over a gas stove. They were called "oreshnitsy" (nut-shaped molds), as nuts (and sometimes even pine cones, squirrels, bunnies, or bears) were often baked in the molds along with the mushrooms. There were versions for baking whole cookies and molds designed for stuffing the cookies with a filling (usually boiled condensed milk with chopped nuts).
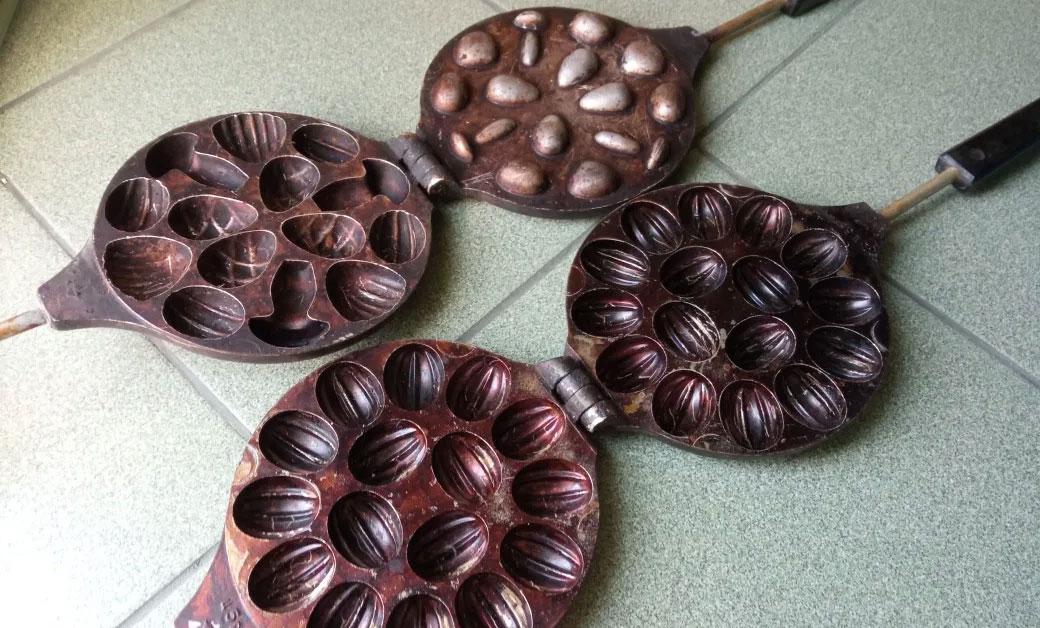
Traditional "nut-making" machines (as pictured) are still produced in Bobruisk today, but there are two nuances:
- It is quite difficult to buy them today;
- Visually, baked mushrooms are significantly inferior to handmade cookies.
To prepare mushrooms at home we will need:
- bowl for kneading dough;
- mixer (but you can do without it);
- shoulder blade;
- regular baking sheet;
- baking paper.
-
Margarine200 G
-
Flour800 G
-
Sugar400 G
-
Egg C11 pcs
-
Sour cream 15%200 G
-
Baking powder1 tsp
-
Salt1 pinch
-
Soda1 tsp
-
Egg C11 pcs
-
Powdered sugar200 G
-
Chocolate100 G
-
Poppy2 tbsp

In a bowl for mixing the dough, place softened margarine (it is better to cut it into cubes), 400 grams of sugar, 200 grams of sour cream and a pinch of salt.

Mix all ingredients thoroughly. It's easiest to do this with a mixer, but if you don't have one, you can mix it by hand.

When the dough base has become homogeneous, add a teaspoon of baking powder and gradually introduce 800 grams of flour.

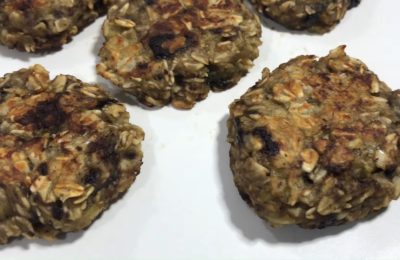
The classic recipe for Mushrooms calls for kneading a soft but elastic dough (as pictured). The dough shouldn't stick to your hands, but it should hold its shape well.

Divide the resulting dough into 4 parts, wrap in cling film and put in the refrigerator for 1.5 hours to cool.

Step 2 – forming the legs.
Remove the first ball of dough from the refrigerator (let the rest continue to chill, awaiting their turn). Divide it into pieces for ease of use, roll it into a rope, and cut into pieces of the desired size. It's okay if the "stems" turn out slightly different. This will give our sweet mushrooms a more natural look.

We roll each piece, narrowing it slightly on one side and forming a stem from the dough, similar to a mushroom.

Step 3 – forming the caps.
We take the next piece of dough out of the refrigerator, roll it out and divide it into pieces to form the caps.

Roll each piece into a ball and flatten it slightly with your palm.

Step 4 – bake the mushrooms.
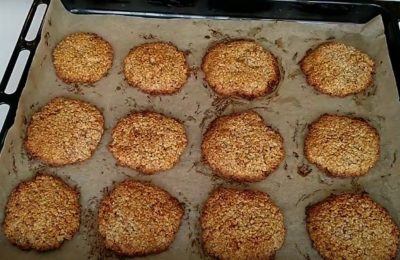
First, place the caps on a baking sheet (they don’t need to be frozen) and bake in the oven at a temperature 210℃ near 10-15 minutes (time may vary depending on your oven).

Transfer the finished caps to a board and, after letting them cool slightly, cut out indentations for the stems. This must be done immediately, while the dough is still warm, as the cookies will become very brittle after they cool completely.

Place the frozen legs on a baking sheet and bake in the same way. 10-15 minutes at 210 ℃.

While the baked legs are still warm, cut off the tip of the thin edge (this will make it easier to attach the leg to the cap).

From our amount of dough, we got exactly 60 caps and 60 stems, which we will glue together using regular protein glaze, but some housewives prefer to use “sugar fondant”.

Step 5 – Prepare the protein glaze
To do this, take 1 egg white and grind it with powdered sugar, gradually adding all 200 grams into the mixture.
Stir the icing with a regular spatula until it reaches a thick consistency. Don't beat with a mixer, as this will incorporate air into the mixture.

Place half of the glaze into a pastry bag and cover the remaining half with cling film.

Step 5 – collecting mushrooms.
We place protein glaze into the cavity of the cap.

Glue the stems on and let the glaze dry, leaving the mushrooms upside down for about 10-15 minutes.

To make it easier to apply the glaze to the legs, you need to dilute it a little with water until it becomes liquid.

Apply glaze to the stems and the inside of the cap. Let the mushrooms dry for another 15-20 minutes.

To decorate the legs, we use thick glaze and dried poppy seeds.

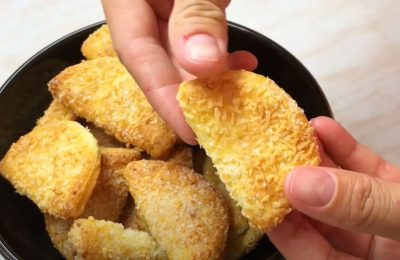
We coat the tip of the foot of the sock with thick glaze and sprinkle it on all sides with poppy seeds (coconut flakes or nuts).

You can also coat the top of the caps with a thick meringue glaze, which will create mushrooms resembling champignons. But we want a refined and beautiful "porcini mushroom," so melt some milk (or dark) chocolate and dip the caps in the sweet mixture.

You can dry the caps either by placing the mushrooms on a wire rack (as in the photo), or simply by laying them on their sides.

Our mushroom basket is ready!
We also offer a recipe for mushroom-shaped cookies with a beautiful chocolate cap, combining the flavors of classic and chocolate cookies. A detailed step-by-step video recipe will show you how to make this delicious treat yourself, making the preparation simple and straightforward:
- 30 min
- 232.3 kcal
- 255
- 40 min
- 183.3 kcal
- 187
- 15 min
- 170 kcal
- 1336
- 30 min
- 164.8 kcal
- 477
- 30 min
- 453.1 kcal
- 1030
- 1 hour 15 minutes
- 313.1 kcal
- 1259
- 40 min
- 408 kcal
- 1355
- 1 hour
- 404.5 kcal
- 1963