
Peach Cookies: A Classic Step-by-Step Recipe
Peach Cookie Cake – a beautiful and delicious dessert originally from the USSR, the classic step-by-step recipe of which can easily be recreated at home. This treat will be a beautiful addition to any holiday table, as the cookies truly resemble a beautiful ripe peach.

- Proteins: 7.0 g
- Fats: 10.0 g
- Carbohydrates: 50.0 g
- Total time:
- Time in the kitchen:
-
Complexity:
It's easy and straightforward to prepare, but it does require some experience. Not everyone can do it right the first time.
- Number of servings: 10
In the 80s and 90s of the last century, many housewives knew how to make the "Peach" cake, so the classic "GOST" recipe can be found in grandmothers' cookbooks.
Today we'll tell you how to make this festive "Peaches" cake at home and offer a simple step-by-step recipe, all the ingredients you need for which you can find in your average home kitchen.
To bake a Soviet-era Peach cake, you will need:
- container for mixing dough;
- a regular hand mixer;
- baking tray;
- baking parchment (or siliconized paper);
- brush for applying dye.
We'll be making a delicious sugar dough with soft butter and low-fat sour cream using traditional ingredients that can be found in every home or the nearest supermarket.
-
Flour400 G
-
Butter100 G
-
Egg C12 pcs
-
Sour cream 20%2 tbsp
-
Sugar100 G
-
Soda1 pinch
-
Salt1 pinch
-
Jam300 G
-
Food coloring2 pcs

Break 2 eggs into a mixing bowl (the recipe uses both the yolk and the white).

Add 100 grams of sugar to the eggs and beat with a mixer until a light, fluffy foam forms.

As a result of whipping you should get a mass like this.

In a separate bowl, combine 100 grams of softened butter, 60 grams of sour cream, and a pinch of baking soda. Mix all ingredients thoroughly with a spoon.

Combine the egg mixture with the butter, creamed with sugar and sour cream. Beat with a mixer until smooth.

Add 400 grams of sifted flour and a pinch of salt. First, mix the dough with a spoon, then with your hands until it reaches a thick, smooth consistency.

The dough should be quite dense (as in the photo) and not stick to your hands, so that you can shape it into a cake later.

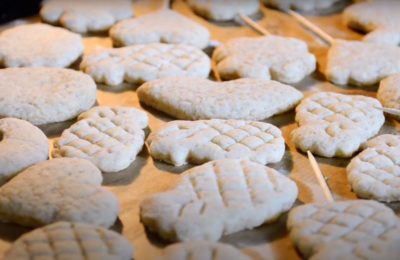
Divide the dough into 20 equal parts.

Form each lump of dough into a ball and place it on a baking sheet lined with parchment paper.

Step 2 – Bake the cookies
We should get 20 pieces of cookies - spherical halves (as in the photo), from which we can later form our Peach.
The parameters given are for a traditional oven using the "top and bottom" mode without convection. When determining baking time, take into account the specific characteristics of your oven, and make adjustments if using convection.

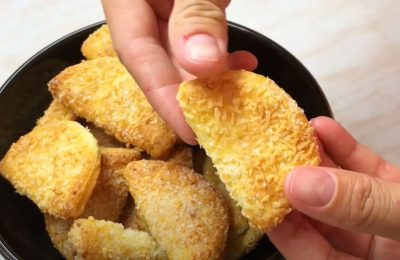
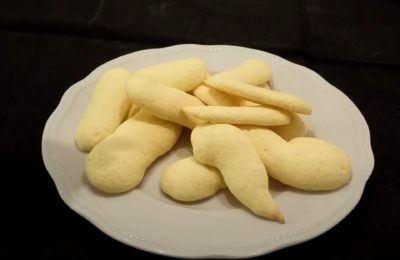
The result is cookies that resemble gingerbread, with a flat bottom and a fluffy top.

While the cookies are still warm, use a knife to cut out indentations so that our peaches can be filled with a delicious filling.

Step 3 – Assembling the Peaches Cookies
Once the cookie halves have cooled completely, begin assembling the "peaches." Fill the cookie cavities with thick jam.

We connect the two halves together to form a whole “peach”.
It is important that the jam is thick enough to act as a kind of paste.

Step 3 – Coloring the “peaches”
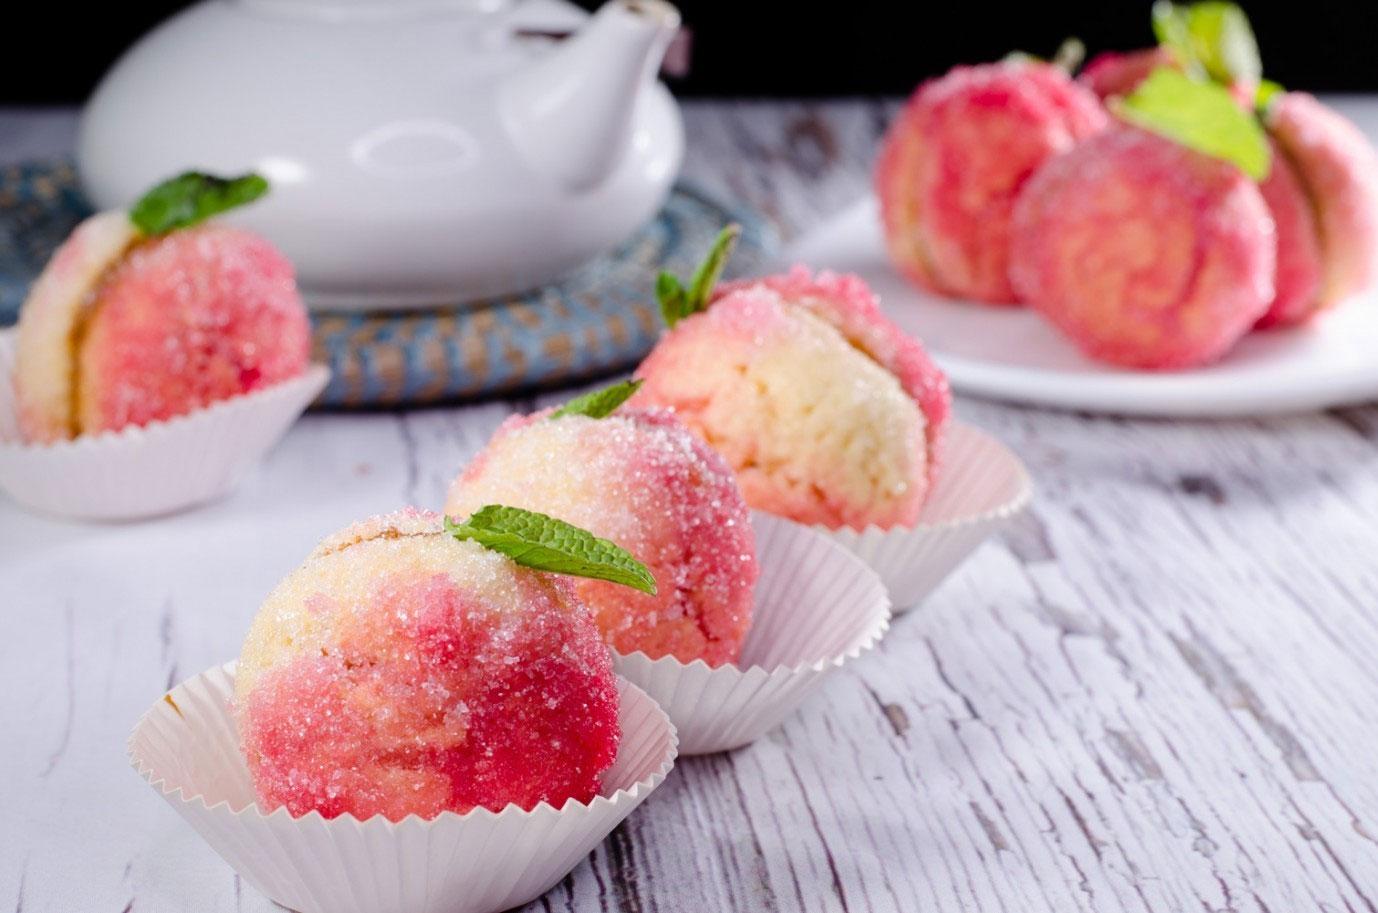
For coloring, our grandmothers used natural dyes—beet and carrot juice. Apply the dye to the surface of the cookies using a soft brush or sponge. Paint the edges closer to the joints orange, and the raised parts red.

With practice, you can achieve a beautiful transition between shades to create the most realistic peaches, as in the photo.

Sprinkle the freshly painted peach with sugar.

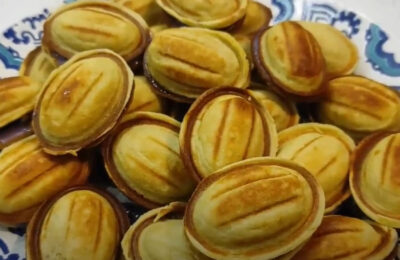
This treat looks simply fantastically beautiful!
For a more realistic look, you can decorate each peach with a sprig or a real leaf. You can also serve the cakes in individual paper cups, as shown in the photo.
We also offer a master class from the chef on making "Peach" cookies according to GOST standards. By following the step-by-step instructions in the video, you can easily replicate this original old grandmother's recipe and surprise your guests with an unusual dessert from the past:
We also suggest trying this dessert using the recipe that Andy Chef offers on his channel (with almonds and walnuts):
- 30 min
- 464 kcal
- 1127
- 30 min
- 232.3 kcal
- 255
- 30 min
- 232 kcal
- 293
- 30 min
- 120 kcal
- 326
- 15 min
- 125.4 kcal
- 309
- 1 hour 45 minutes
- 440 kcal
- 353
- 50 min
- 286.0 kcal
- 313
- 30 min
- 226.4 kcal
- 167