
Choco Pie Cake: A Step-by-Step DIY Recipe
Choco Pie Cake – a beautiful, delicious, and fairly easy-to-make dessert that will enhance any celebration and is sure to please your guests. In this article, we'll offer a step-by-step recipe using moist sponge cakes and explain all the intricacies of making the cream filling so your homemade cake turns out perfect.

- Proteins: 9.0 g
- Fats: 17.0 g
- Carbohydrates: 48.0 g
- Total time:
- Time in the kitchen:
-
Complexity:
It's easy and straightforward to prepare, but it does require some experience. Not everyone can do it right the first time.
- Number of servings: 8
It is believed that the first confection with this name was released on the Japanese market by the Morinaga company in 1958, although in fact they bought the Choco Pie recipe from the American confectionery Chatanooga, which had been producing a dessert called Moon Pie in the state of Tennessee since 1929.
Choco Pie quickly conquered the global market, as its recipe perfectly combined chocolate sponge cookies with a creamy layer, reminiscent of marshmallows in taste and consistency.
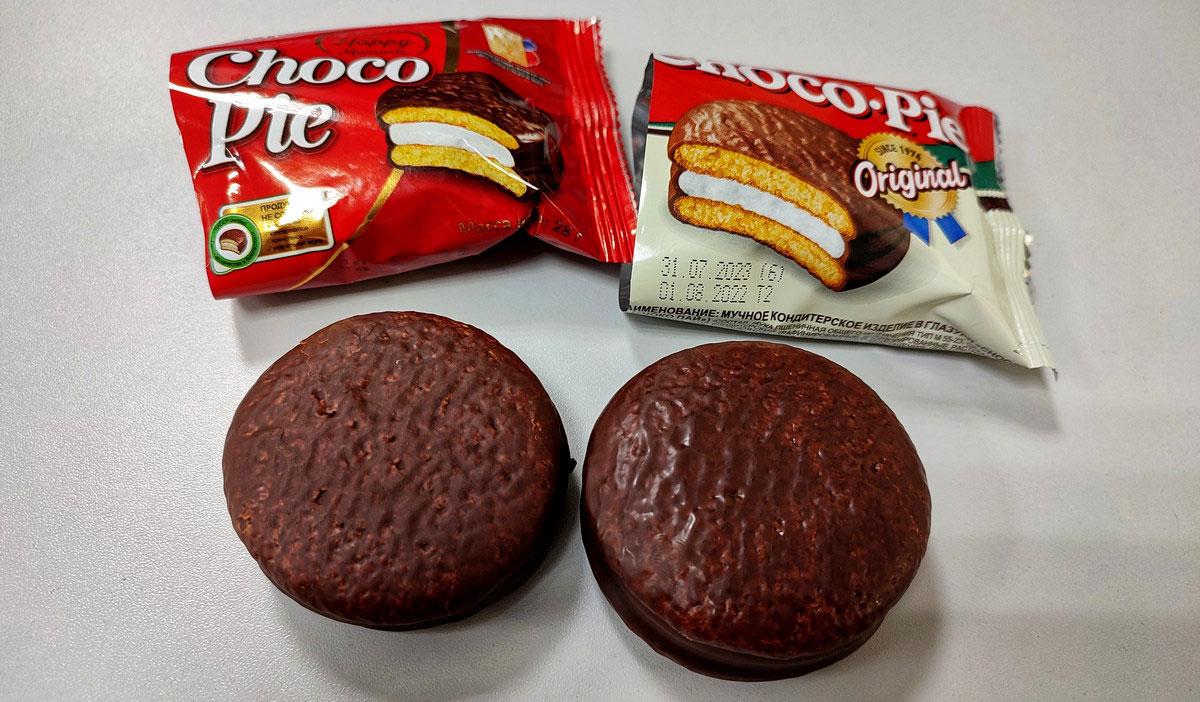
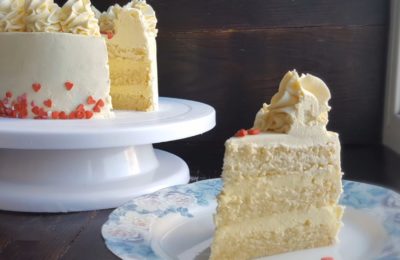
The popularity of "chocopayka" inspired chefs to create a large festive cake, "Chocopai," which, like the aforementioned dessert, combines soft chocolate sponge cake with a thick layer of firm, marshmallow-flavored cream. This beautiful and delicious festive cake is exactly what we'll be making today.
To implement this simple recipe we will need:
- a round baking pan with a diameter of 20 cm (ideally 2 pcs.);
- mixer (we have a planetary one, but a regular hand mixer will do);
- containers for mixing dough and whipping soufflé;
- hand whisk;
- shoulder blade;
- sieve;
- molding ring with a diameter of 20 cm.
-
Egg C14 pcs
-
Sugar300 G
-
Flour300 G
-
Milk240 ml
-
Cocoa powder80 G
-
Vegetable oil1 tbsp
-
Salt1 pinch
-
Soda6 G
-
Vinegar1 tbsp
-
Water (boiling water)200 ml
-
Egg C16 pcs
-
Sugar300 G
-
Vanilla sugar16 G
-
Water100 ml
-
Citric acid0.25 tsp
-
Gelatin15 G
-
Chocolate150 G
-
Butter (chilled)150 G

Step 1 – Prepare the moist chocolate sponge cake.
In a mixing bowl, beat 4 eggs (yolks and whites). Add 300 grams of sugar and a pinch of salt.

Mix with a mixer on low speed. You can also use a hand whisk.

Add 240 ml of milk at room temperature.

Add 120 grams of refined vegetable oil (odorless).

Mix the ingredients thoroughly with a mixer or hand whisk. It's important that the sugar dissolves completely.

Mix the dry ingredients (300 grams of flour + 80 grams of cocoa) and mix well until the mixture becomes more or less homogeneous.

Sift the dry ingredients into the bowl with the previously mixed dough base. You can strain any lumps through a sieve.

We also sift 6 grams of regular baking soda into the dough.

Mix the mixture with a mixer. The result should be a smooth, uniform, richly colored chocolate dough (as shown in the photo).

Add 1 tablespoon of vinegar to the dough and mix until smooth.

Pour 200 ml of boiling water into the dough and knead again until smooth.


Pour the dough into the molds.

This sponge cake needs to be baked in the oven for approximately 35-40 minutes at temperature 150℃ (the parameter is indicated for an oven without convection in the “top + bottom” heating mode).

Remove the finished biscuits from the pan and cut them in half while still warm.
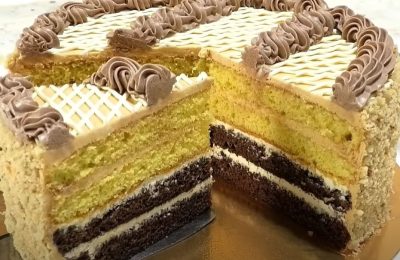
As a result, we should have 4 layers, from which we will further assemble our structure, like any classic multi-layer cake.

Step 2 – prepare the soufflé for our cake, which will turn out like a layer of ChocoPai.
Let's start by separating the yolks and whites of 6 eggs into separate bowls. To make the soufflé, we'll only need the whites (approximately 180 grams).

Mix 15 grams of gelatin and 7 tablespoons of cold boiled water and let the mixture swell.

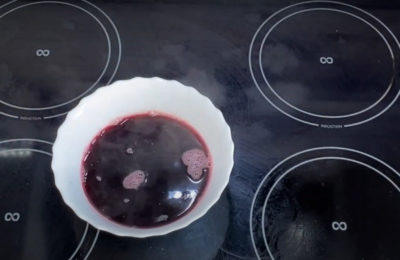
Place 300 grams of sugar in a saucepan and add 75 milliliters of water. Heat slowly on the stove, creating a sugar syrup.

Place 6 egg whites and 16 grams of vanilla sugar in a mixing bowl and wait until the sugar syrup is ready.

When the syrup boils, let it boil for about 1 minute (it should reach a temperature 115℃), add 1/4 teaspoon of citric acid. Bring the syrup to 118℃ and remove from heat.
Meanwhile, begin whipping the egg whites. When the whites form a thick, white mass, slowly pour the hot sugar syrup into the whites in a thin stream down the side of the bowl.

Continue whisking for about 4 more minutes. You should get a thick, airy mixture that holds its shape well.

While continuing to beat the mixture, add the dissolved gelatin into it (to liquefy it, you can heat it in the microwave in short pulses).

After adding the gelatin, beat for another 1-1.5 minutes and begin spreading. The mixture will harden very quickly if its temperature drops below 40℃, so at this stage it is necessary to act quickly.

Step 3 – Assembling the cake.
Transfer the mixture into a pastry bag and pipe it in a spiral onto the first cake layer.

Repeat the process for the second and third layers. This will create three thick layers of soufflé. Cover the final layer with the fourth sponge cake, as shown in the photo.

Wrap the cake with a pastry ring and place in the refrigerator for 2 hours.

Step 3 – prepare the glaze.
The glaze will be standard, like any candy or cake. In a small saucepan, place 150 grams of chocolate (you can choose milk or dark chocolate, depending on your taste) and 150 grams of softened butter (it's best to take it out of the refrigerator beforehand).
Gradually heat the saucepan and stir the ingredients until smooth.

We take the cake out of the refrigerator and remove the molding structure.

We pour glaze over our homemade Choco Pie cake to create a smooth surface, as shown in the photo.

We smooth out the sides, evenly distributing the glaze over the entire surface with a spatula.
The Choco Pie cake doesn't require any additional decoration, as it's already beautiful in its minimalist design.

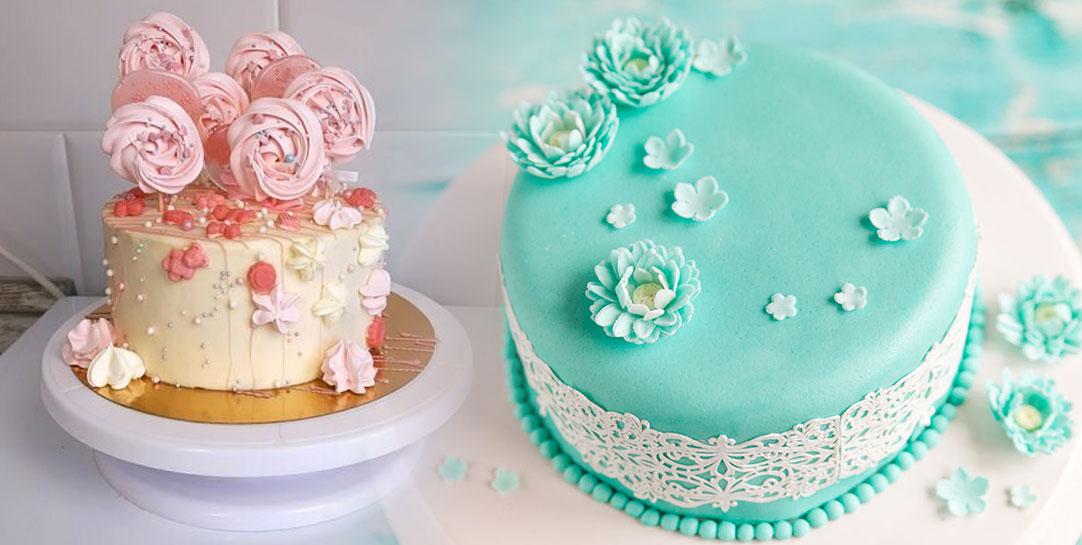
If you're making a treat for a children's party and want to impress everyone with a bright design, you can cover the cake not with chocolate, but with a layer of colored fondant (for example, pink for a girl, or blue for a boy).
This video explains step-by-step how to make a simple marshmallow cake frosting:
Even more tips for working with mastic You will find it in our material dedicated to cake covering techniques.
- 2 hours
- 378.0 kcal
- 1685

- 7 min
- 169.2 kcal
- 1922
- 10 min
- 72.1 kcal
- 13490

- 1 hour 30 minutes
- 351.6 kcal
- 854
- 30 min
- 542 kcal
- 422
- 20 min
- 350.7 kcal
- 361

- 1 hour
- 320.3 kcal
- 963
- 8 hours 20 minutes
- 396.5 kcal
- 8241