
Kinder Milk Cake: A Step-by-Step Recipe
Milk Slice Cake, with a layer that tastes very similar to the milky Kinder Pingui, is a great treat for any children's party. This dessert can be served as a whole cake or divided into individual pieces, similar in size to the original Kinder Pingui. We'll show you how to make this treat for children at home and offer a quick and easy step-by-step recipe with detailed explanations of the preparation process.

- Proteins: 5.7 g
- Fats: 23.6 g
- Carbohydrates: 26.1 g
- Total time:
- Time in the kitchen:
-
Complexity:
It's easy and straightforward to prepare, but it does require some experience. Not everyone can do it right the first time.
- Number of servings: 12
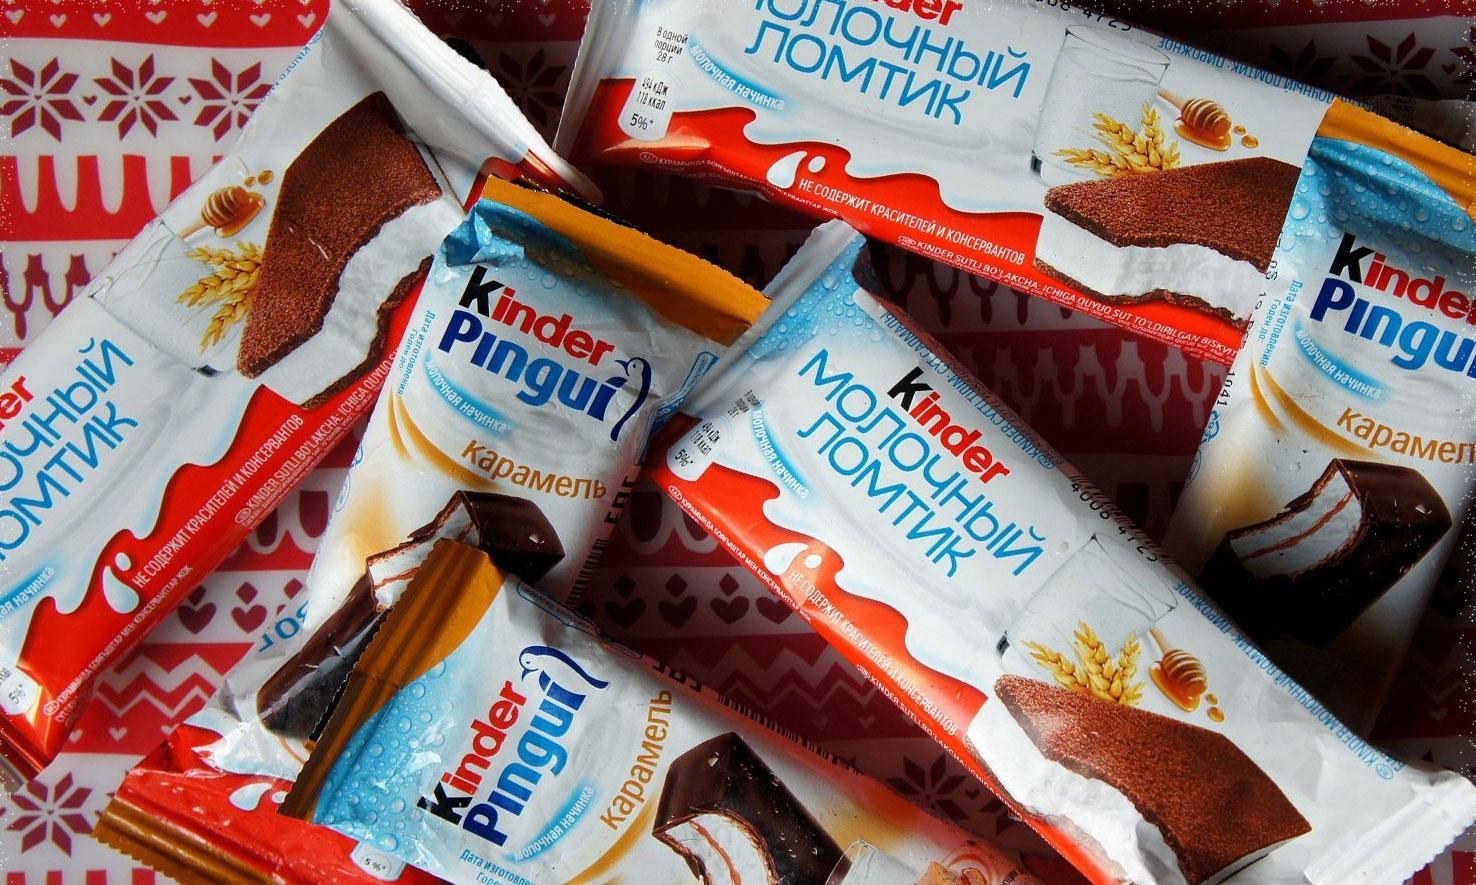
Ferrero currently offers a wide range of Kinder-branded products, which are incredibly popular with children. You can find the following in any Russian supermarket:
- Kinder Surprise chocolate eggs;
- sponge cakes "Milk Slice", "Pingwie" and "Delice";
- Bueno bar with milk and white chocolate;
- miniature croissants with chocolate, etc.
It's hard to find a child who wouldn't ask for their favorite treat when they're at the store. However, doctors warn that store-bought Kinder sweets, if consumed frequently, can be harmful to a child's health, as they contain potentially dangerous ingredients such as:
- vegetable fats;
- soy lecithin;
- synthetic flavors;
- sodium dihydrogen pyrophosphate emulsifier.
If it is quite difficult to make chocolate eggs at home, then preparing sponge cakes, even in a large format, is festive cake, every housewife can learn.
Today we offer you a step-by-step analysis of how to make the Milk Slice cake. This delicacy consists of two layers of delicate chocolate biscuit and a high white layer based on whipped cream.
To implement this recipe we will need:
- containers for mixing biscuit dough and whipping cream;
- mixer;
- hand whisk;
- shoulder blade;
- sieve;
- rectangular baking tray 28*38 cm;
- baking parchment.
-
Egg C14 pcs
-
Sugar120 G
-
Flour80 G
-
Cocoa powder40 G
-
Water2 tbsp
-
Vanilla sugar1 tsp
-
Baking powder0.5 tsp
-
Sour cream250 G
-
Cream 30%300 G
-
Condensed milk150 G
-
Honey30 G
-
Gelatin10 G
-
Water60 G
-
Dark chocolate40 G
-
Milk chocolate40 G
-
Butter40 G

Step 1 – Prepare the sponge cake base
Break 4 eggs into a container of suitable size (for the cakes we will need both the white and the yolk).

Add 120 grams of sugar, a pinch of salt and a teaspoon of vanilla sugar (you can also use vanilla extract).

Using a mixer, beat the mixture until a thick, fluffy foam forms, as shown in the photo.

Add two tablespoons of cold water to the dough and beat the mixture for a couple more minutes until smooth.

Separately mix the dry ingredients: 80 grams of flour, 40 grams of cocoa and 0.5 teaspoon of baking powder.

Sift the dry mixture in parts through a sieve and mix into the egg base.

As a result, you should have a soft, airy chocolate dough, as in the photo.

Place the dough on a baking sheet lined with parchment or baking paper and spread the mixture into an even layer.


Remove the finished sponge cake from the oven, let it rest for a couple of minutes, and then, while still warm, transfer it to a clean baking sheet and separate it from the parchment paper on which the cake was baked.

Step 2 – Prepare the jelly layer
Pour 10 grams of gelatin into 60 grams of water. You can do this ahead of time so the gelatin absorbs the water, swells as much as possible, and becomes as soft as in the photo.

Dissolve the gelatin until it becomes liquid by heating the mixture in the microwave in short bursts.

In a mixing bowl, combine 300 grams of chilled heavy cream (30% or more), 250 grams of cold sour cream, and a teaspoon of vanilla sugar. Beat with a mixer until thick and fluffy.

In a separate container, add 100 grams of condensed milk and a tablespoon of liquid natural honey to a small amount of sour cream.

Beat sour cream with honey and condensed milk with a mixer until smooth.

Add a few spoons of sour cream and condensed milk to the container with gelatin and stir, thus equalizing the temperature.

Pour the prepared gelatin into the sour cream and mix thoroughly.

Add whipped cream to the sour cream and gelatin base in parts, mixing well at each stage until smooth with a hand whisk.

The result is a fluffy, delicate cream. Place it in the refrigerator for a few minutes (this is the time we'll prepare our sponge cake).

Step 3 – Assembling the Milk Slice Cake
Cut the cooled biscuit into two equal parts.

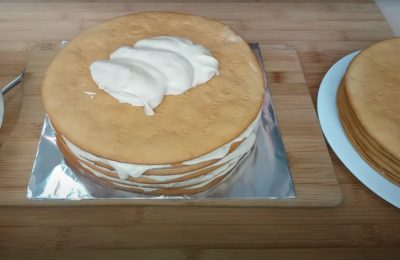
Place the first cake layer on the prepared base.

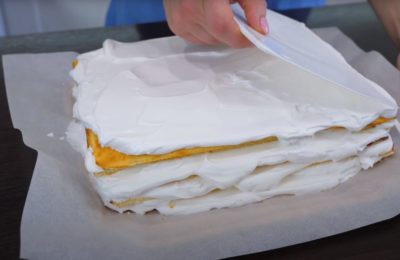
Place the cooled and already starting to harden cream on top of the chocolate sponge cake and spread it in an even layer, paying special attention to the corners.

Cover the layers with the second biscuit.

Trim the cream around the edges to create a nice, even cut, like the classic Kinder Milk Slice cake.

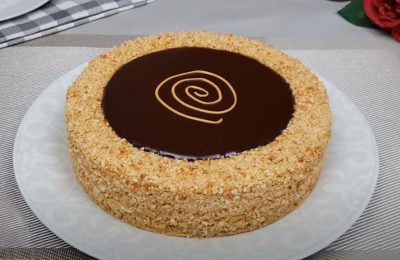
At this stage, if we cut the cake into portions, we get a classic "Milk Slice" cake, but for serving at a holiday, we will decorate it like a real cake.
Before slicing or further decorating the dessert, it must be placed in the refrigerator for 2 hours so that the gelatin completely hardens and the creamy layer becomes dense.

Step 4 – Prepare the glaze
In a bowl, place 40 grams of dark and 40 grams of milk chocolate, as well as 40 grams of soft butter.

Heat in the microwave in short bursts and stir until you have a smooth, liquid glaze.

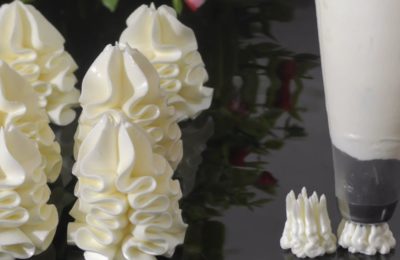
Place a few spoonfuls of icing into a small bag. We'll use it to apply the pattern during the final decorating step.

Pour the bulk of the glaze on top of the cake and spread it in a thin layer over the surface of the biscuit.

Apply a random pattern on top by squeezing the previously set aside icing out of the bag.

Our "Milk Slice" is ready, but before cutting it into portions, we recommend keeping the cake in the refrigerator for another 5-10 minutes to allow the glaze to completely harden.
We also suggest trying making an original multi-layered Kinder Pingui cake for a children's party. Its flavor is reminiscent of the famous candy bar. Detailed step-by-step instructions and a list of ingredients can be found in this video:
There's also a gluten- and sugar-free version of the "Milk Slice" cake. This dessert is significantly lower in calories and can even be served to children with celiac disease. For those who want to know how to make a delicious, diet-friendly "Milk Slice" chocolate cake at home, we offer a detailed step-by-step video recipe:
We welcome your feedback on the recipes proposed in the comments, as well as helpful tips on how to improve them or adapt them to different cooking conditions.
- 30 min
- 360.0 kcal
- 682
- 20 min
- 310.8 kcal
- 377

- 30 min
- 198.2 kcal
- 429
- 3 hours 20 minutes
- 108 kcal
- 458

- 20 min
- 248.3 kcal
- 443
- 2 hours 30 minutes
- 302 kcal
- 392

- 40 min
- 410 kcal
- 235
- 5 min
- 317.4 kcal
- 606