
Medovik Cake: A Classic Step-by-Step Soviet-Era Recipe
Honey Cake – a classic that has remained among the top most popular recipes since the Soviet era.

- Proteins: 5.2 g
- Fats: 14.1 g
- Carbohydrates: 36.2 g
- Total time:
- Time in the kitchen:
-
Complexity:
It's easy and straightforward to prepare, but it does require some experience. Not everyone can do it right the first time.
- Number of servings: 8
Today, we'd like to share a step-by-step classic Soviet-era recipe, the one our mothers and grandmothers used to make the delicious Medovik cake at home.

The traditional recipe for the Medovik cake involves baking thin honey cakes from delicate choux pastry and spreading them with an easy-to-make sour cream filling. Baking this delicious holiday cake at home is very easy, as you don't need any expensive modern equipment, and all the necessary ingredients can be found inexpensively at your local store.
-
Sugar220 G
-
Butter100 G
-
Egg C12 pcs
-
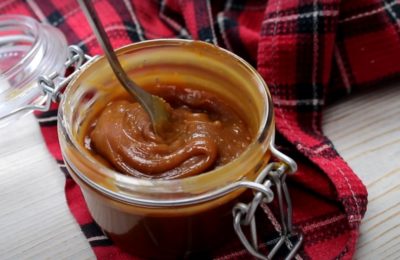
Honey2 tbsp
-
Flour400 G
-
Soda1 tsp
-
Salt1 pinch
-
Sour cream 30%300 G
-
Butter250 G
-
Powdered sugar200 G

Stage 1 – prepare honey choux pastry.
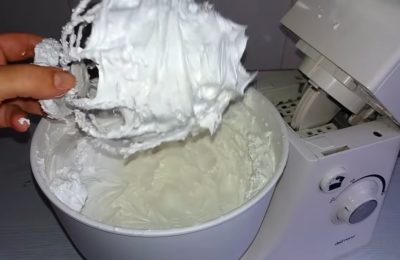
Crack 2 eggs into a tall saucepan (keep in mind that the dough will need to be heated on the stovetop when choosing a saucepan). Add a pinch of salt and 220 grams of sugar, and beat with a mixer until the eggs form a fluffy foam.

Since the whites and yolks are being whipped together, don't expect stiff peaks to form (this isn't necessary, as we're making a honey choux pastry, not a sponge cake). The foam will be voluminous but loose, as in the photo.

Add 100 grams of softened butter and 2 tablespoons of honey to the egg mixture.
It's not recommended to replace this ingredient with alternative (non-natural) products, as the honey in this recipe is a natural slaker for the baking soda. If you can't find this ingredient, it's best to look for other cake recipes that don't require honey, or use vinegar to slaker the baking soda.

Place the container on the stove and heat slowly, just short of boiling, stirring constantly.

Remove the brewed dough base from the heat and add a teaspoon of baking soda.

During the mixing process, the baking soda will react with the honey. The mixture will lighten in color and increase in volume.

After letting the foam settle a little, begin adding the pre-sifted flour in parts, kneading the dough with a spatula.

When the dough becomes thick enough, continue kneading it on the work surface with your hands, achieving a soft but uniform consistency.

Divide the finished dough into 10 pieces, cover with cling film and refrigerate for 1 hour.

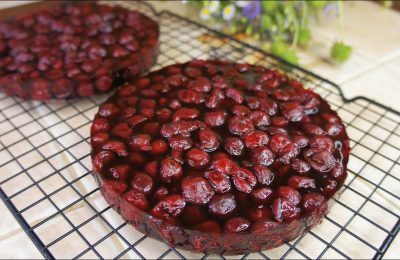
Step 2 – bake the cakes.
Take the first ball of well-chilled dough and roll it out on a floured base into a thin cake of the desired size (we have a ring with a diameter of 20 cm).

Prick the cake layer thickly with a fork to prevent the dough from bubbling too much during baking.
Don't remove the dough scraps, but rather push them aside and bake them along with the cake. We'll use them to decorate the finished cake.

If you don't have an oven, you can even make the cookies in a frying pan, frying them until golden brown on one side and then on the other.

You can make the cookies ahead of time, as they keep well wrapped in cling film, even without refrigeration. We've previously discussed how and for how long honey cookies can be stored.

Grind the cooled scraps with a rolling pin or a blender into crispy crumbs.

Step 3 – Prepare the cream with sour cream step by step.
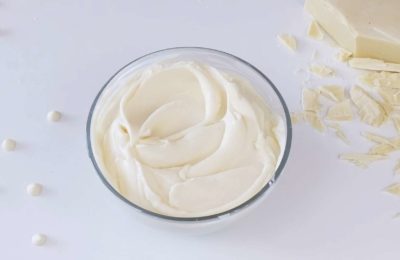
Place 250 grams of softened butter at room temperature and 200 grams of powdered sugar in a mixing bowl.

Beat with a mixer for about 5 minutes until fluffy and light.

Add 300 grams of sour cream to the mixture in parts, mixing the cream until smooth.

The result should be a delicate and delicious sour cream filling, like the one used to make the classic "Medovik" cake in Soviet times. It has a slightly tart flavor and pairs perfectly with the rich honey flavor of the cake layers.

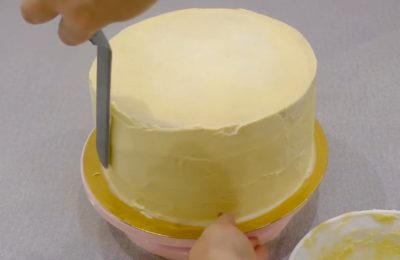
Step 4 – Assembling the cake.
Spread the cream evenly over the cake layers, leaving a little to cover the sides.

Cover the edges of the serving dish with cling film or parchment paper. Place a small amount of frosting in the center to secure the base of the first cake layer.

Place the cakes on top of each other, spreading the cream over each one in an even layer.

When all the cake layers are stacked on top of each other, cover the side of the cake with cream.

Stage 5 – registration.
The simplest and most traditional way to decorate is to sprinkle an even layer of crushed cake layers, as shown in the photo.
You can add variety to the recipe by adding grated nuts or pieces of prunes to the Medovik cake.
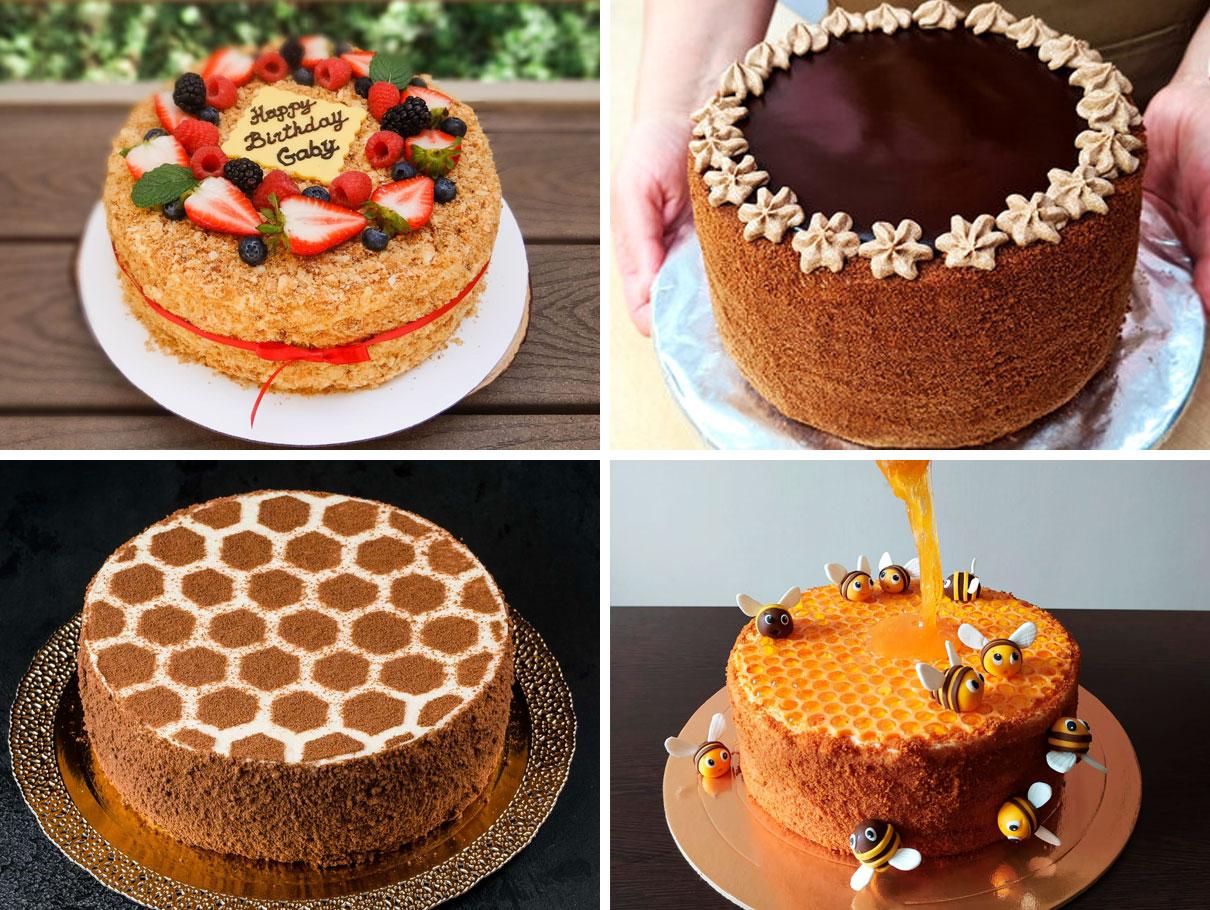
Festive decorations can also be very diverse. Alternatives to the classics described in our step-by-step recipe with photos include:
- chocolate coating option;
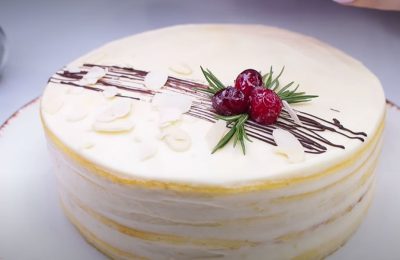
- cream cheese leveling;
- Sprinkling fine crumbs through a stencil allows you to create honeycombs or other original patterns;
- decorating with cute bees made of mastic with almond petal wings;
- festive decoration with cream flowers;
- attaching pictures on a wafer base, etc. to the surface of the cake.
We also offer an alternative version of sweet honey cake with custard, which will not have the slight sourness inherent in the traditional version.
- 3 hours
- 310.5 kcal
- 25032
- 30 min
- 120 kcal
- 597
- 10 min
- 542 kcal
- 515
- 2 min
- 71.7 kcal
- 8495

- 20 min
- 542 kcal
- 291

- 15 min
- 241 kcal
- 1906
- 3 hours 20 minutes
- 108 kcal
- 458
- 45 min
- 547 kcal
- 365