How to Make Bento Cake: 7 Classic Recipes at Home
Content
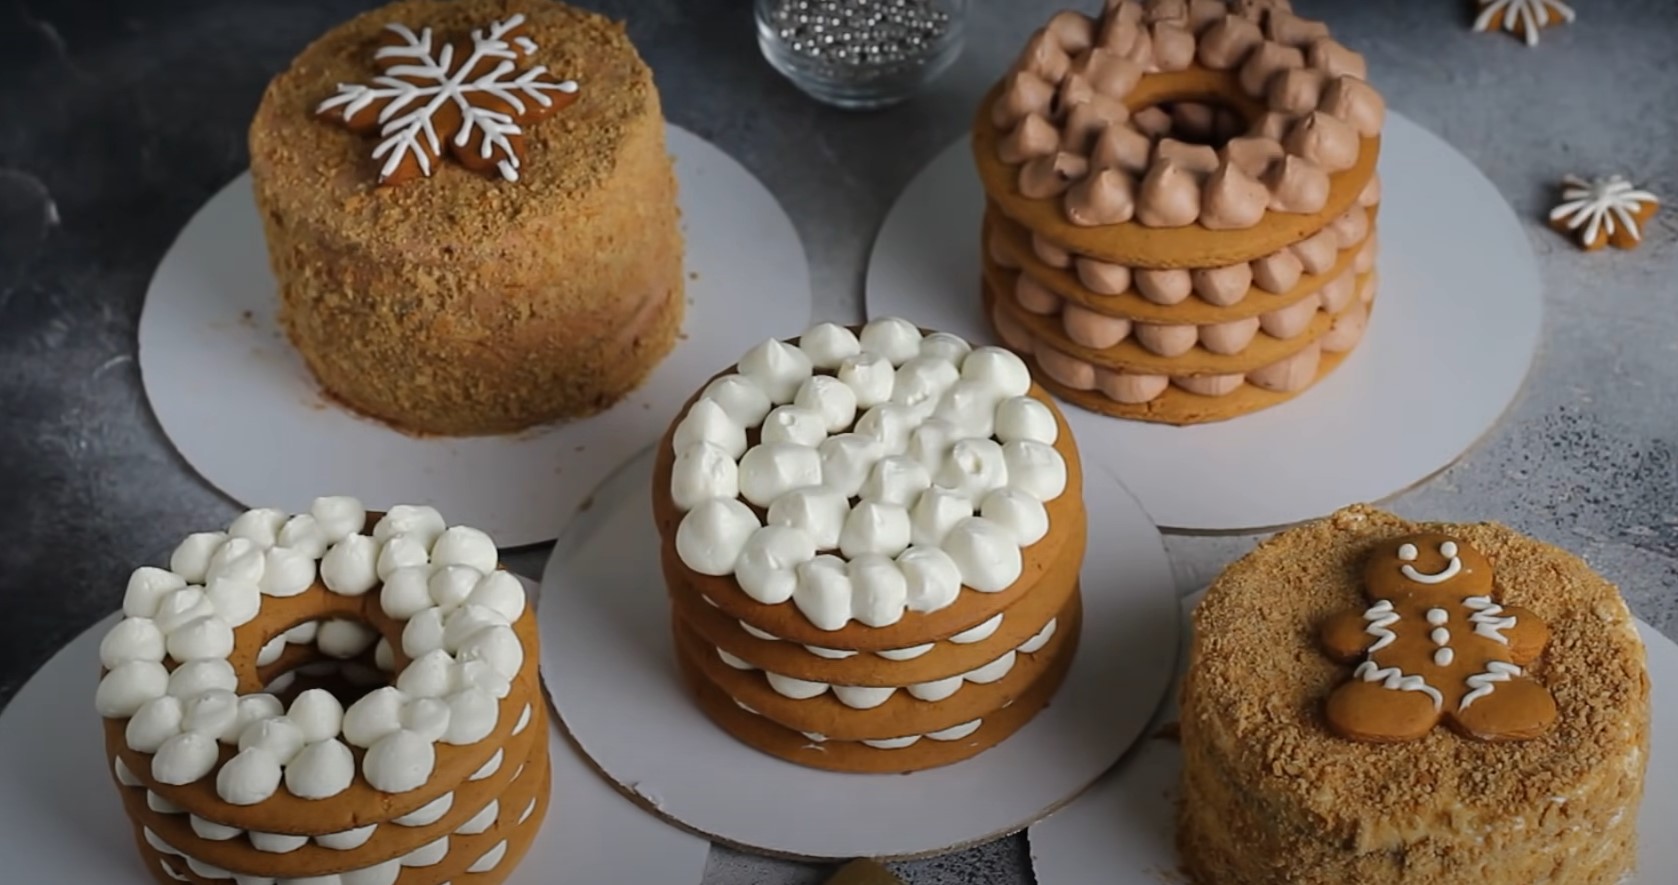
In 2021, bento cakes captured the hearts of bakers and sweet-toothed enthusiasts worldwide. The main distinguishing feature of this dessert from traditional cakes is the diameter of the layers, which is typically 10-12 cm. Due to their small size and the nature of traditional packaging, bento cakes are also called "lunch box" cakes. They are perfect as a small, pleasant gift, for outdoor dates, and picnics.
Essentially, any cake you love can be called a "bento." The key is to make it the right size and pack it properly. Interested? In this article, I'll detail the most popular bento cake recipes. I'll show you how to make the cake layers, what creams and fillings you can use. And, of course, I'll inspire you to decorate your finished product in a unique and beautiful way!
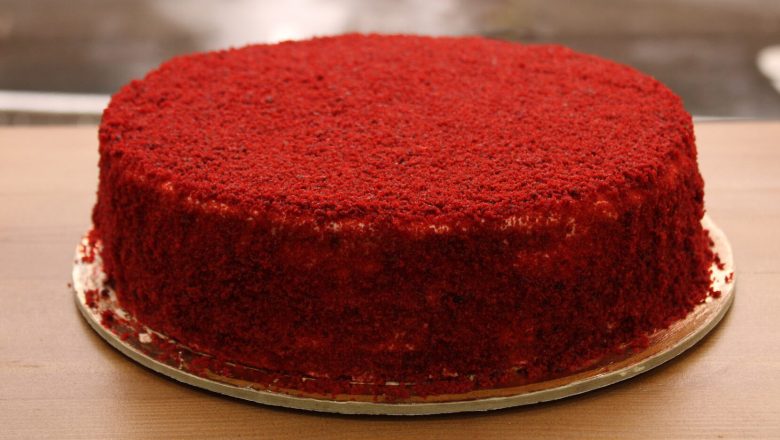
Red Velvet Bento Cake
- Proteins: 4.4 g
- Fats: 20.9 g
- Carbohydrates: 47.3 g
- Total time:
-
Complexity:
It's easy and straightforward to prepare, but it does require some experience. Not everyone can do it right the first time.
- Number of servings: 1
Ingredients
-
Wheat flour225 G
-
Sugar200 G
-
Egg C02 pcs
-
Kefir185 G
-
Sunflower oil200 ml
-
Cocoa powder8 G
-
Baking powder8 G
-
Soda3 G
-
Salt1 pinch
-
Gel dye1.5 tsp
-
Cherry200 G
-
Sugar60 G
-
Cornstarch0.5 tsp
-
Cottage cheese400 G
-
Powdered sugar100 G
-
Cream 33%100 ml
Preparation

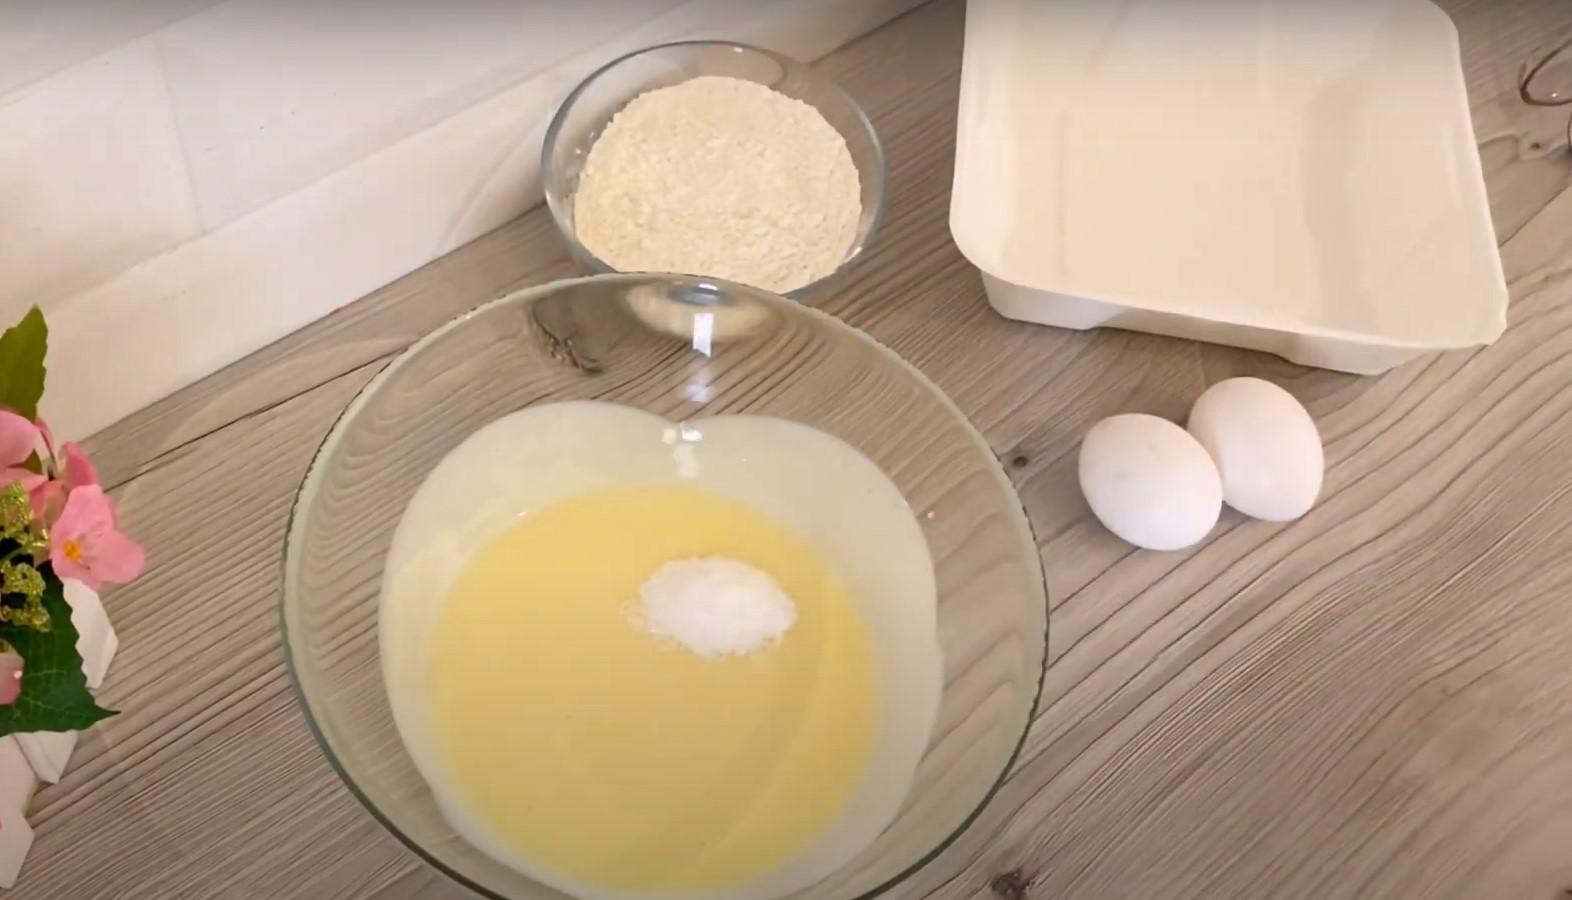
We collect all the necessary components.

Add baking soda to the bowl with kefir. Stir gently with a silicone spatula. Set aside.
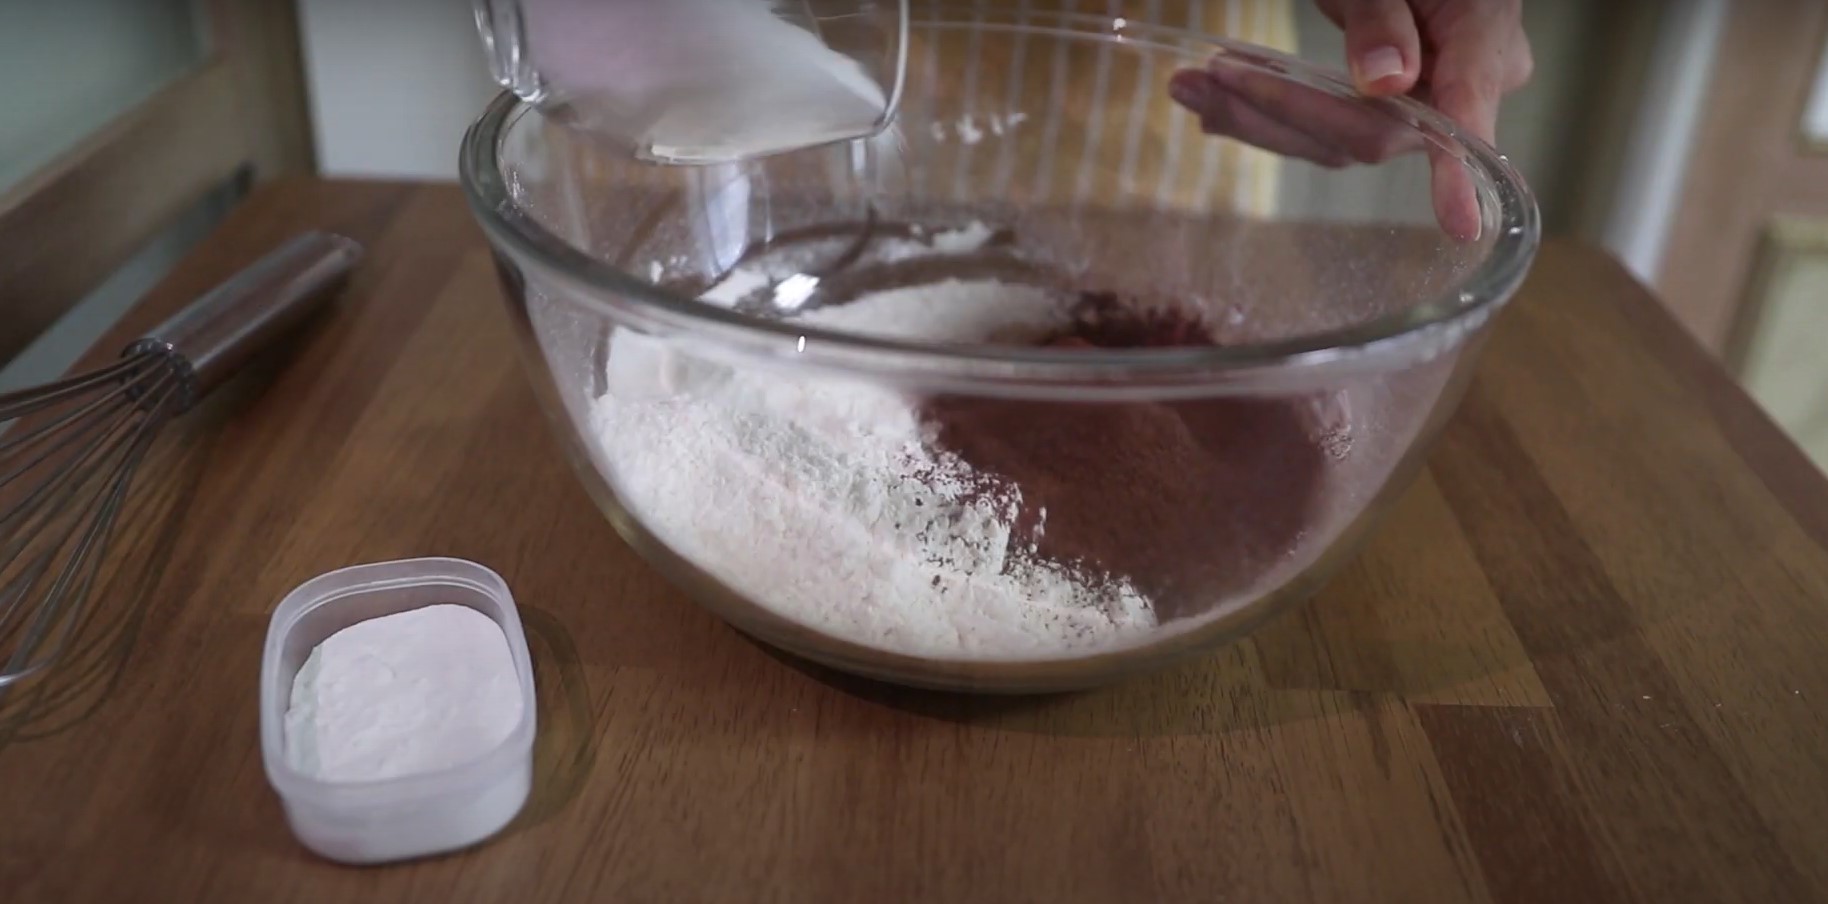
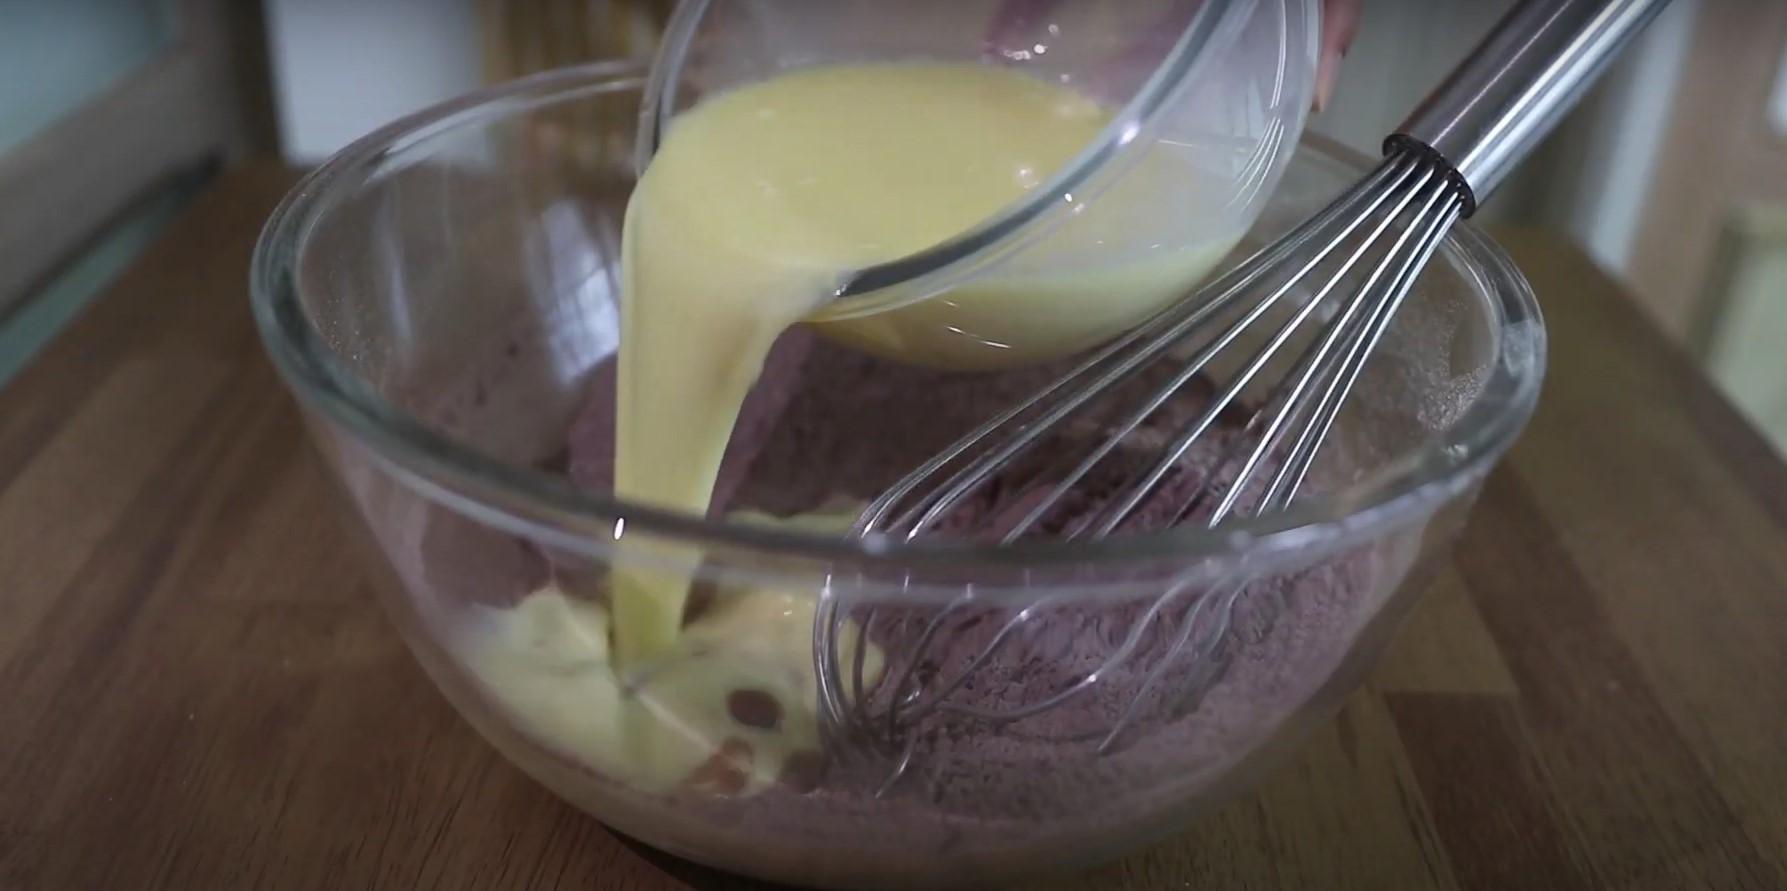
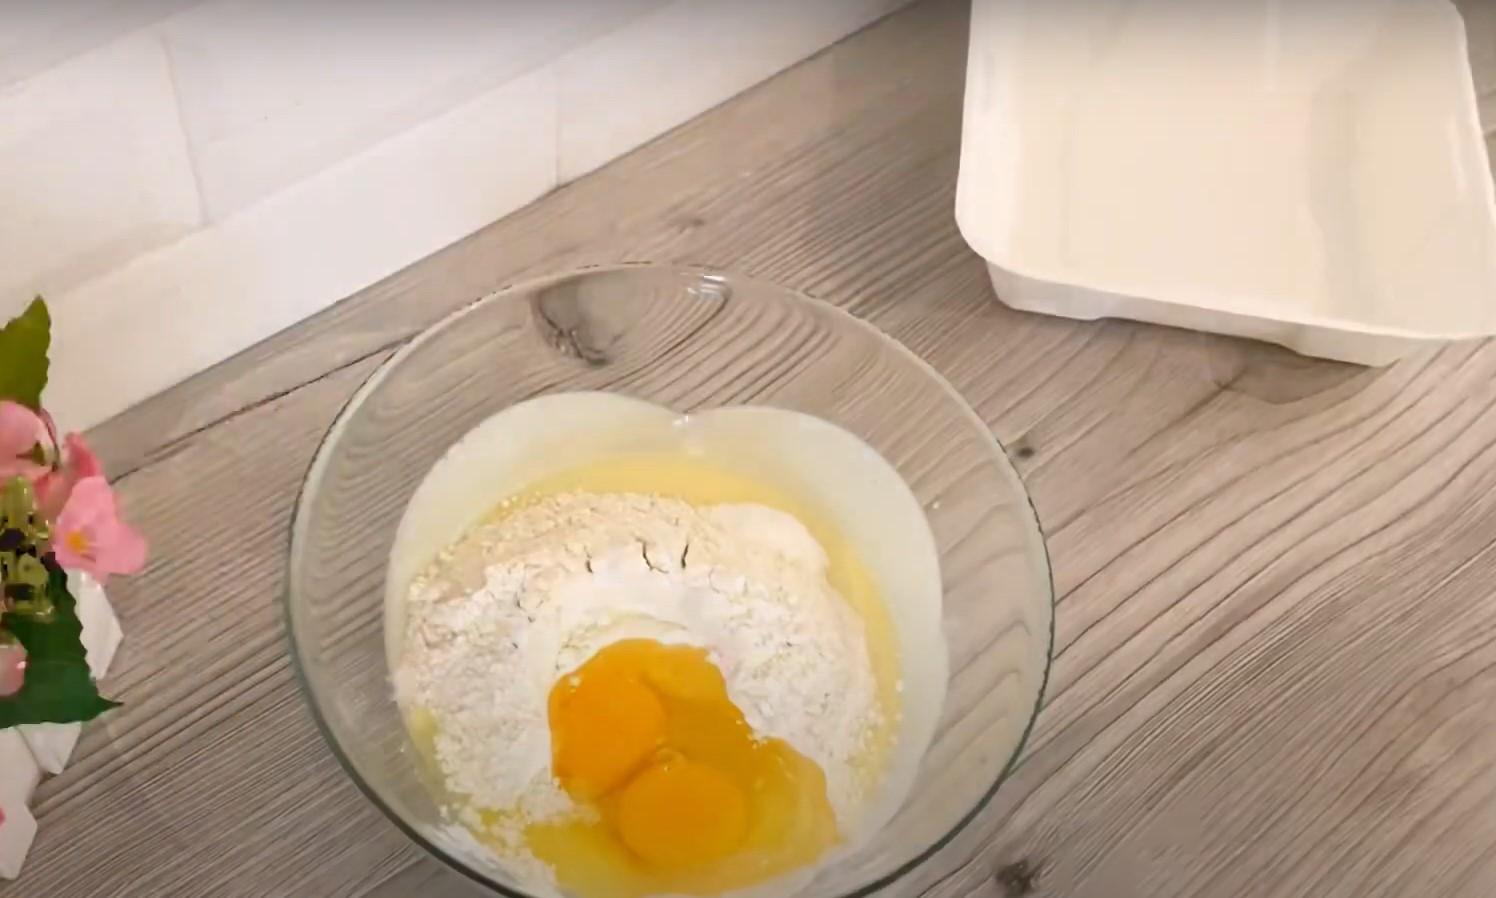
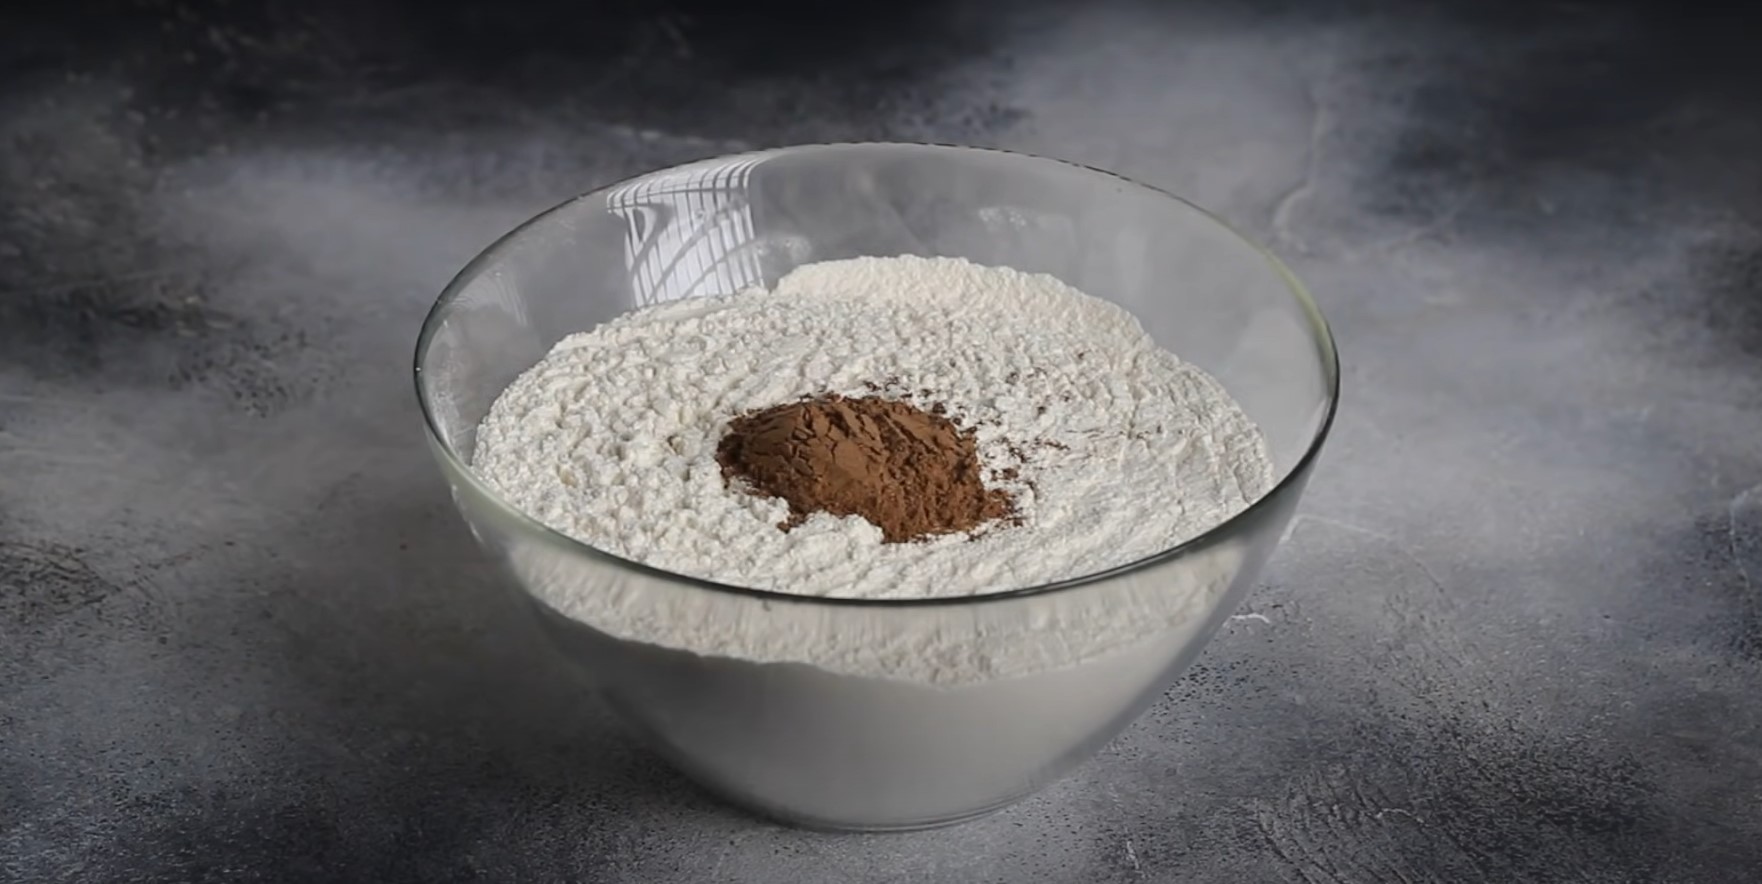
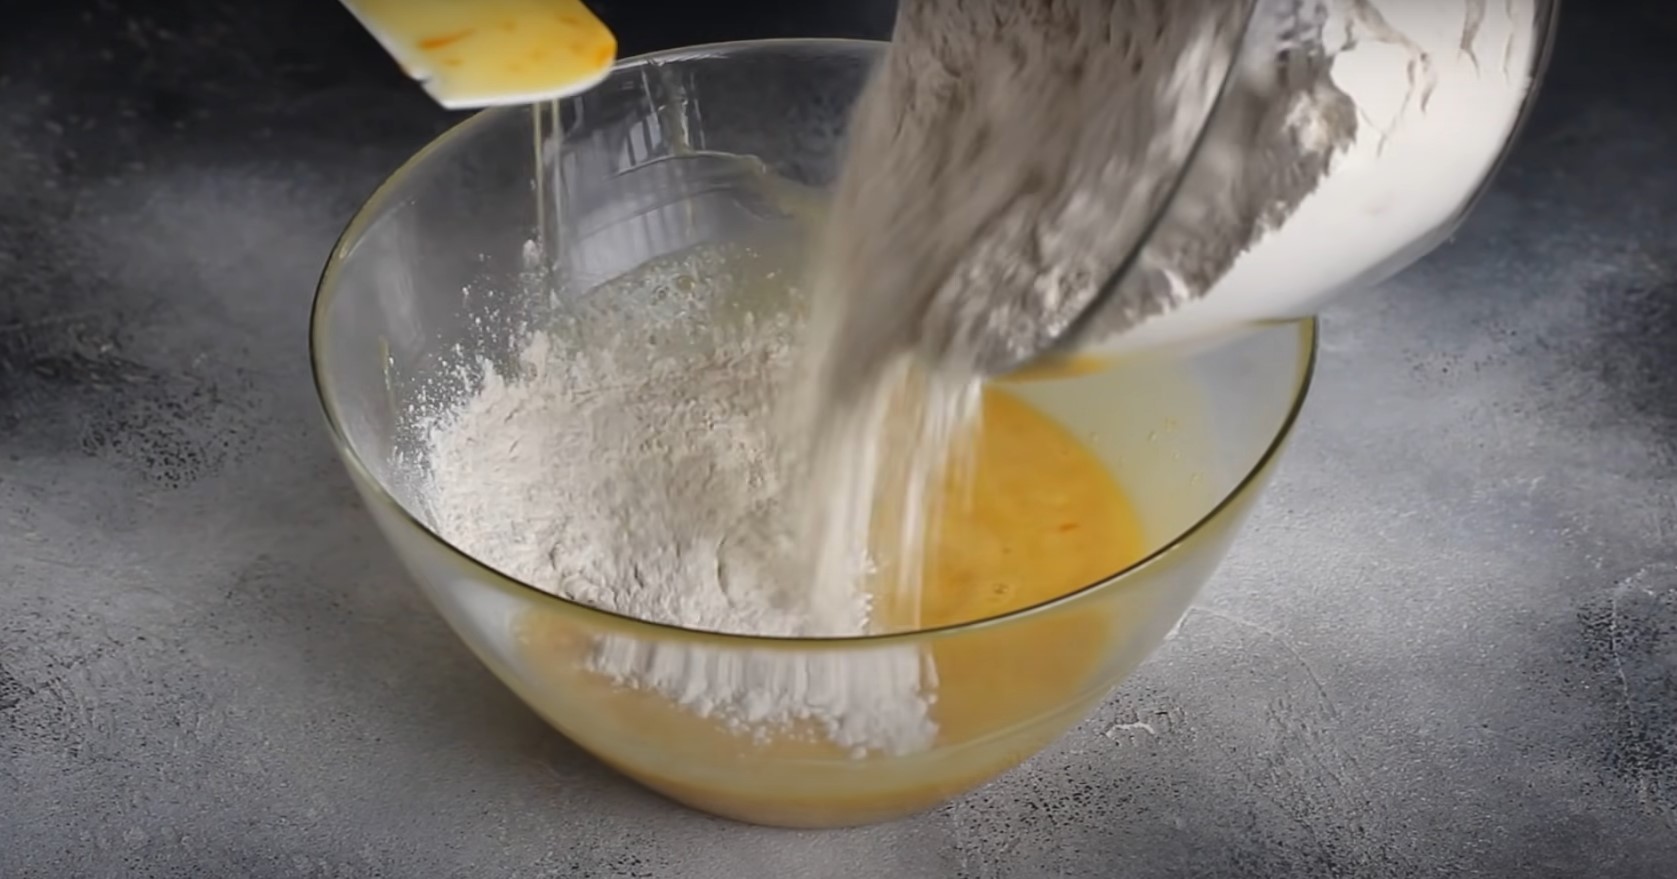
In a separate container, combine sugar and flour.

Add the remaining dry ingredients to the sugar and flour.

Stir.

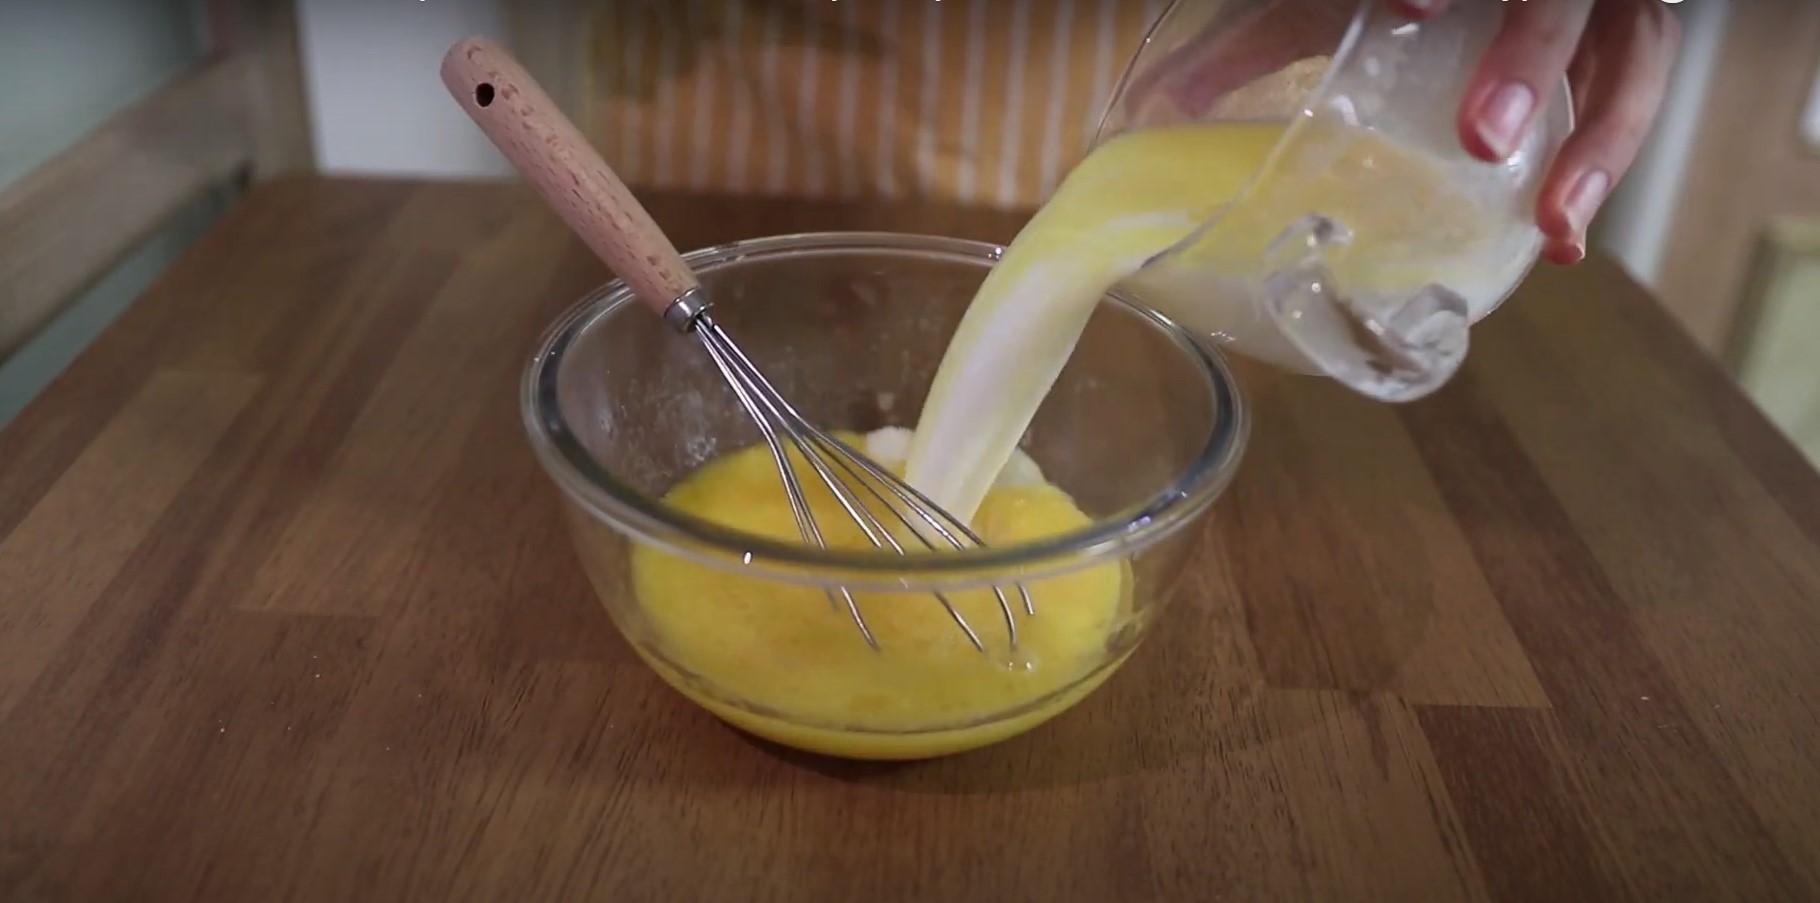
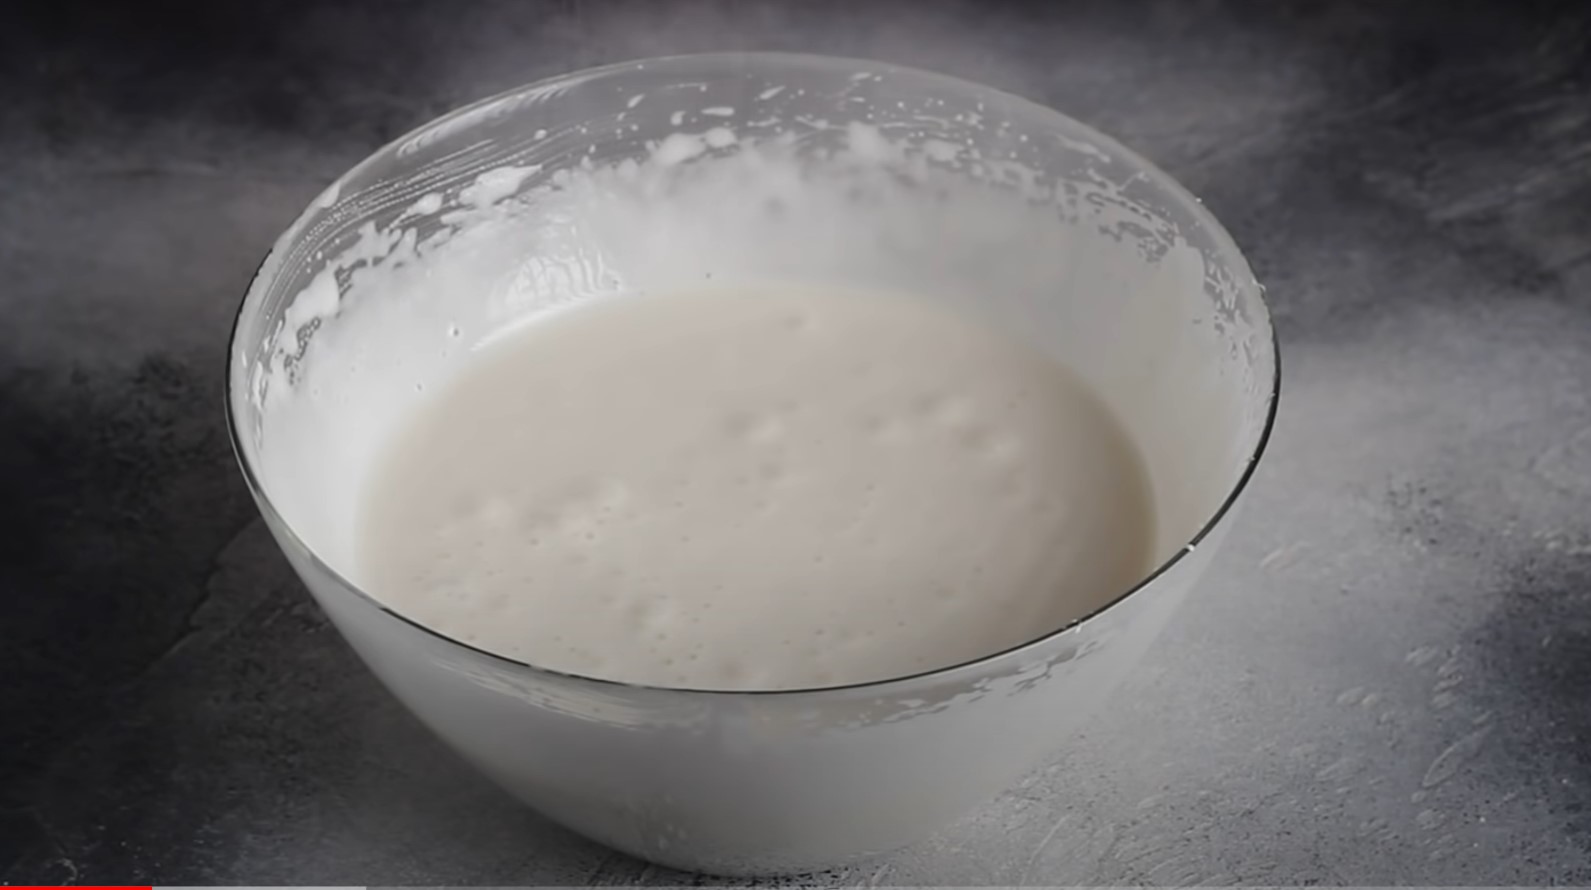
Pour the kefir into a deep saucepan.

Add sunflower oil there.

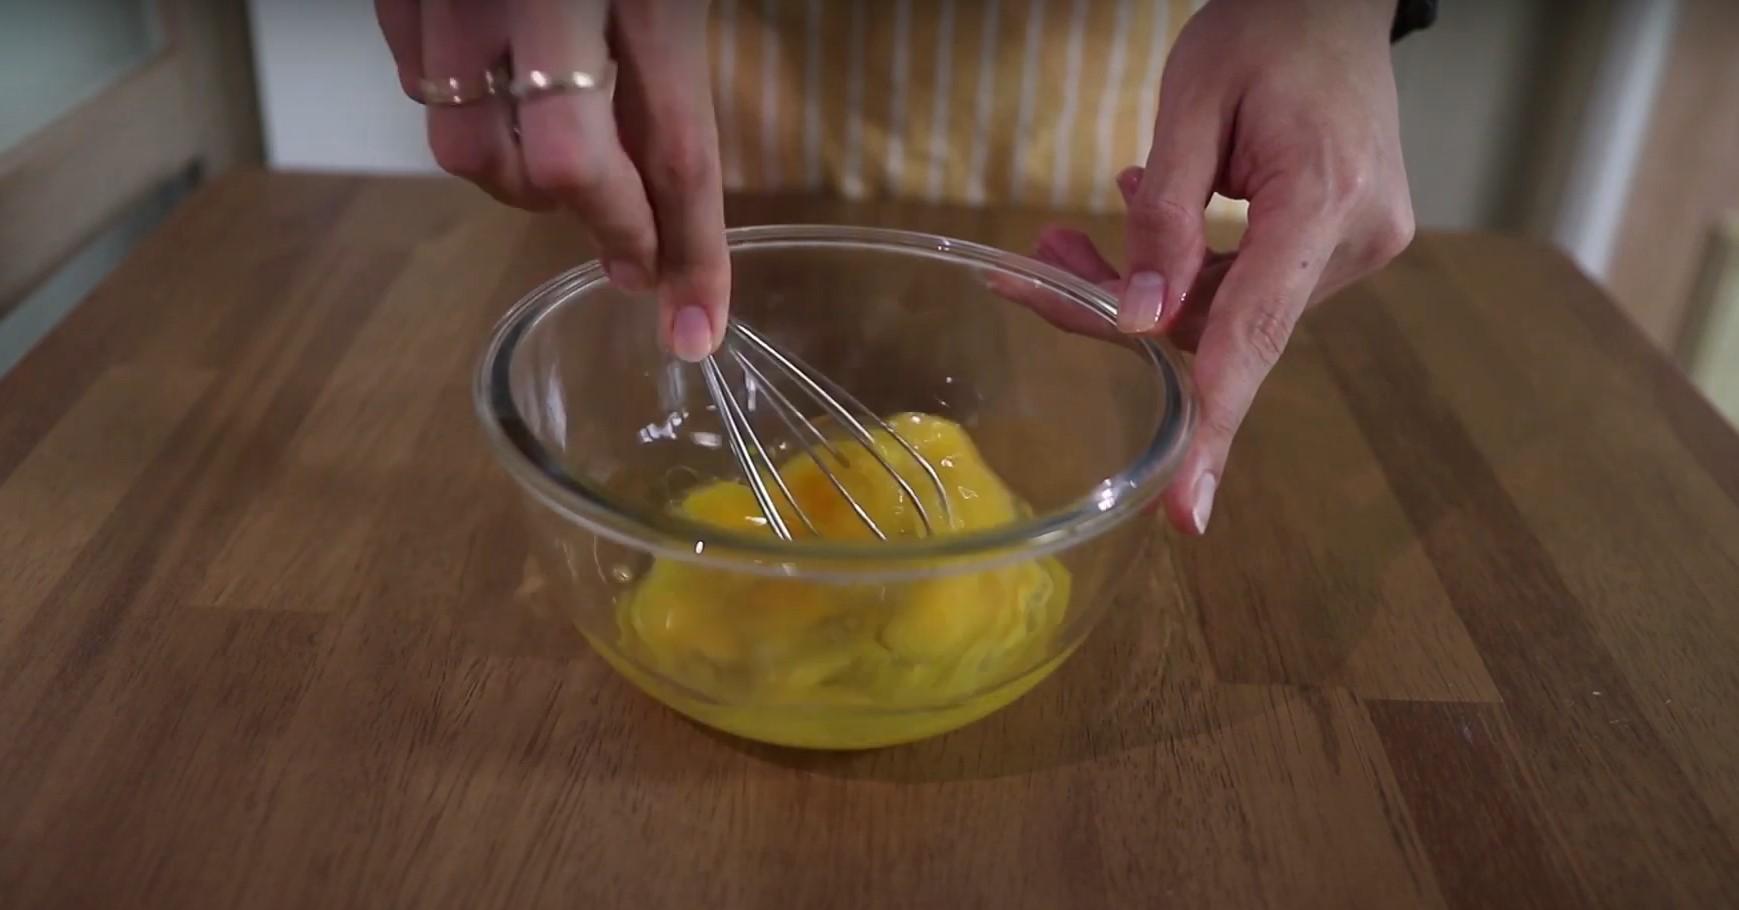
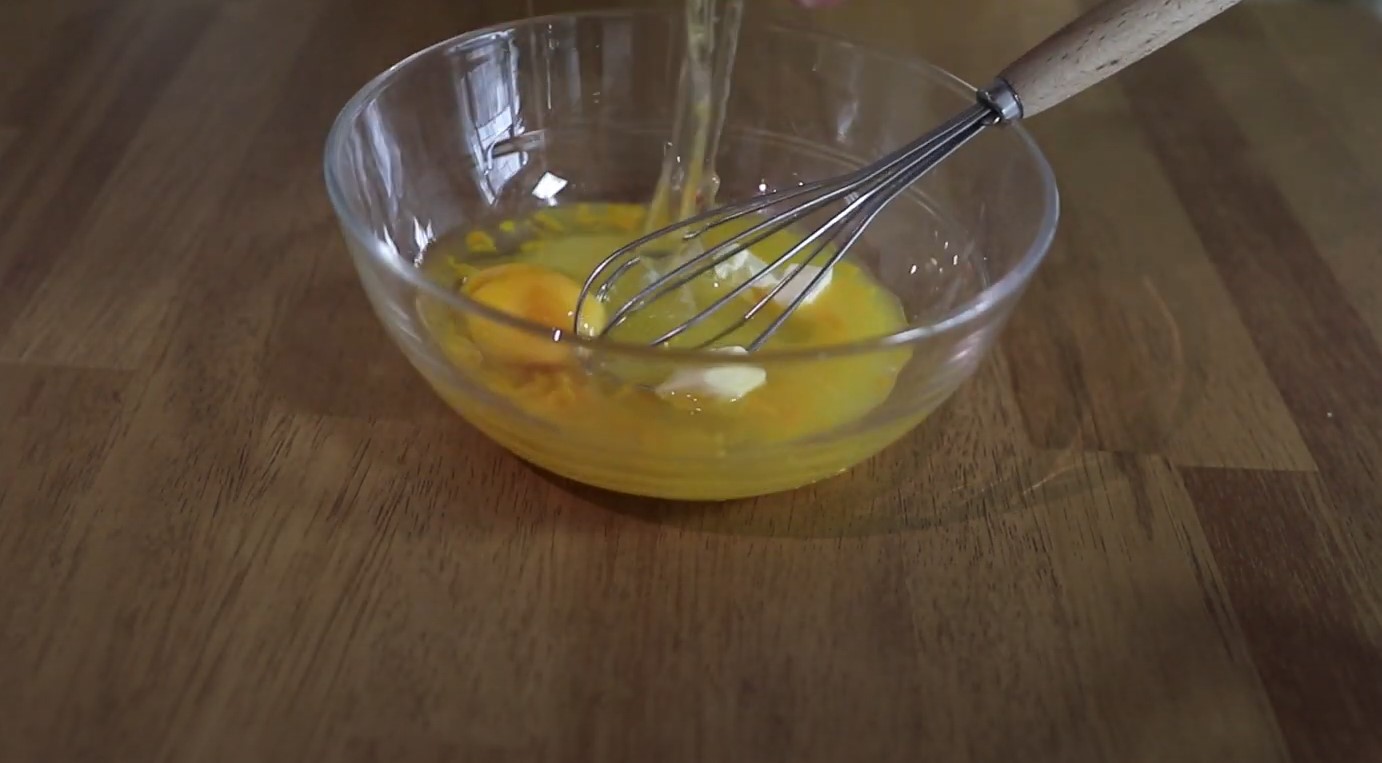
Pour in raw eggs.

Add gel food coloring.

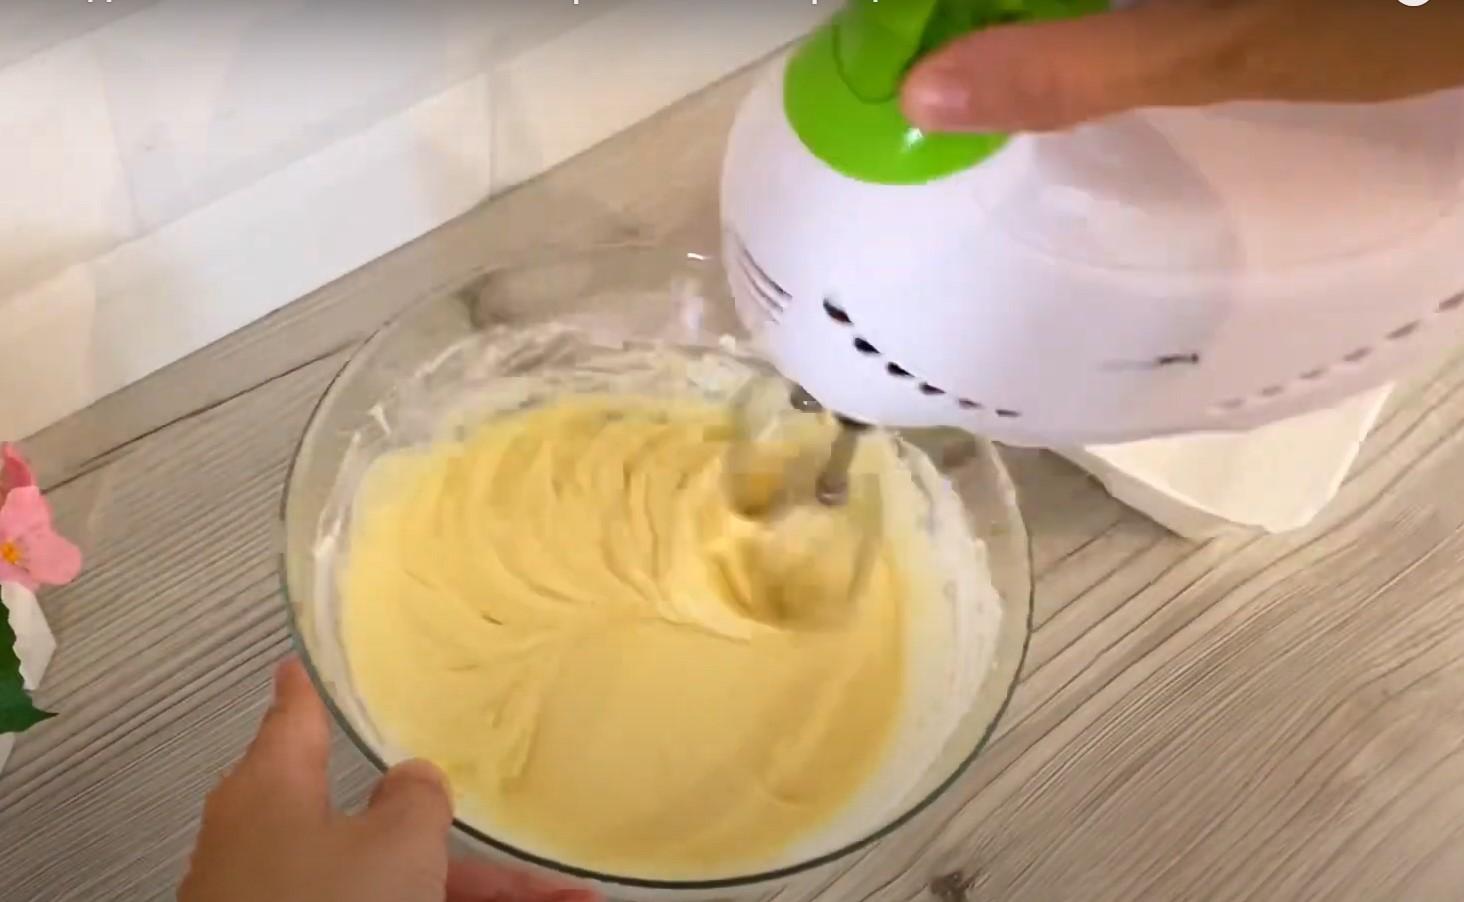
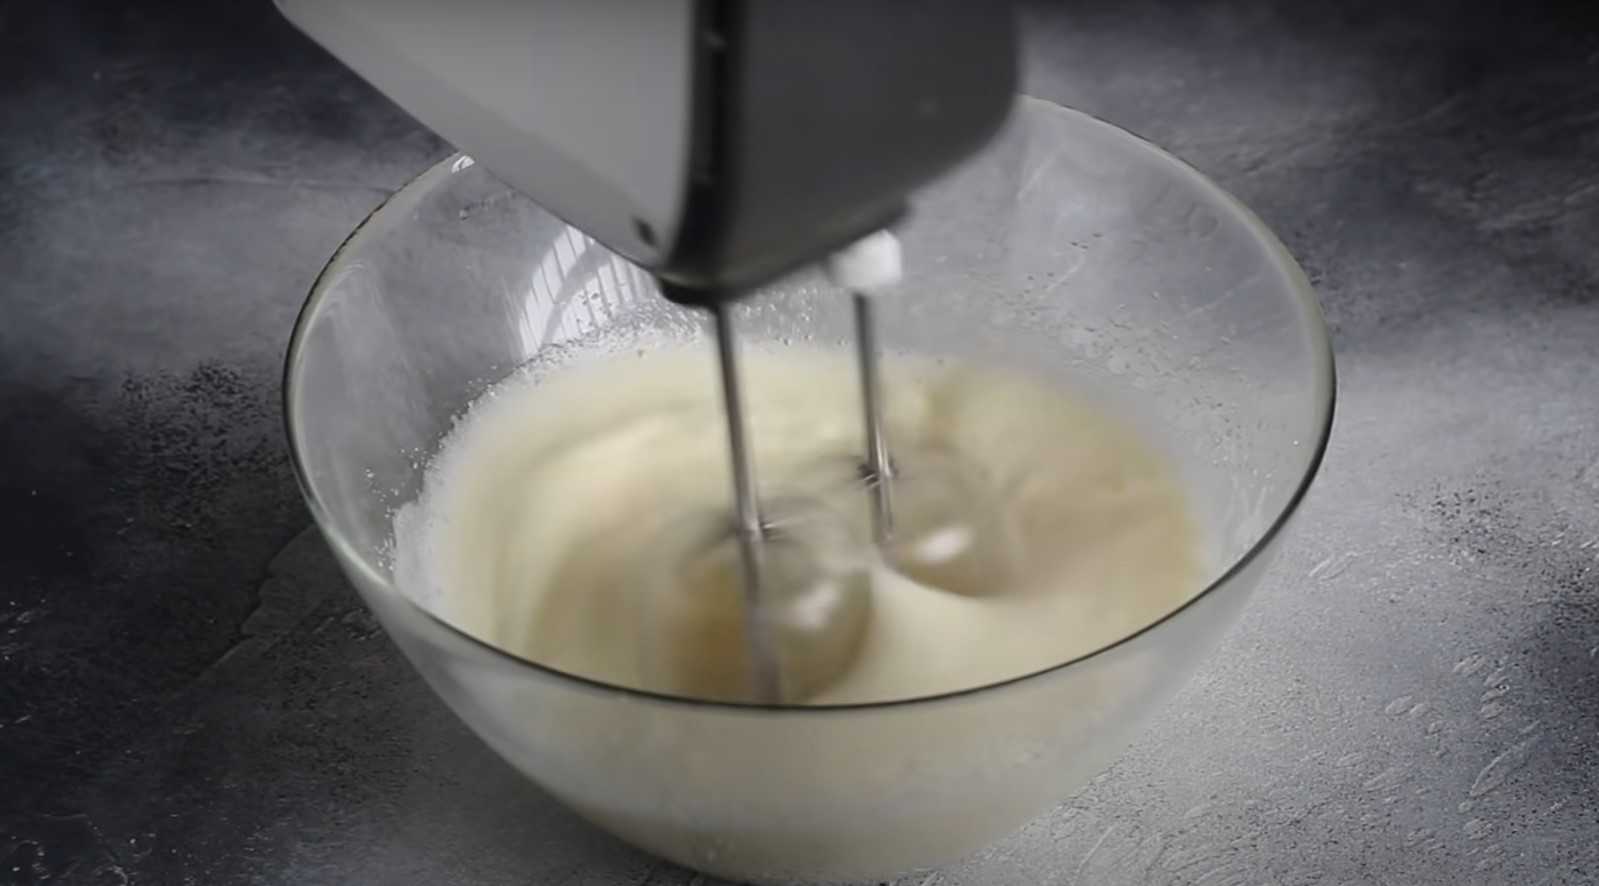
Mix thoroughly until smooth. No need to beat; in this recipe, the cake rises not from the eggs, but from the kefir-soda mixture.

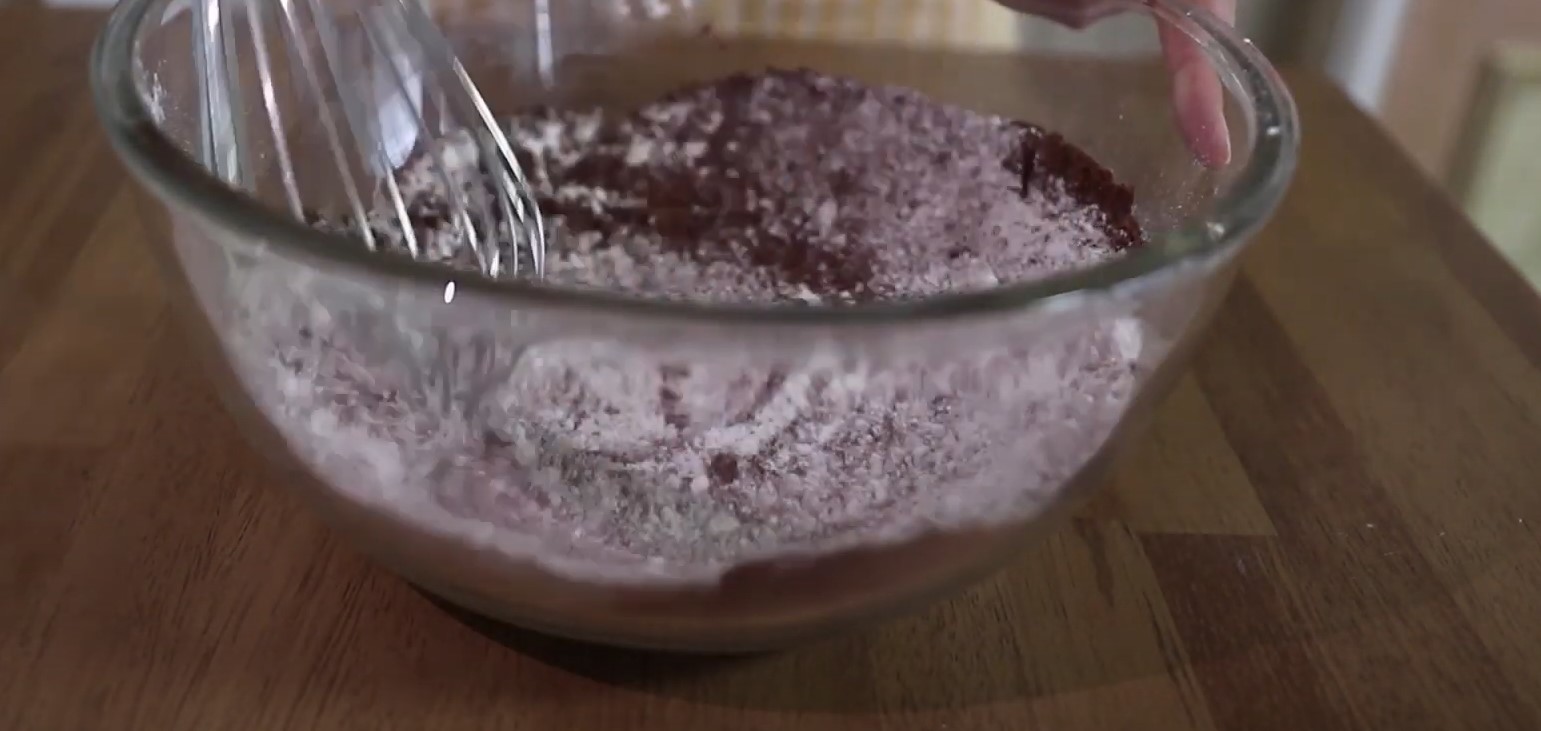
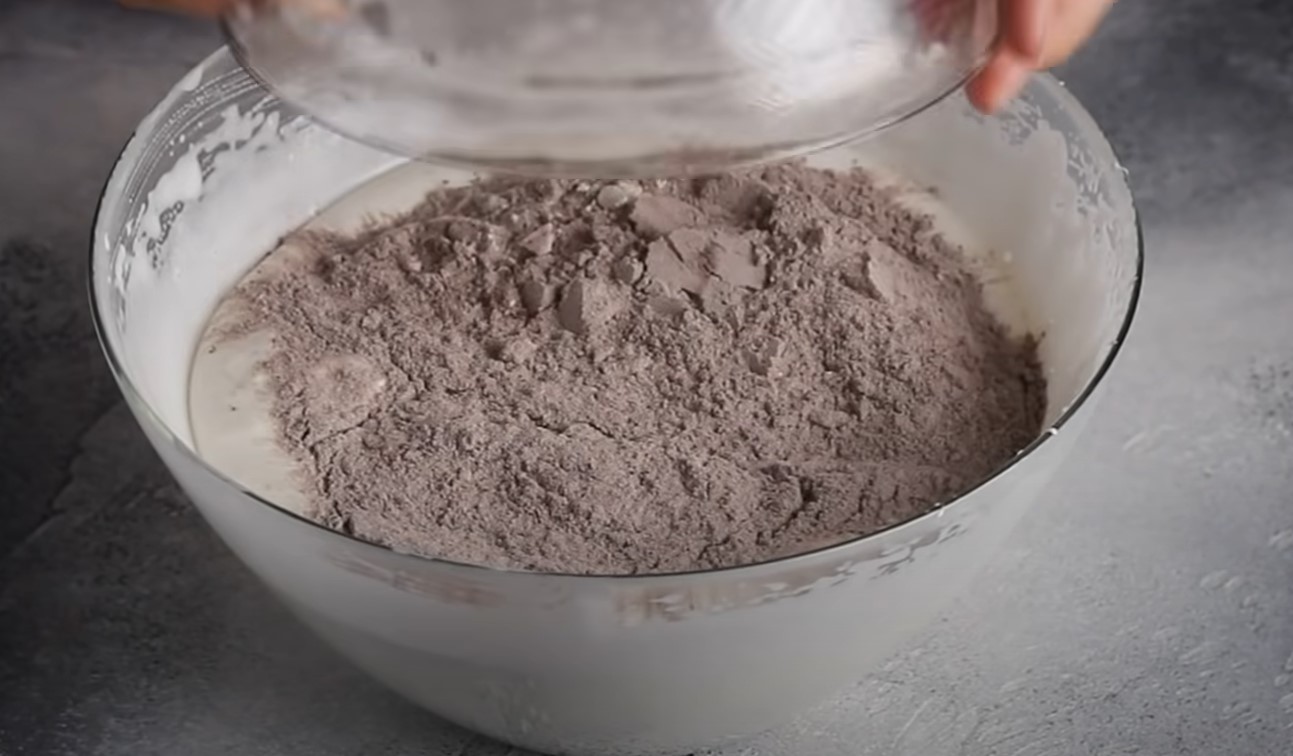
Add dry ingredients in small portions.

Mix thoroughly at each stage. The resulting dough should be quite thick and sticky.

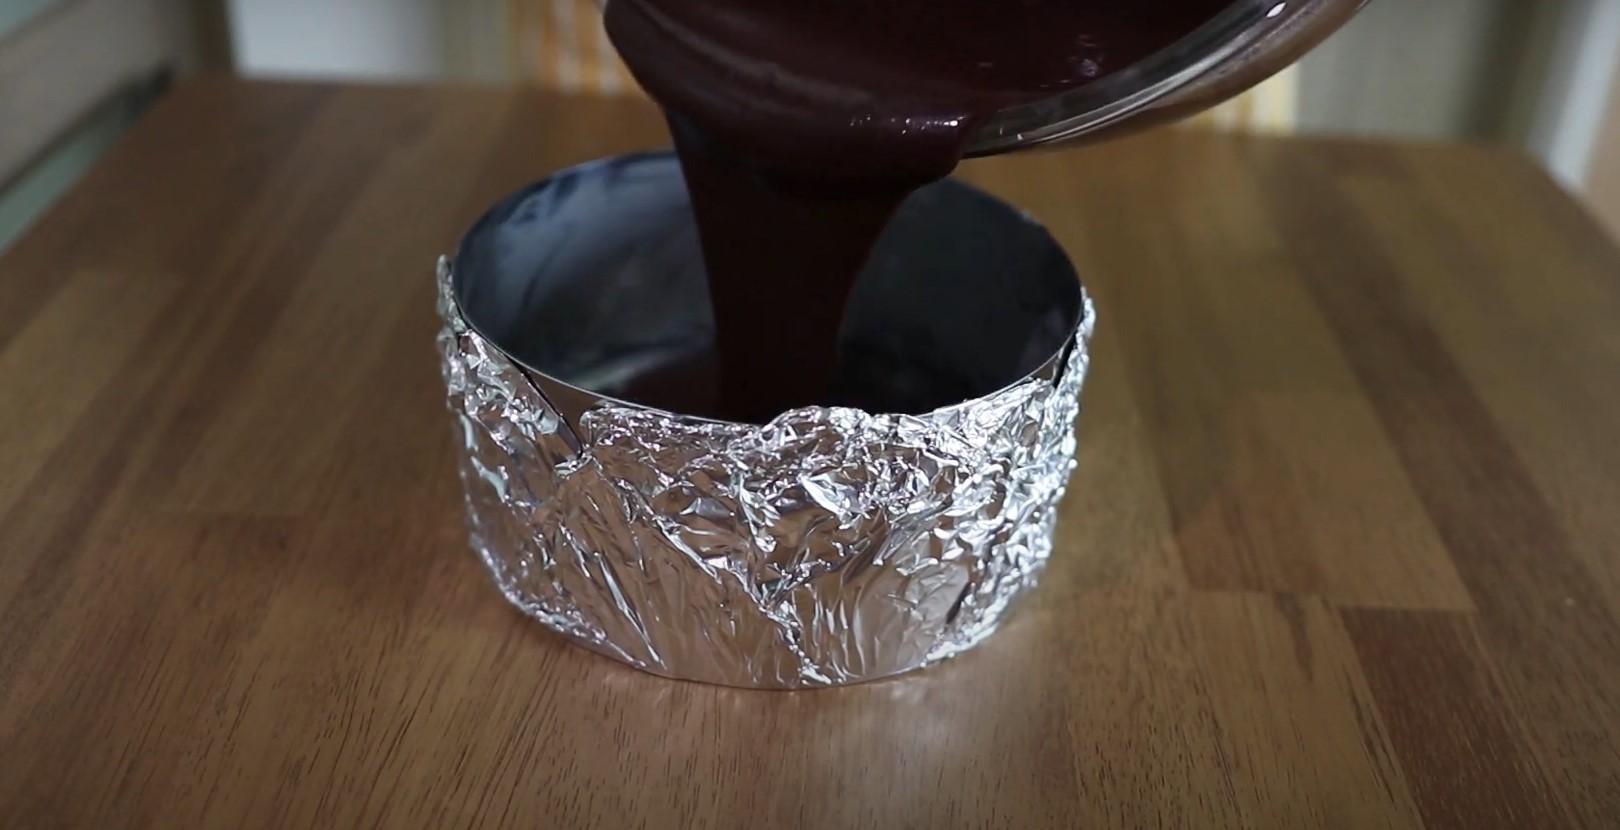
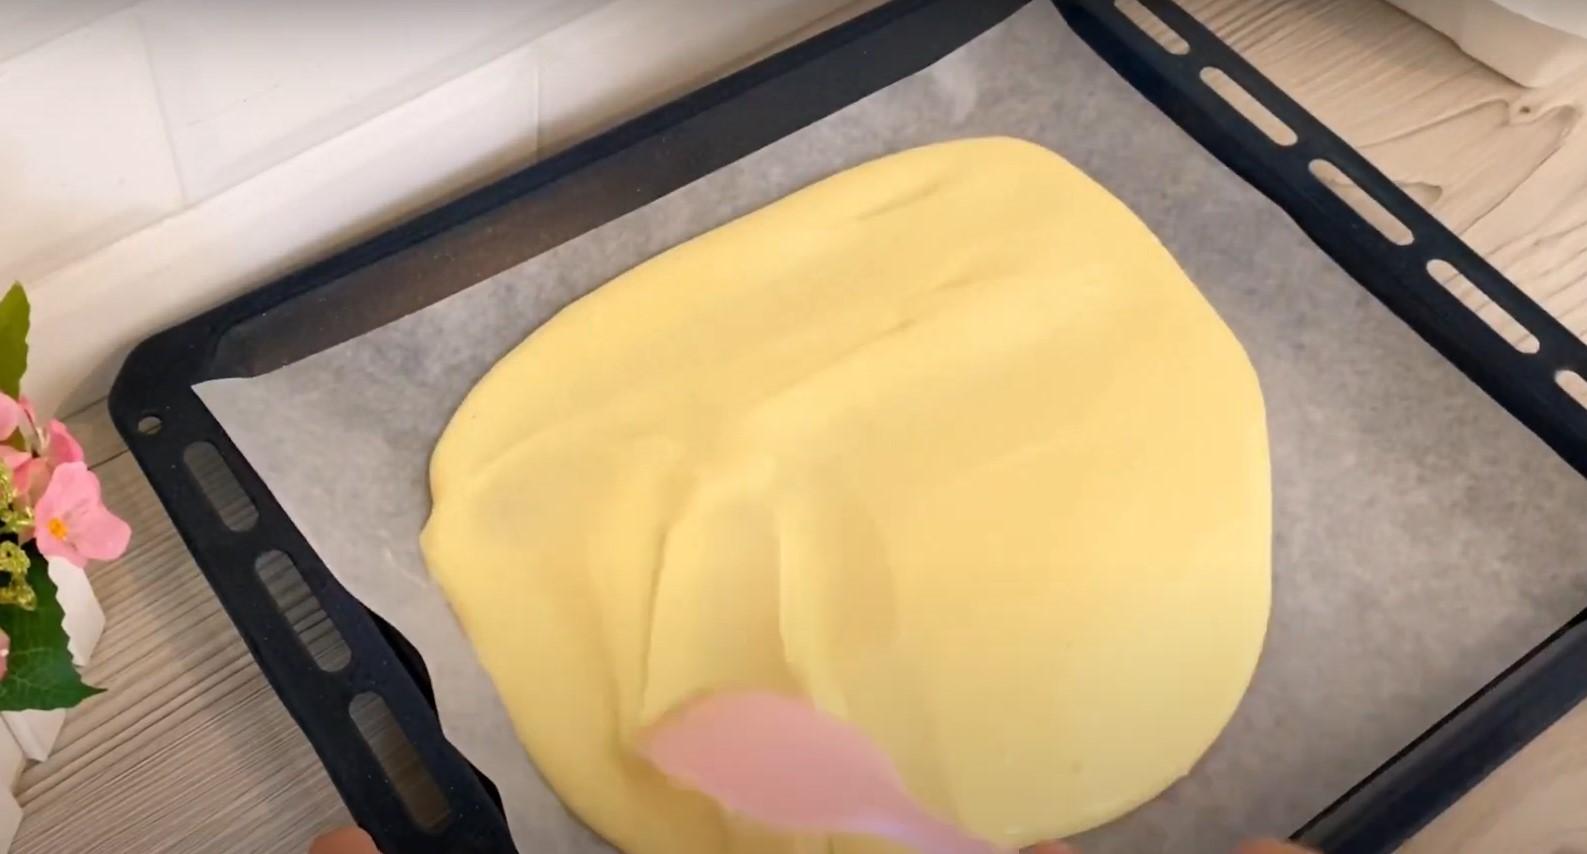
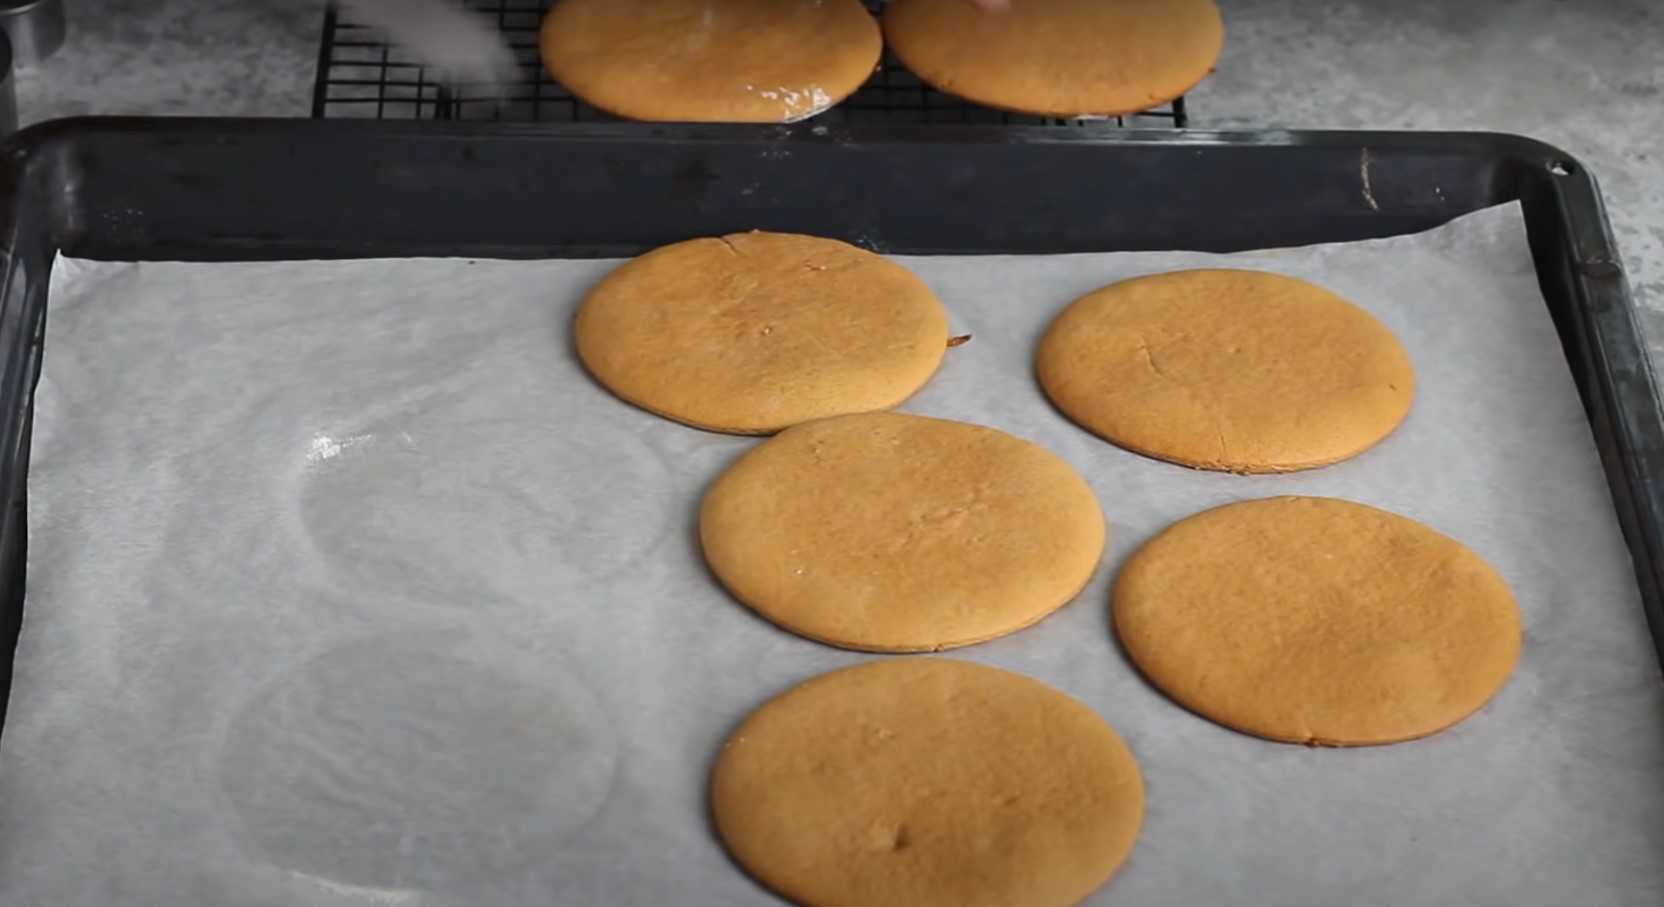
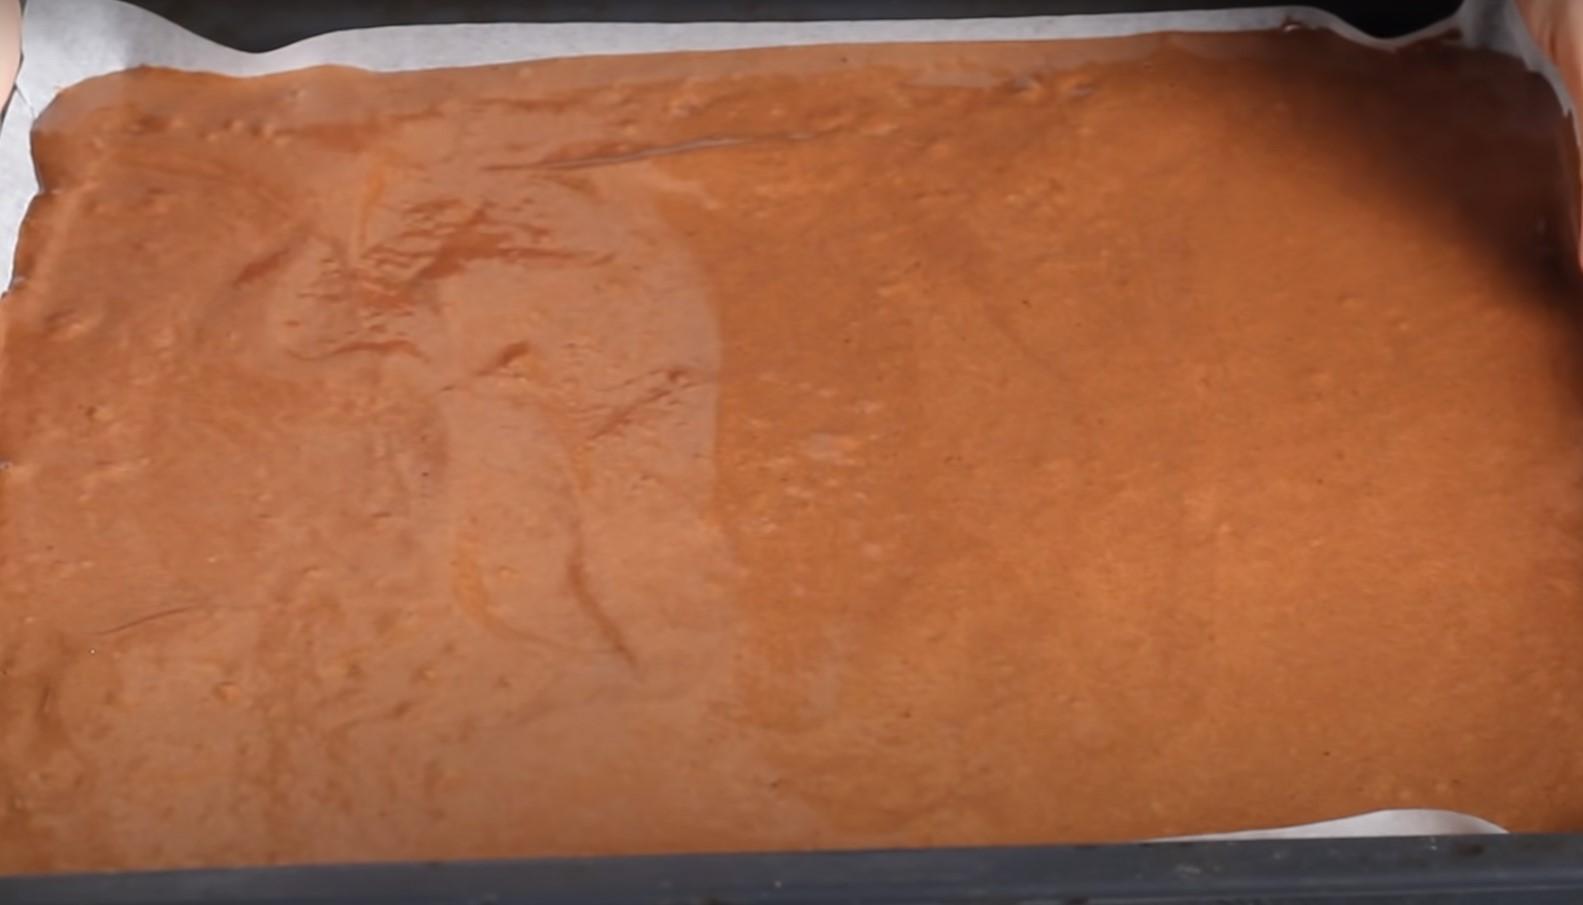
Prepare the baking pan. I use two metal rings, each 12 cm in diameter, wrapped in foil on the bottom.

Divide the dough into two pans and place in the oven. Bake at 170 degrees Celsius for 30-40 minutes. Check for doneness with a skewer.

While the sponge cake is baking, let's move on to preparing the filling.

Sprinkle the cherries with sugar, add a little water, and place in a thick-bottomed saucepan on the stove. Bring to a boil.

Dissolve starch in a small amount of water and add it to the boiling cherries.

Mix well and cook for a couple more minutes.

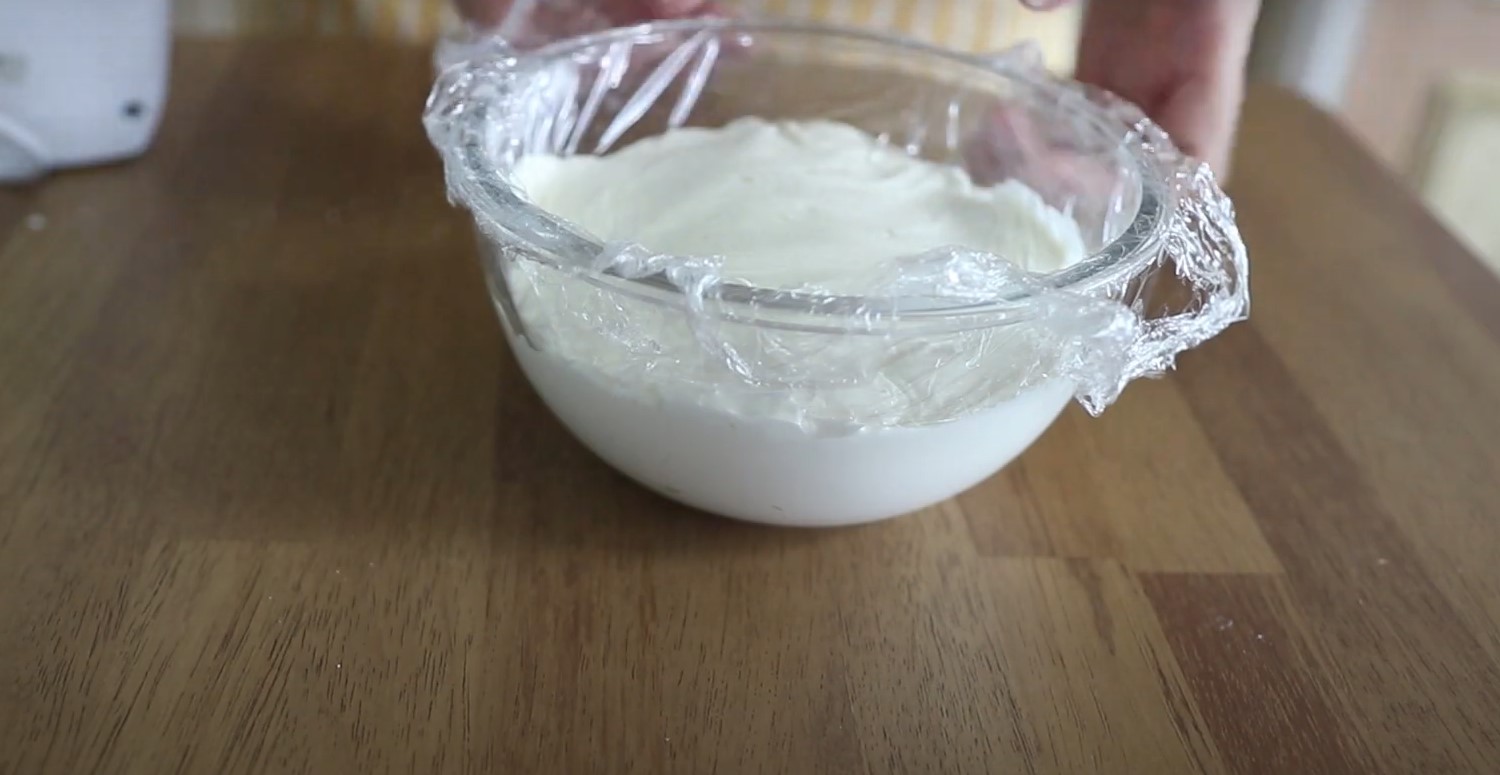
Pour the prepared filling into a separate container, cover with cling film and leave to cool.

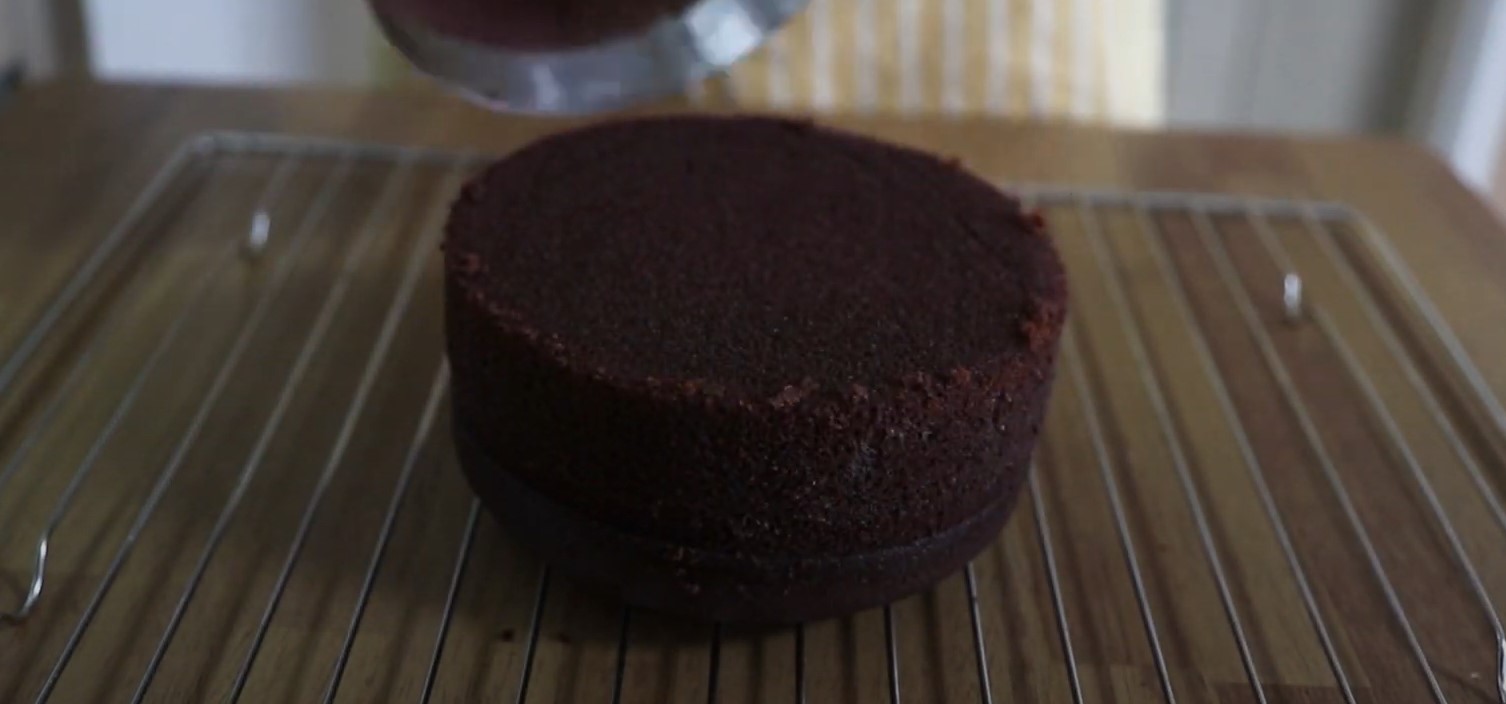
Remove the finished sponge cake from the ring and let it cool slightly. While still warm, wrap it very tightly in plastic wrap and let it cool.

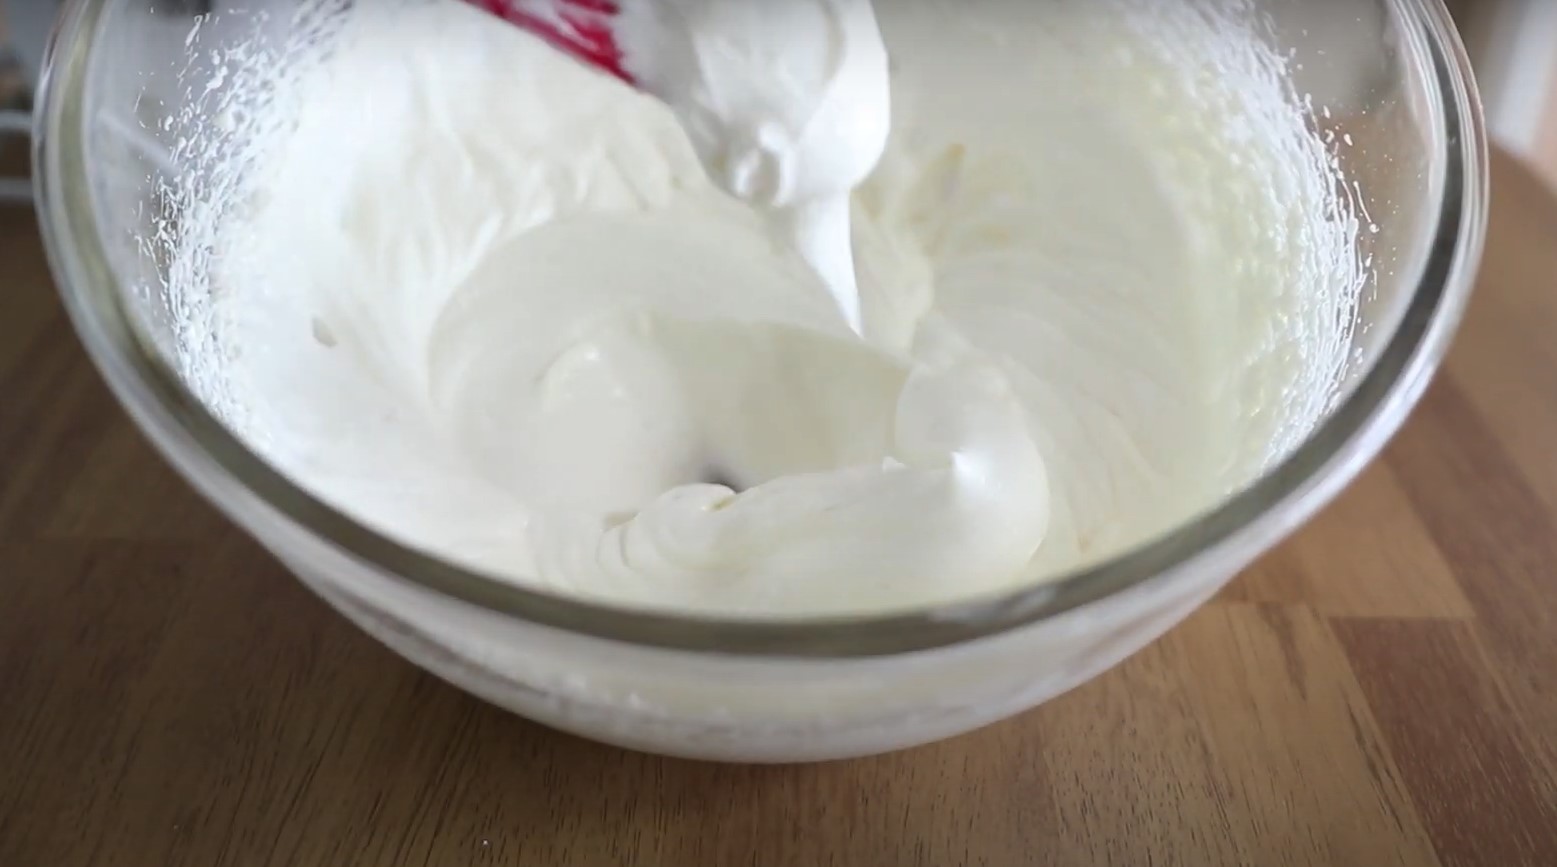
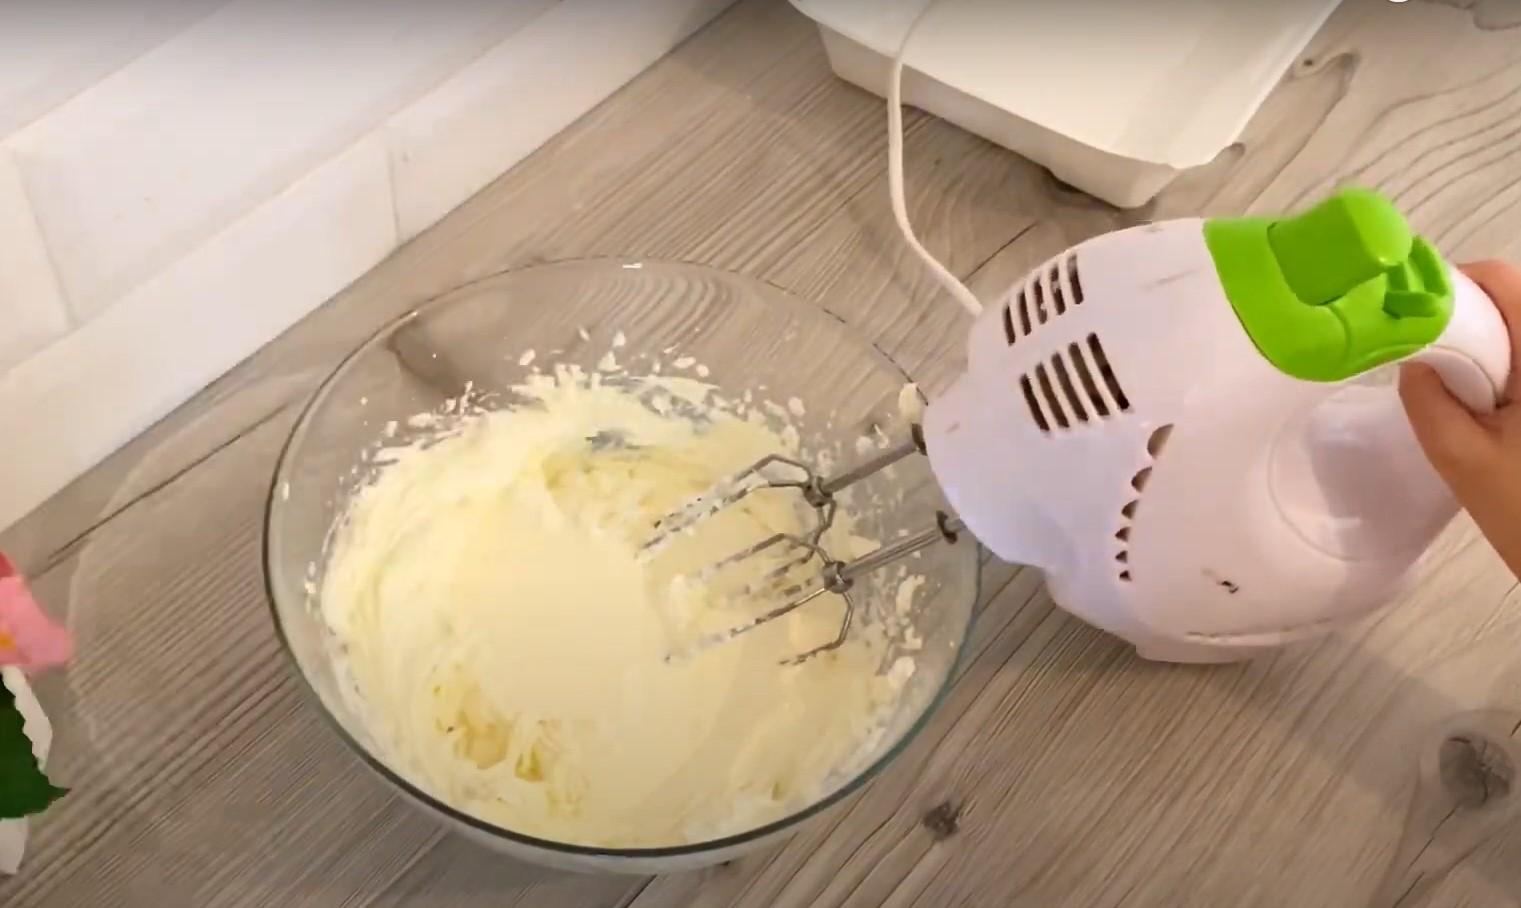
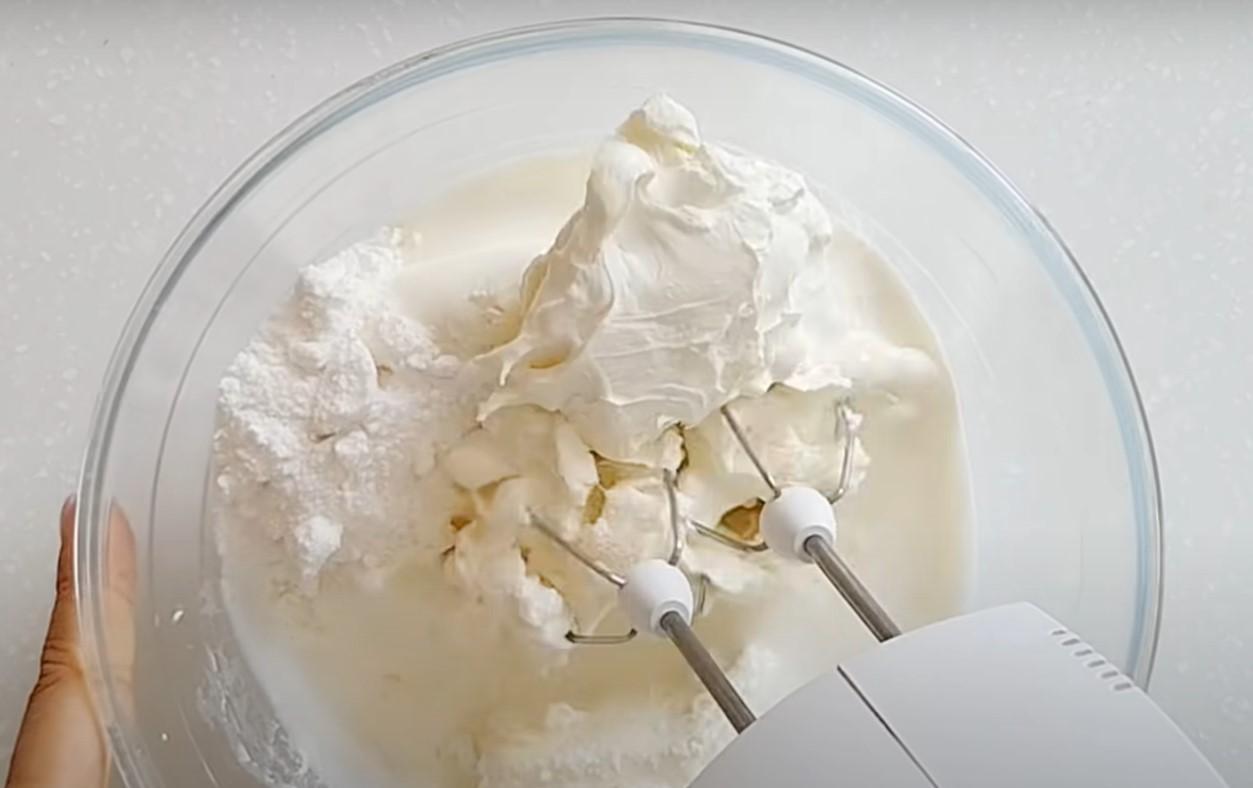
Let's start preparing the cream.

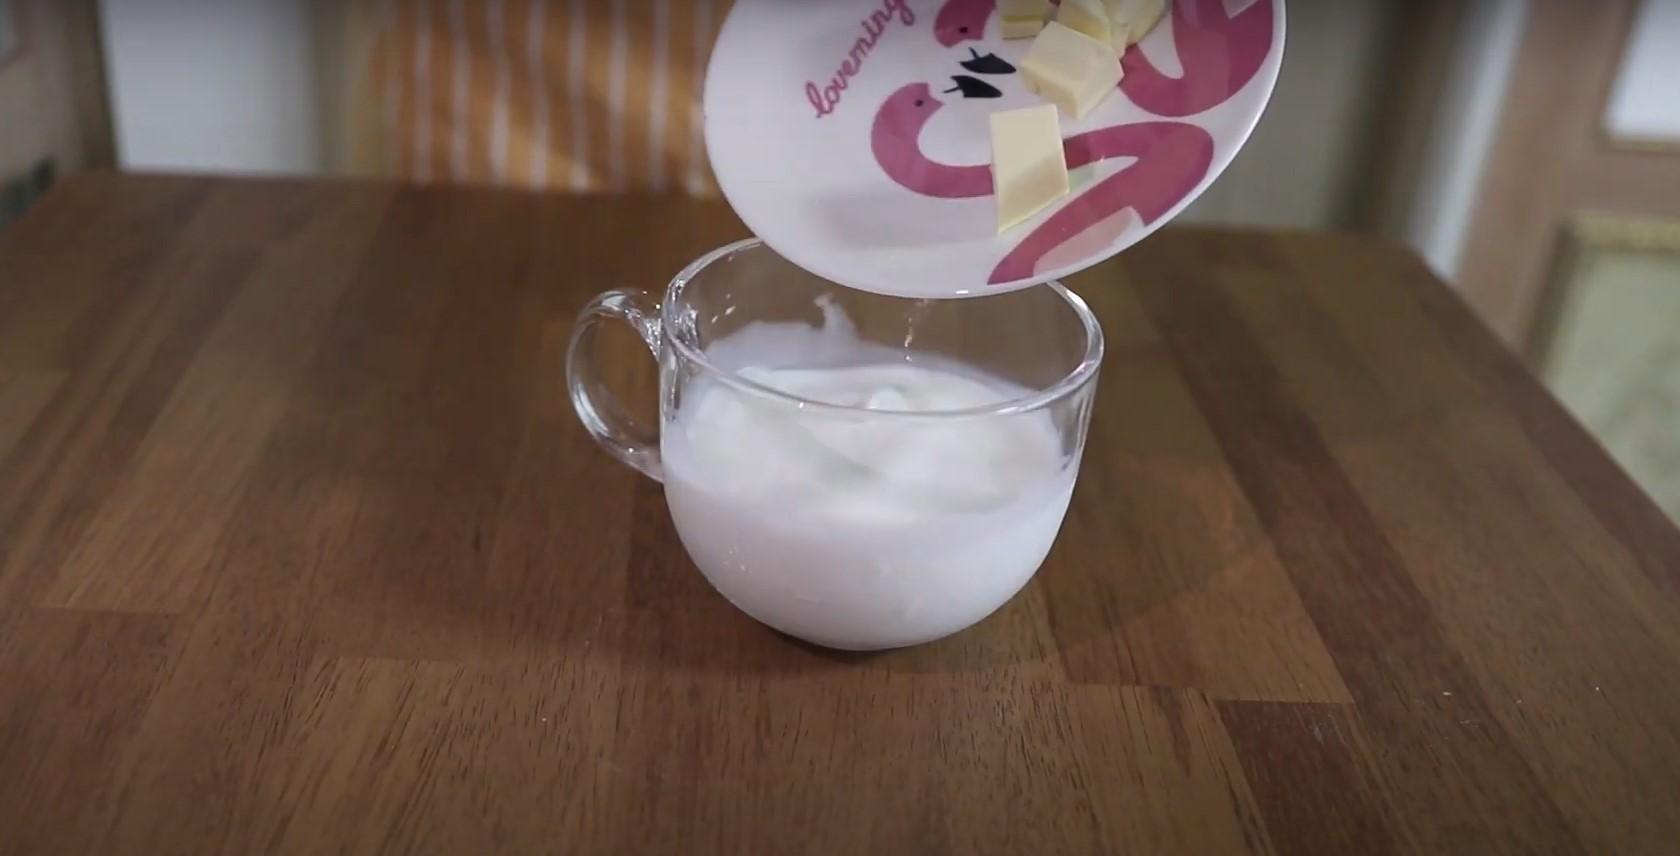
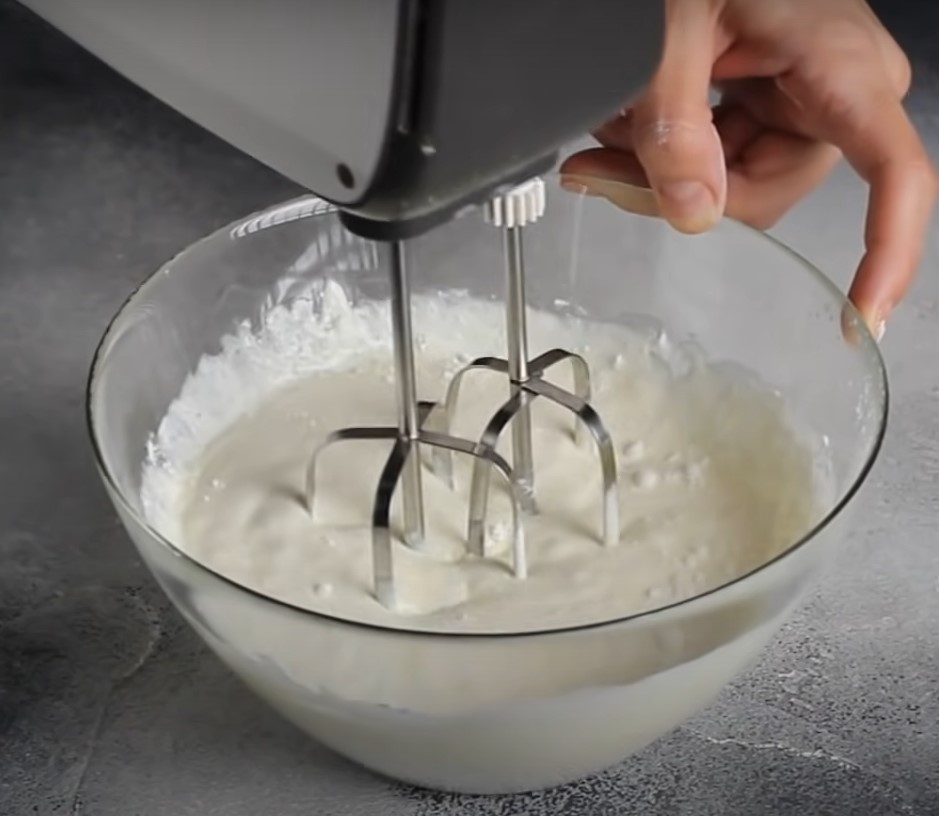
Combine all ingredients in a separate container and mix until smooth and thick.

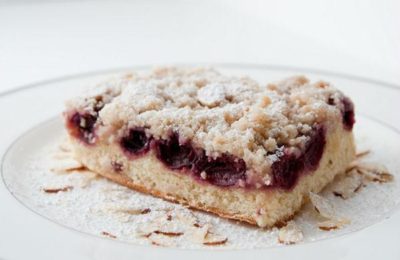
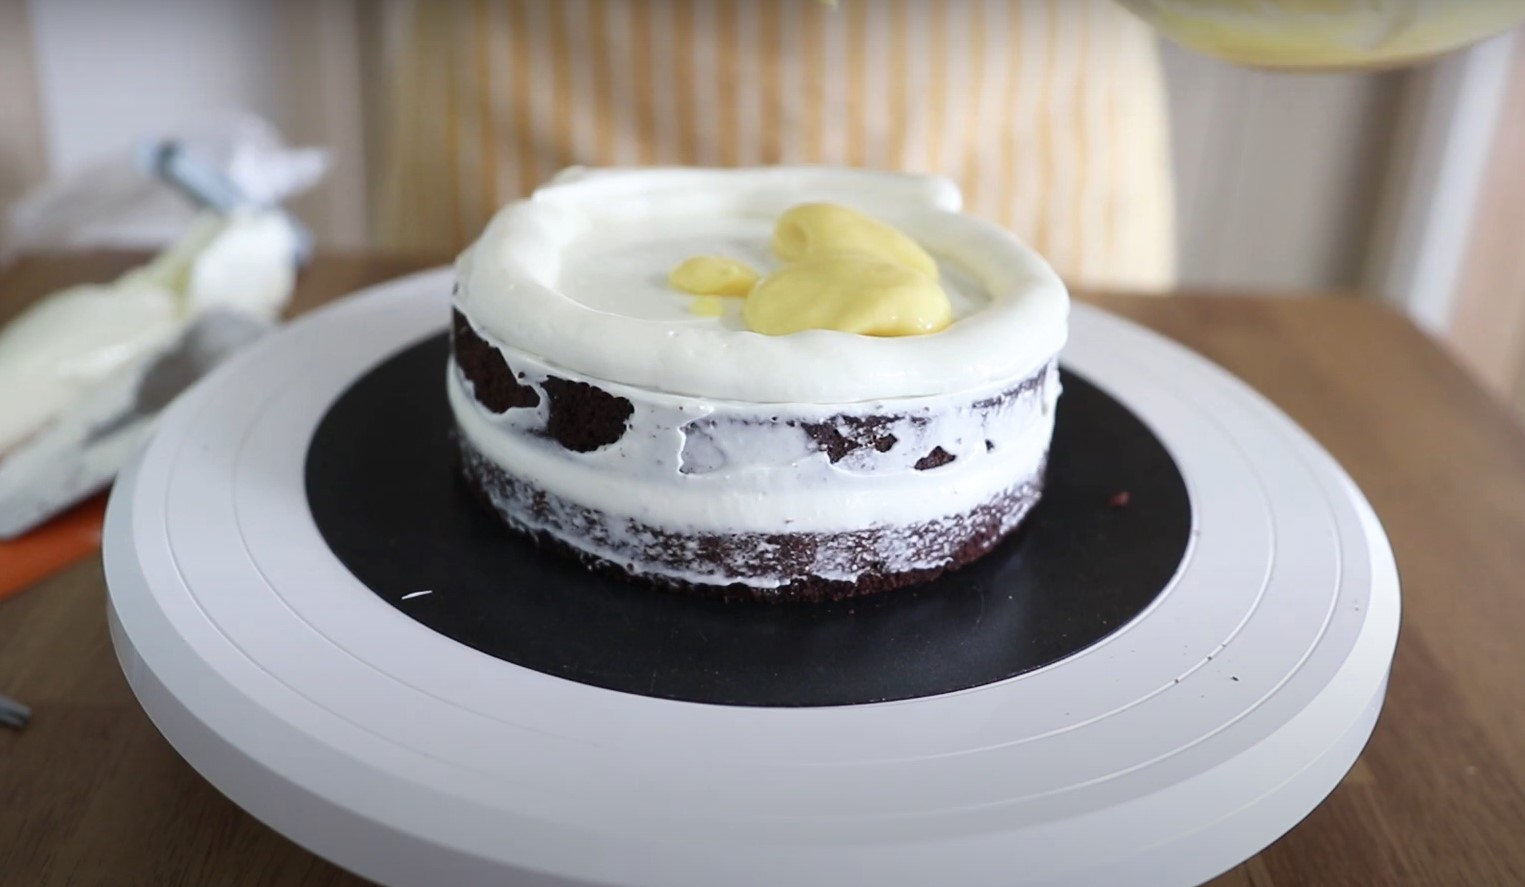
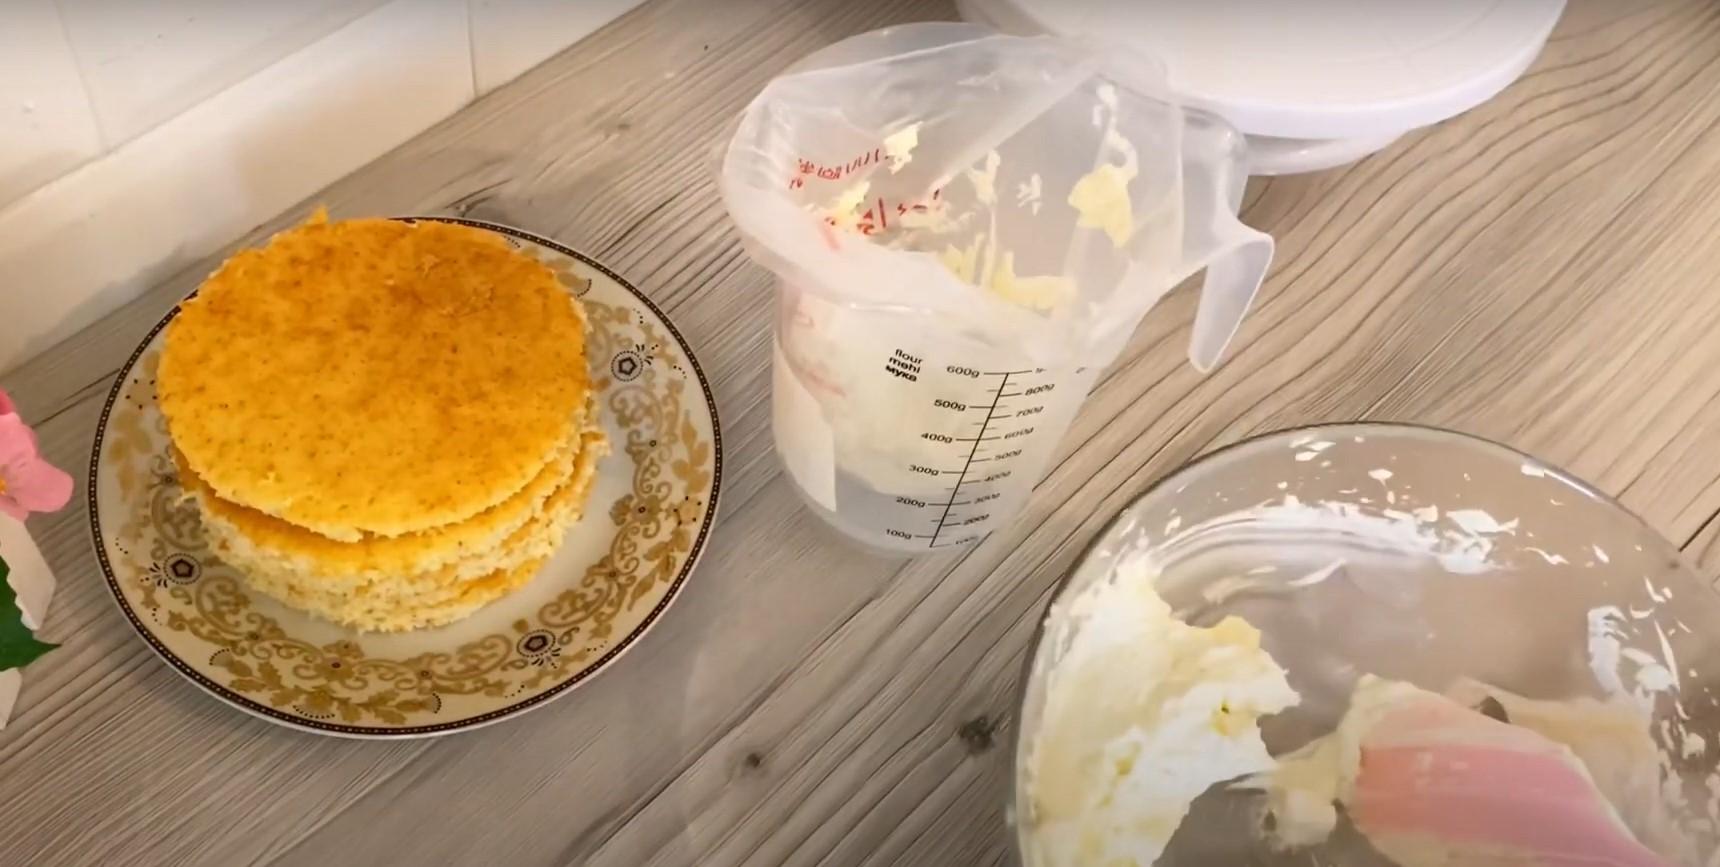
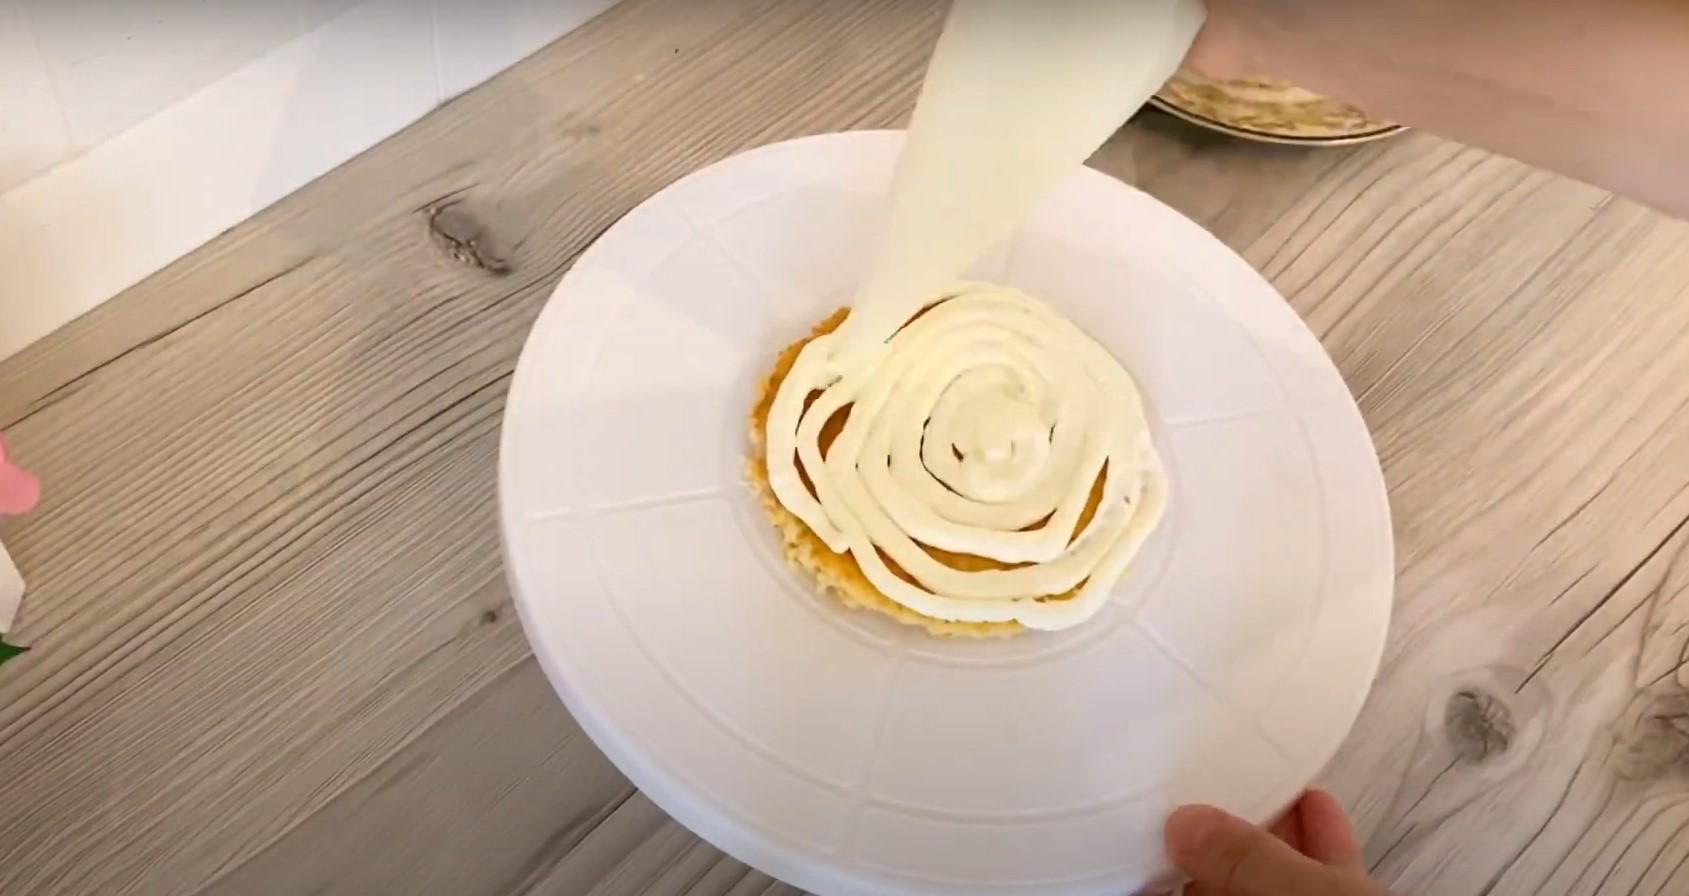
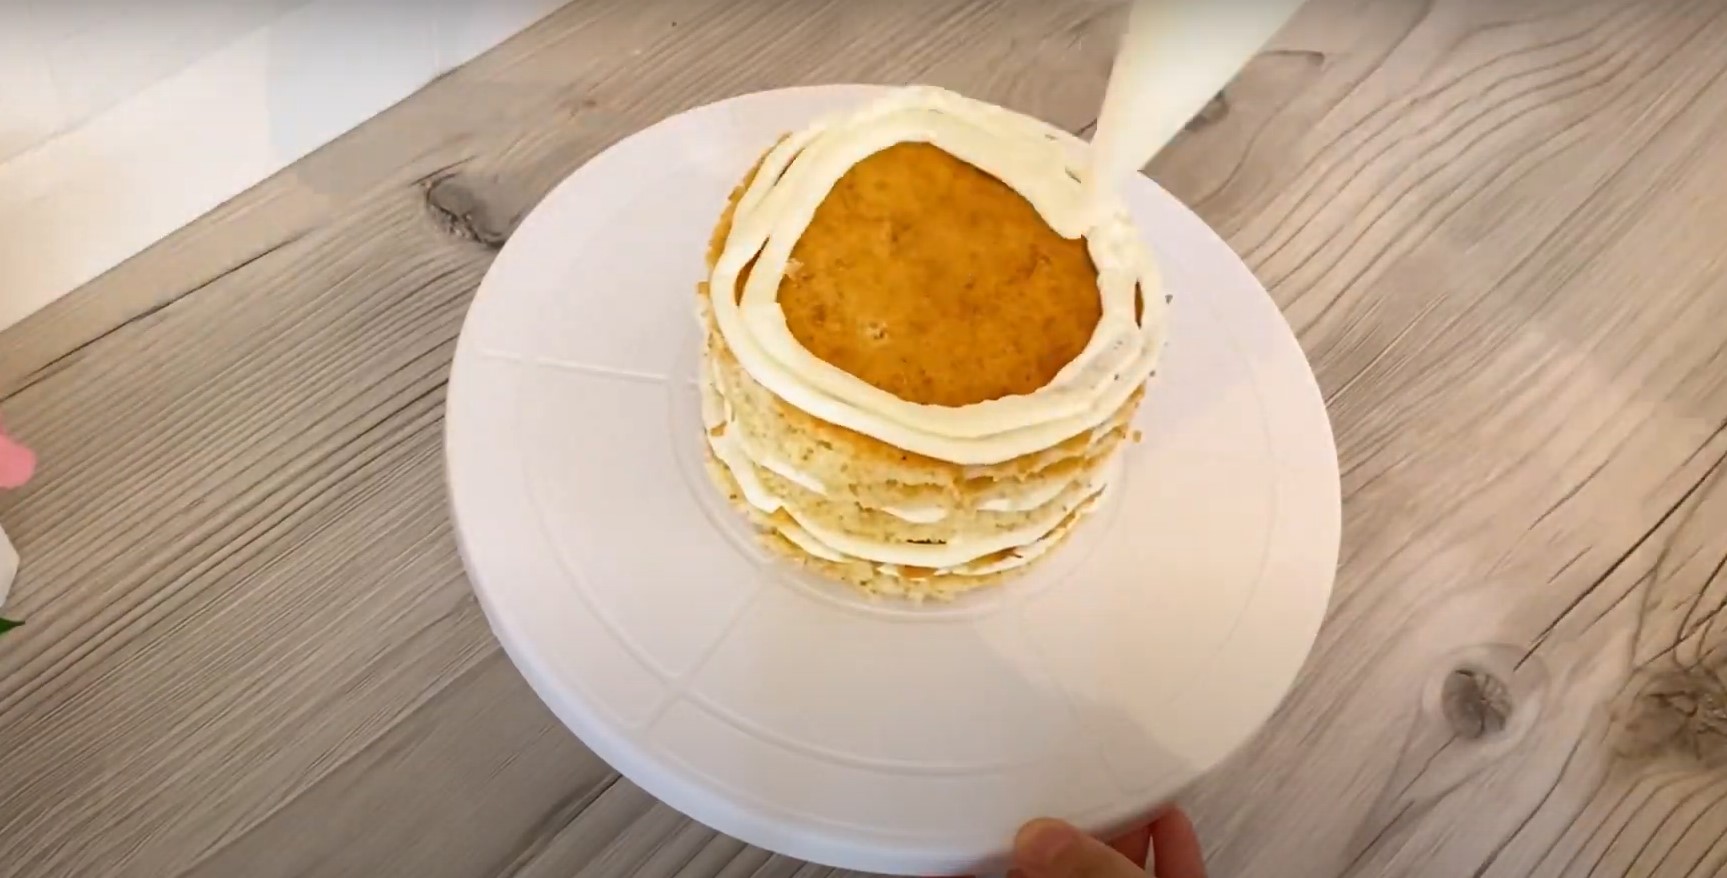
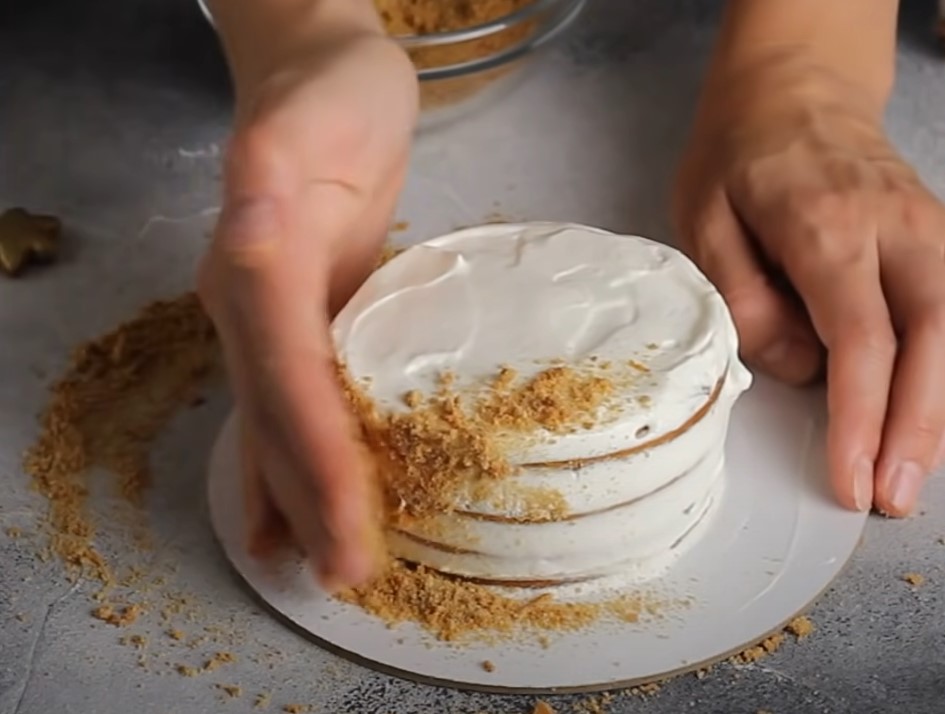
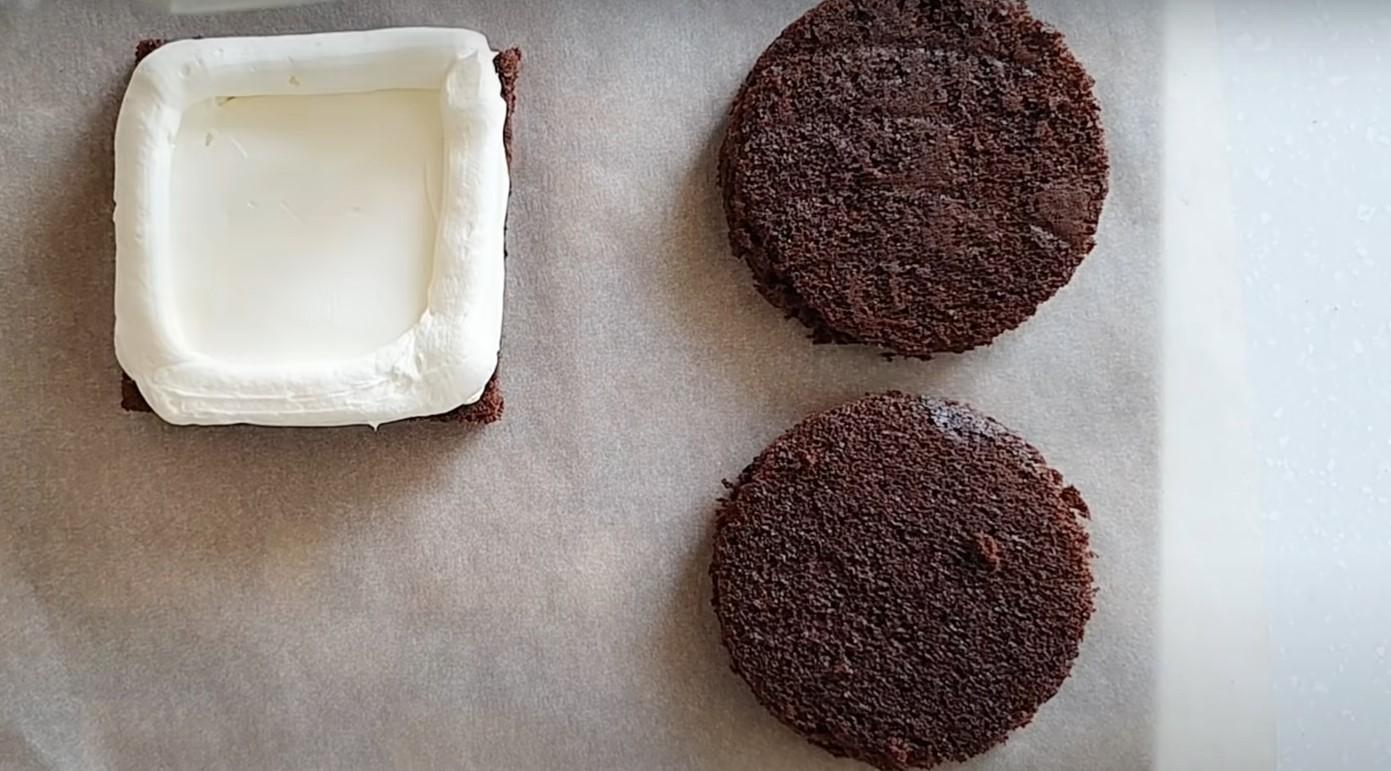
Let's start assembling the cake. Cut the sponge cakes into layers, cut off the top "lid," and crush them into crumbs. Frost each layer with frosting.

Using cream, we form small edges.

Place the cherry filling in the middle.

Cover the top with a sponge cake.

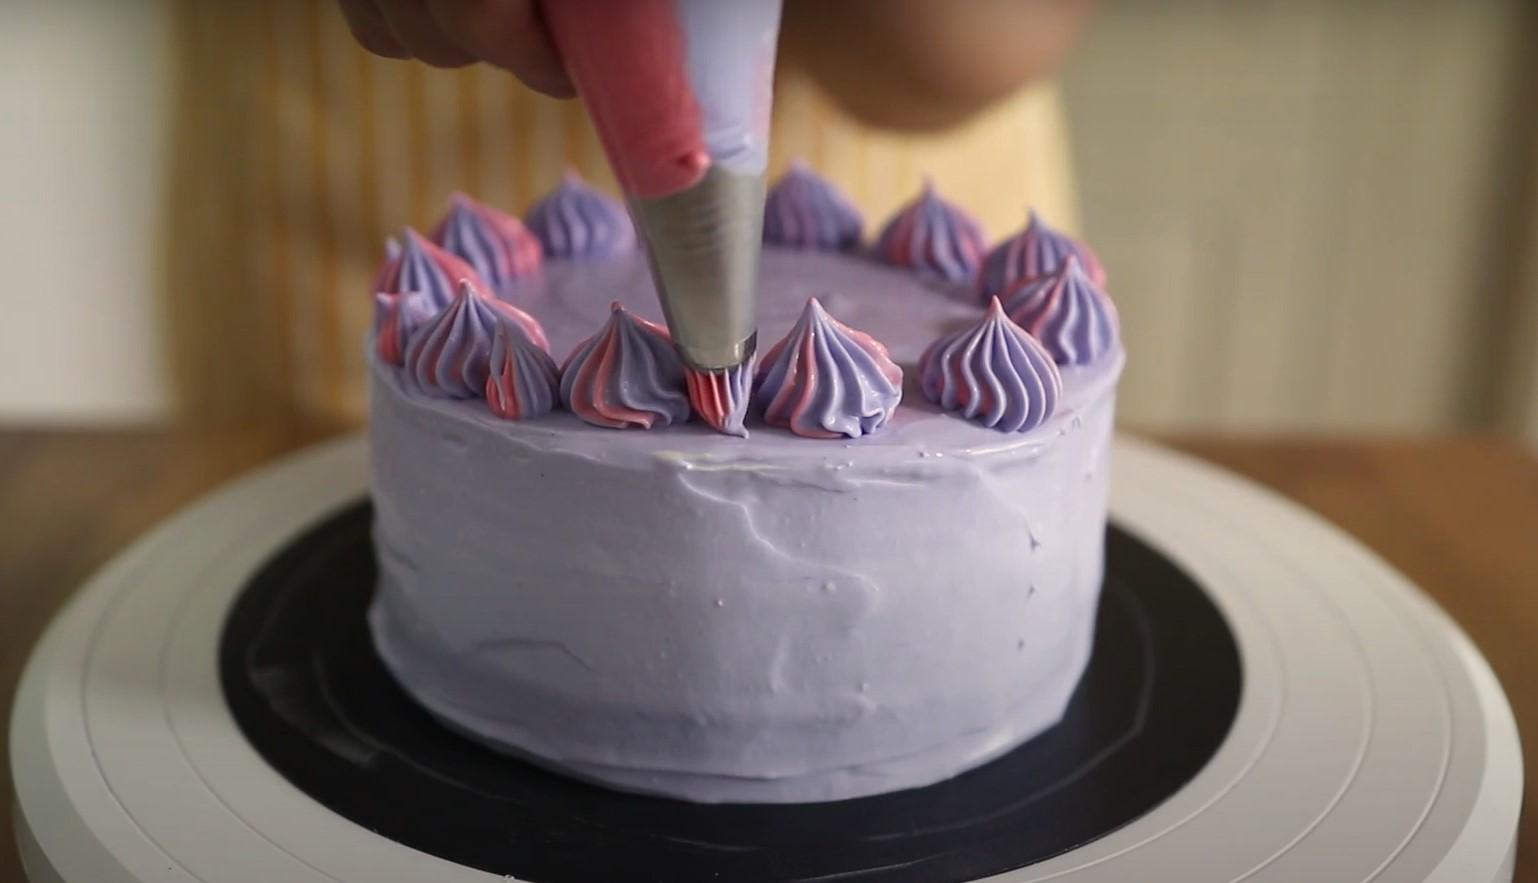
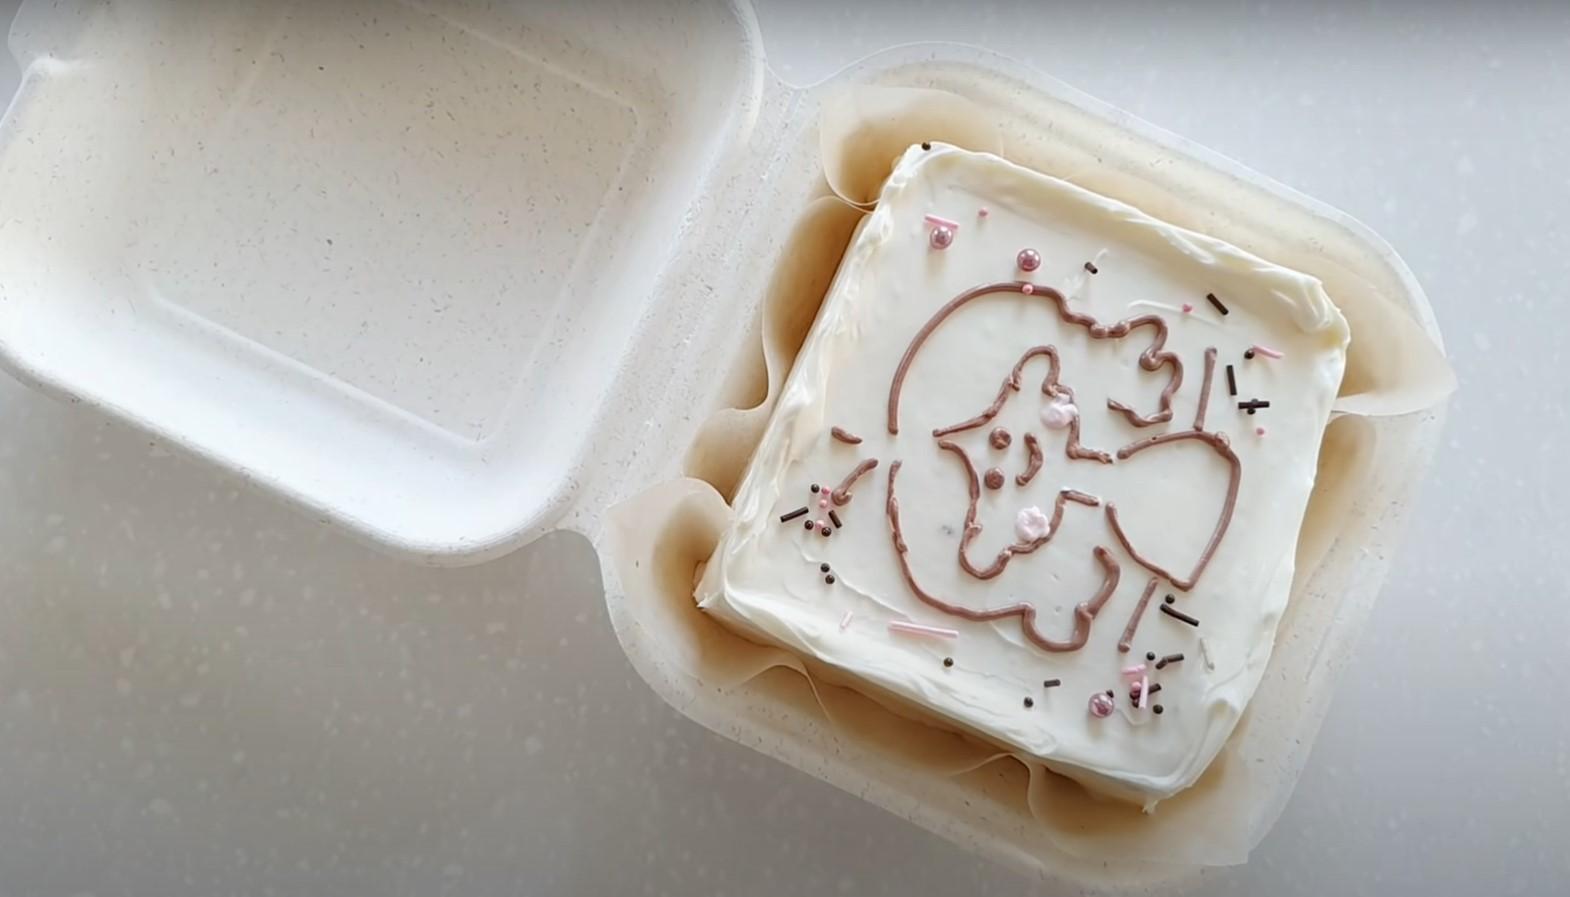
Our cake is ready. Cover its entire surface with the remaining cream.

And decorate with crumbs on top and around the edges.

We put the cake into a special box!
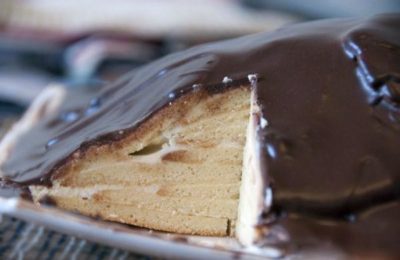
Chocolate bento cake
In this recipe, I'll show you how to make the same small, moist, and delicious cake. But this time, it's a chocolate sponge cake with a simple yet interesting filling of cream cheese and orange curd.
Ingredients
For the biscuit:
- Flour - 170 g
- Cocoa - 35 g
- Sugar - 180 g
- Eggs - 2 pcs.
- Milk - 200 g
- Vegetable oil - 35 g
- Butter - 35 g
- Baking powder - 8 g
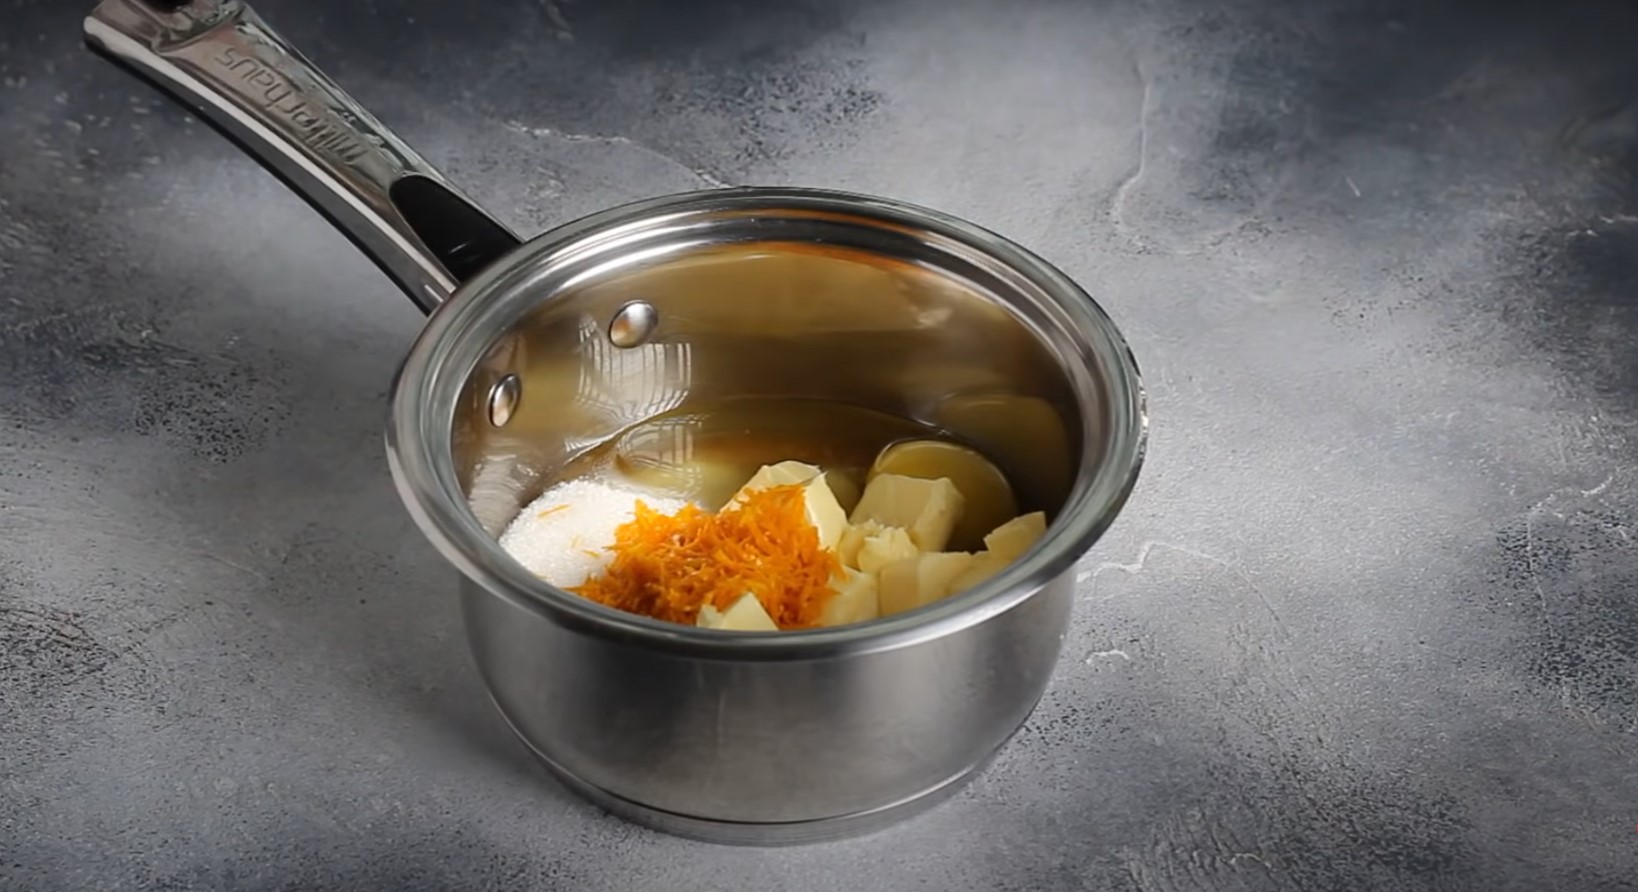
For a Kurd:
- Orange (tangerine, lemon) juice - 50 ml
- Zest of one orange
- Egg - 1 pc.
- Butter - 10 g
- Sugar - 20 g
For the cream:
- Cottage cheese - 250 g
- Cream - 100 ml
- Powdered sugar - 100 g
Cooking time: 60 minutes
Servings: 1
Step-by-step recipe
Step 1
In a separate container, mix all dry ingredients.
Step 2
Separately combine the milk and butter. Heat in the microwave until the butter dissolves.
Step 3
In a small bowl, beat the eggs with sunflower oil using a whisk.
Step 4
Add milk and butter to the egg mixture. Stir until smooth.
Step 5
Combine the dry and liquid mixtures. Whisk until smooth.
Step 6
Pour the batter into a baking pan. Bake in a preheated oven at 170 degrees Celsius for 50-60 minutes. Check for doneness with a toothpick.
Step 7
Let the finished sponge cake cool and remove it from the pan. Wrap it in plastic wrap and refrigerate it for several hours.
Step 8
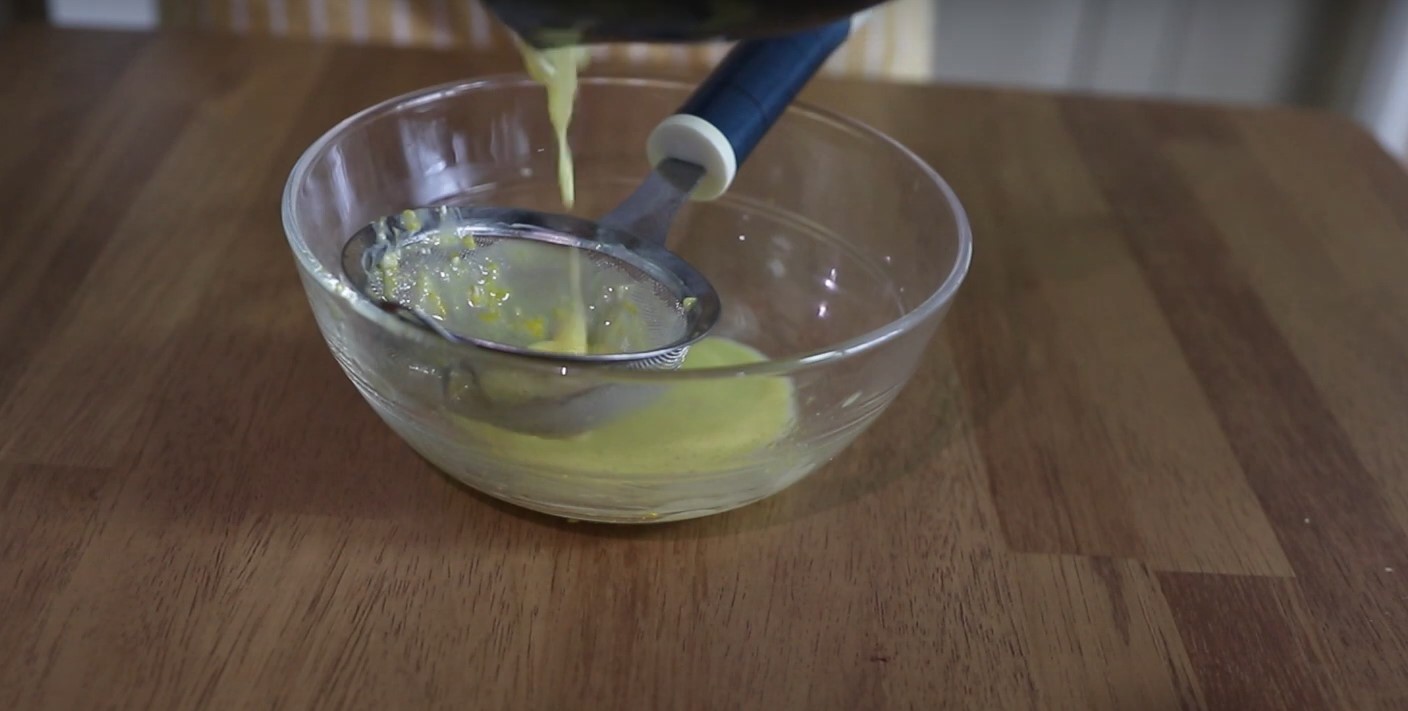
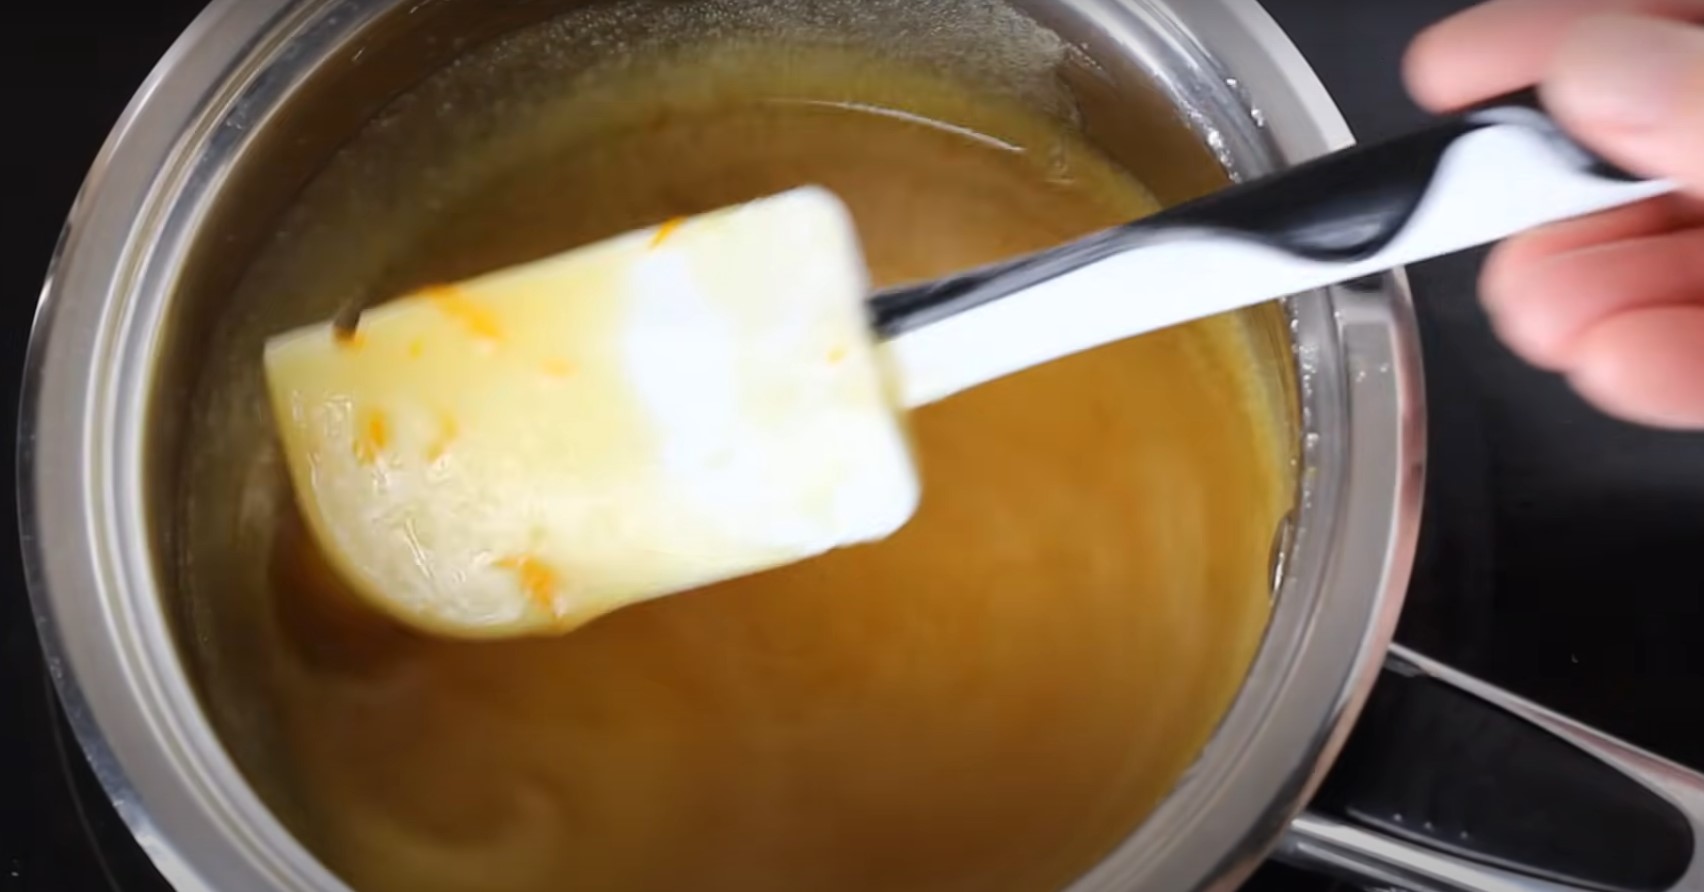
Prepare the curd. Combine all ingredients in a small bowl, pour into a saucepan, and simmer over low heat until thickened, stirring constantly.
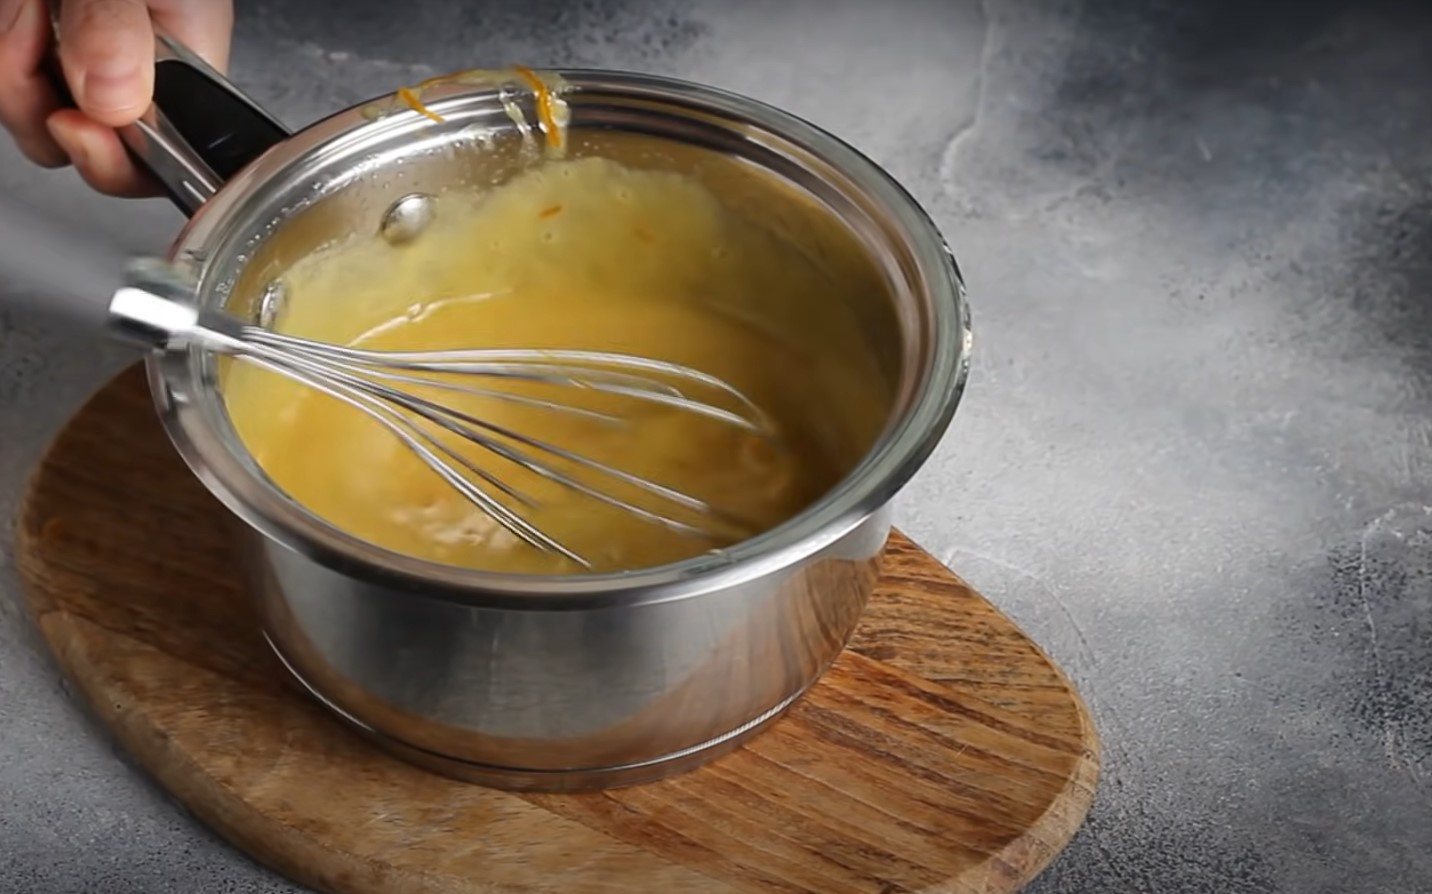
Step 9
Strain the finished curd through a sieve to remove any zest or lumps. Cover with plastic wrap and refrigerate until completely cool.
Step 10
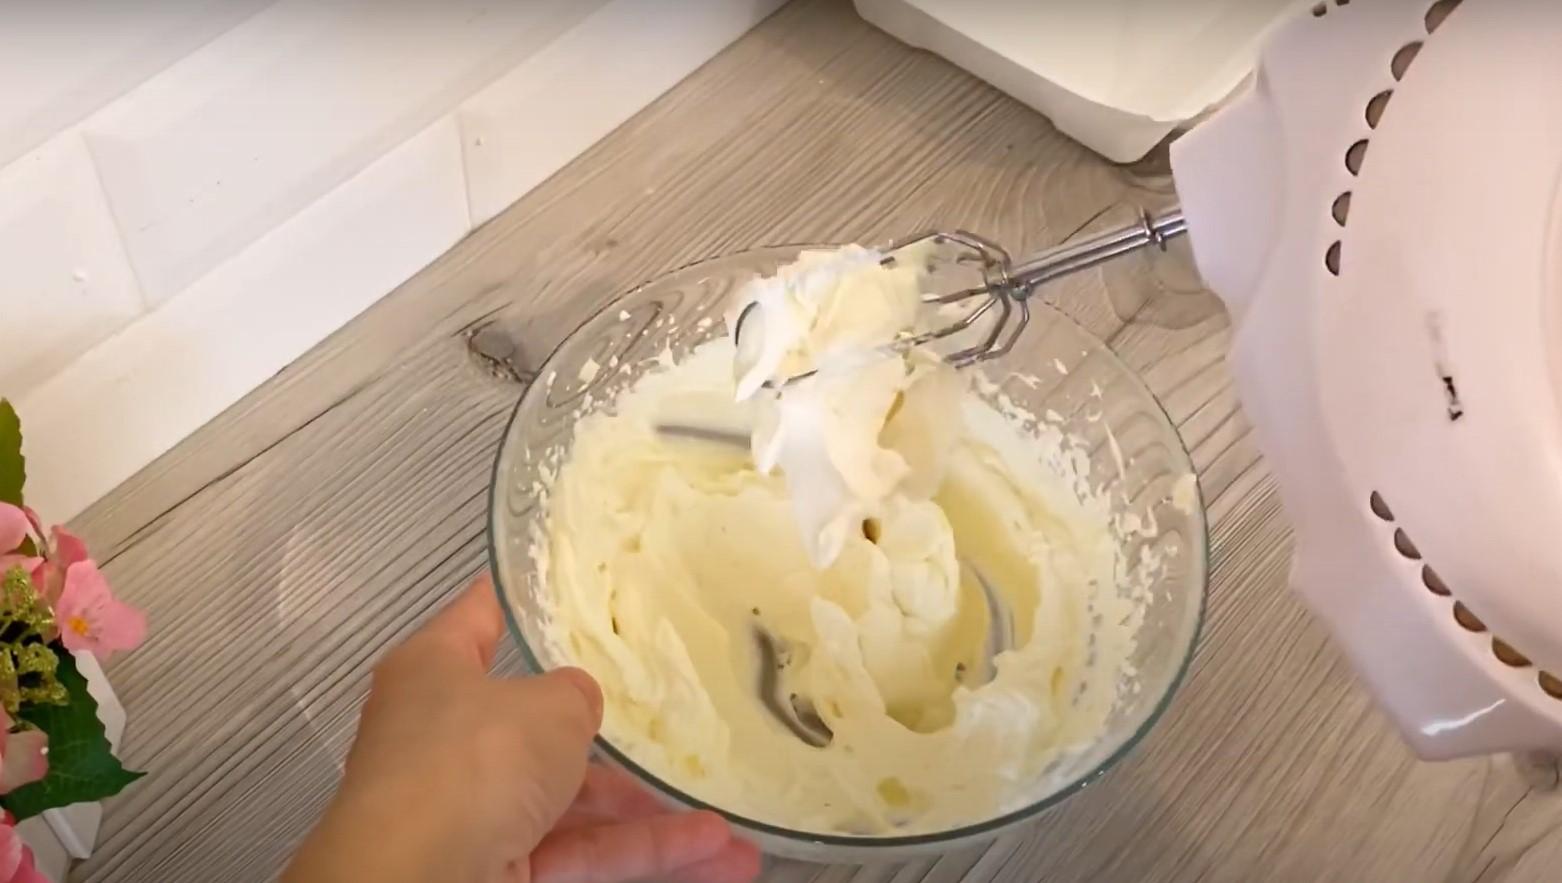
Prepare the cream. Combine all ingredients in a deep bowl and beat with a mixer until smooth and thick. Cover the cream with plastic wrap and refrigerate.
Step 11
Let's begin assembling the cake. Cut the sponge cake into small layers and smooth out the sides. Cover the first layer with a fairly thick layer of frosting, then top with the second layer. Spread another generous layer of frosting, creating a border around the edges for the curd. Top with the third layer. Decorate the cake as desired. You can add gel food coloring to the frosting and decorate with a pastry bag fitted with tips.

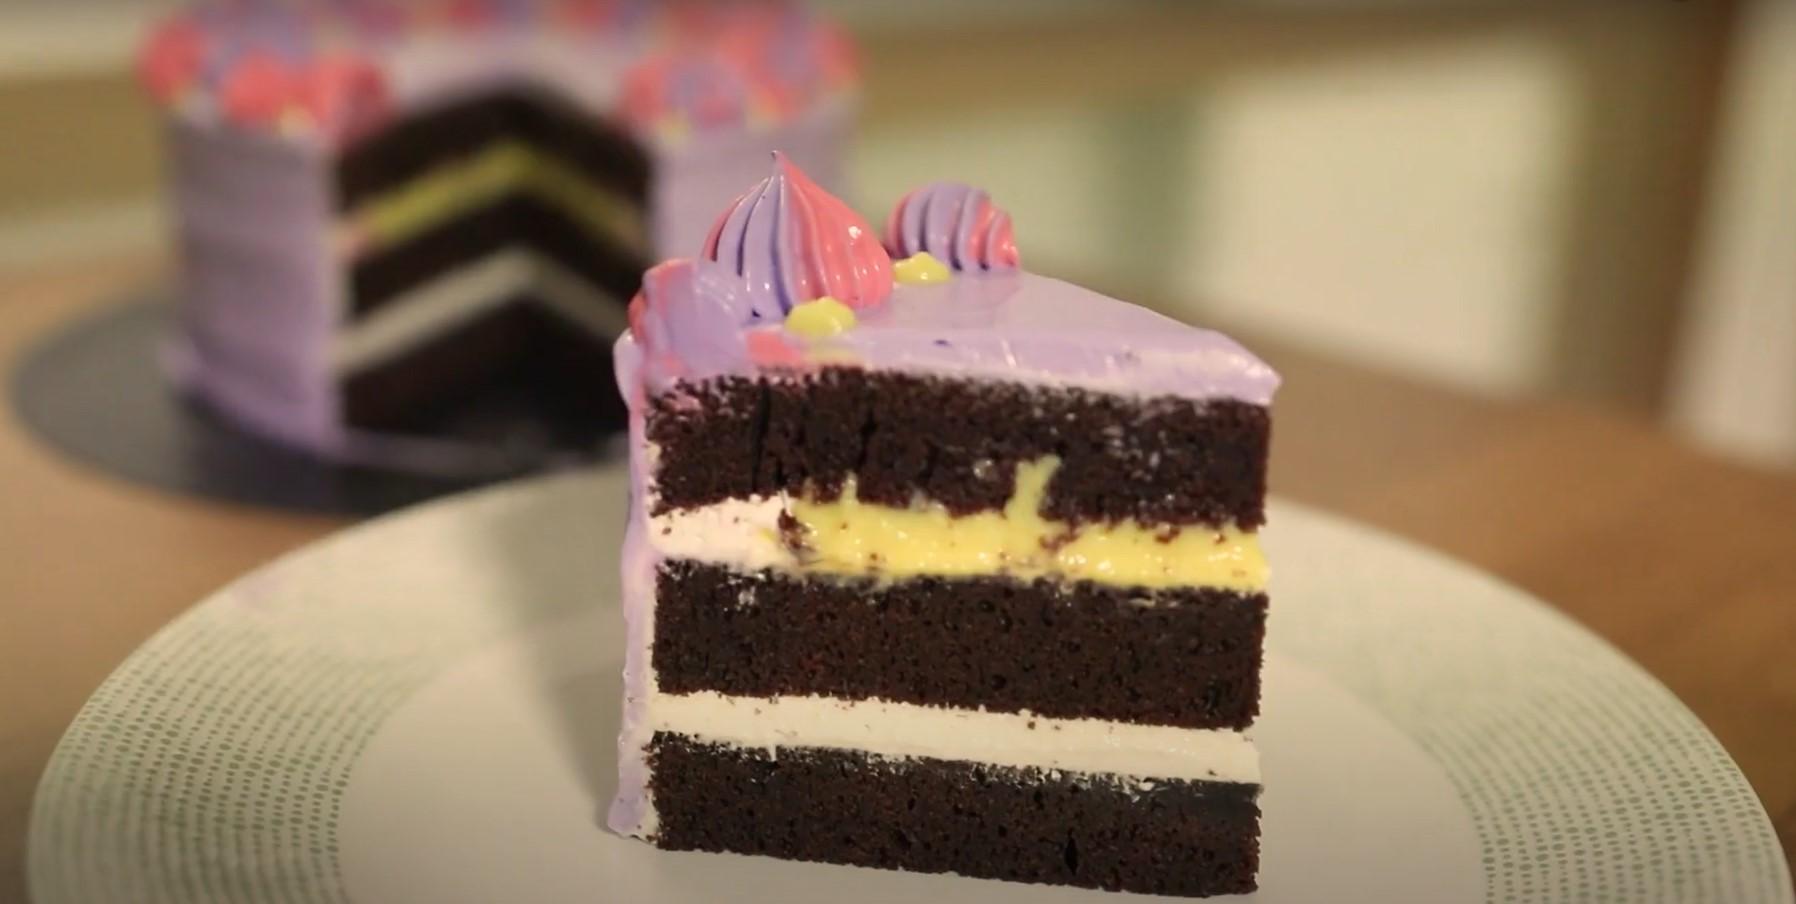
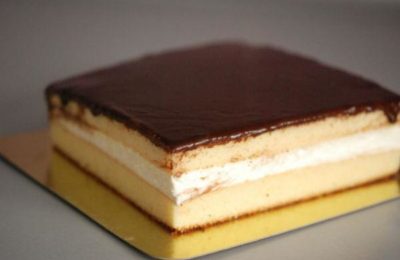
Bento cake with chocolate sponge cake turns out very tasty and, in addition, looks impressive when cut.
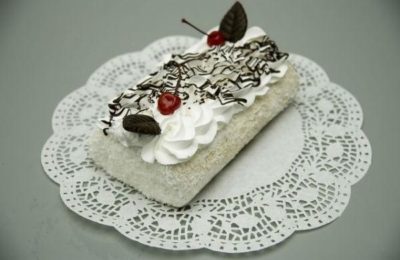
Milk Girl Bento Cake
The "Milk Girl" cake is very tender and delicious, and it's quick and easy to make. The moist layers with a creamy, cottage cheese filling make a great base for a bento cake. I'm sharing the recipe and a decoration option for the finished cake.

Ingredients
For the cakes:
- Condensed milk - 300 g
- Eggs - 2 pcs.
- Flour - 120 g
- Baking powder - 5 g
For the cream:
- Cottage cheese - 300 g
- Cream (fat content not less than 33%) - 150 g
- Powdered sugar - 50 g
Cooking time: 60 minutes
Servings: 1
Step-by-step recipe
Step 1
Place the condensed milk in a deep container. Add baking powder.
Step 2
Add flour and beat in eggs.
Step 3
Beat with a mixer until smooth.
Step 4
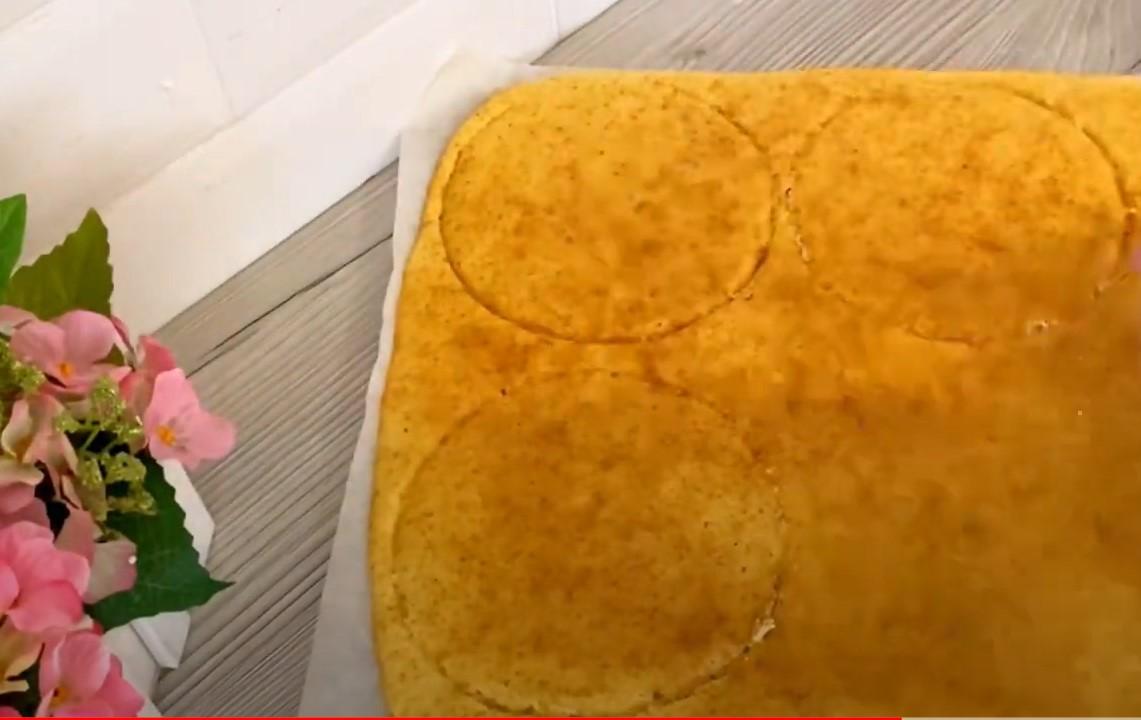
Pour the prepared dough onto a parchment-lined baking sheet and use a spatula to spread it evenly over the entire surface. Bake the crust in the oven at 180 degrees Celsius for 10-12 minutes.
Step 5
Prepare the cream cheese. Combine the cream cheese, powdered sugar, and heavy cream in a bowl and beat with a mixer until smooth and fluffy.
Step 6
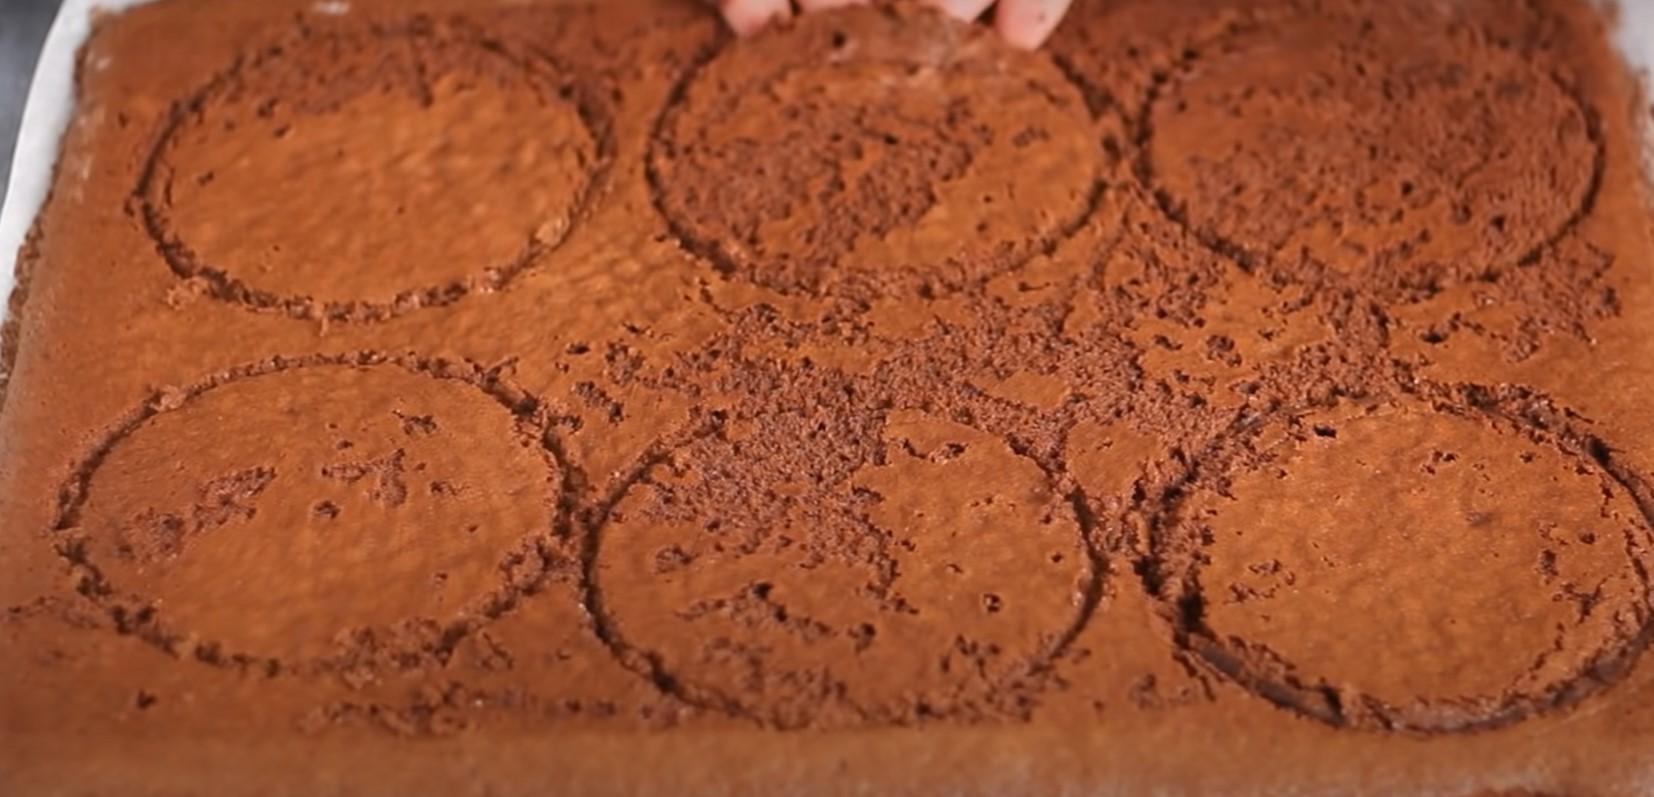
Cool the finished cake layer slightly and press out circles with a diameter of 10-12 cm onto its surface. This makes 5 cake layers.
Step 7
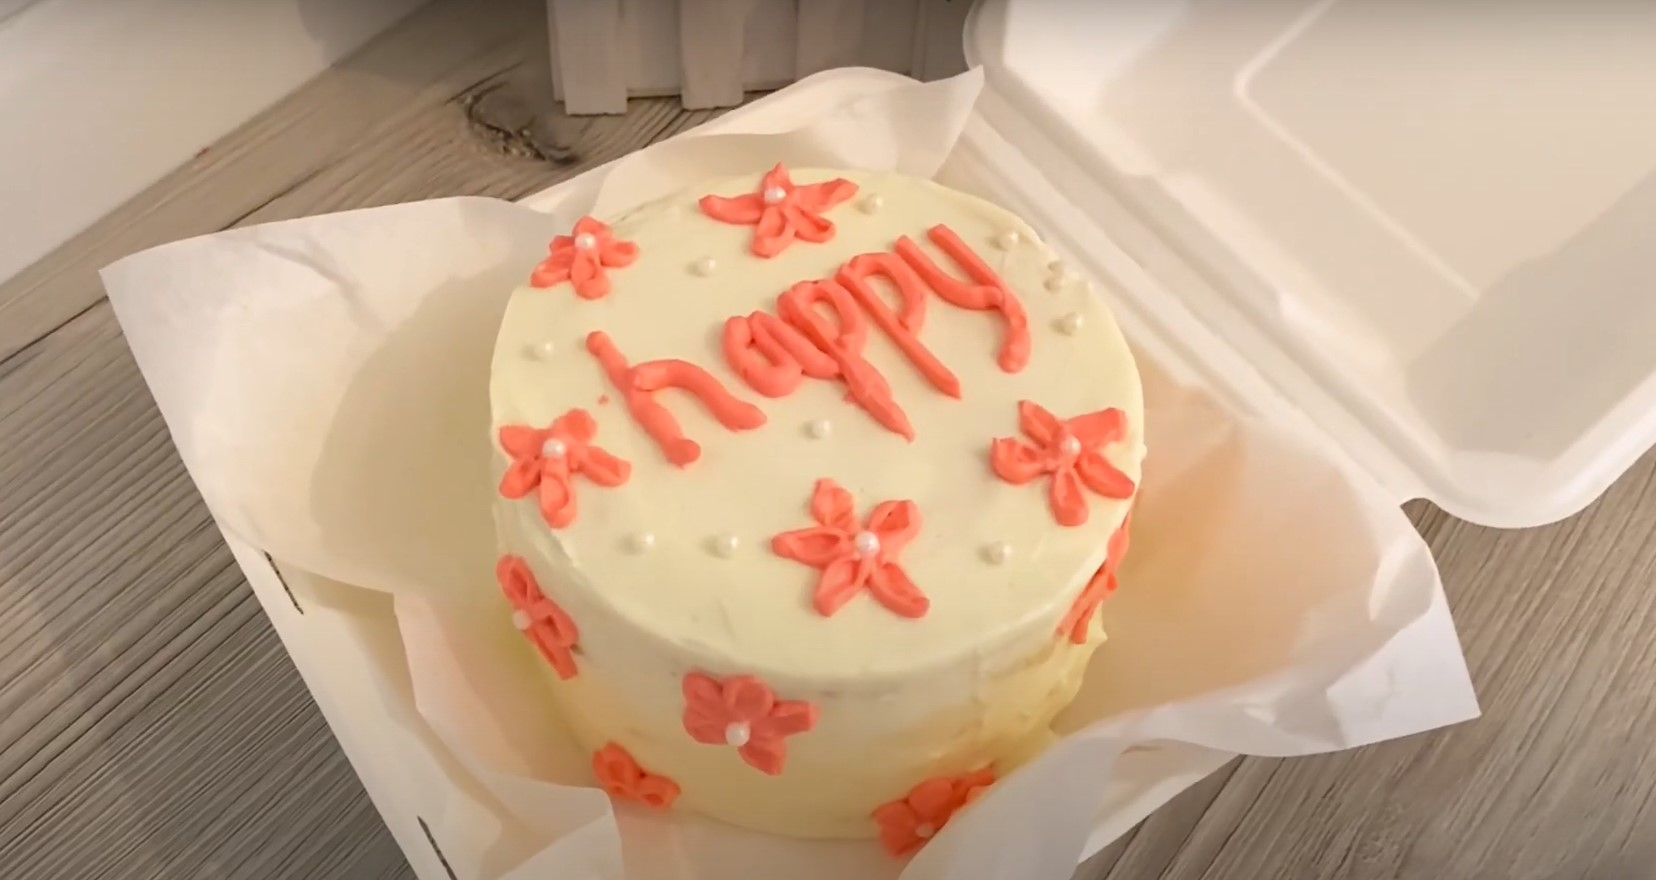
Transfer the cream to a pastry bag and begin assembling the bento cake. Frost the layers one at a time with cream. Top with a thin layer of cream and decorate as desired. For example, color a small amount of cream and use a pastry bag to draw flowers and an optimistic "happy" message.
Bento cake "Honey cake"
We continue our exploration of various bento cake variations. In this recipe, I'll show you how to make a honey version of this popular dessert. This version will appeal to all lovers of honey cakes with light sour cream, and interesting decoration options make it a sweet gift for family and friends.
Ingredients
For the cakes:
- Flour - 400-430 g
- Eggs - 2 pcs.
- Sugar - 150 g
- Honey - 120 g
- Butter - 80 g
- Zest of one orange
- Baking soda - 1.5 tsp.
- Cinnamon - 2 tsp.
For the cream:
- Sour cream 25% - 300 g
- Cream 33-35% - 200 g
- Powdered sugar - 60 g
Cooking time: 60 minutes
Servings: 7-8 bento cakes
Step-by-step recipe
Step 1
Add cinnamon to the sifted flour and mix until smooth.
Step 2
Separately, in a saucepan, mix honey, butter, eggs, sugar, and orange zest.
Step 3
Stir and place over low heat. Stir constantly until the mixture is smooth. Remove from heat immediately once the butter and sugar have melted.
We make sure that the mixture does not overheat, as the eggs included in it may curdle.
Step 4
While the mixture is still hot, add baking soda and stir quickly. The mixture should lighten in color and expand slightly.
Step 5
Pour the liquid mixture into a deep bowl and gradually add the flour and cinnamon. Mix thoroughly until smooth.
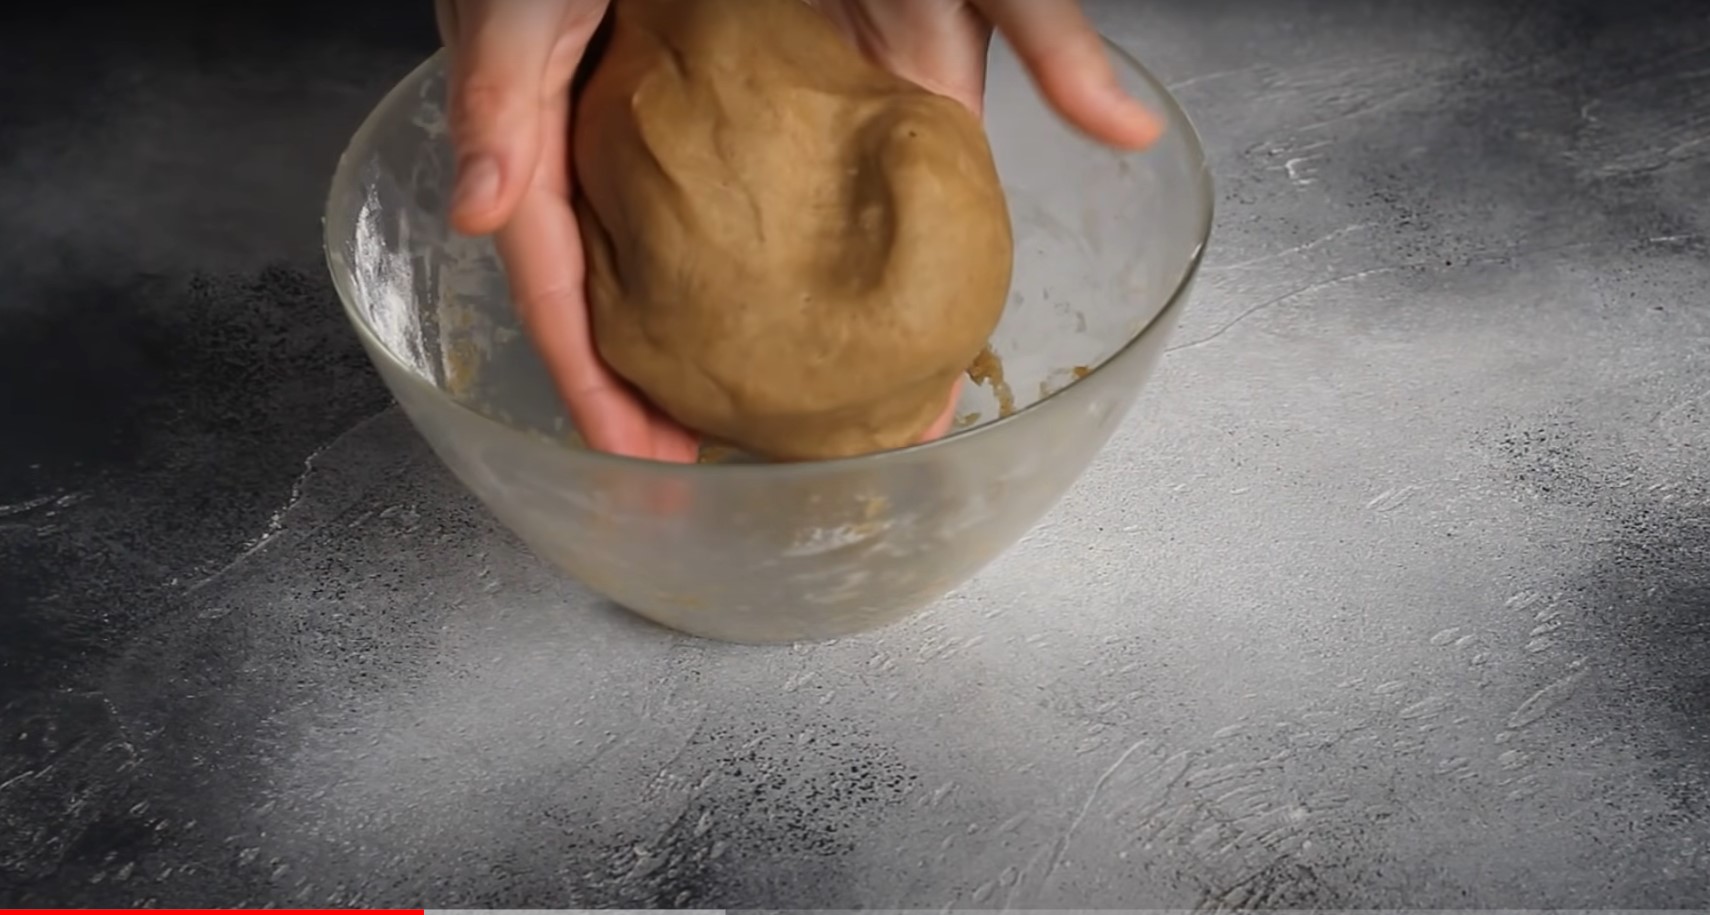
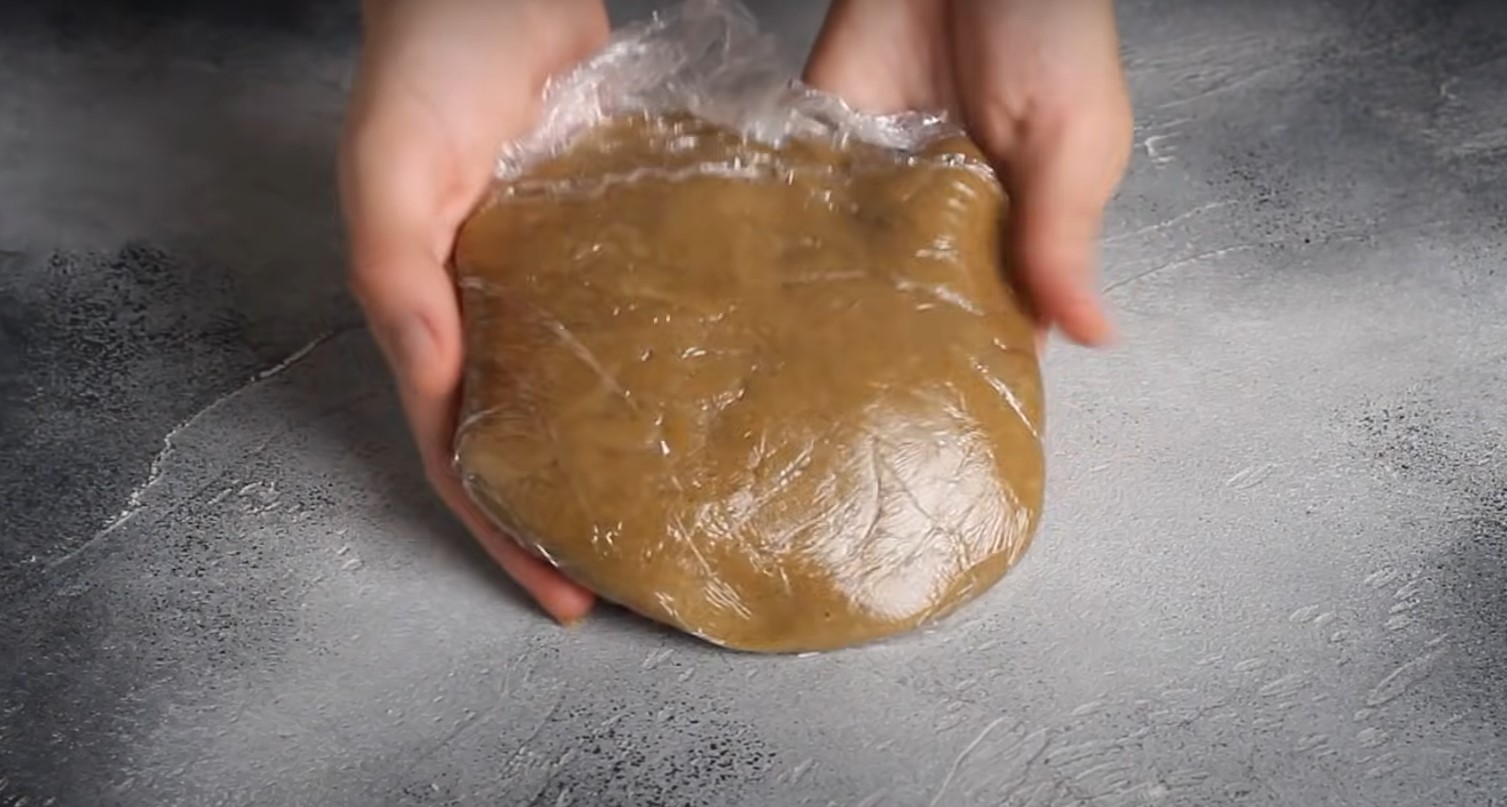
The dough should be soft, elastic, and barely sticky. If it's too sticky, try adding flour a little at a time. Be careful not to overwork the dough and overwork it.
Step 6
Wrap the finished dough in cling film and let it rest in the refrigerator for 30-40 minutes.
Step 7
Remove the dough from the refrigerator and begin rolling it out. Lightly dust the rolling pin and surface with flour to prevent sticking. Roll it out thinly.
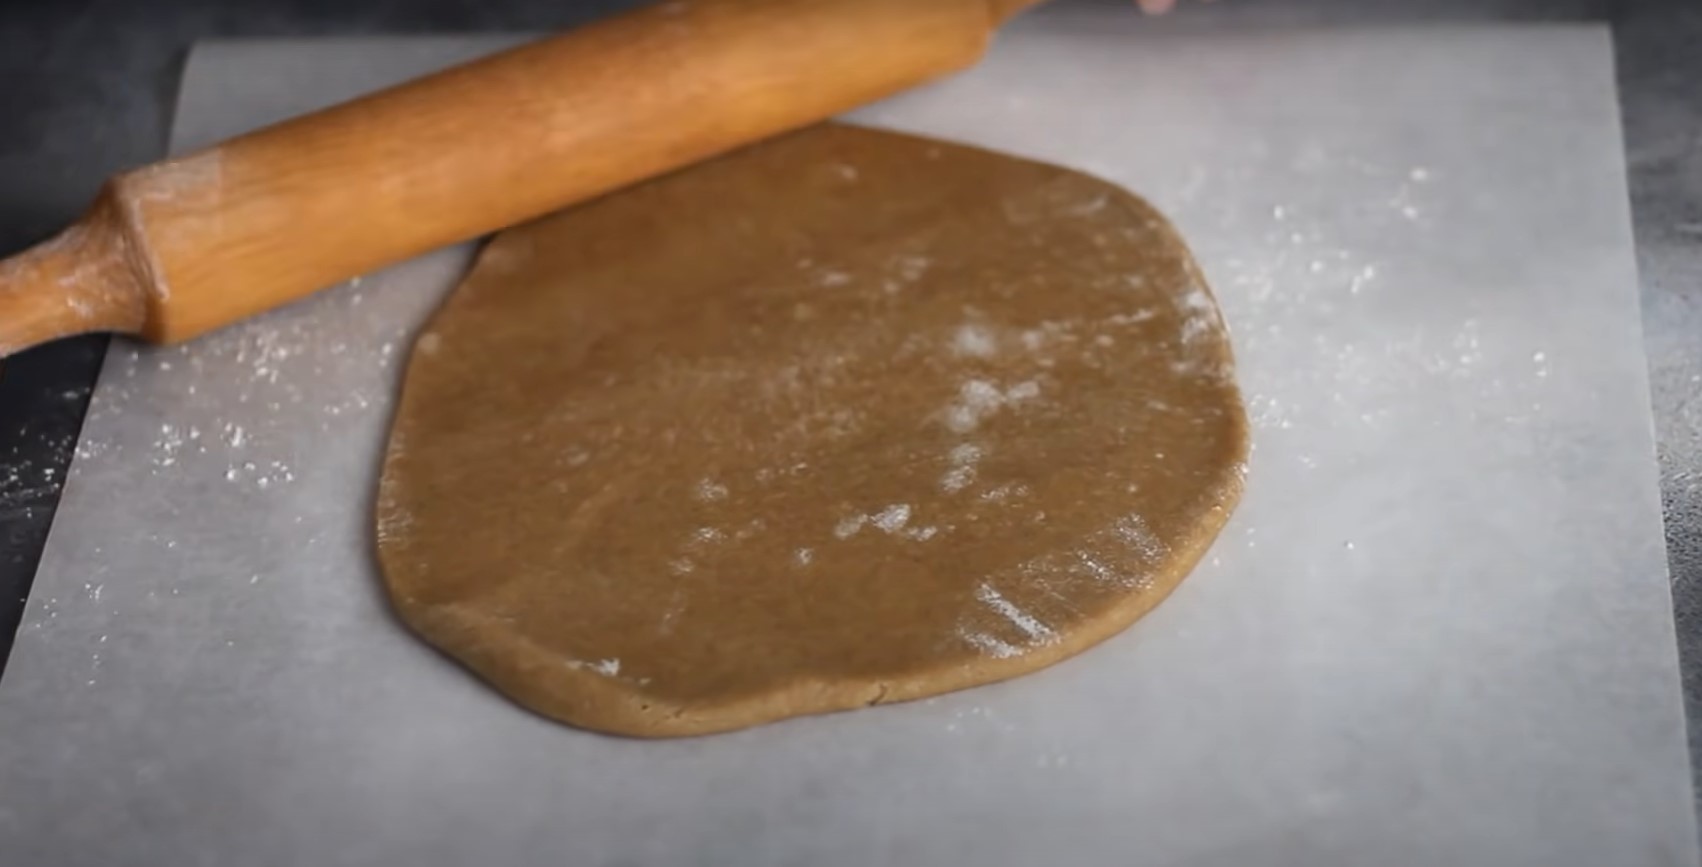
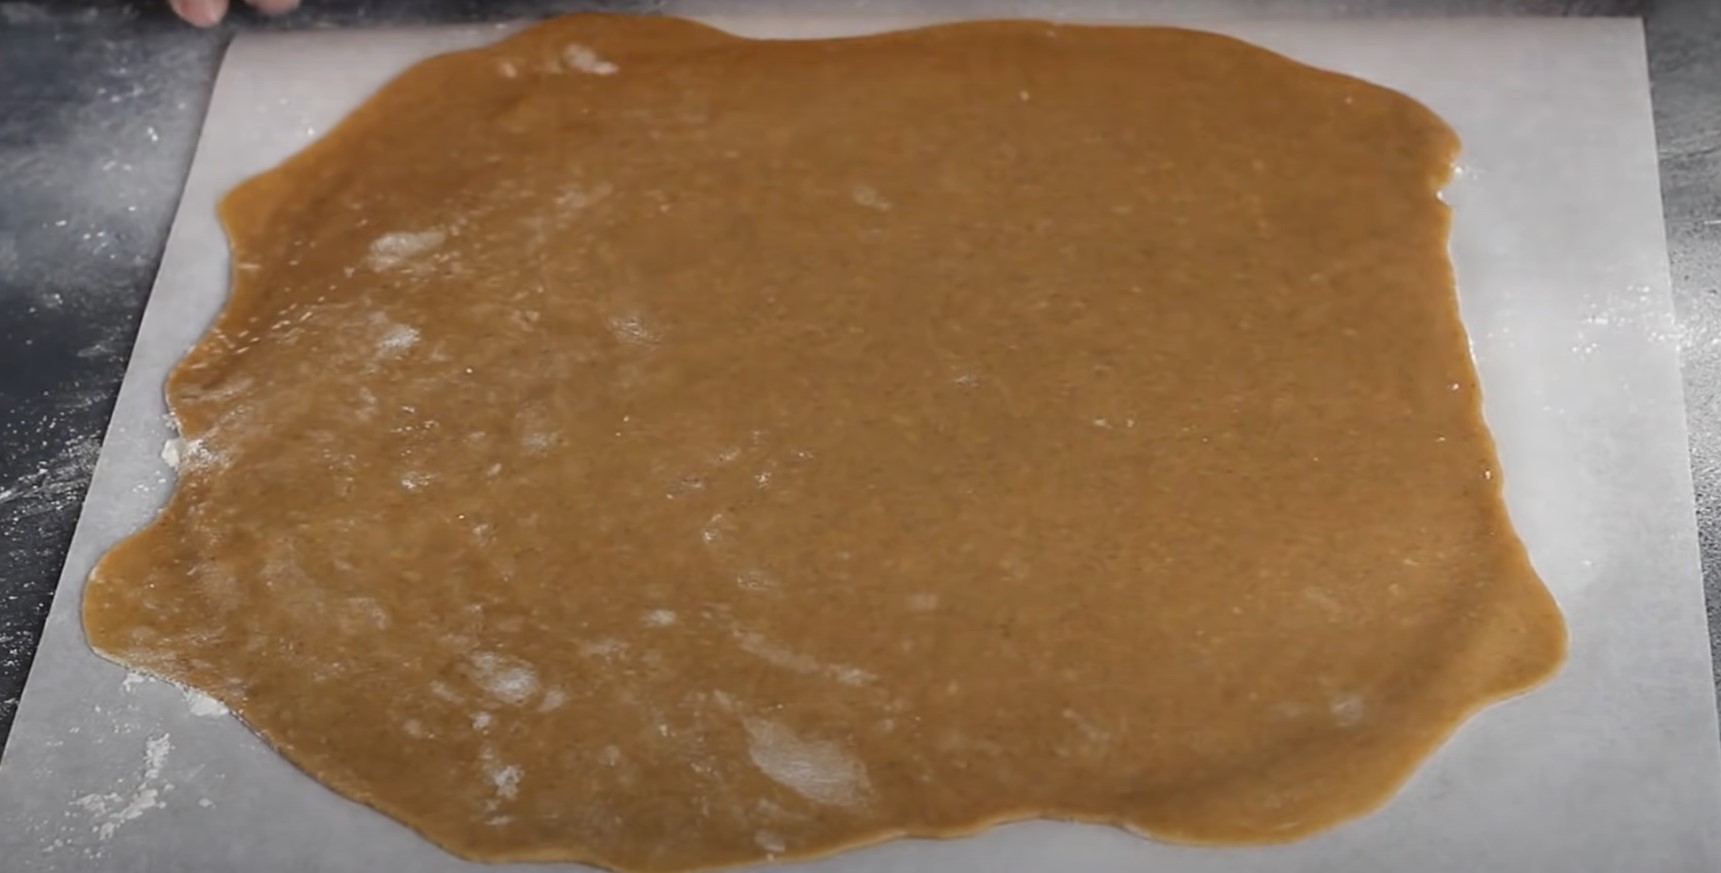
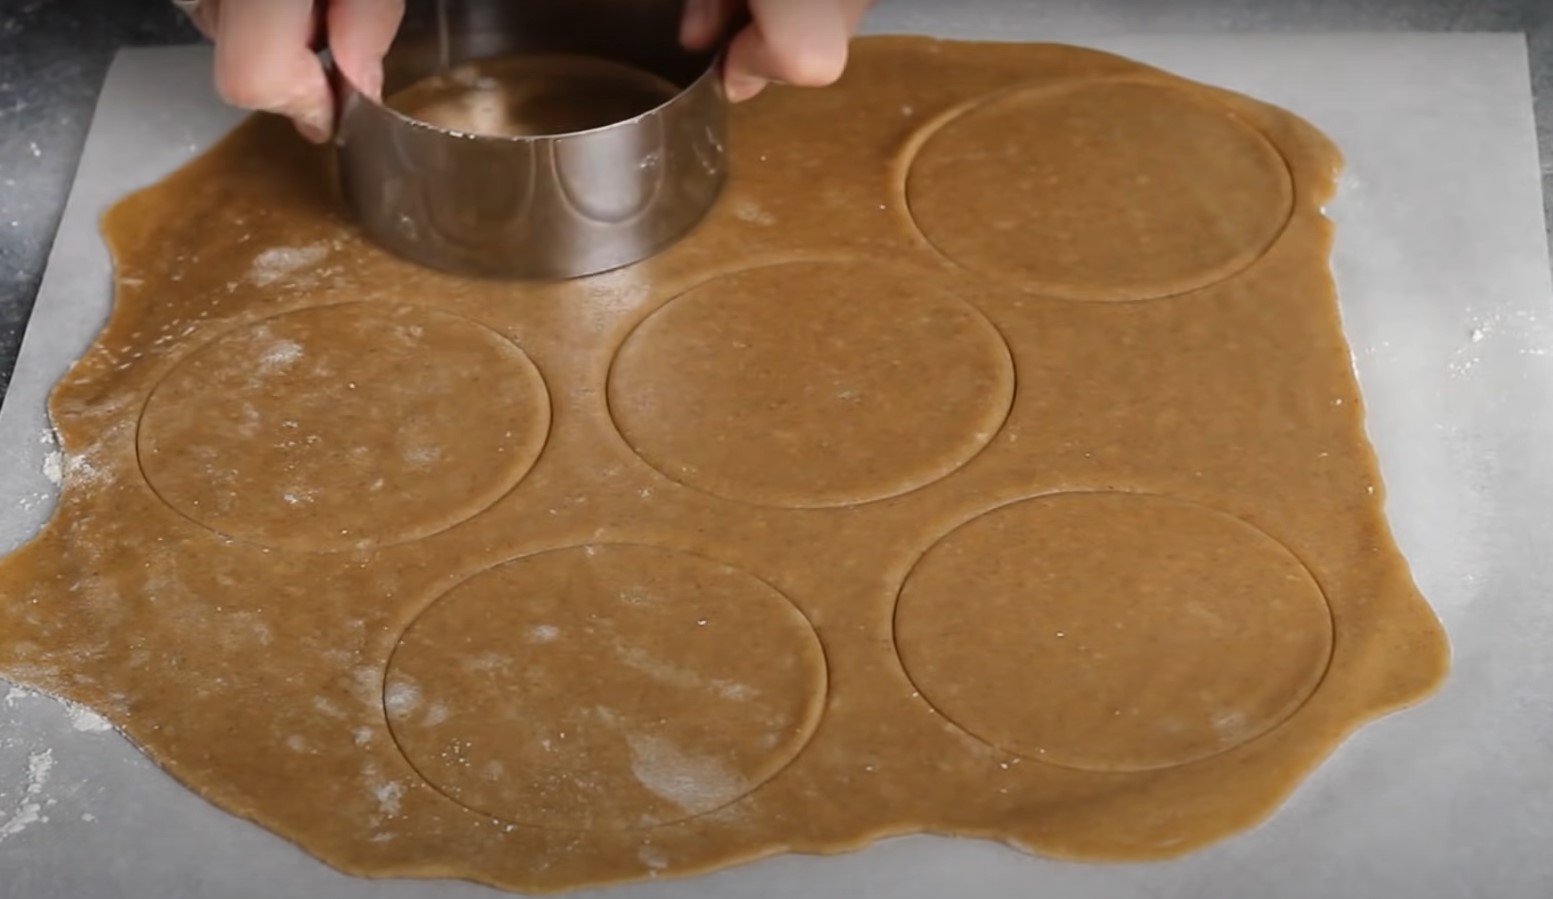
Step 8
Cut out circles with a diameter of 10 cm from the dough. You can use a metal ring or a plate of a suitable diameter as a cutter.
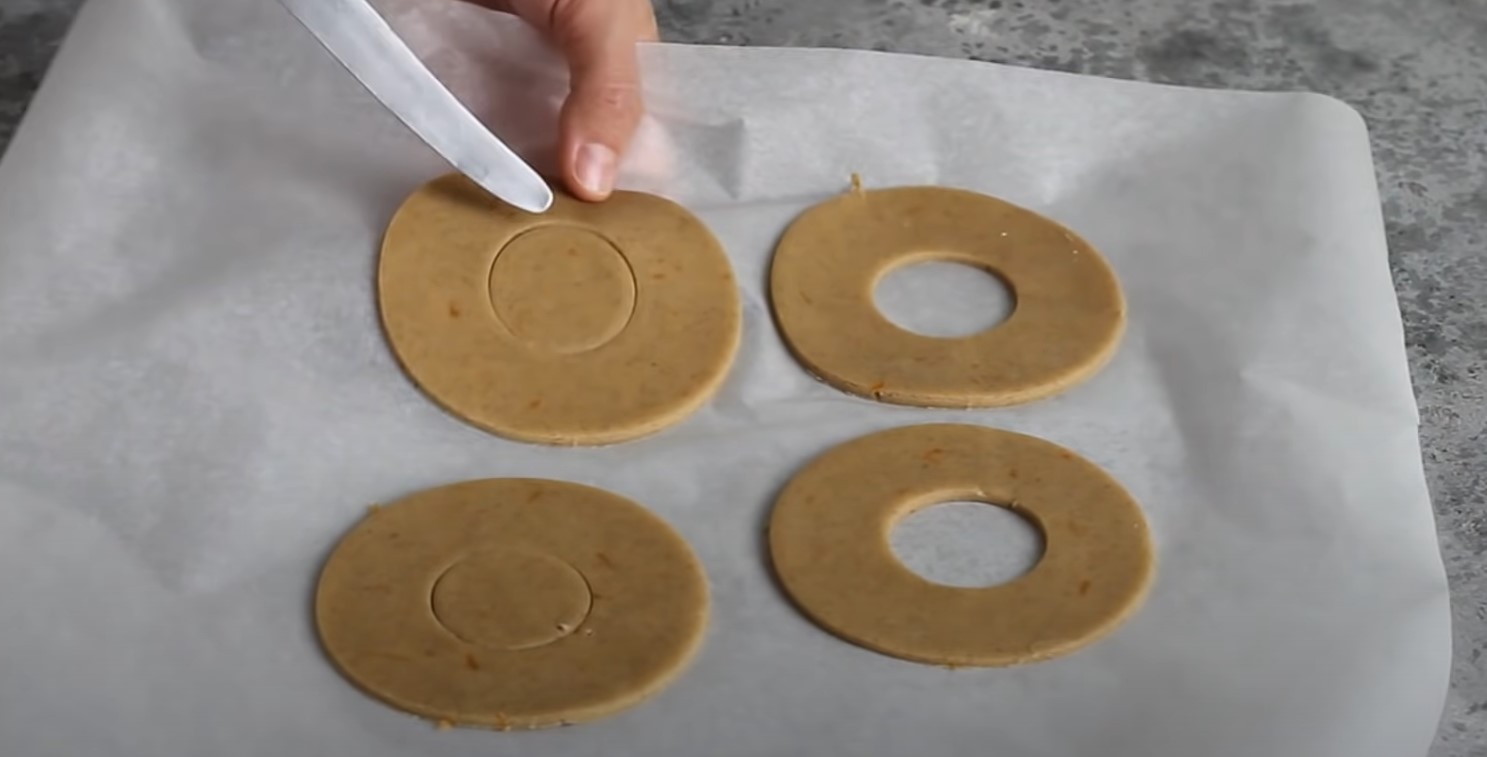
Step 9
In the center of the cake layers, we make additional holes with a diameter of 4 cm.
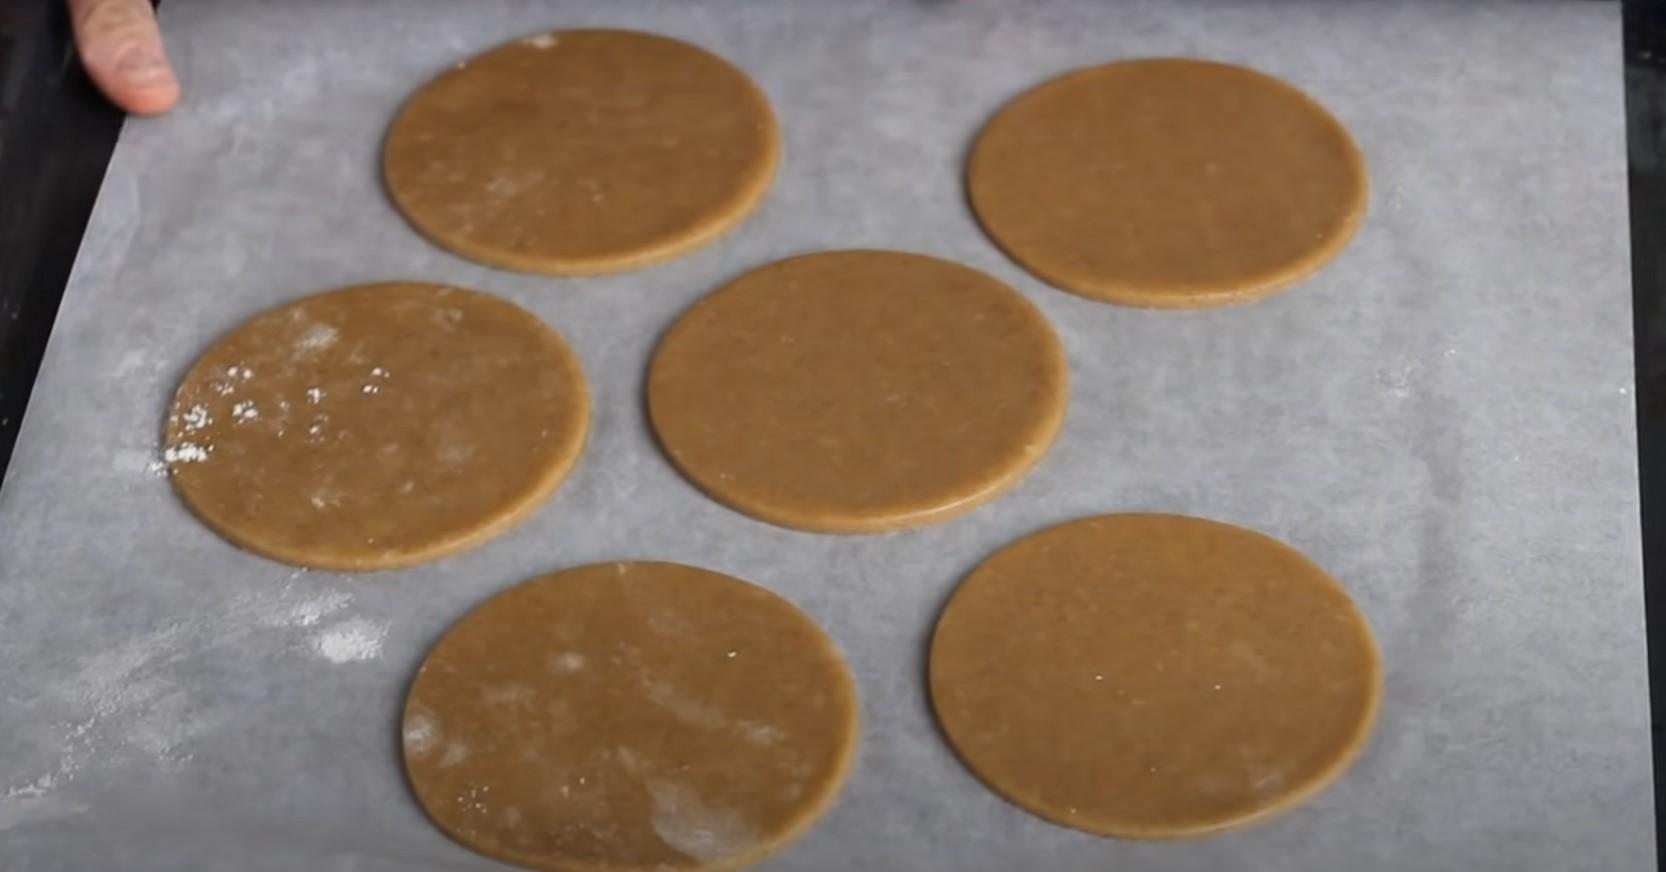
Step 10
Place the cake layers on a baking sheet and bake at 200 degrees Celsius. Bake for 4-5 minutes until golden brown.
Step 11
Let's start preparing the cream. Mix all the necessary ingredients in a deep bowl and beat with a mixer at high speed until thick, smooth, and fluffy.
It is important that all ingredients used to prepare the sour cream are well chilled in the refrigerator to the same temperature.
Step 12
Assemble the honey cakes. Spread the layers of the cake with cream, one at a time, and decorate as desired. For winter honey bento cakes, you can use gingerbread cookies as decoration. They turn out delicious and beautiful!
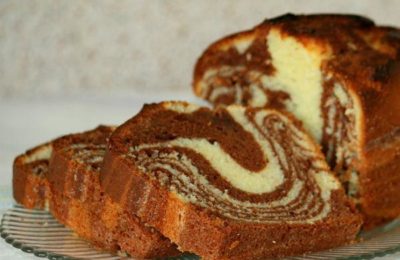
Bento cake sponge
Sponge cake is the base for many bento cakes. I offer a recipe for a fairly simple yet delicious sponge cake that pairs beautifully with various creams. The cocoa makes the cake both fragrant and beautiful.
Ingredients
- Flour - 200 g
- Cocoa - 30 g
- Baking powder - 10 g
- Milk - 150 g
- Butter - 40 g
- Dark chocolate - 50 g
- Eggs - 4 pcs.
- Sugar - 200 g
Cooking time: 40-60 minutes
Servings: 6 cakes with a diameter of 12 cm
Step-by-step recipe
Step 1
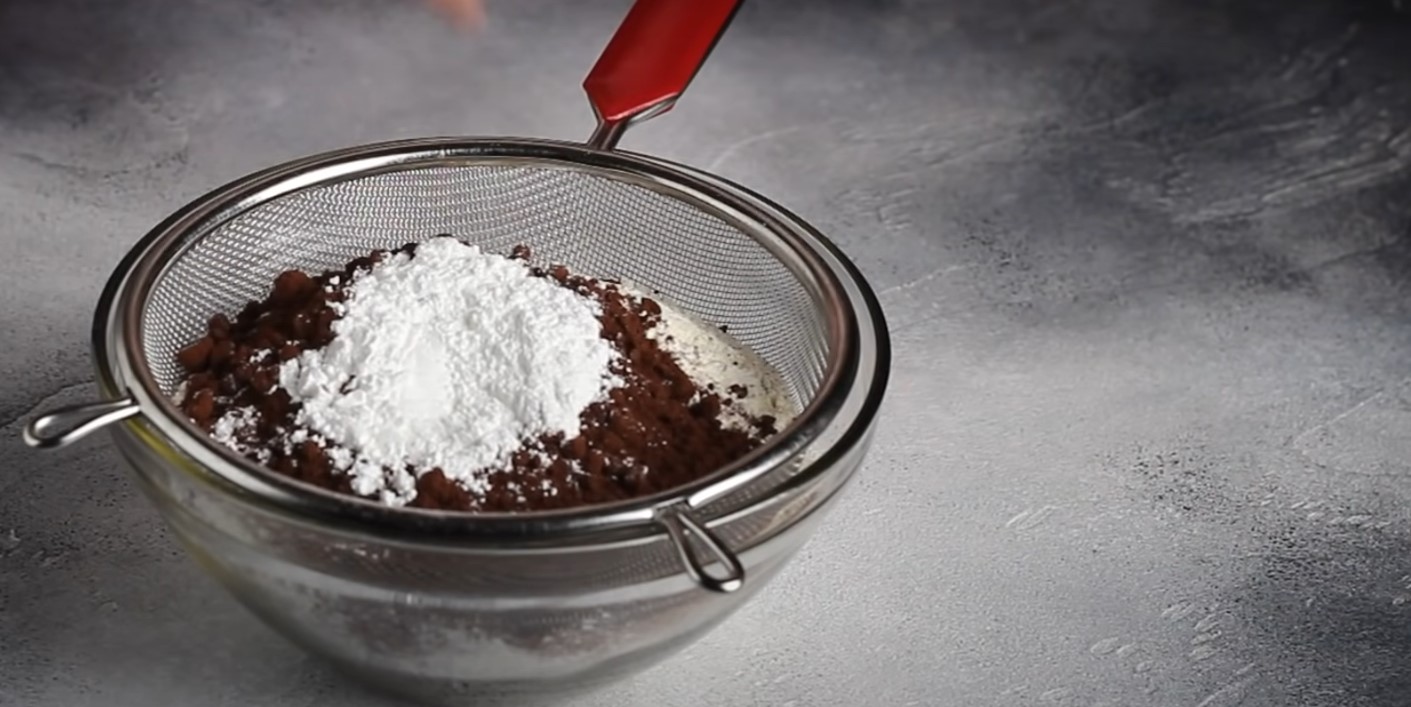
Sift flour, cocoa and baking powder through a sieve into a deep container.
Step 2
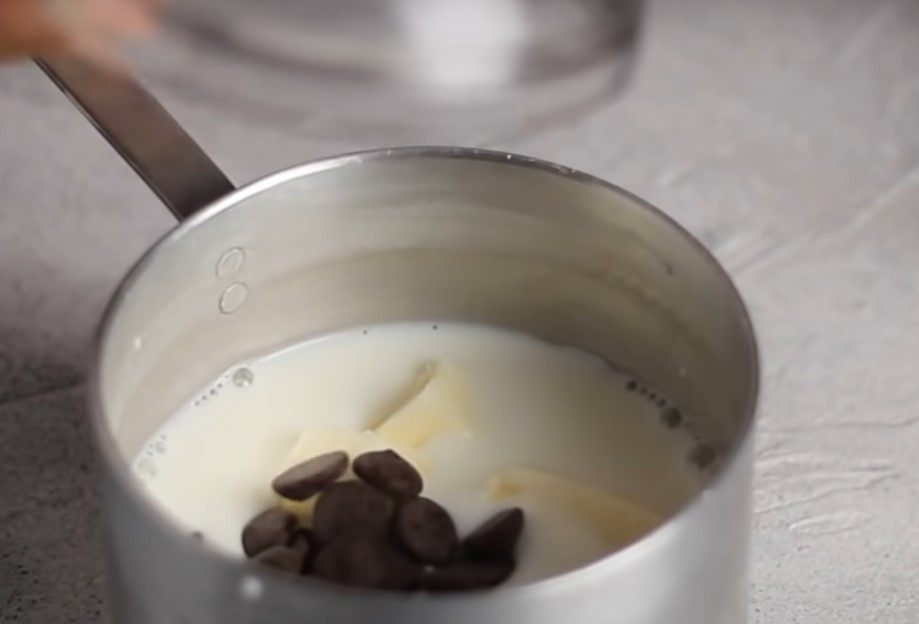
Combine milk, butter and chocolate in a separate saucepan and place over low heat until smooth.
Step 3
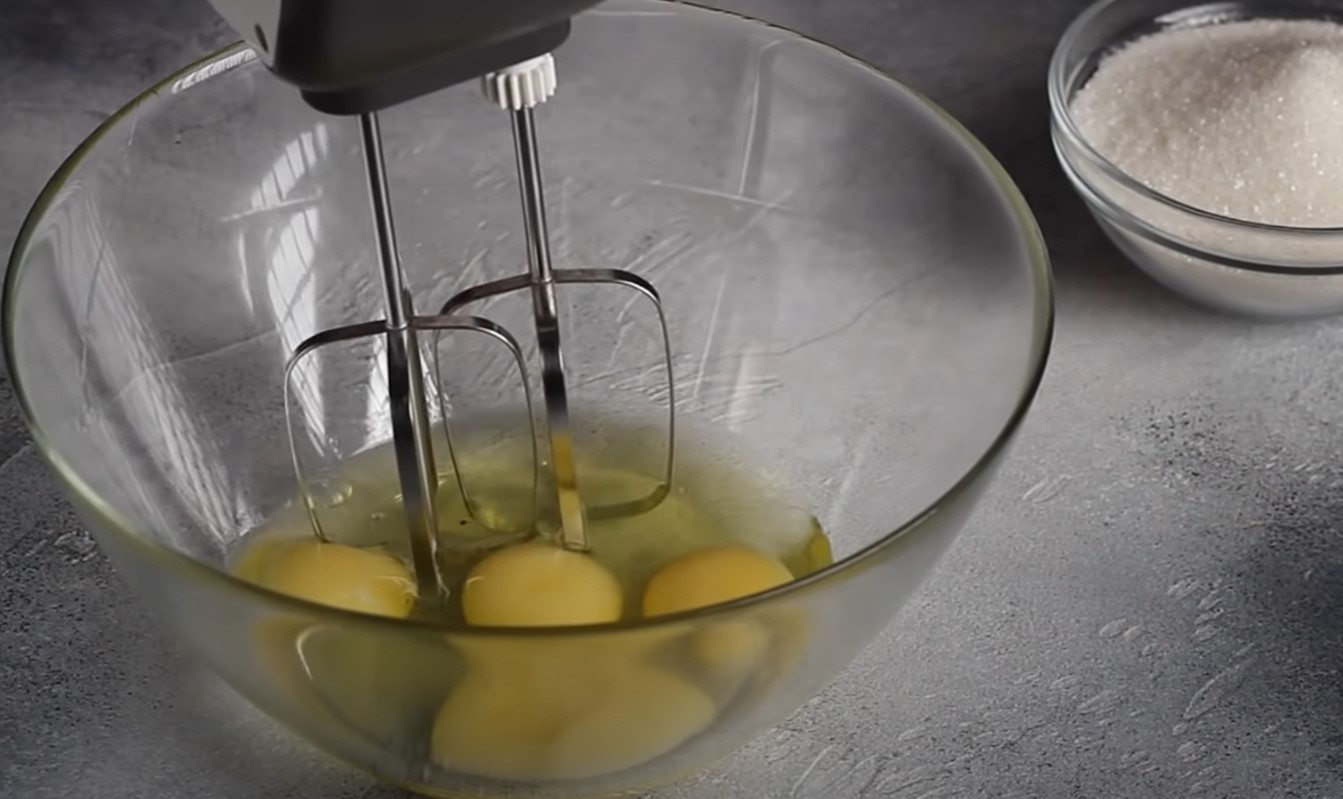
In a separate bowl, beat the eggs until foamy. While whisking, add the sugar. Continue whisking until the mixture is fluffy and snow-white.
Step 4
Add dry ingredients to the beaten egg mixture and mix gently using a silicone spatula or spoon.
Step 5
Once the dry ingredients are combined, pour in the chocolate butter-milk mixture. Stir again with a spatula until smooth.

Step 6
Pour the prepared dough onto a baking sheet lined with parchment paper. Spread it into an even layer and bake in the oven at 180 degrees Celsius for 10-12 minutes.
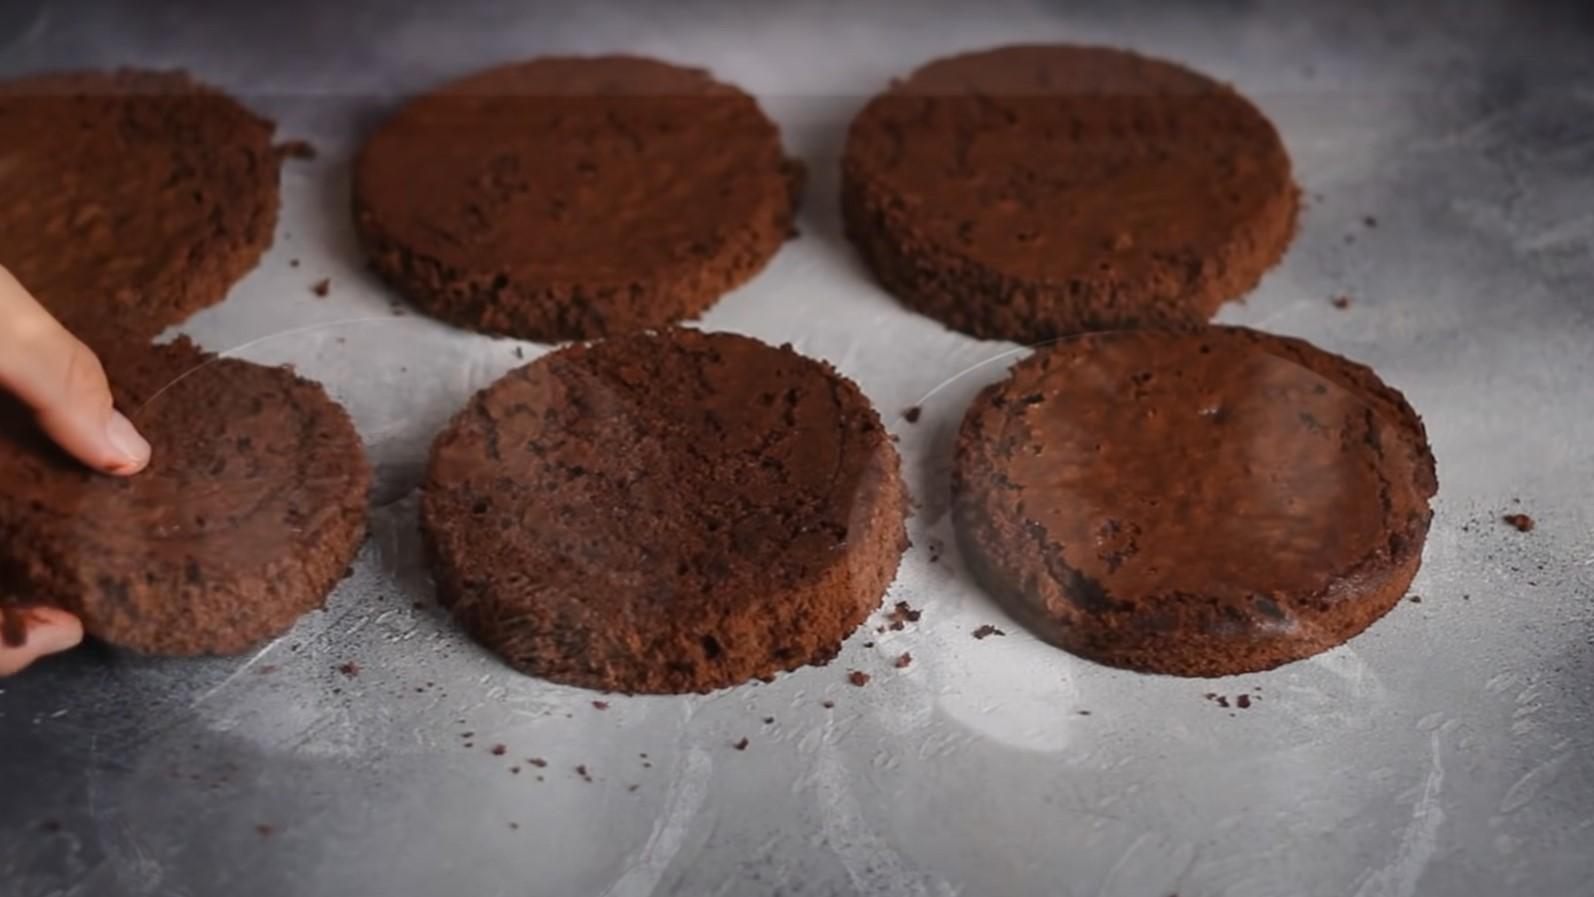
Step 7
Let the finished sponge cake cool. Then, using a metal ring, cut out layers of 12 cm diameter. Choose your favorite frosting and assemble the cake.
Classic Bento Cake Cream
Cream cheese is the most common filling used in bento cakes. It's perfect for layering between the cake layers, frosting the outside, and creating decorations. Because cream cheese holds its shape well, it's easy to form edges that easily hold fillings (cherry jam, orange or lemon curd, etc.). Another advantage of this filling is its simplicity and ease of preparation.
Ingredients
- Cottage cheese - 750 g
- Cream 33% - 400 g
- Powdered sugar - 100 g
Cooking time: 10-15 minutes
Servings: enough for layering and decorating 2 cakes.
Step-by-step recipe
Step 1
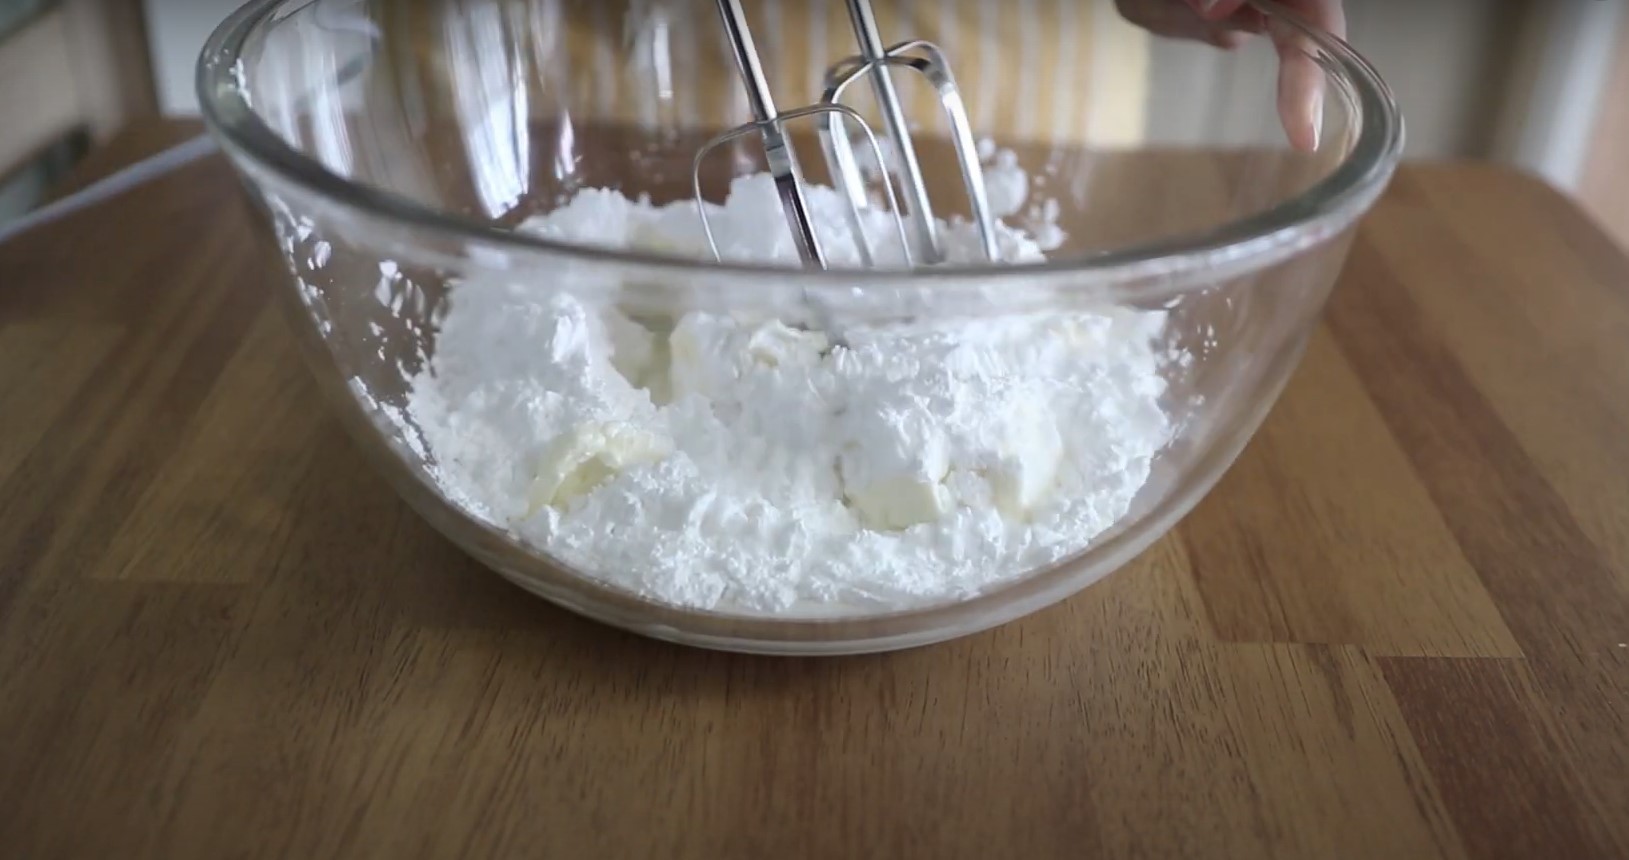
Pour the pre-cooled cream cheese into a deep container.
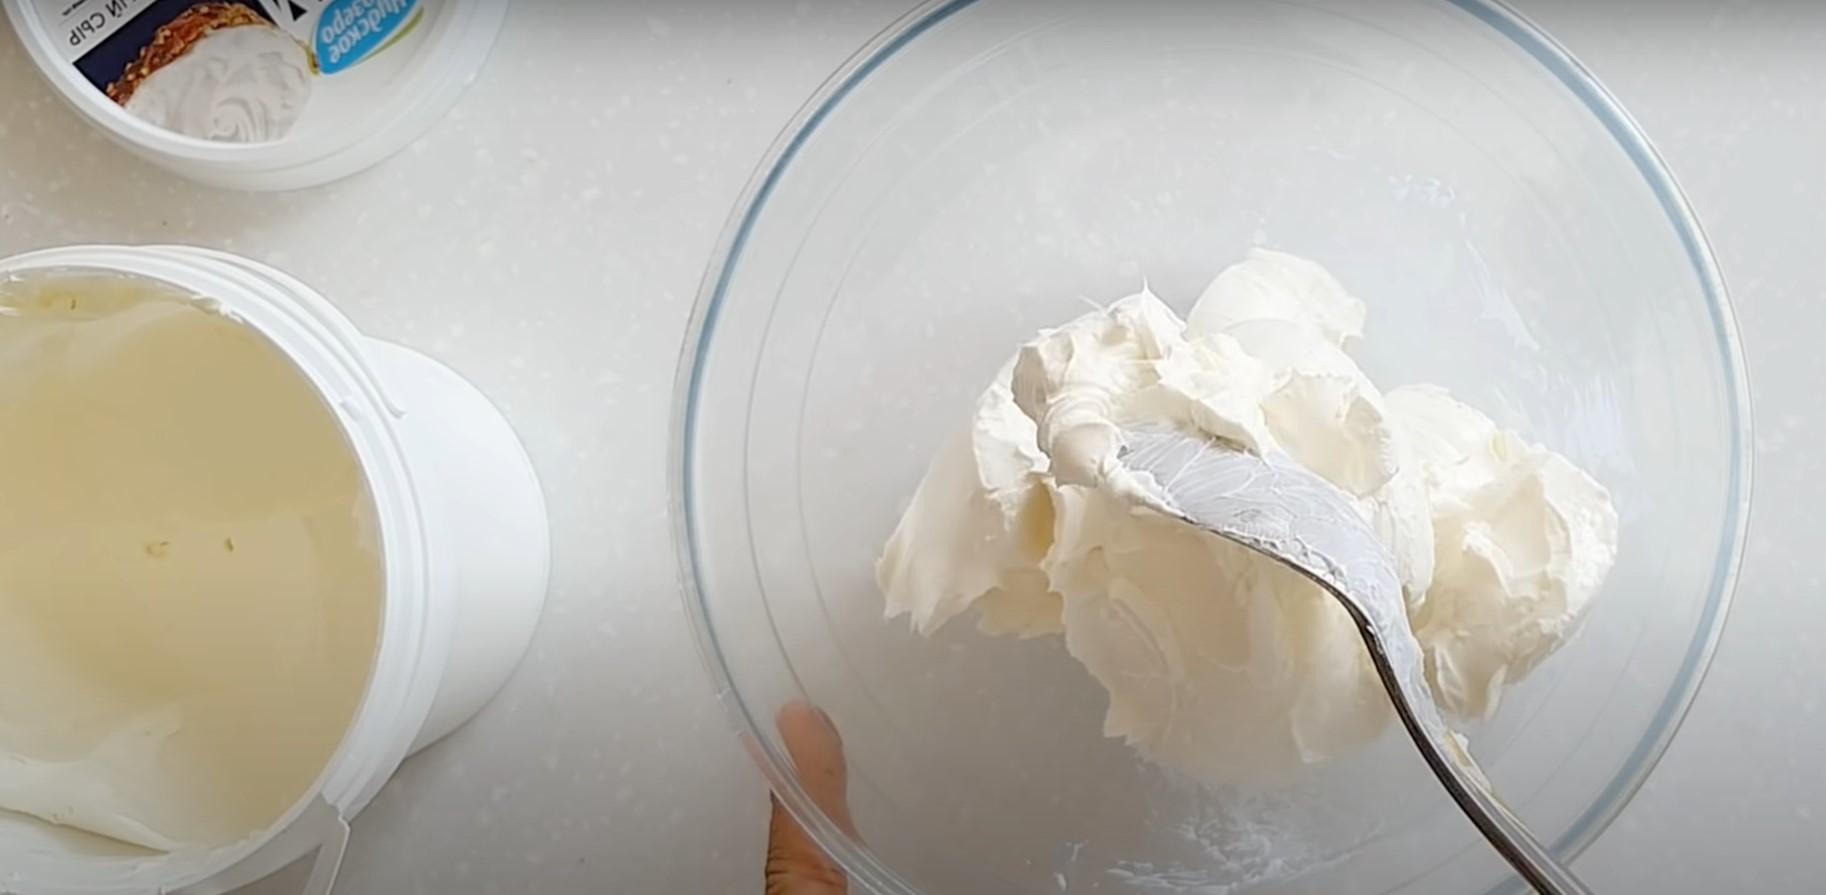
Step 2
Add cold cream.
Step 3
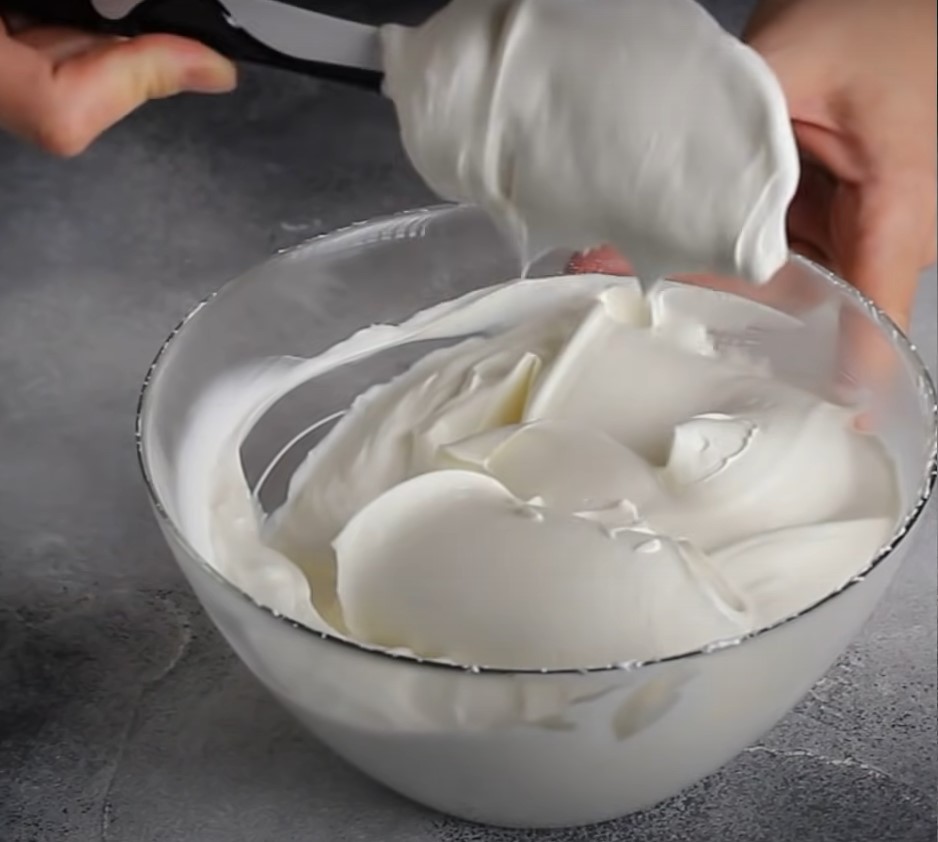
Add powdered sugar and beat thoroughly with a mixer.
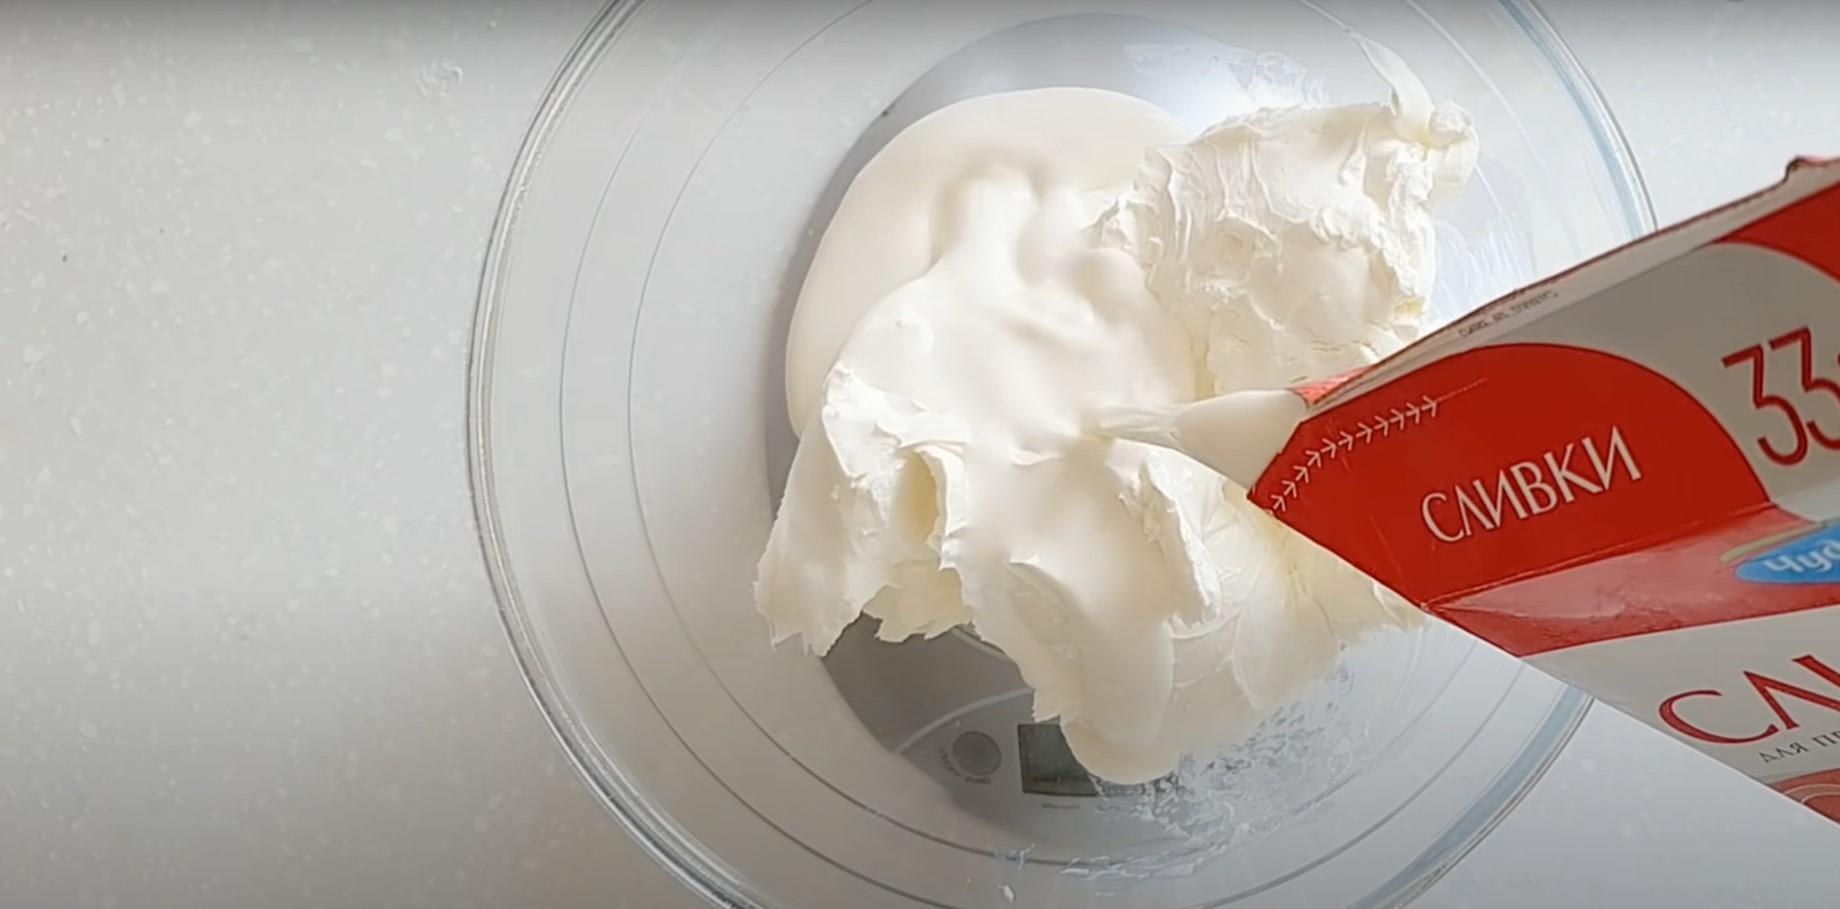
Step 4
Continue beating at high speed until the mixture becomes thick, smooth and fluffy.

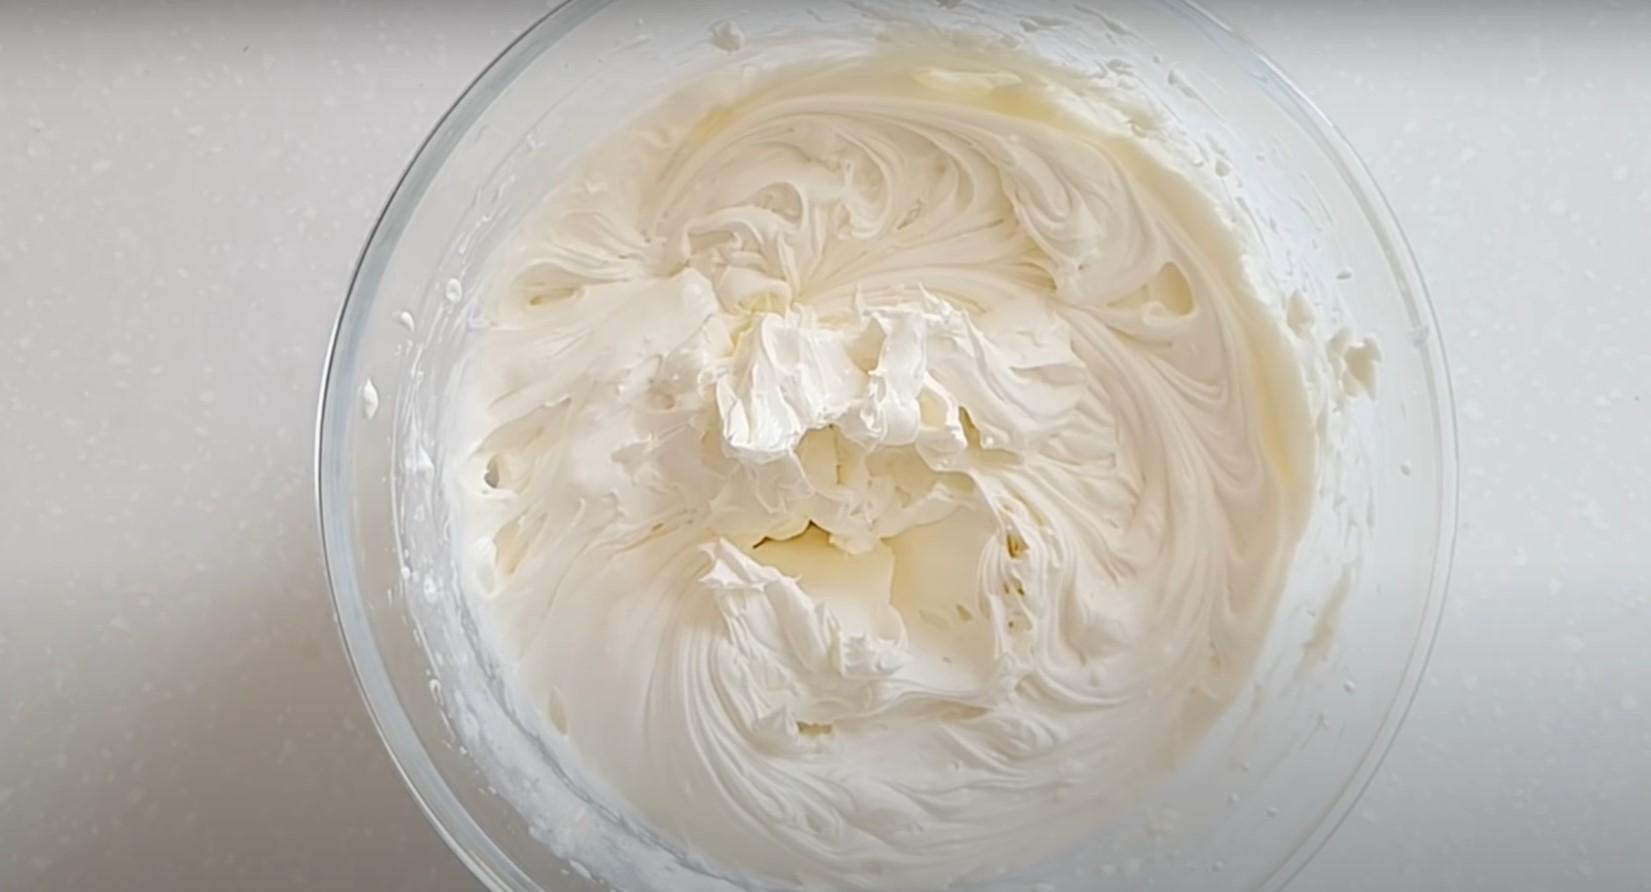
Step 5
The cream is ready! Now you can spread it on the sponge cake, shape the edges, and make decorations.
Packaging and serving bento cake
The finished bento cake is packaged in small boxes—lunch boxes made from sugarcane. They are aesthetically pleasing and completely biodegradable, thus protecting the environment. The bottom of the container is pre-lined with baking paper.
Traditionally, a disposable spoon, fork, and candle are attached to the inside of the box using decorative tape or stickers. It's also fine to attach the cutlery to the outside with a pretty ribbon.

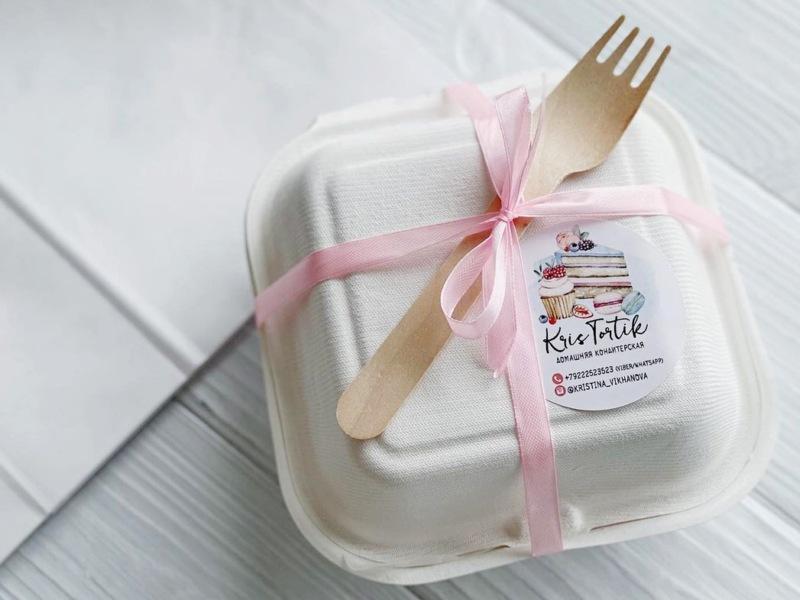
Bento cakes are typically decorated in a bright, eye-catching, and cute style, yet simple and straightforward. The cake's surface is typically coated with frosting, which is used to create messages and designs.
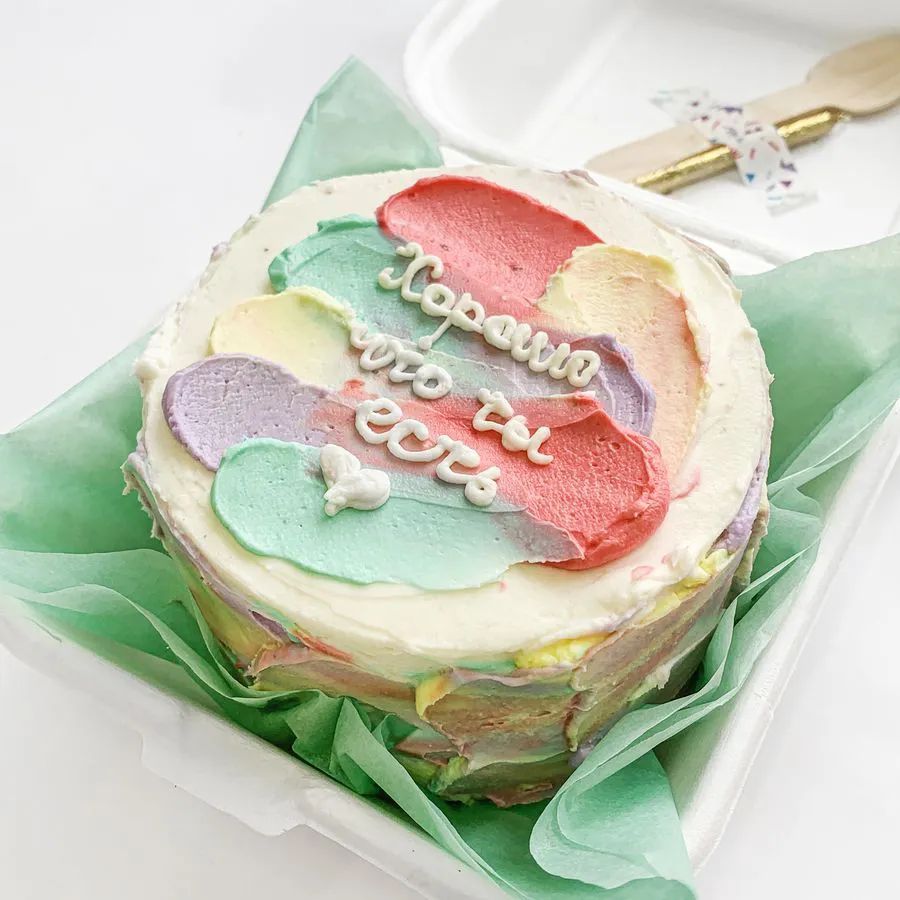
The result is a personalized set that's easy to transport and take with you. Therefore, these cakes are often used for picnics, dates, and as a nice gift.
Bento Cake Masterclass by Julia Small
I love learning new things, so I often search the internet for inspiration. Recently, one of my favorite vloggers recorded a very detailed and beautiful tutorial on making bento cakes. I couldn't resist sharing it!
In her recipes, Yulia demonstrates not only original and attractive bento cake decorating options but also interesting baking techniques. To shape the sponge cake into the desired shape, she uses not only metal rings but also Easter cake molds of the appropriate diameter.
This masterclass will not only give you a detailed look at the bento cake trend, but also teach you how to make the popular "tsunami" glaze.