How to make chocolate drips on a cake

Content
- 1 Covering for drips
- 2 Popular recipes
- 2.1 Option #1 – chocolate ganache with cream
- 2.2 Option #2 – Chocolate Ganache with Butter
- 2.3 Option #3 – chocolate glaze with milk and starch
- 2.4 Option #4 – white or colored chocolate ganache with butter
- 2.5 Option #5 – golden streaks without chocolate
- 2.6 Option #6 – chocolate drips on water
- 2.7 Option #7 – translucent streaks on gelatin
- 3 Important points
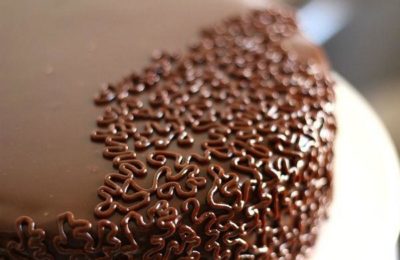
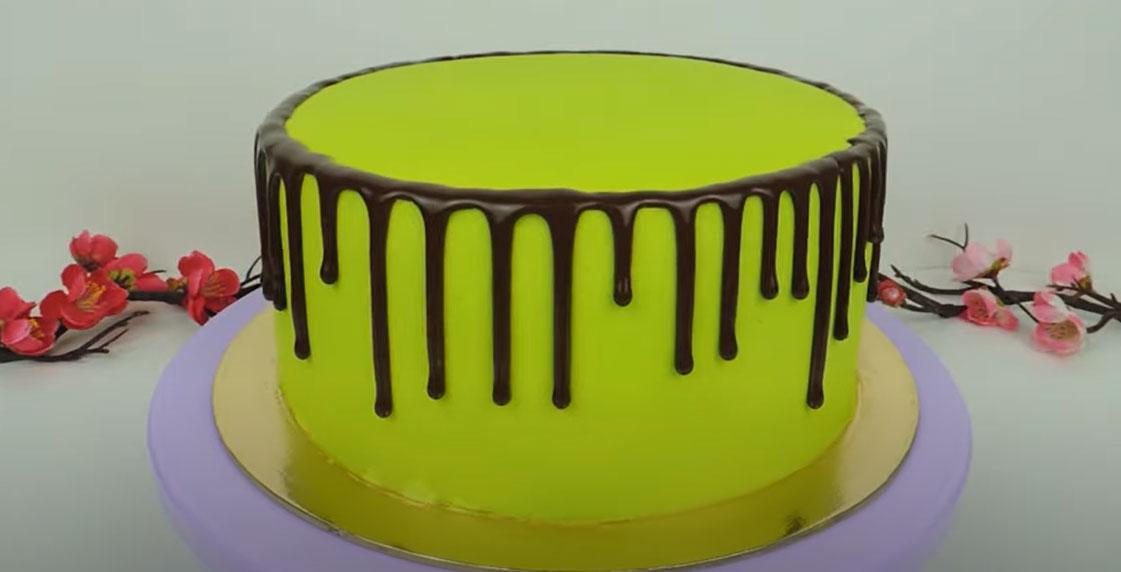
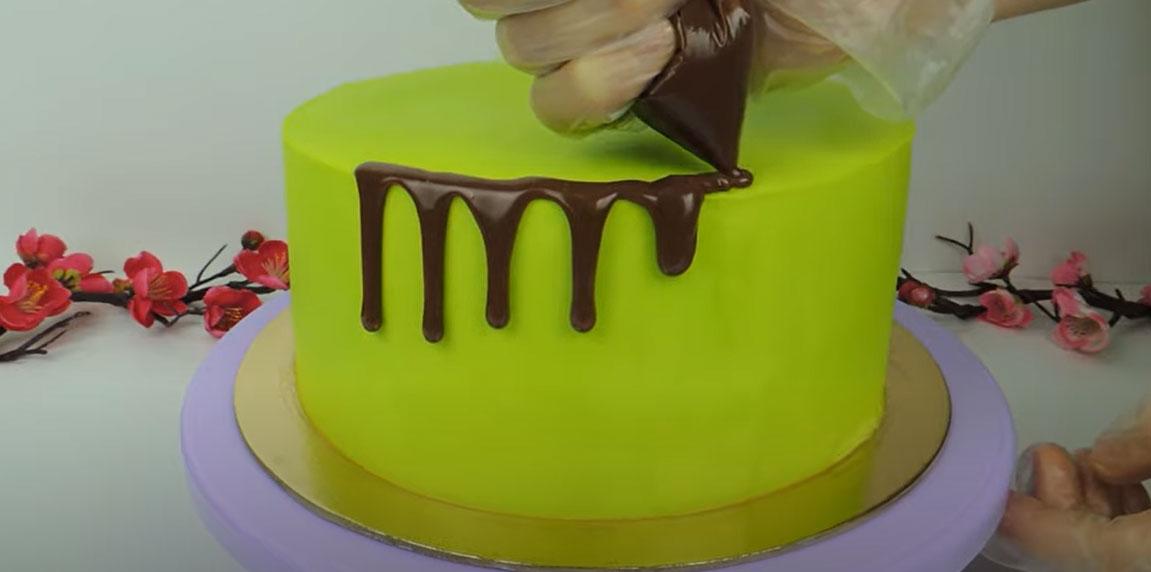
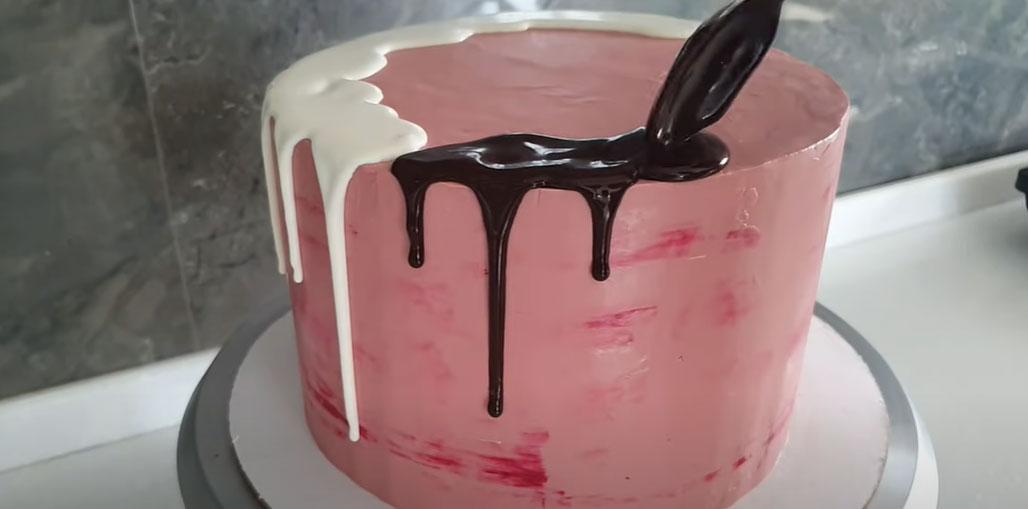
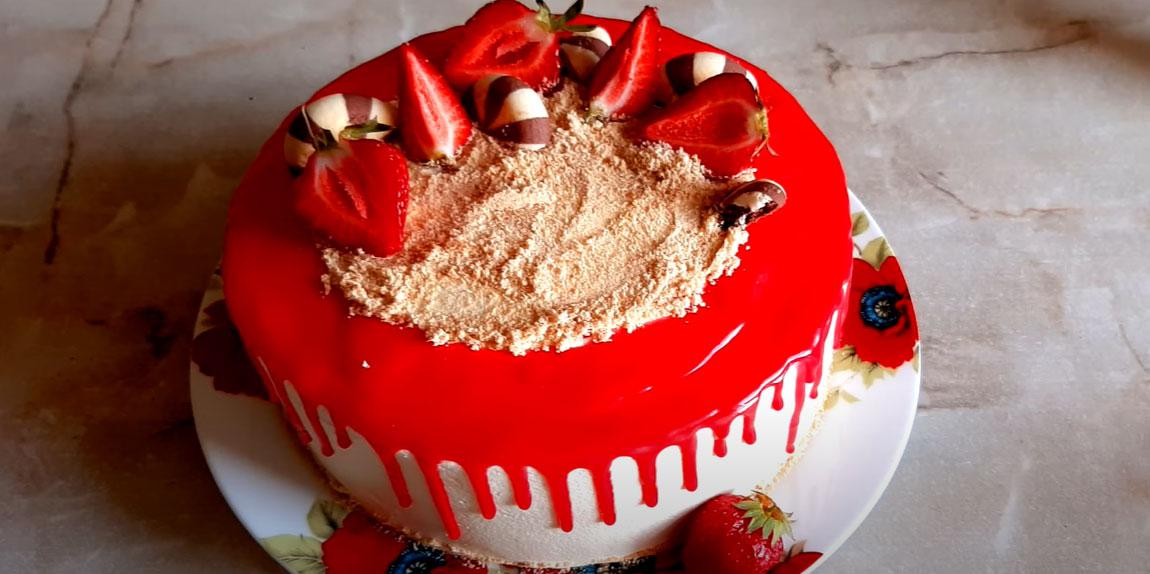
Cake with chocolate drips Chocolate drips are one of the most striking and trendy decoration techniques. Today, we'll take a detailed look at how to create beautiful chocolate drips on a cake yourself, and also offer several simple, step-by-step recipes for making glaze (ganache) at home that even a beginner can master.
Covering for drips
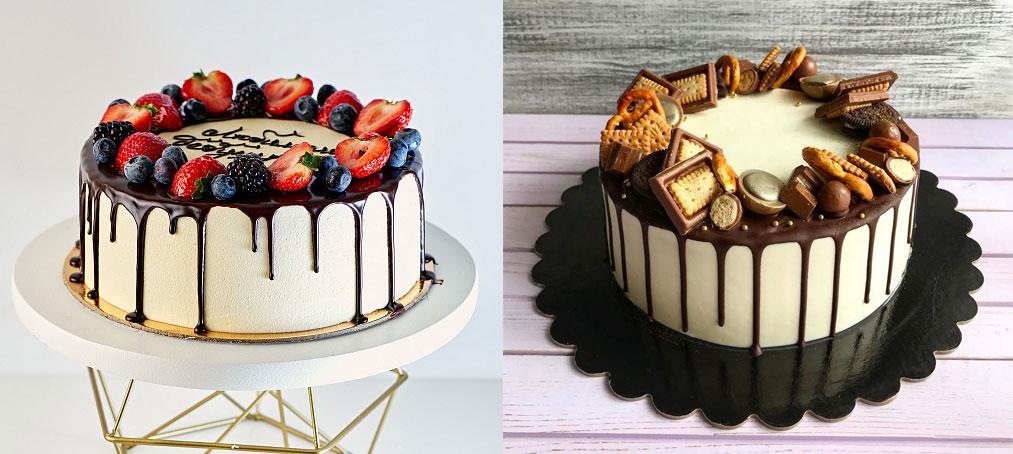
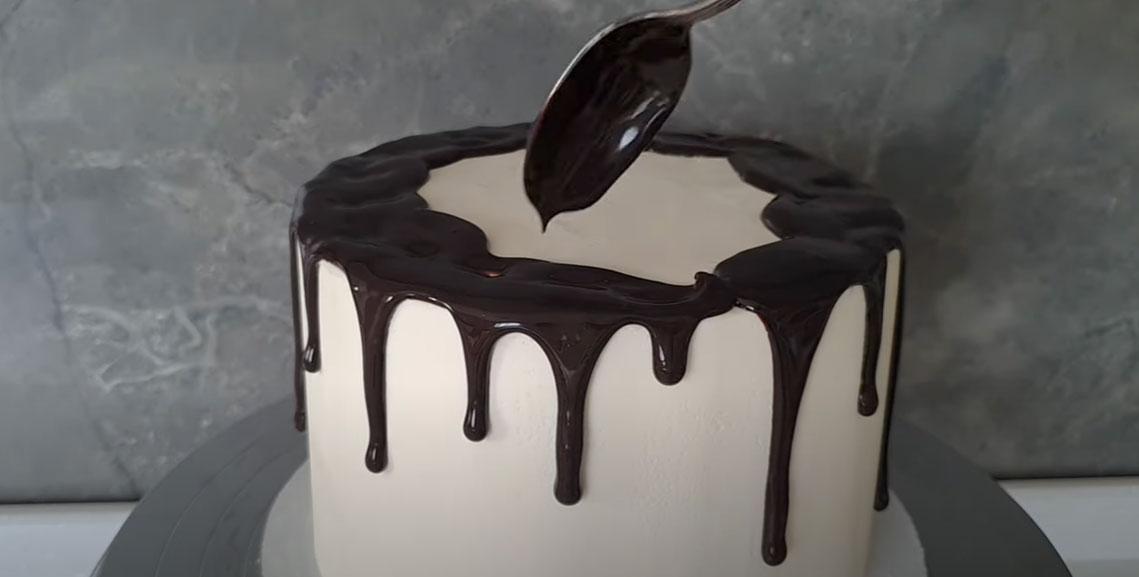
Bright chocolate drips look best on a smooth white surface, so cakes with this design are often either lined with thick cream or covered with fondant.
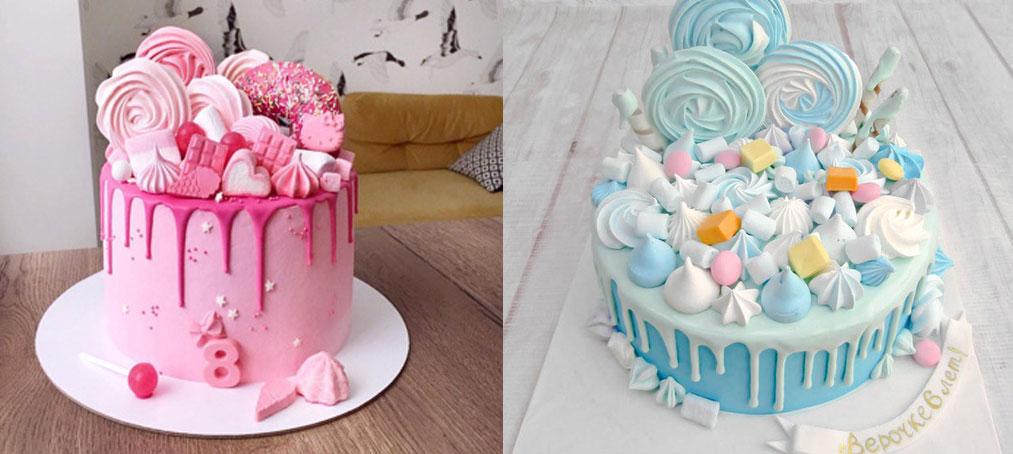
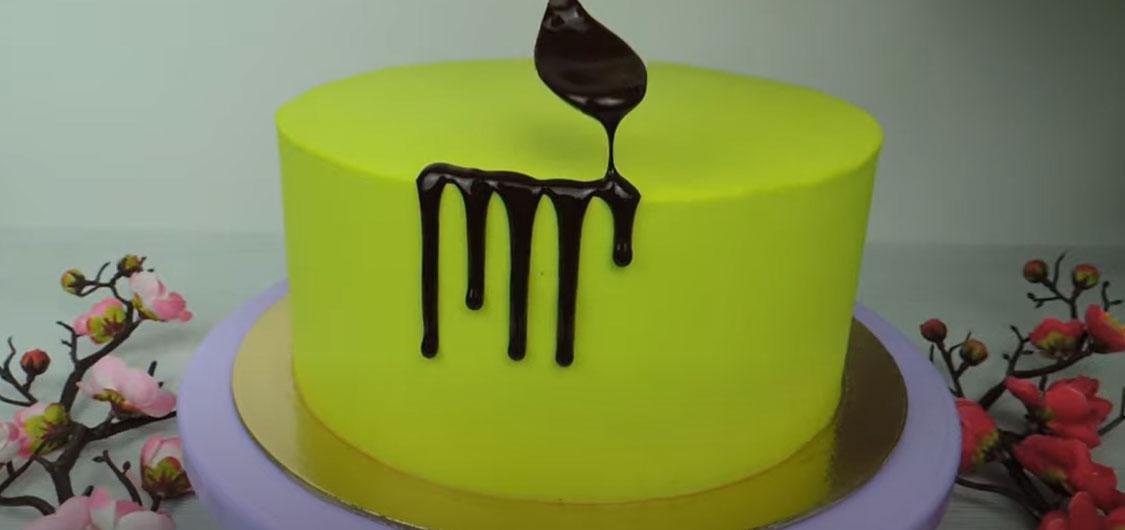
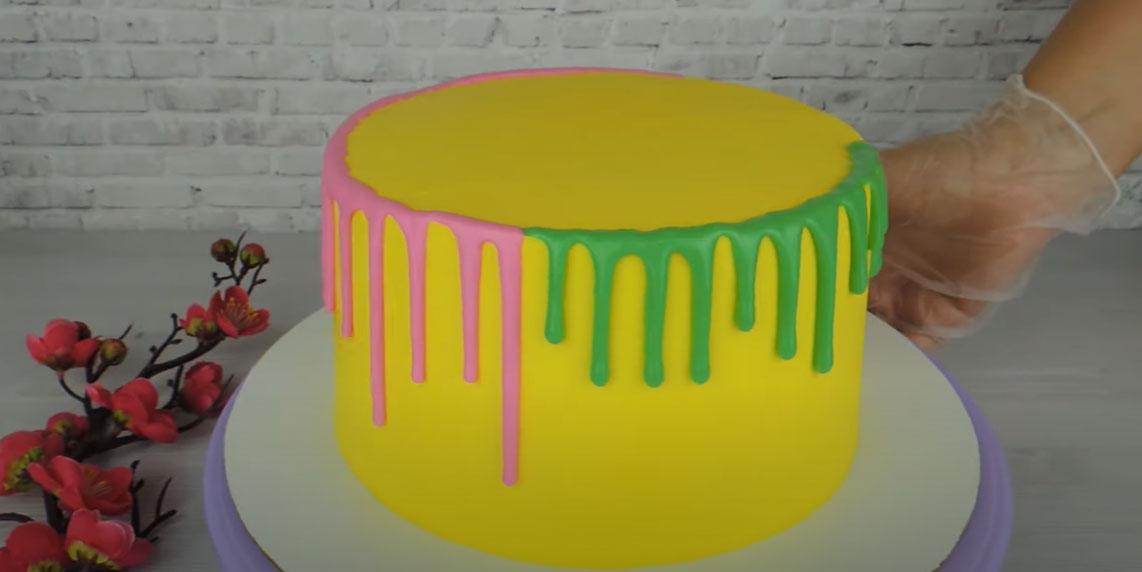
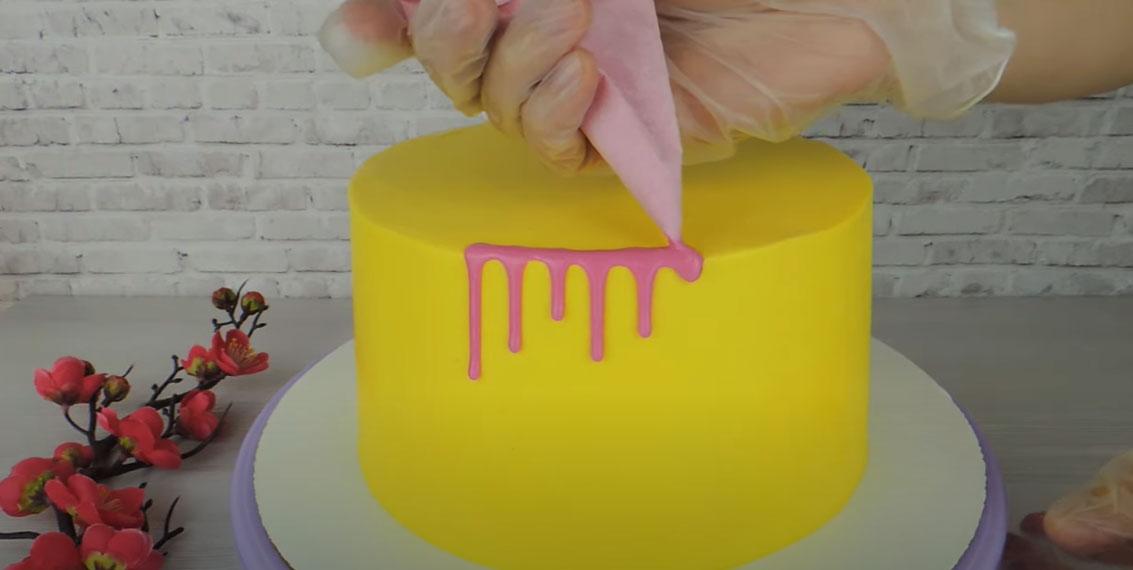
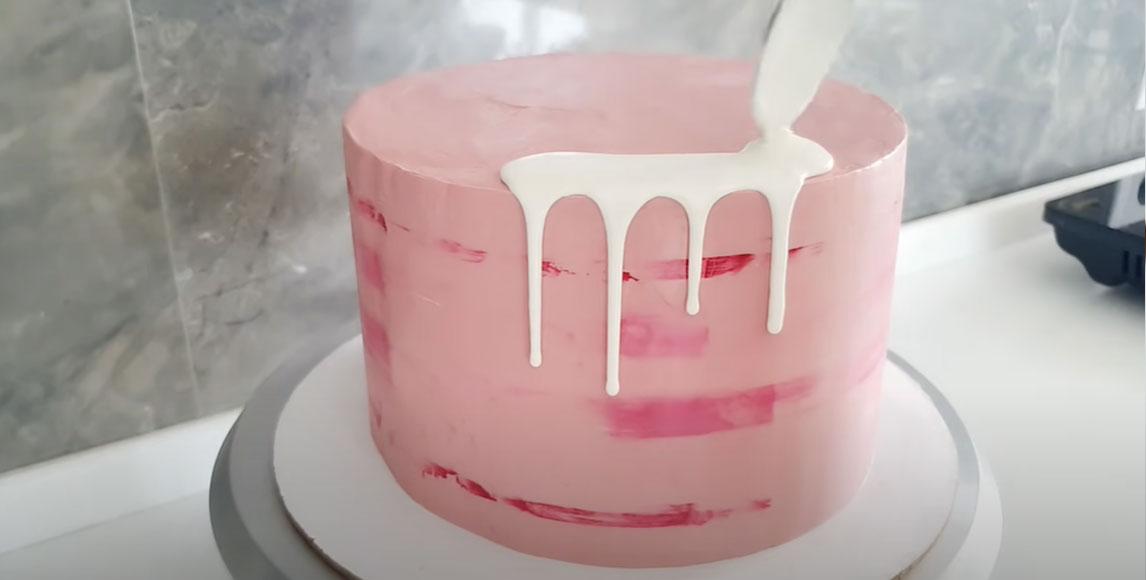
Another original option is colored (gender-specific) cakes, for which you can make a bright pink or blue ganache with white chocolate. In this case, the base color of the fondant or frosting can be chosen based on the color of the drips, as shown in the photo.
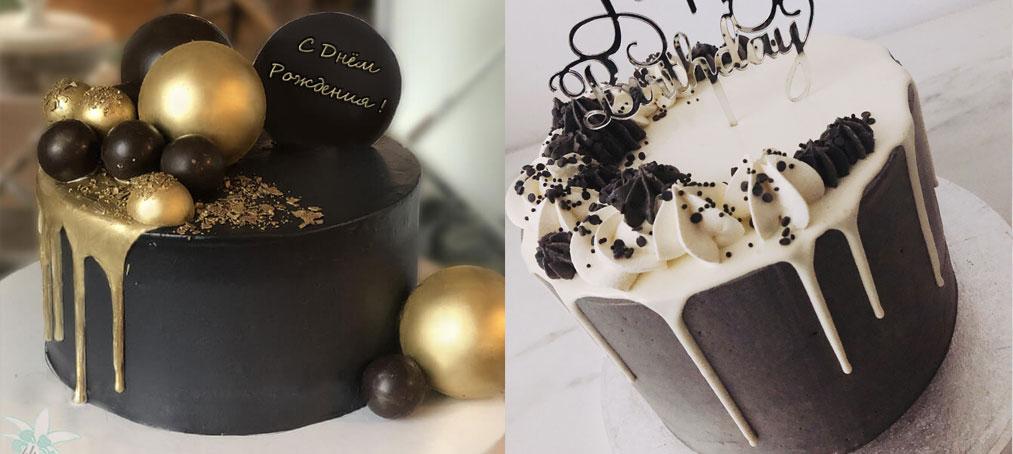
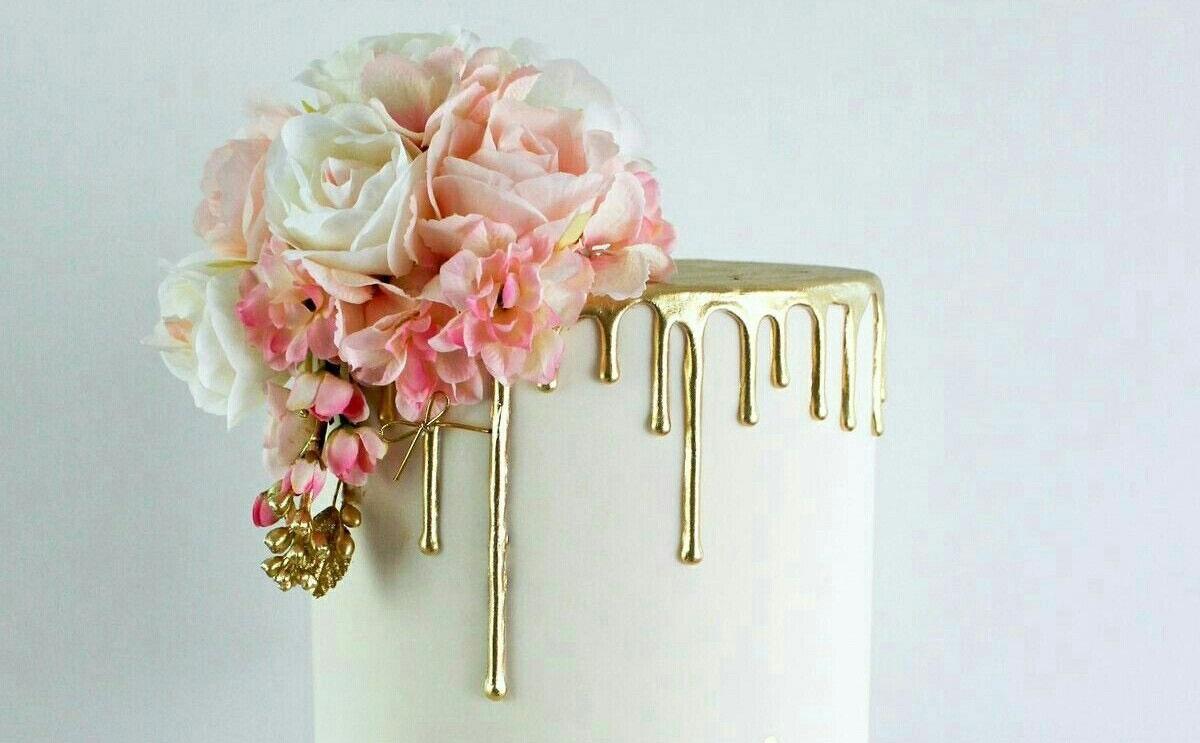
White or gold streaks will look luxurious on dark chocolate icing (or brown fondant). We'll also tell you how to make this kind of ganache for a chocolate cake in this article.
Popular recipes
As you can see, there are many options for decorating a drip cake. Let's look at the basic icing recipes for this idea (with and without chocolate).
Option #1 – chocolate ganache with cream
Select the appropriate ratio from the table:
| Chocolate | Quantity | Maximum temperature | |
| chocolate | cream | ||
| Bitter 70-75% | 40 g | 75 ml | 50℃ |
| Dark 40% | 50 g | 60 ml | 50℃ |
| Milk 25% | 60 g | 30 ml | 45℃ |
| White | 30 g | 20 ml | 45 ℃ |
Step-by-step recipe
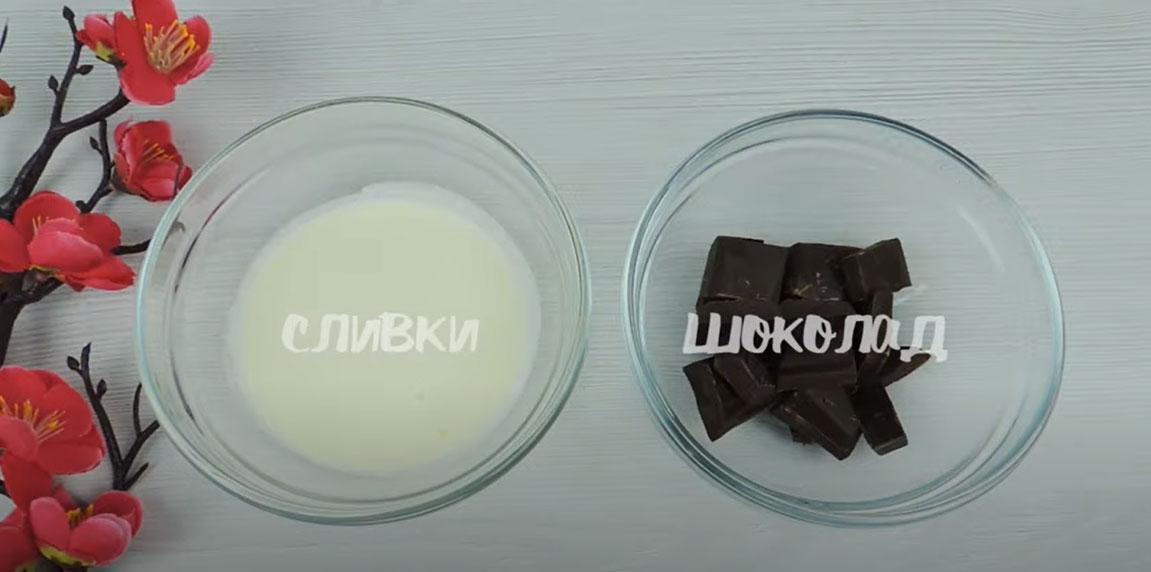
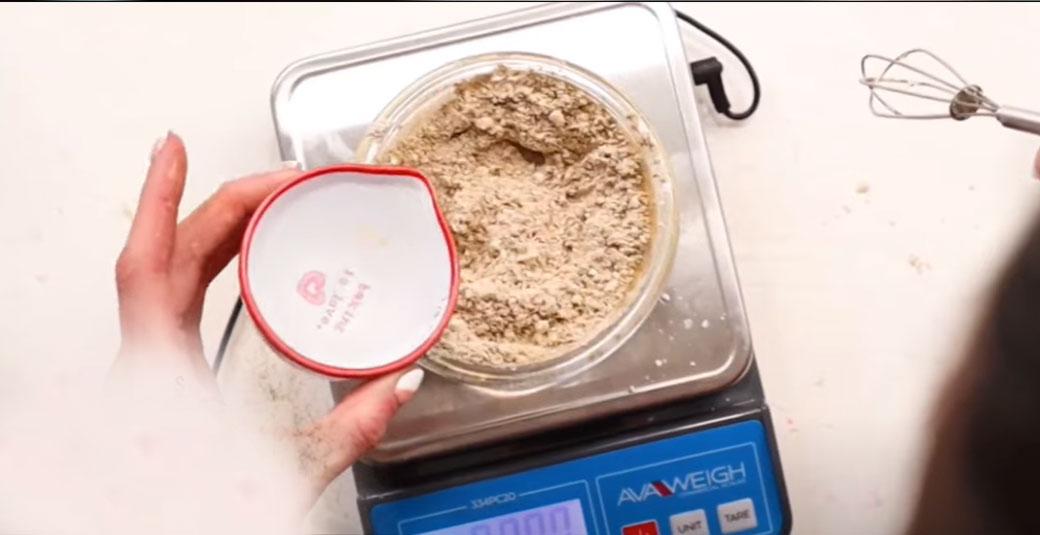
- Prepare the required amount of cream and chocolate, based on the data in the table.

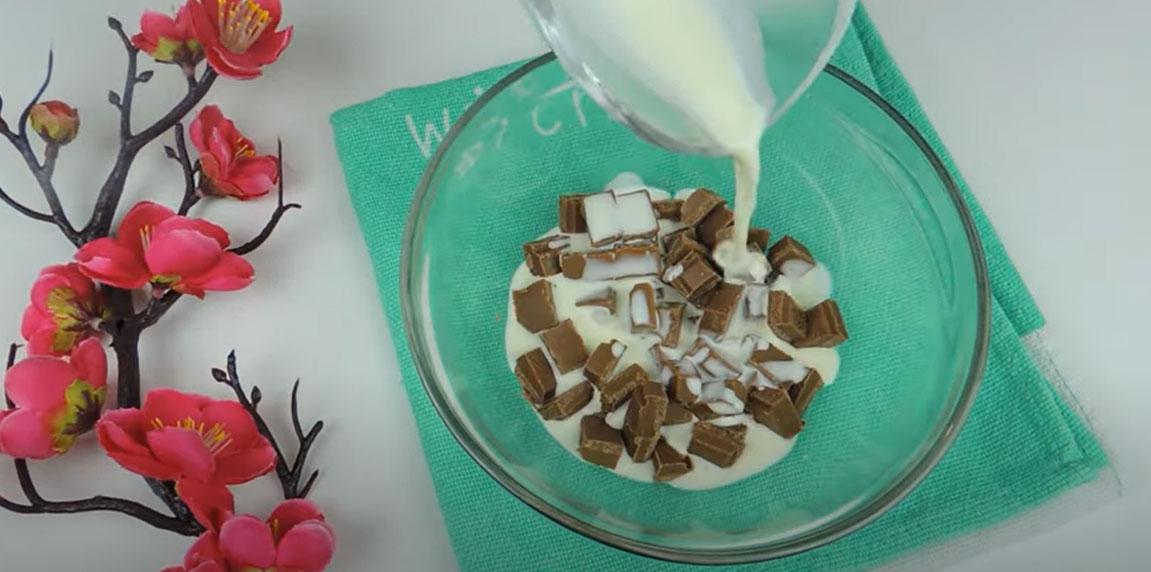
- Bring the cream almost to a boil (but do not boil) and pour it into the chocolate.
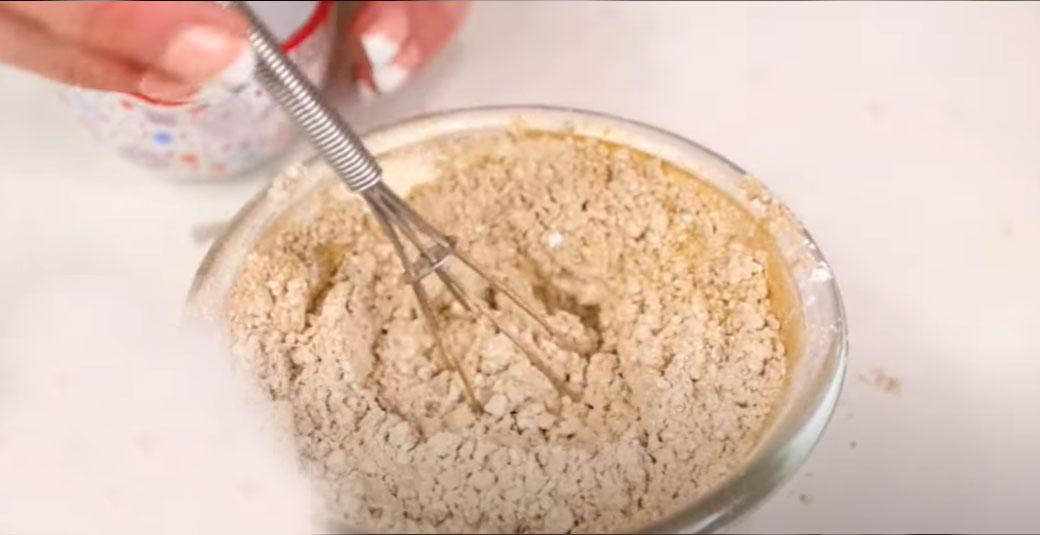
- Let the mixture sit for 2 minutes to allow the chocolate to melt, then whisk with a hand whisk. If the chocolate hasn't completely melted, you can microwave the mixture in short bursts.
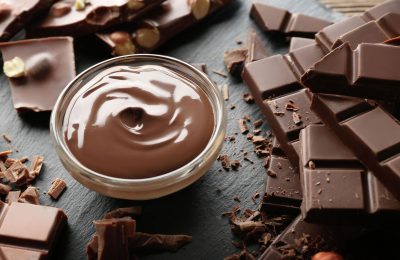
- Continue stirring until the cream and melted chocolate form a homogeneous mass, as in the photo.
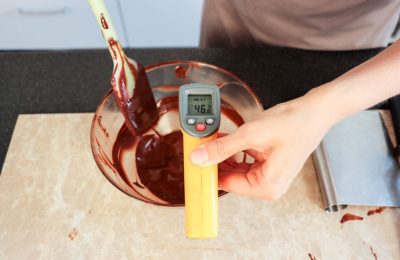
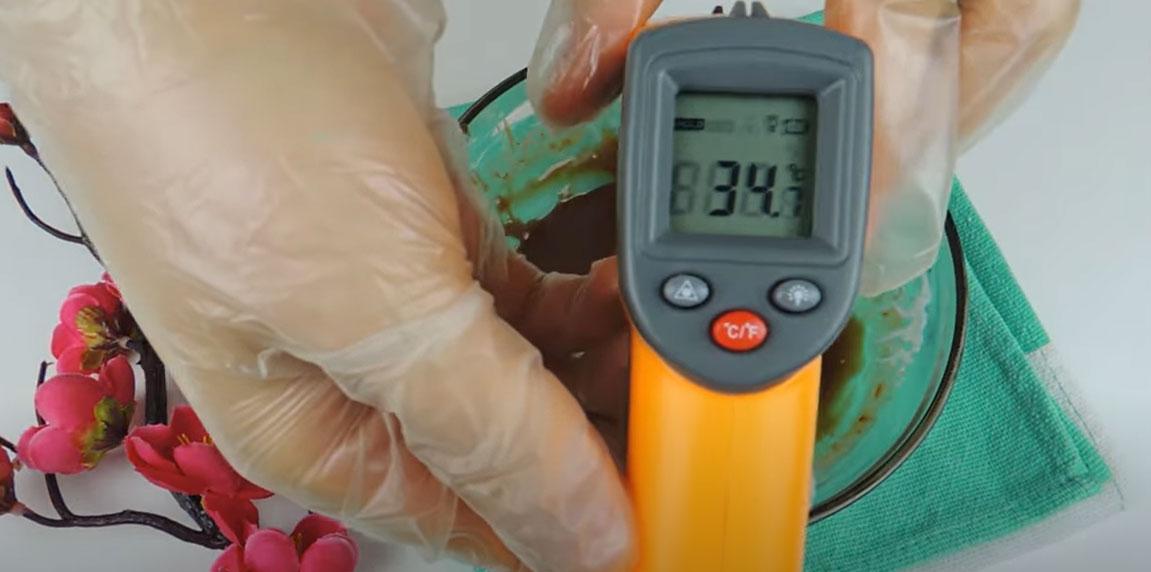
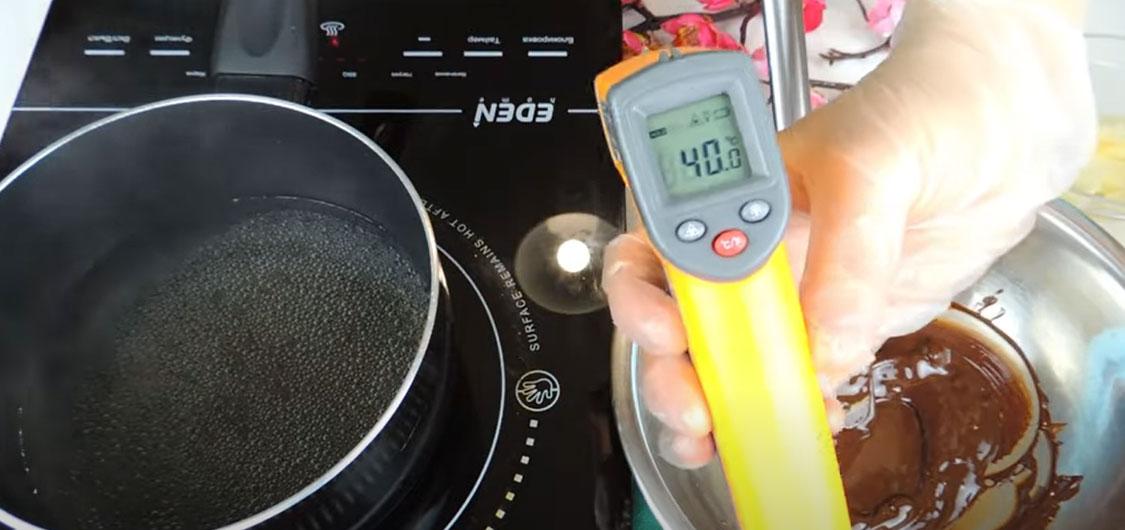
- The optimal temperature for creating drips is 32-34°C. Allow the mixture to cool below the maximum temperature indicated in the table; otherwise, the drips will not be textured as the ganache will be too runny.
- We transfer the ganache into a bag and pipe it onto the edge of the cake, creating drips.


Option #2 – Chocolate Ganache with Butter
Ingredients:
- butter – 30 g;
- chocolate – 50 g.
Step-by-step recipe:
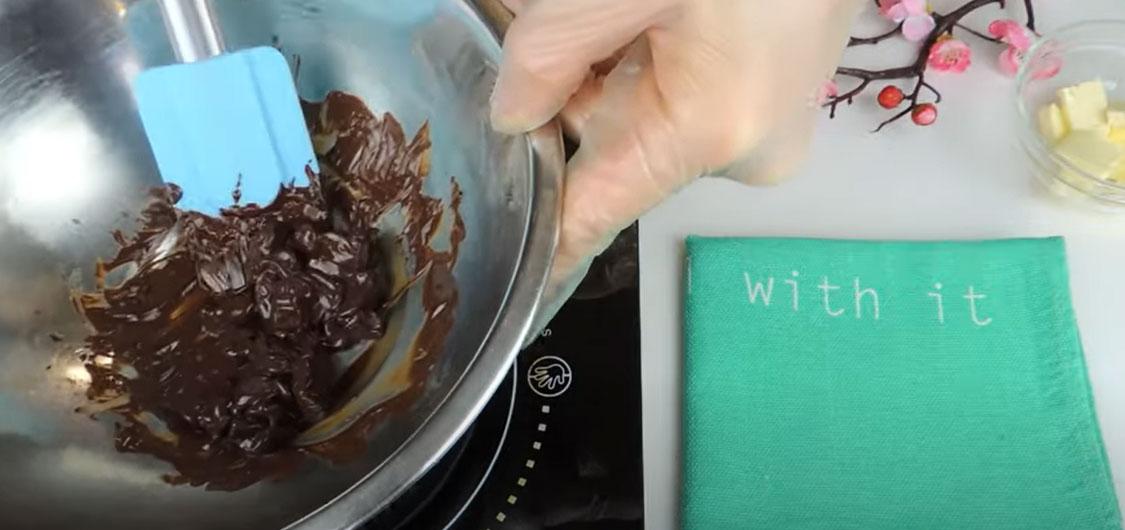
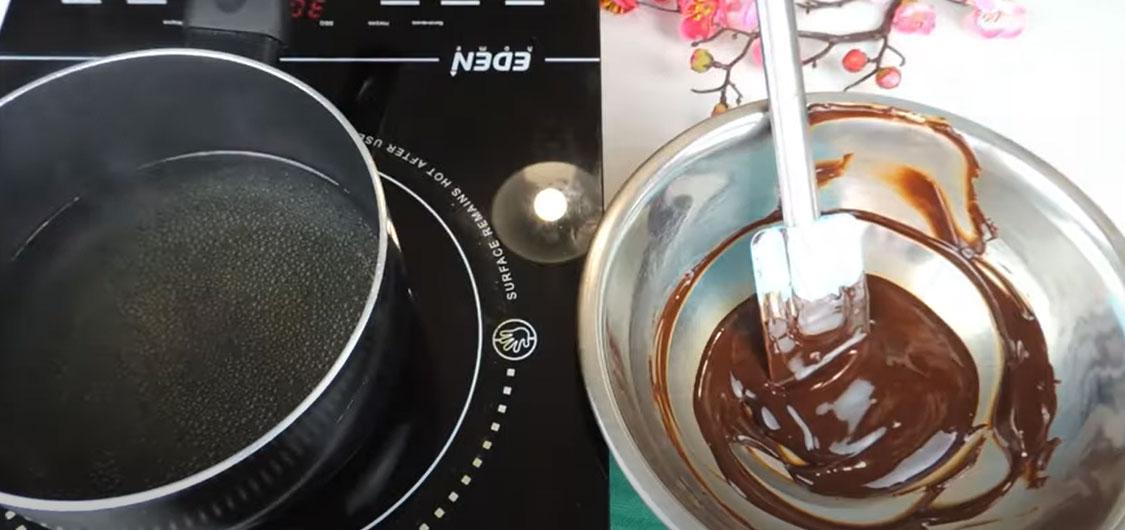
- Heat the chopped chocolate in short bursts in the microwave or in a double boiler.

- Do not heat the chocolate above 50℃, otherwise it will simply curdle.
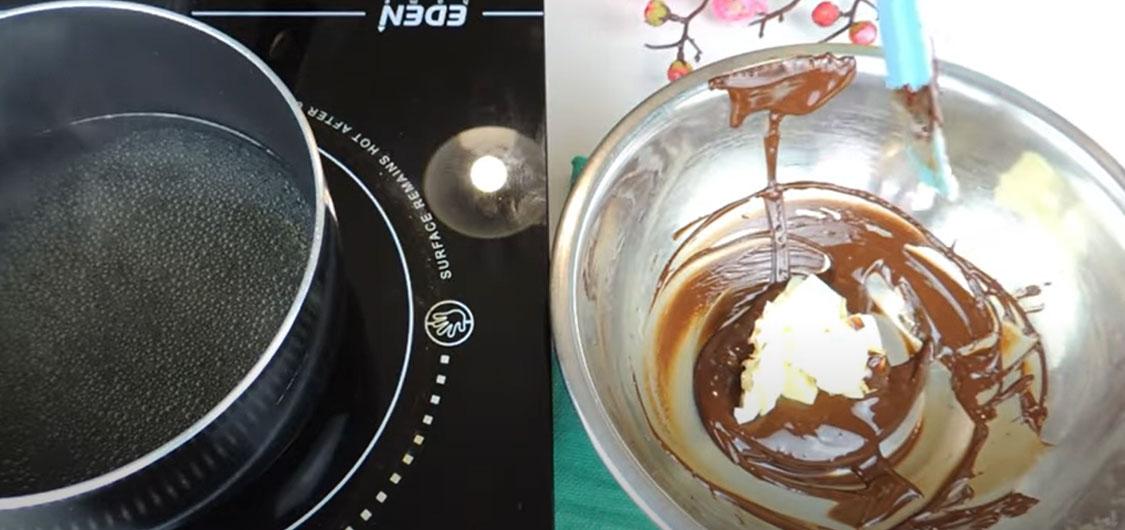
- Add softened, room-temperature butter to the melted and smoothly blended chocolate. Continue mixing until the butter and chocolate form a smooth paste.
- Check the temperature of the glaze and, if necessary, heat it to 32-34°C. At this temperature, the drips will be voluminous and set quickly, without reaching the bottom of the cake.
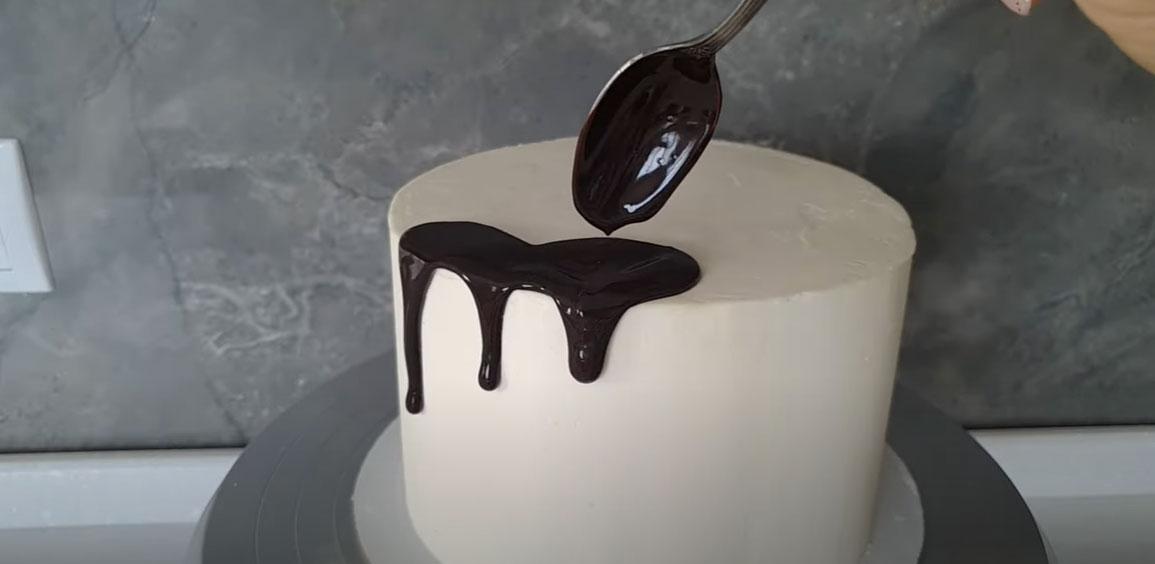
- Transfer the mixture to a piping bag and begin decorating the cake immediately. If you don't have a piping bag, you can use a regular teaspoon to drizzle the mixture over the cake.
Option #3 – chocolate glaze with milk and starch
Ingredients:
- milk – 125 ml;
- sugar – 60 g;
- cocoa (dark) – 25 g;
- corn starch – 10 g.
Step-by-step recipe:
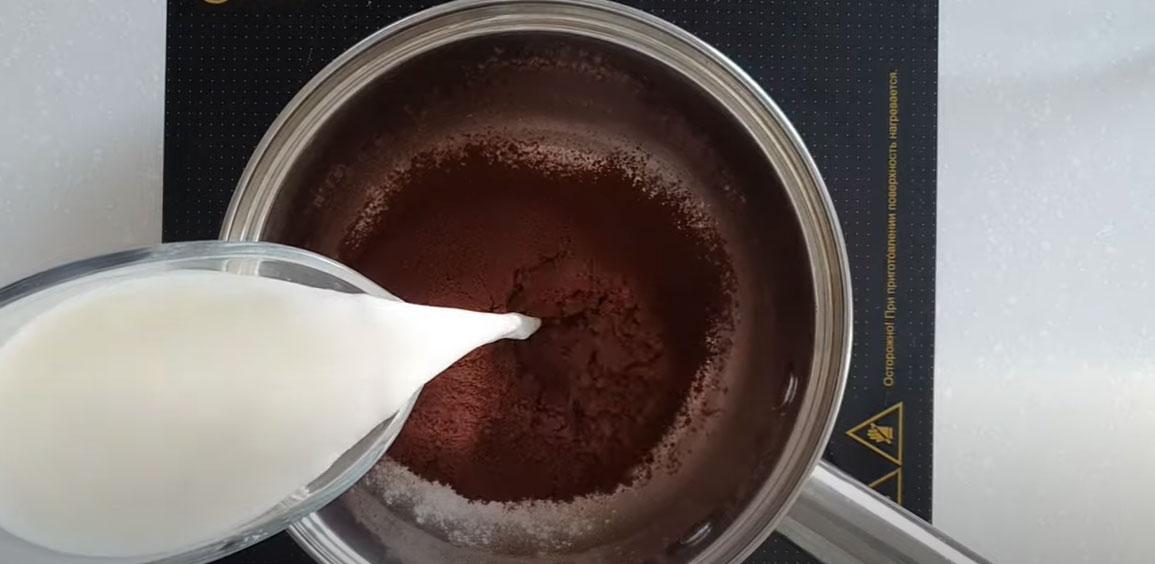
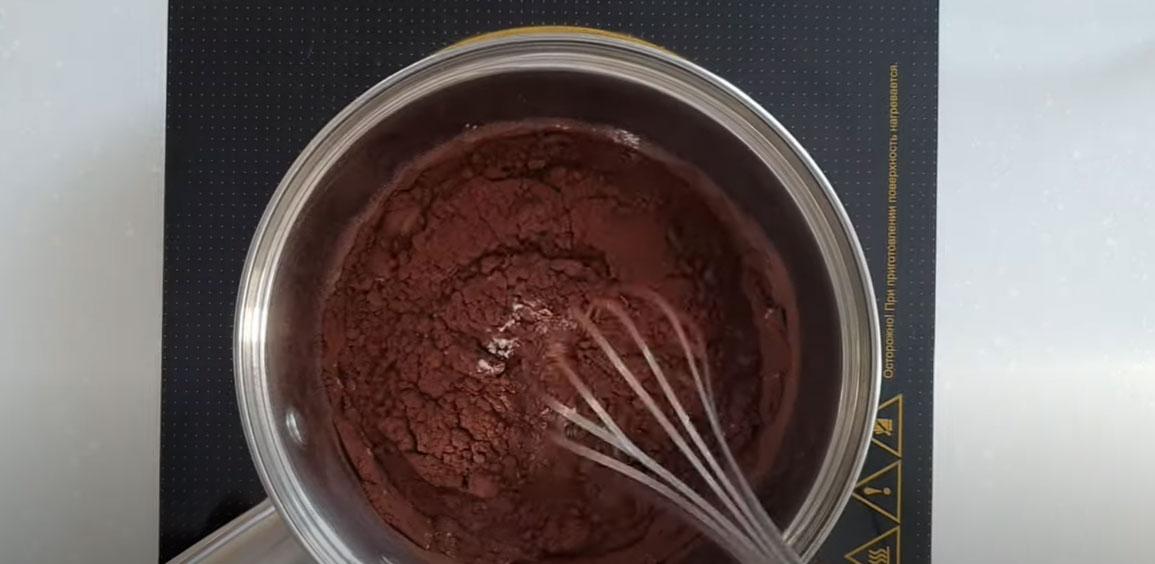
- In a saucepan, combine 60 grams of sugar, 25 grams of dark cocoa, and 10 grams of starch. Pour 125 ml of milk over the dry ingredients.

- Mix well with a hand whisk until the ingredients are combined and place on the stove.
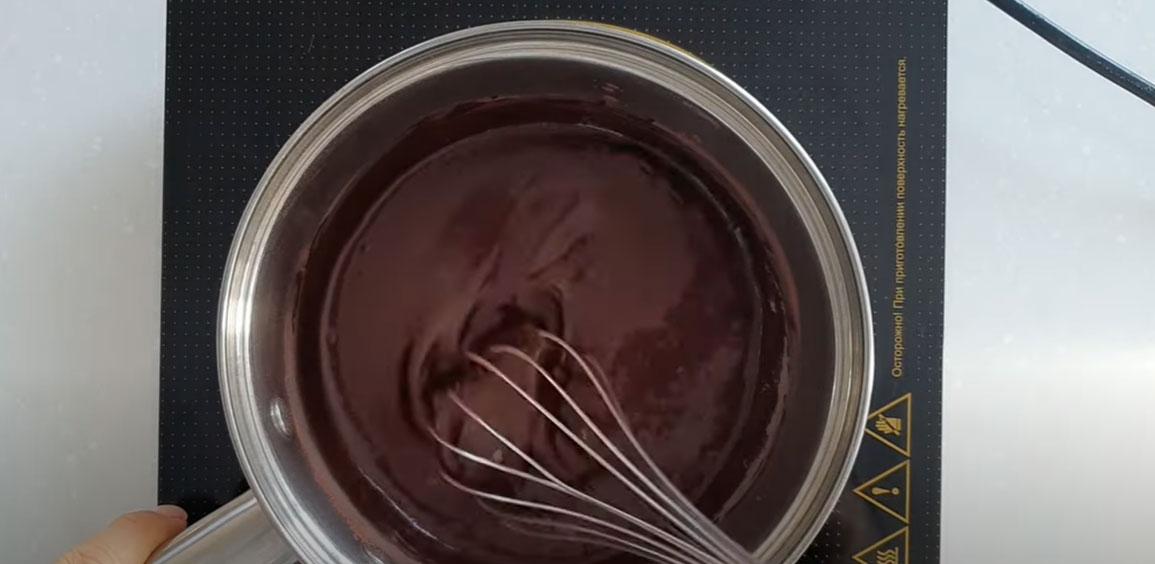
- Bring the mixture to a boil while stirring constantly.
- As soon as the mixture boils, remove from heat and continue stirring vigorously for another 1-2 minutes and let cool to 32-34℃.
- You can apply the glaze using a pastry bag or just a spoon.
Similarly, this recipe makes white chocolate cake icing without cream or butter, which can be used to decorate any colored or chocolate cake.
Option #4 – white or colored chocolate ganache with butter
White streaks look very beautiful on brightly colored, chocolate, or even black coatings, as well as contrasting pink, blue, or green ones, which are ideal for decorating a children's dessert.
Ingredients:
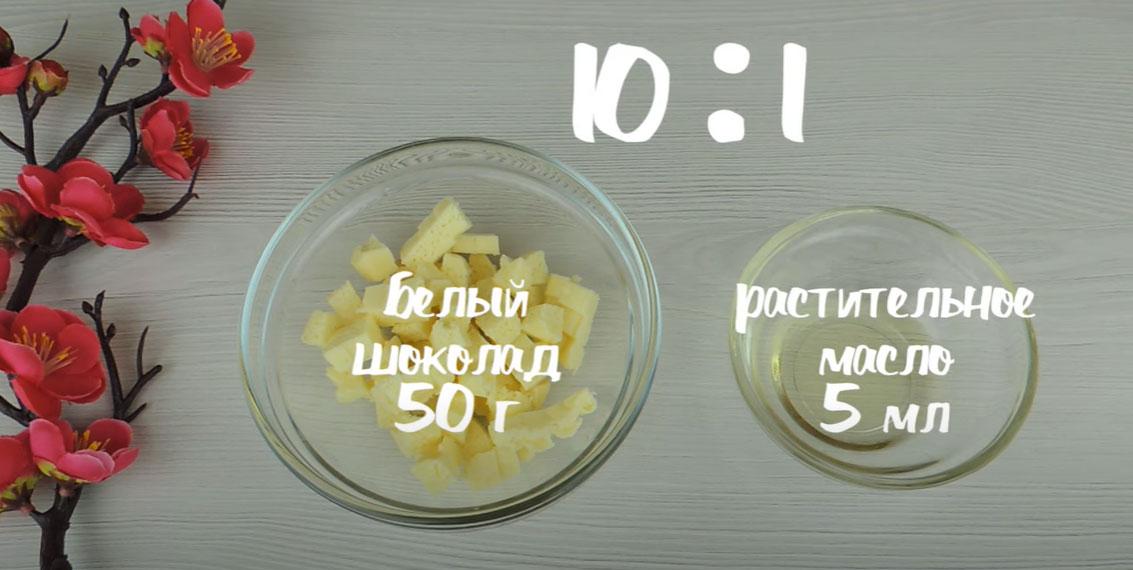
- white chocolate – 50 g;
- refined vegetable oil – 5 ml;
- fat-soluble dye - 1/4 tsp.
Step-by-step recipe:
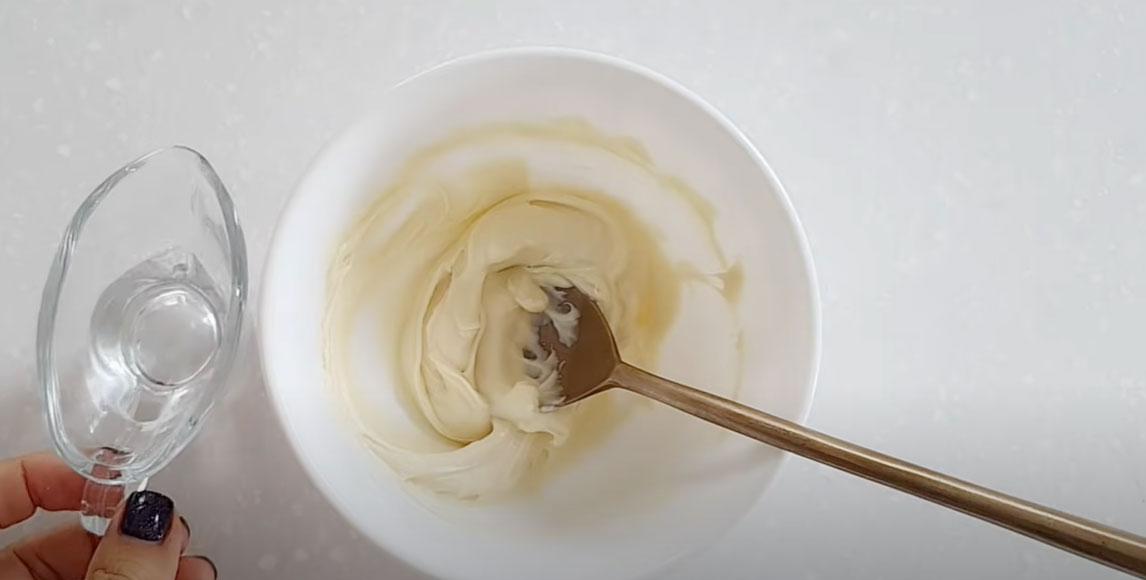
- Measure out white chocolate and vegetable oil in a 10:1 ratio.

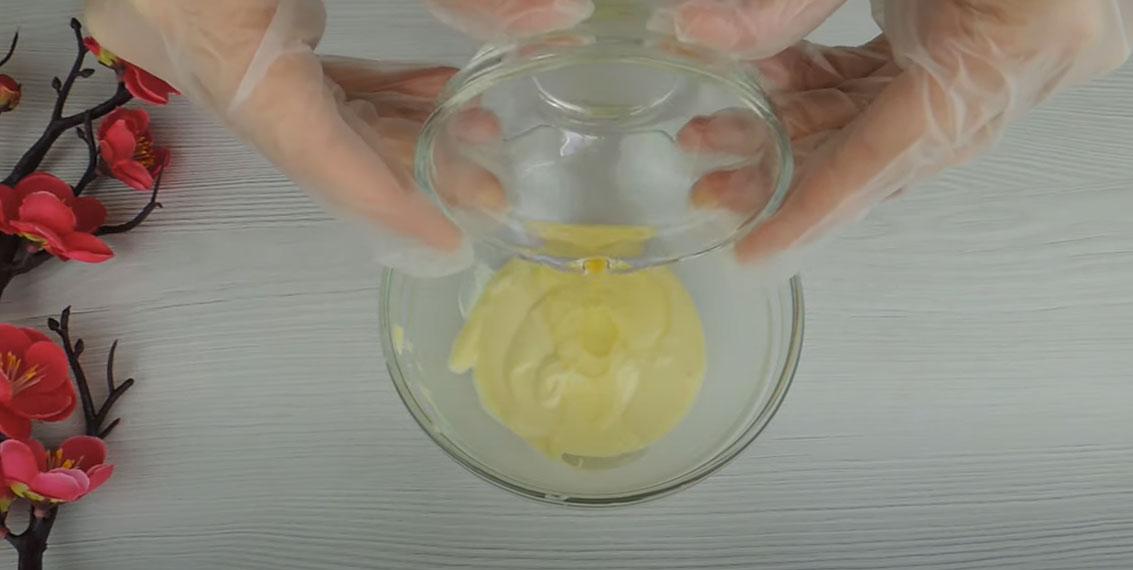
- Melt the white chocolate in the microwave in short bursts or in a double boiler and add the butter.
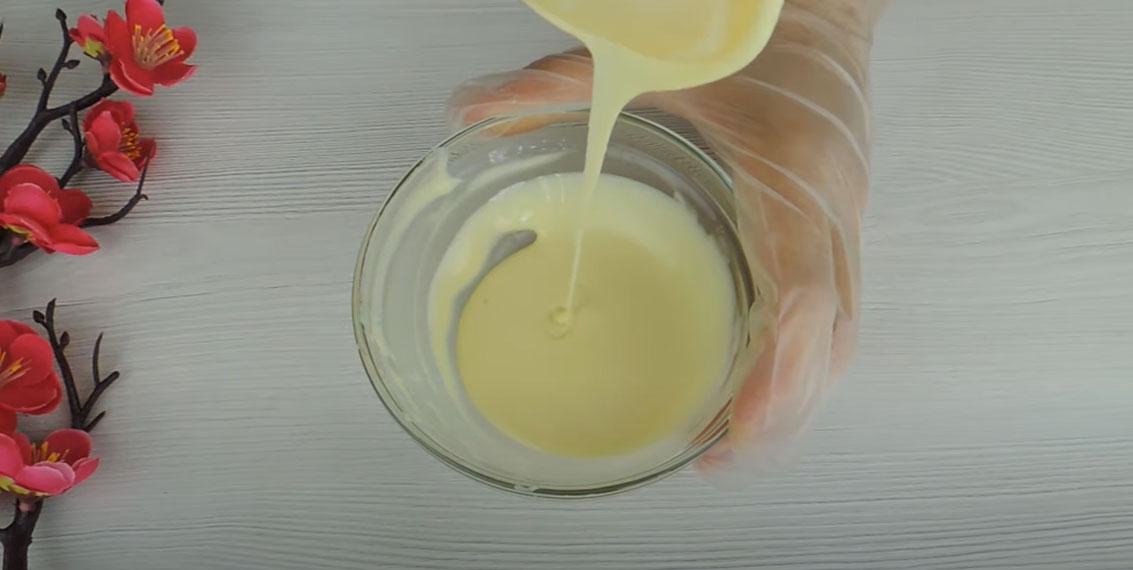
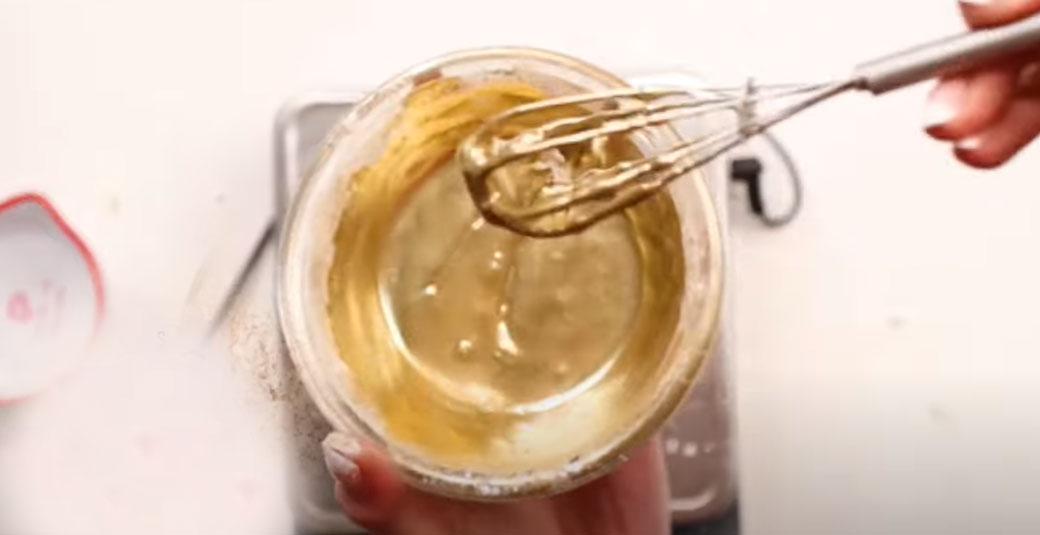
- Mix until smooth. At this point, you'll have a ready-to-use ganache, perfect for decorating your cake. It will have a slightly yellowish tint.
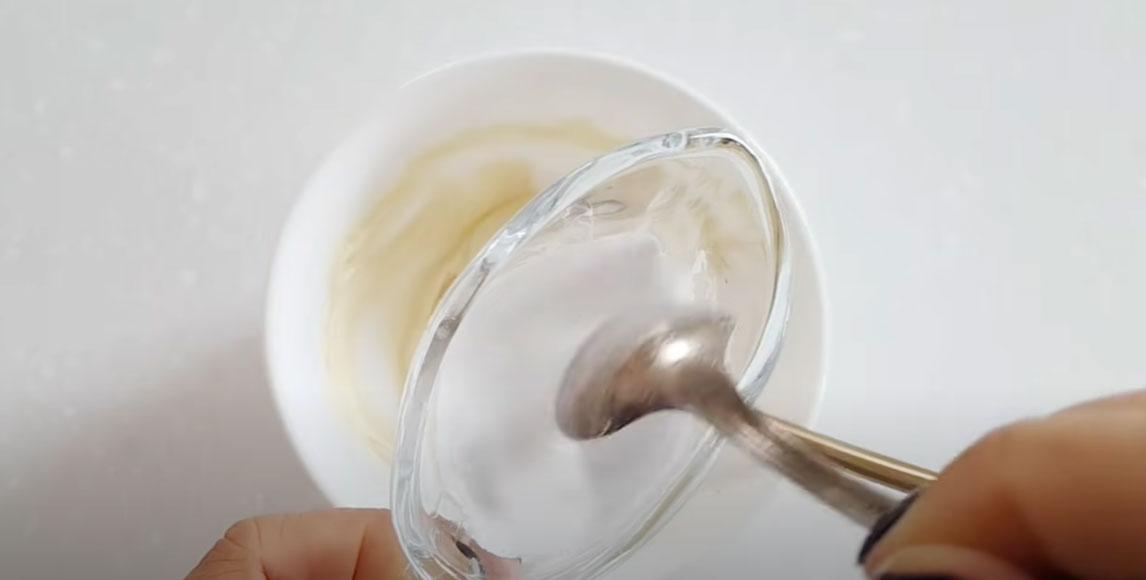
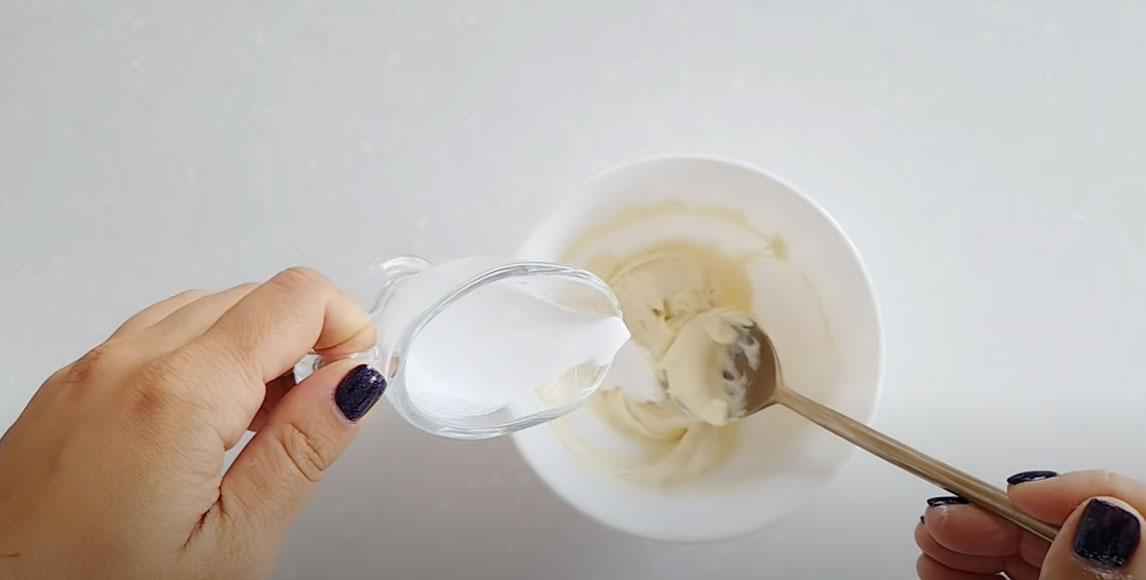
- If you want to get beautiful white streaks, add a teaspoon of whitening agent to the mixture (titanium dioxide is ideal).
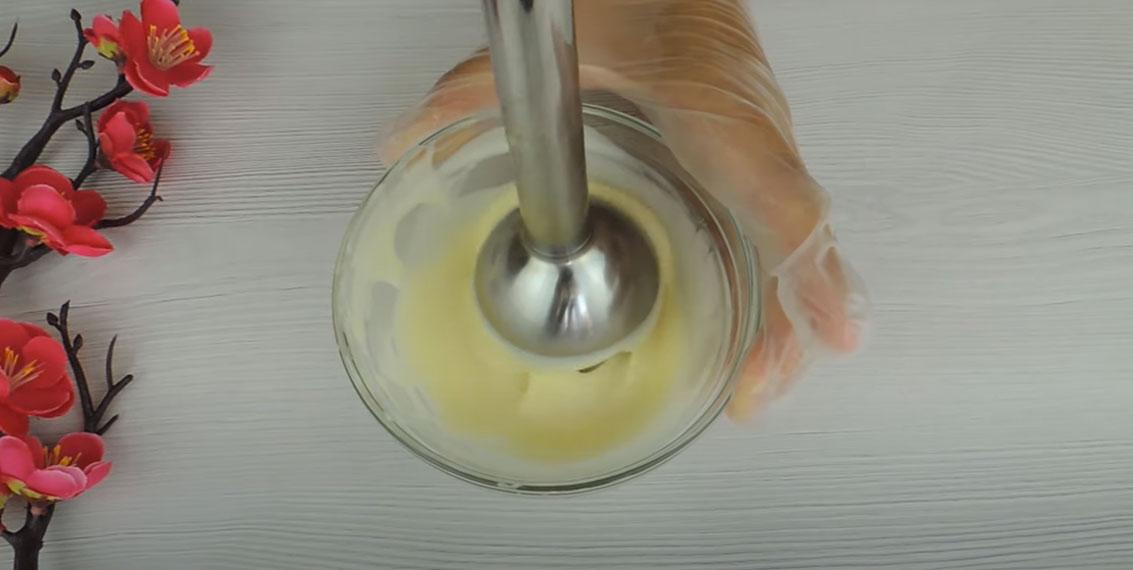
- The coloring doesn't dissolve well, so it's best not to stir the mixture with a spatula, but rather to blend it with an immersion blender until it becomes lighter. This results in a beautiful, almost white ganache.
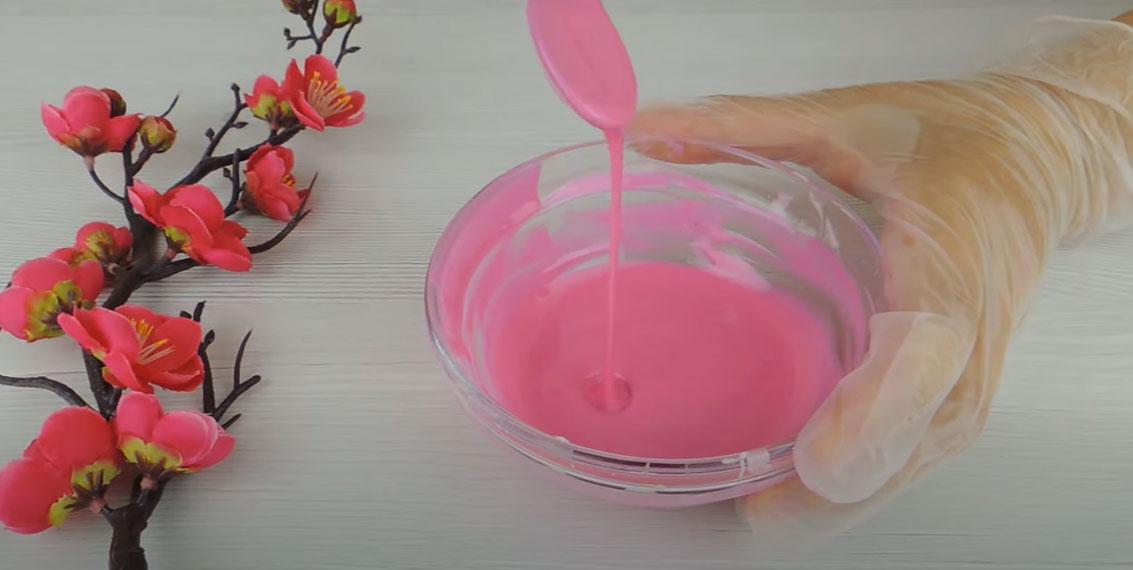
- If we need pink, blue or another bright color, then add a teaspoon of powdered fat-soluble food coloring to the mixture obtained in step 3.
- Blend until completely dissolved and an even, uniform color is formed.
- Apply drips onto a well-cooled cake at a working temperature of 29℃.
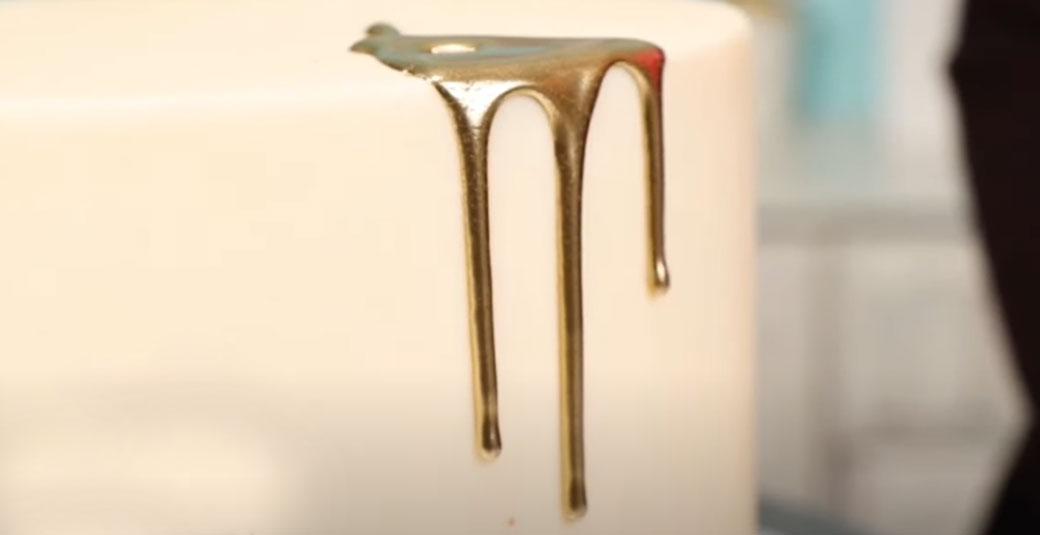
Option #5 – golden streaks without chocolate
Ingredients:
- powdered sugar – 50 g;
- candurin, ready-made food-grade golden glitter – 5 g;
- vodka – 20 g.
Step-by-step recipe:
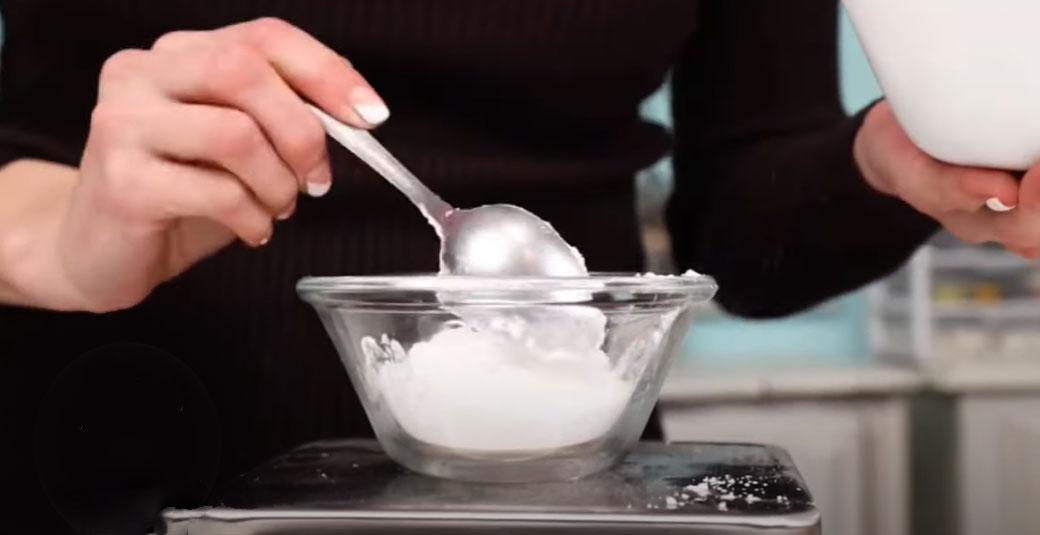
- Measure out 50 grams of sifted powdered sugar (without lumps).

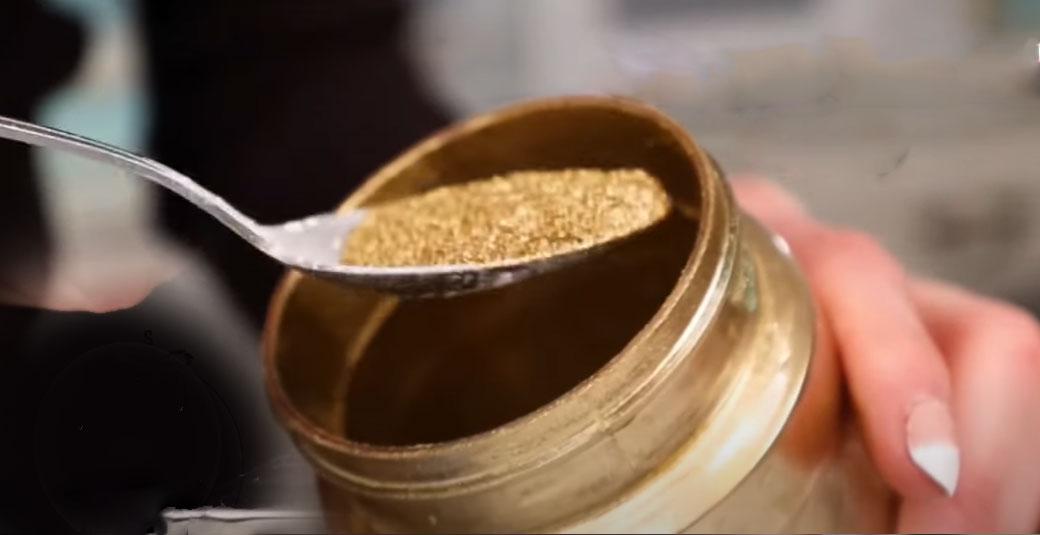
- Add 5 grams of edible glitter. To achieve a beautiful golden color, use ready-made edible glitter powder from trusted manufacturers.
- Mix the dry ingredients thoroughly until a homogeneous free-flowing mass is obtained.
- Add 20 grams of any vodka, adding in small portions.
- Knead the mixture until smooth, achieving the desired consistency.
- Apply golden drips using a piping bag or a spoon onto the well-chilled surface of the cake.
- If you want to decorate the cake with a beautiful gold lettering, simply make the mixture thicker by adding less vodka in step 4.
Option #6 – chocolate drips on water
The simplest recipe for making white or brown drips.
Ingredients:
- chocolate (dark, milk or white) – 60 g
- water – 15 g;
- water-soluble food coloring – 1/4 tsp (for colored glaze based on white chocolate).
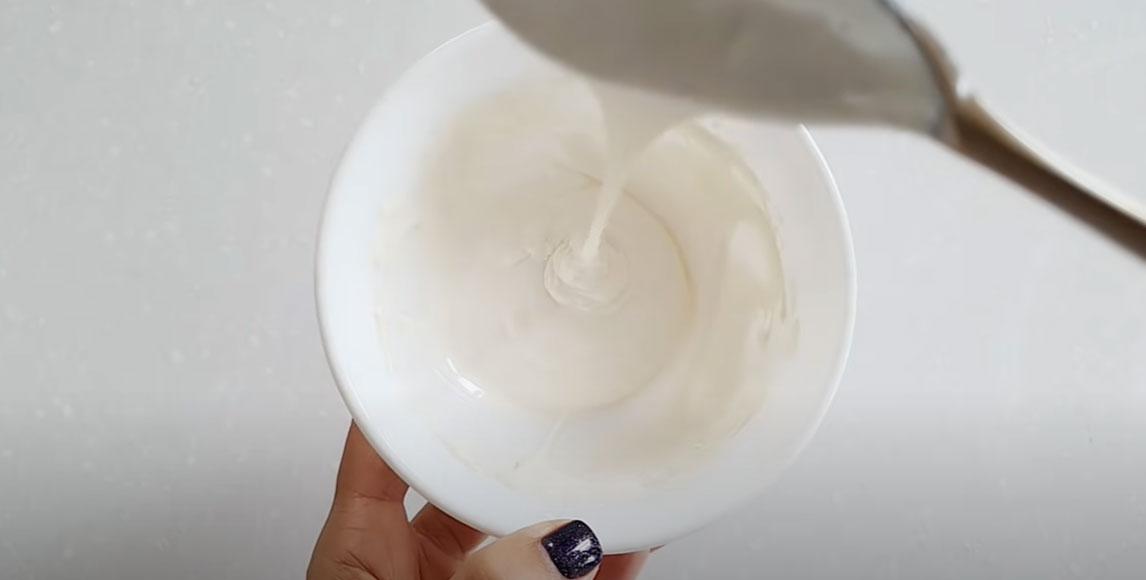
We'll demonstrate this using white icing as an example, but brown icing is prepared in exactly the same way, you just won't need to add any coloring.
Preparation:
- Melt 60 grams of chocolate without overheating it. The maximum heating temperature for white and milk chocolate is 45°C (113°F), and for dark chocolate, 50°C (122°F).

- Dissolve 1/4 teaspoon of water-soluble food coloring (we used white) in 15 ml of water.
- Add the water and food coloring to the melted chocolate. Keep in mind that both mixtures should be approximately the same temperature (40-43°C).
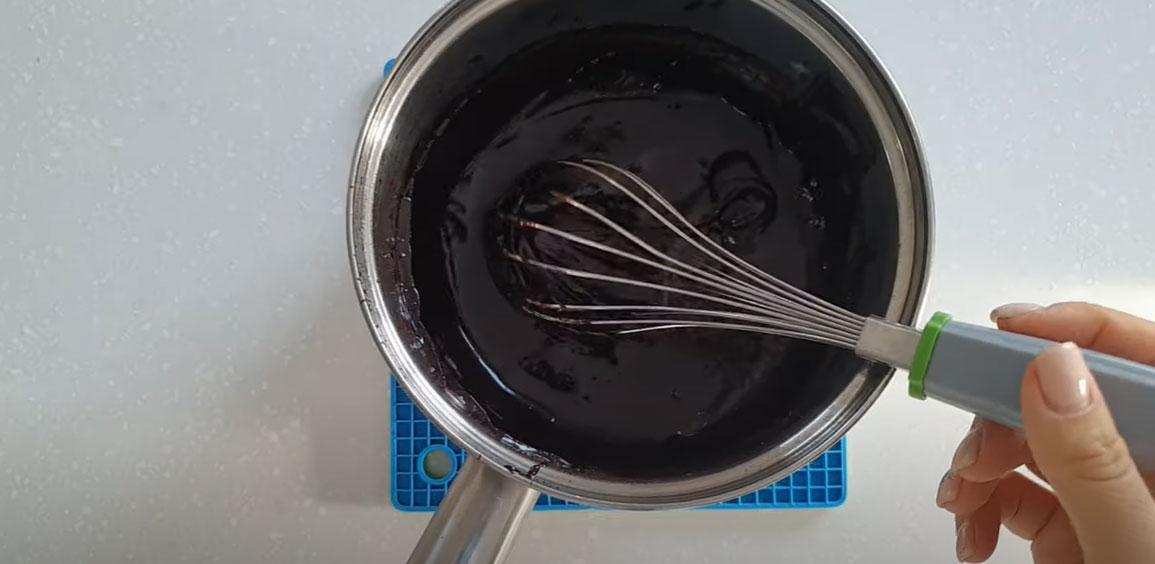
- Mix until a smooth, homogeneous texture is achieved. Initially, chocolate doesn't dissolve well in water, but don't give up. With continued mixing, you'll get a smooth, homogeneous mixture, as shown in the photo.
- All that remains is to form beautiful drips.
Option #7 – translucent streaks on gelatin
Ingredients:
- cream 33% - 100 g
- sugar – 50 g
- butter – 30 g
- gelatin – 1 tsp
- water – 2 tbsp.
- water-soluble dye.
Preparation:
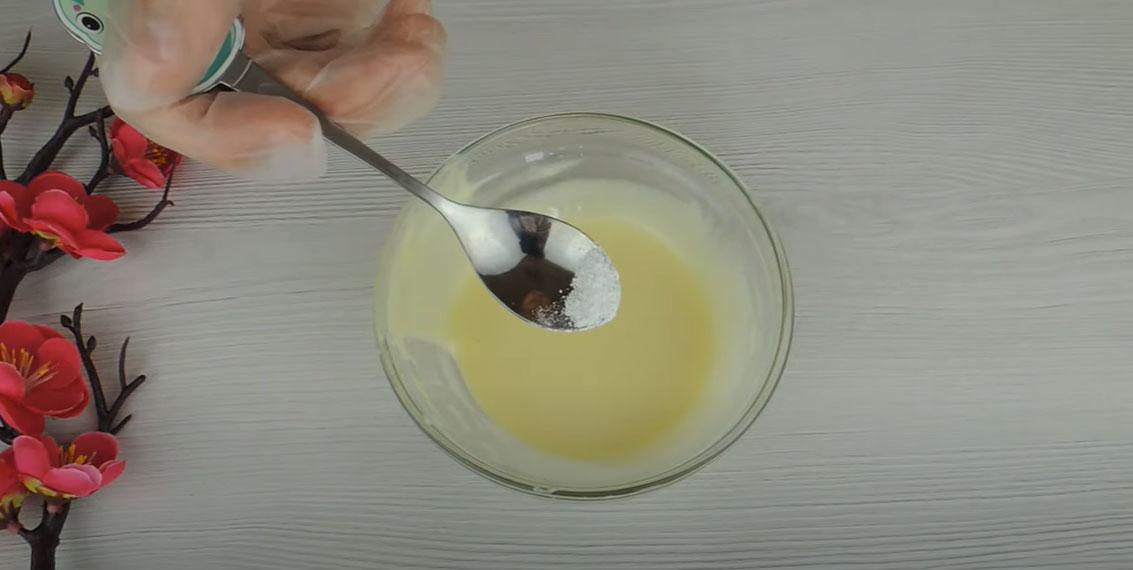
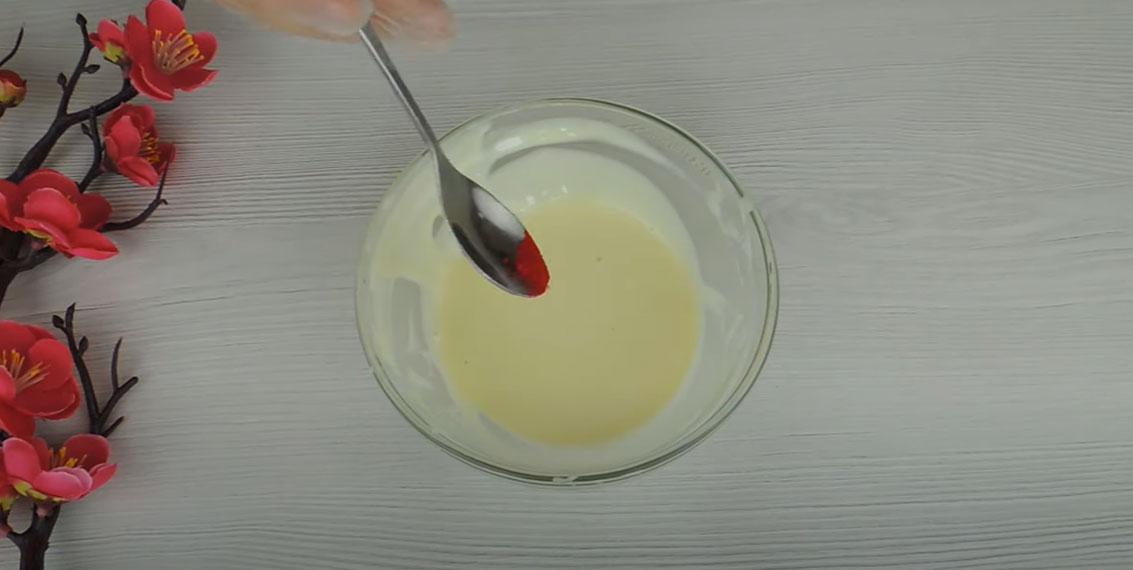
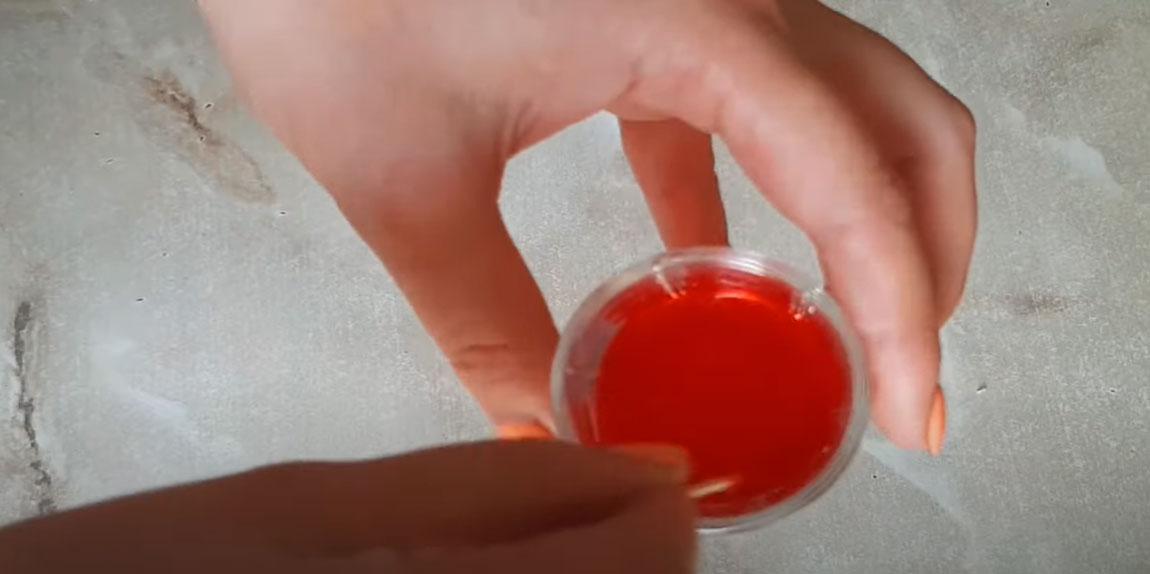
- Soak one teaspoon of gelatin in 2 tablespoons of water. You can immediately add 6-7 drops of water-soluble food coloring of the desired shade (we used red) to the gelatin.

- Mix the gelatin and dye thoroughly and let the mixture sit while you prepare the creamy base.
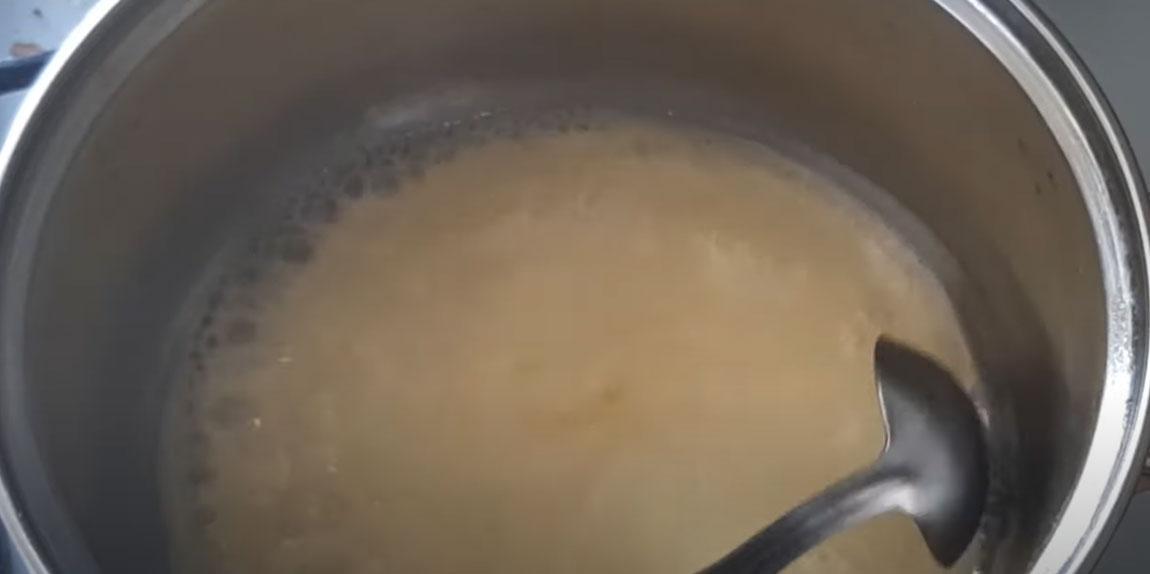
- In a saucepan, combine 100 grams of cream, 50 grams of sugar, and 30 grams of butter. Bring the mixture to a boil and simmer for about 5 minutes.
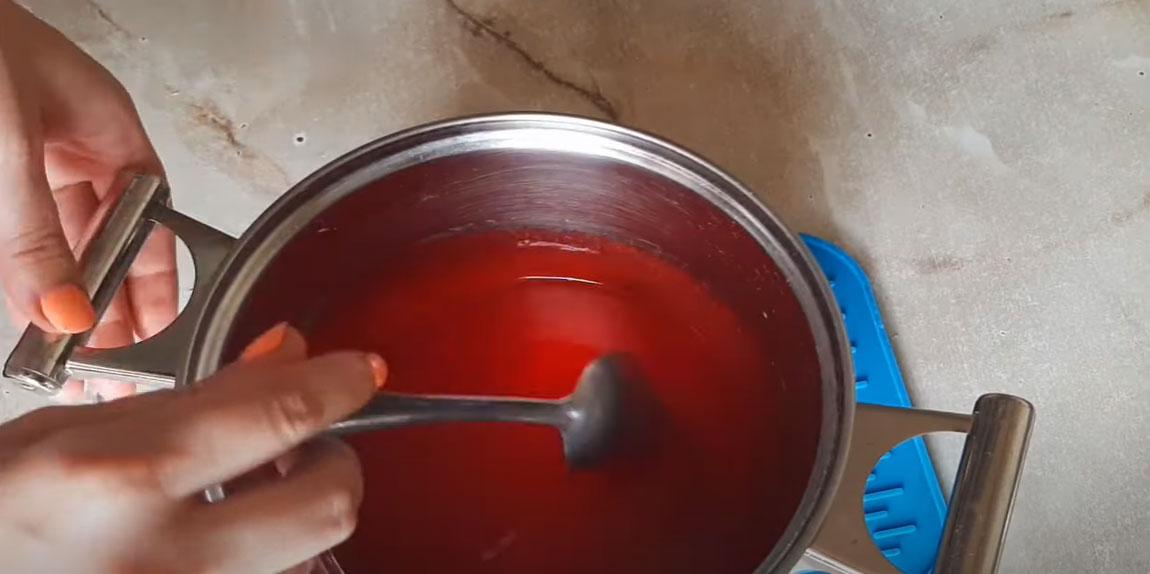
- Add the swollen colored gelatin to the hot creamy base and stir until completely dissolved.
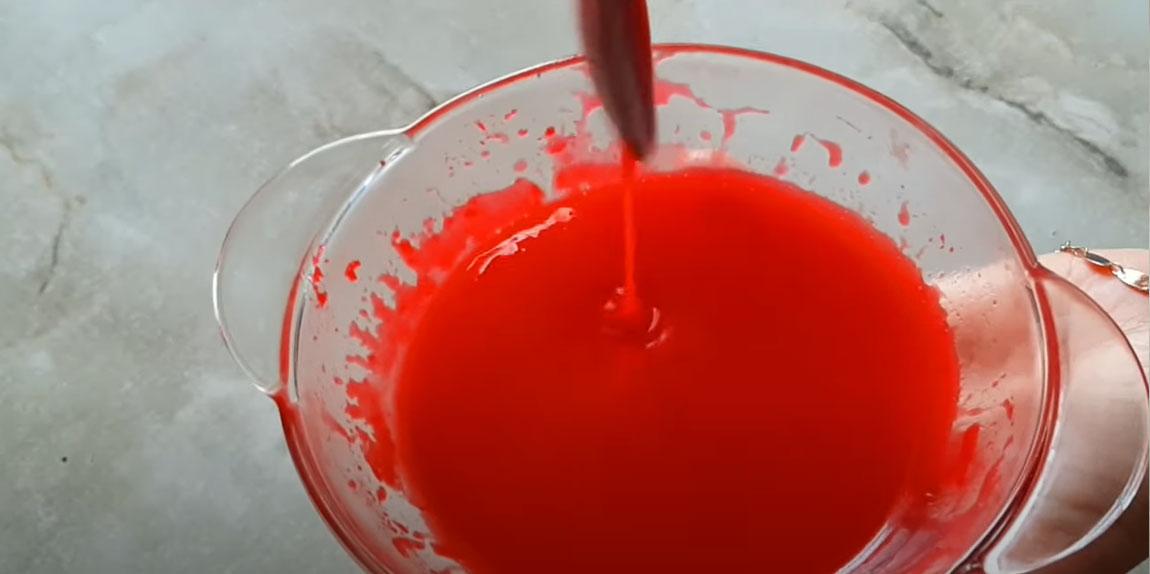
- Pour the prepared mixture into a container that can then be heated in the microwave, and leave to cool and stabilize for 2-4 hours.
- Before use, heat the mixture in the microwave in short bursts until the desired consistency is achieved, and decorate the well-chilled cake.


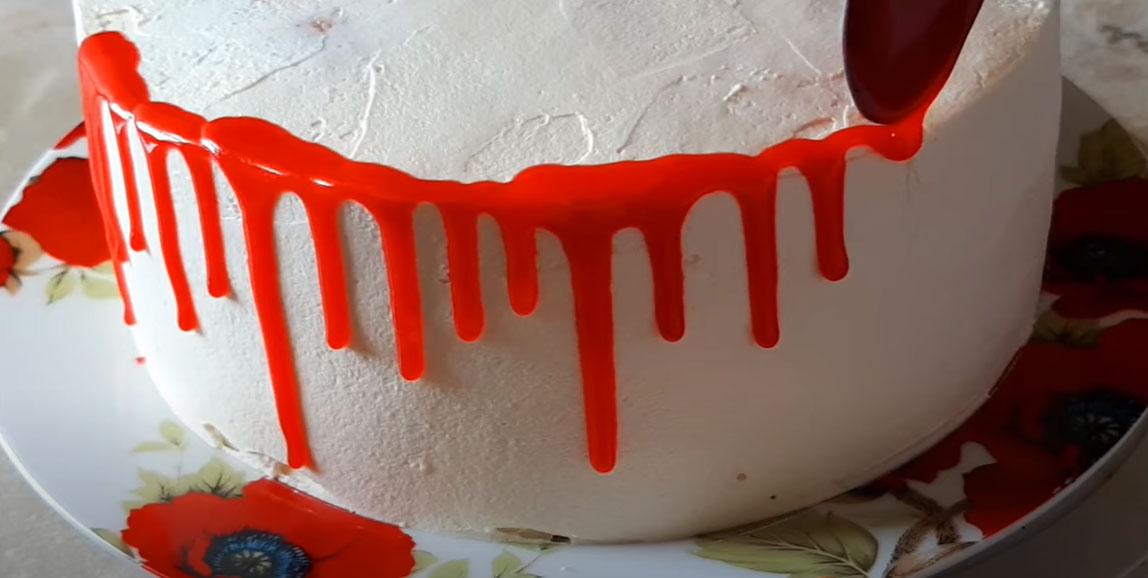
Important points
To ensure the results are as beautiful as those on Instagram, consider these tips from experienced chefs:
- Apply drips to a well-chilled cake surface. Ideally, refrigerate the cake covered with the base layer for at least 2 hours.
- When mixing the ganache, strive for maximum homogeneity, otherwise a heavy lump that slips through will 100% ruin the drip by rolling unsightly onto the base.
- Take into account the working temperature of the glaze (for chocolate masses it is 32-34℃, for butter ganache based on white chocolate – 29℃).
- If you plan to decorate the cake with fruits, berries, candies, or other decorations, let the drips harden completely in the refrigerator first.
- You can add an inscription to the design, but in this case the proportions for preparing the mixture should be slightly changed, making it thicker.
For more helpful tips on working with ganache to create decorative drips on cakes, watch this video: