French Baking Shirt: Why You Need It and How to Make It

Content
A "French shirt" is a simple and effective way to prepare almost any baking pan. Today, we'll explain why pastry chefs need a "shirt" and how to create this perfect coating at home.
Origin of the phrase
There's an interesting legend explaining why the uniform shirt became a French tradition. Many centuries ago, French people considered hygienic procedures harmful and even dangerous to their health. Instead of daily bathing, residents rubbed their bodies with aromatic oils and liberally powdered them.
It is most likely because of the similarity between the processes of oiling and dusting that the special method of preparing baking pans was named “French shirting.”
The advantage of this method
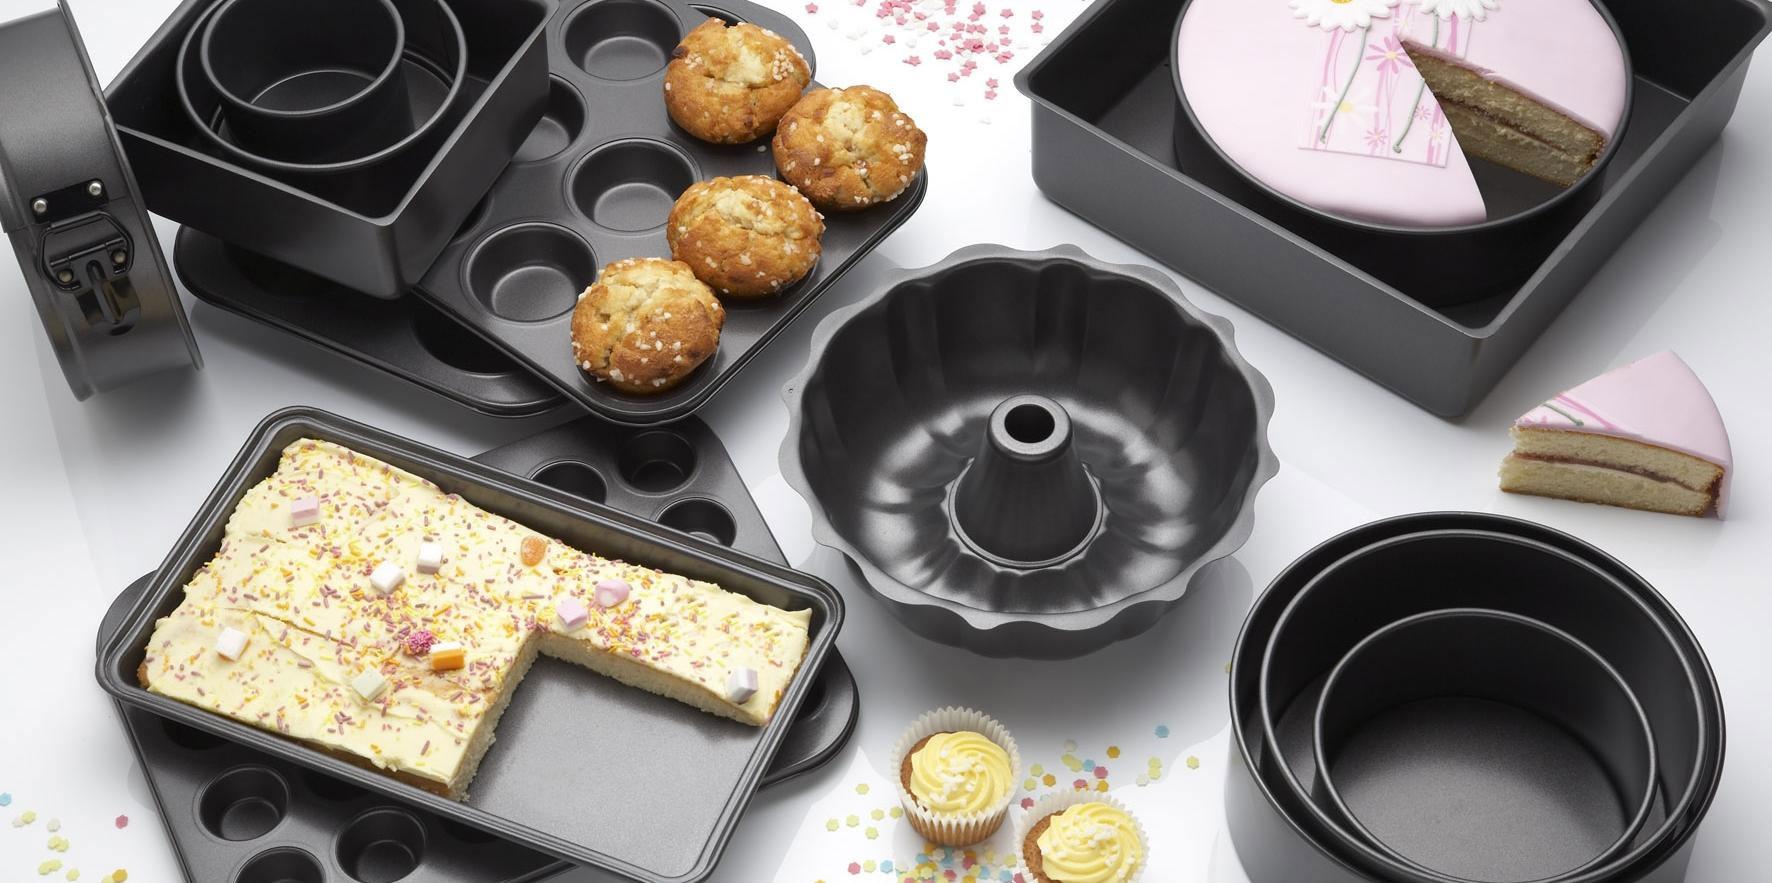
Each type of mold has its own advantages and features. Some require no special preparation at all, like silicone molds, while others can present a significant challenge for a novice cook, such as one-piece, all-metal molds.
The principle of preparing the form, called the "French shirt", has a number of advantages:
- the method is as simple as possible;
- Suitable for any type of mold;
- Suitable for all types of baking, including biscuits and pie fillings.
Butter combined with flour creates a strong barrier between the dough and the surface, preventing the finished product from sticking and removing it easily from the pan. At the same time, the butter doesn't soak into the dough or make the dish too greasy.
In other words, a "French shirt" replaces parchment or a silicone mat when baking, but allows you to create a uniform barrier in pans with complex geometries that cannot simply be lined with parchment paper.
How to Make a French Shirt
A trick that every experienced baker or pastry chef knows is also available to housewives who bake biscuits, muffins, cookies, and delicious pastries at home.
To create the right coverage, you only need two ingredients:
- butter;
- flour.
Step-by-step preparation of the form:
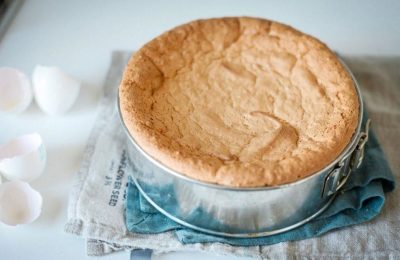
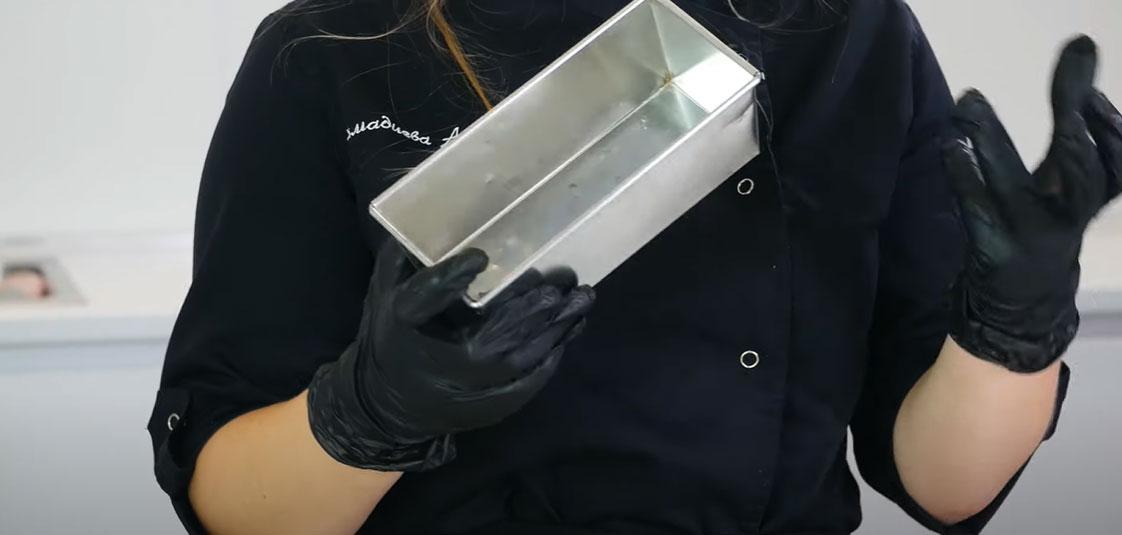
Step 1. A new pan or one that has been stored in the cupboard for a long time, in which you will bake a cake, biscuit or other dish, must be washed and thoroughly dried.
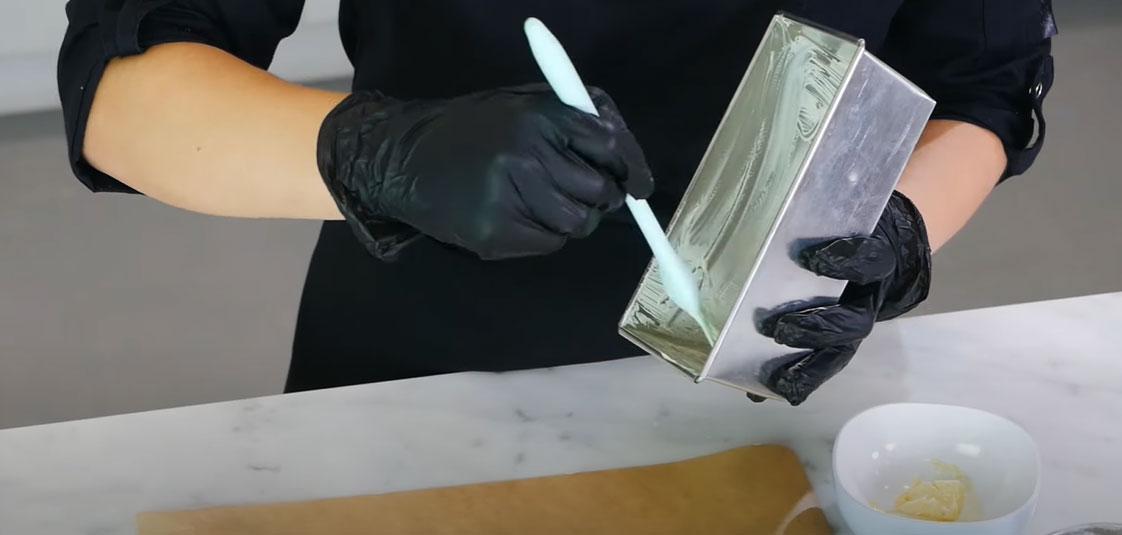
Step 2. Grease the inside of the pan with softened butter or margarine. Don't heat the butter; simply remove it from the refrigerator and let it come to room temperature ahead of time. The fat shouldn't be runny, but it should be soft enough to spread with a pastry brush, as shown in the photo.
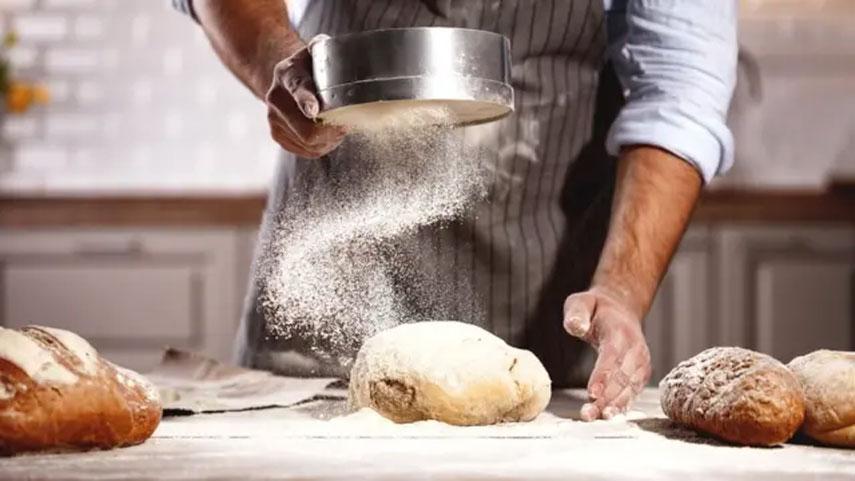
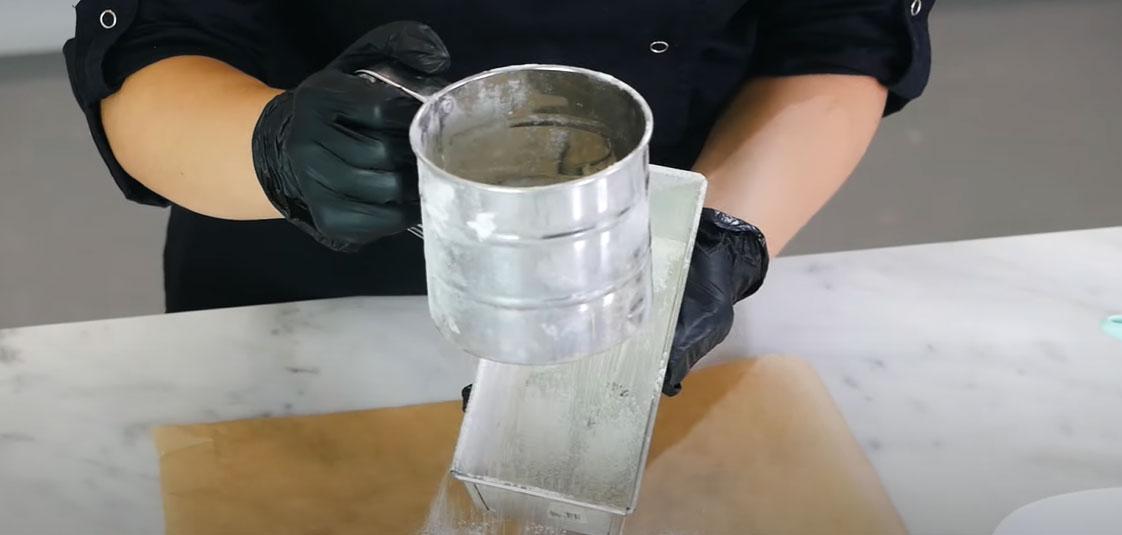
Step 3. Generously sprinkle the butter layer with flour, creating an additional layer that evenly covers the butter.
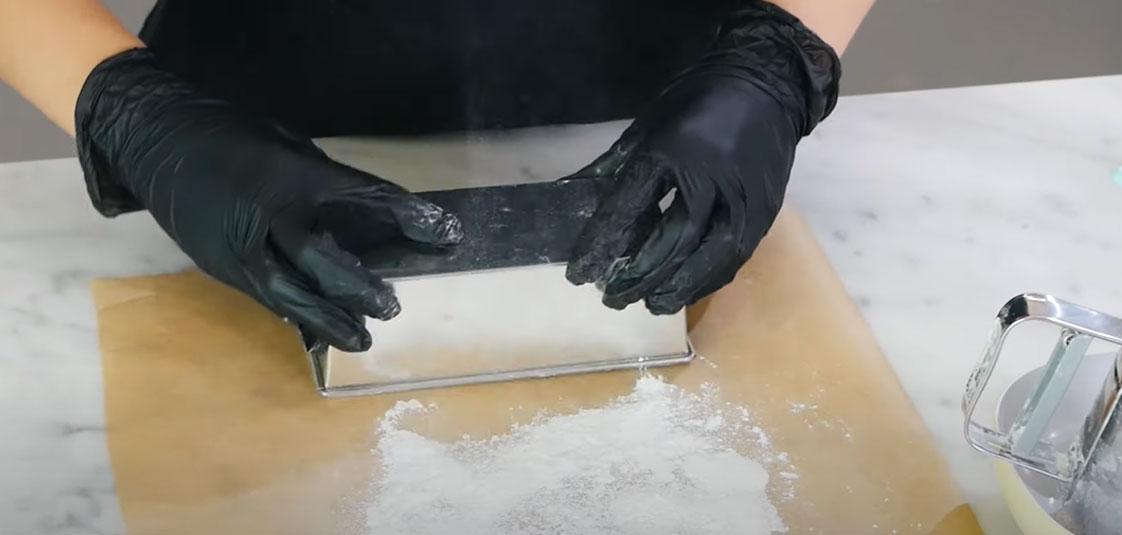
Step 4. Remove excess flour by lightly tapping the pan on the surface of the table.
For more information on how to make a French shirt for baking a sponge cake or pie, watch the step-by-step video instructions:
French shirt with semolina
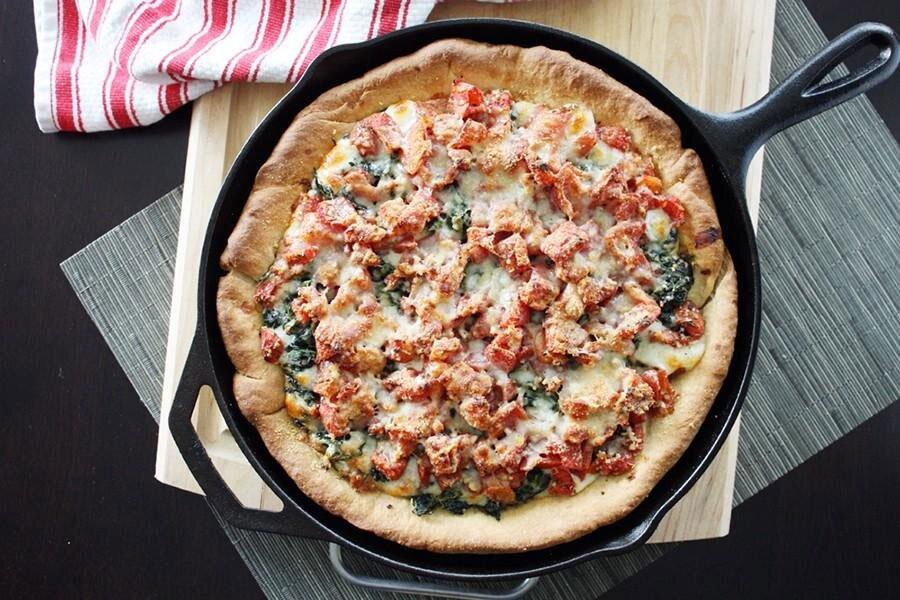
Pizza crust can also be baked on a silicone mat or a sheet of paper, but a base made with butter and semolina is much more interesting and delicious.