How to assemble a two-tier cake at home

Content
A tiered cake always creates a magical effect at a celebration, so many people want to surprise their guests by making one themselves for an anniversary, wedding, or other important occasion. Today, we'll tell you how to assemble a two-tiered cake or a taller structure at home, as well as some important details to keep in mind to avoid ruining the whole thing.
Basic rules
Assembling a multi-tiered cake is a challenging and difficult task, but it is quite doable at home.
The strength and transportability of the entire cake will depend on how well it's assembled. It's important to keep in mind that whether it's a small two-tier cake, easy to make at home, or a tall, multi-tiered wedding cake, like those made by the industry's best pastry chefs, all must:
- keep the shape until serving;
- withstand transportation to the venue;
- do not fall apart under the pressure of the knife when cutting.
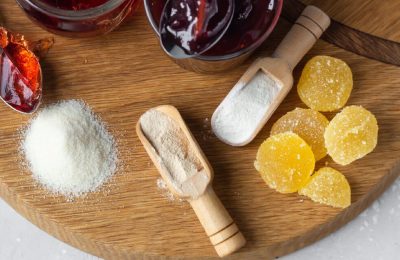
Not all cake recipes are equally suited to the idea of a multi-tiered design. So, if you want to bake a cake with two or more tiers, we recommend using sponge-based recipes as a basis, as they will have a dense structure, smooth edges, and a regular shape.
Experienced pastry chefs recommend that beginners use cakes such as:
Of course, if you want, you can make a two-tier mousse cake, but its delicate texture requires additional reinforcement, so you need to know how to assemble such a structure correctly.
Assembling a two-tier cake
Without reinforcement
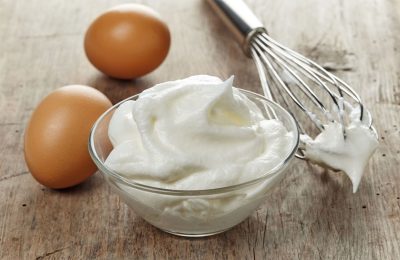
If you want to know how to make a small two-tier cake at home, without any additional tricks, simply choose a recipe based on a thick sponge cake or honey cake, and follow these recommendations:
- the height of the first and second tiers should be small;
- each layer of coating should not exceed 4 cm;
- The sponge cake layers must be leveled, cutting off any uneven areas;
- It is better to cover the top of the cake with mastic, which will help to further fix the shape.
Assembling a two-tier cake without a reinforcing structure is acceptable for small desserts with a dense consistency that hold their shape well, and also provided that the cake will not be transported.
In all other cases, reinforcement is a mandatory procedure, ensuring that the dessert is delivered to the celebration venue safe and sound.
With reinforcing structure
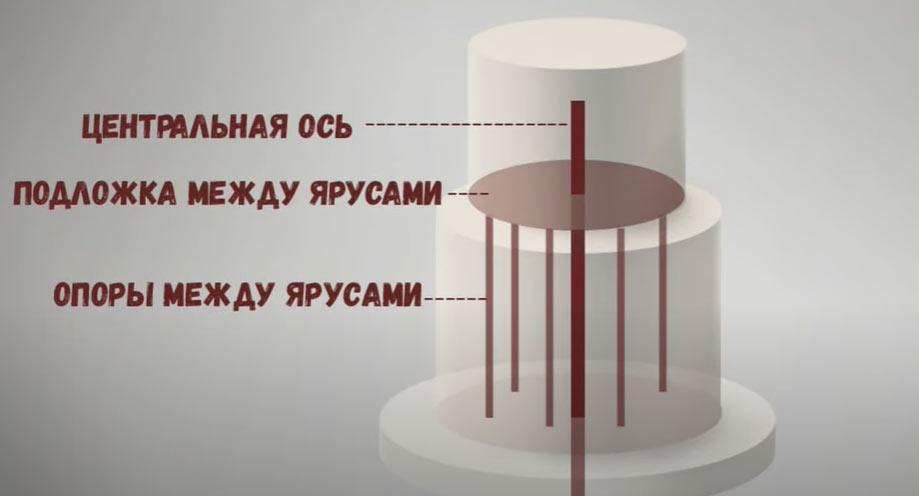
If the tiers will be high or you're concerned about the structure becoming tilted during transport, assemble the cake on a special stand with a central axis and an additional main axis for the top tier. Ready-made kits for assembling such structures are available, made of wood or plastic.
You can also make the cake base yourself:
Let's take a step-by-step look at how to properly assemble a two-tier cake on a stand with reinforcing elements.
As an example for our master class, we will take a cake with a total weight of 5 kg based on chocolate sponge cake layers with the following parameters for each tier:
| Tier | Diameter | Height |
| Upper | 14 cm | 11 cm |
| Lower | 20 cm | 12 cm |
The photo demonstrates how the functional stand is positioned inside the cake and maintains the stability of the structure.
Assembly algorithm:
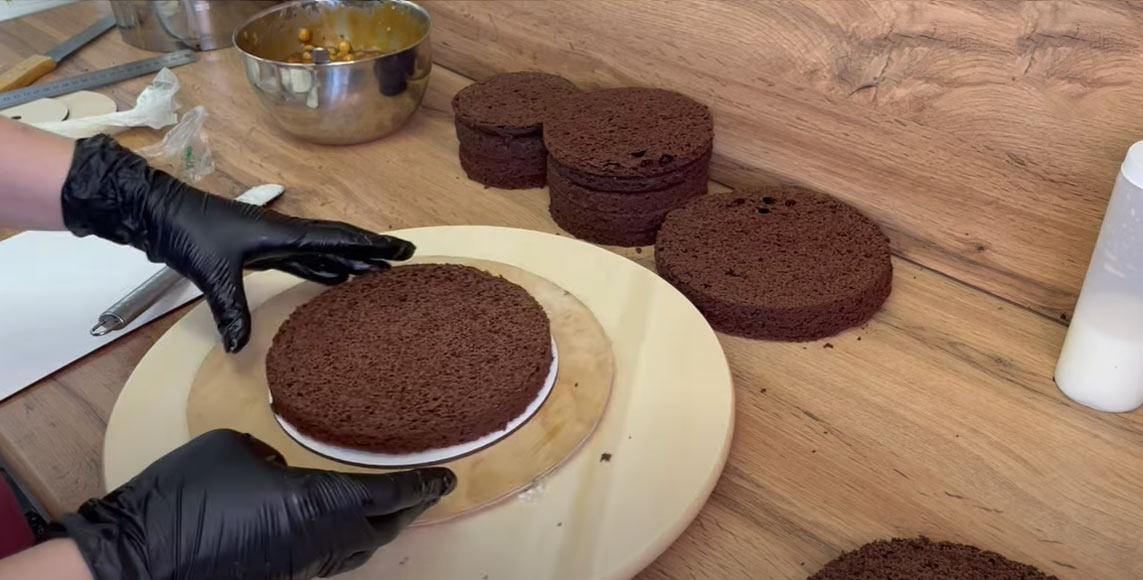
- We begin assembly from the bottom (first) tier, using a round base with a hole for the central reinforcing element.

- We spread a small amount of cream on the base and place the first cake layer on it.
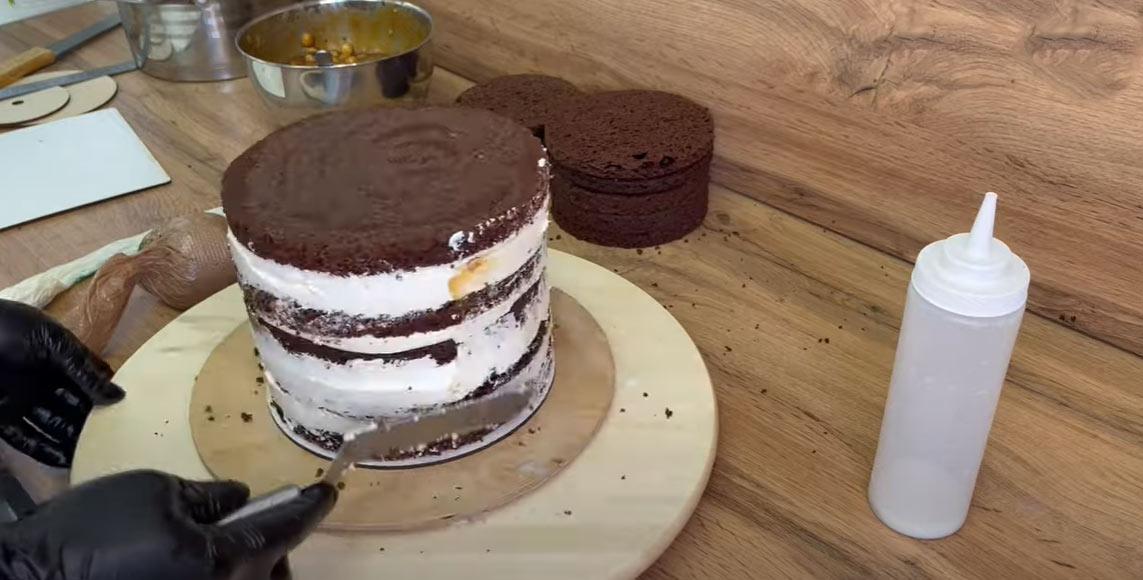
- We soak and coat all the cakes of the bottom tier according to the recipe.
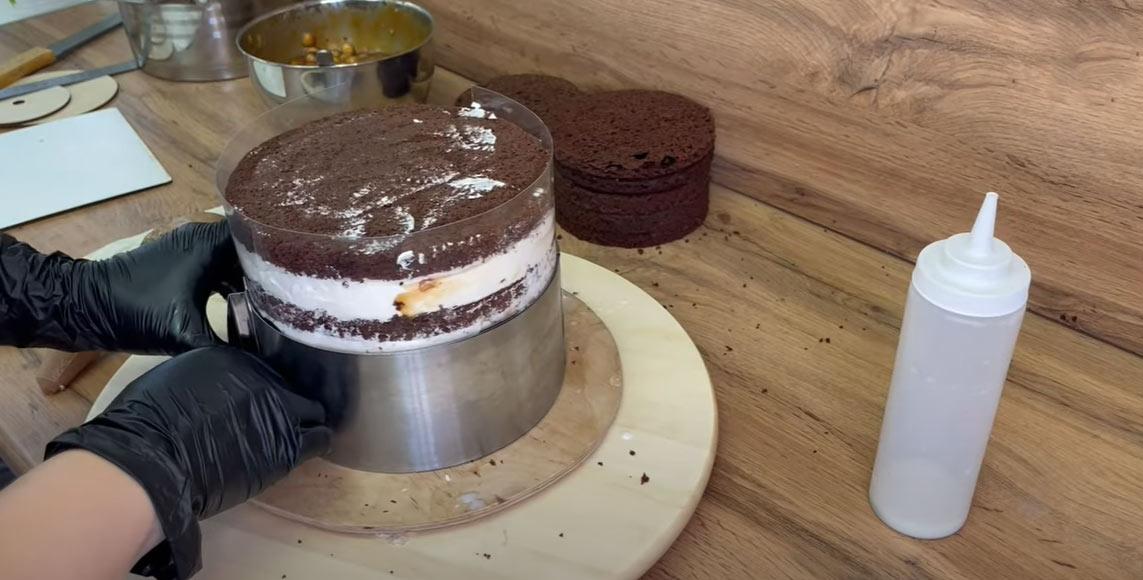
- Secure the cake with acetate film and a culinary ring. Refrigerate for at least 8 hours to soak and set.
- We also assemble a small cake for the second tier, placing it on a smaller circle with a hole in the center. We also secure the mold and refrigerate for 8 hours.
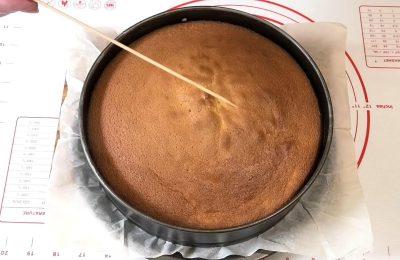
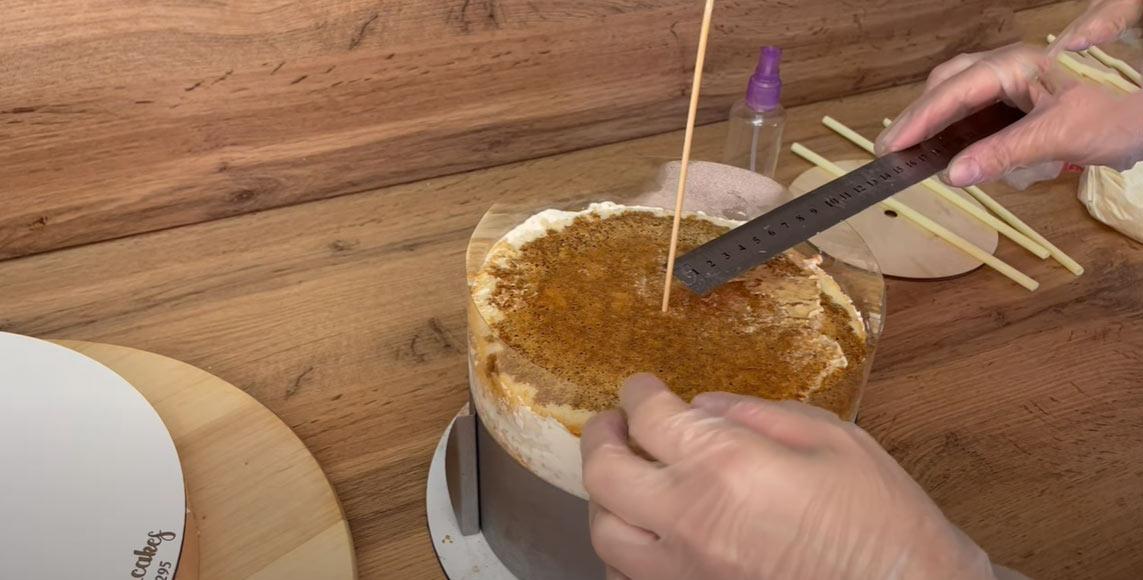
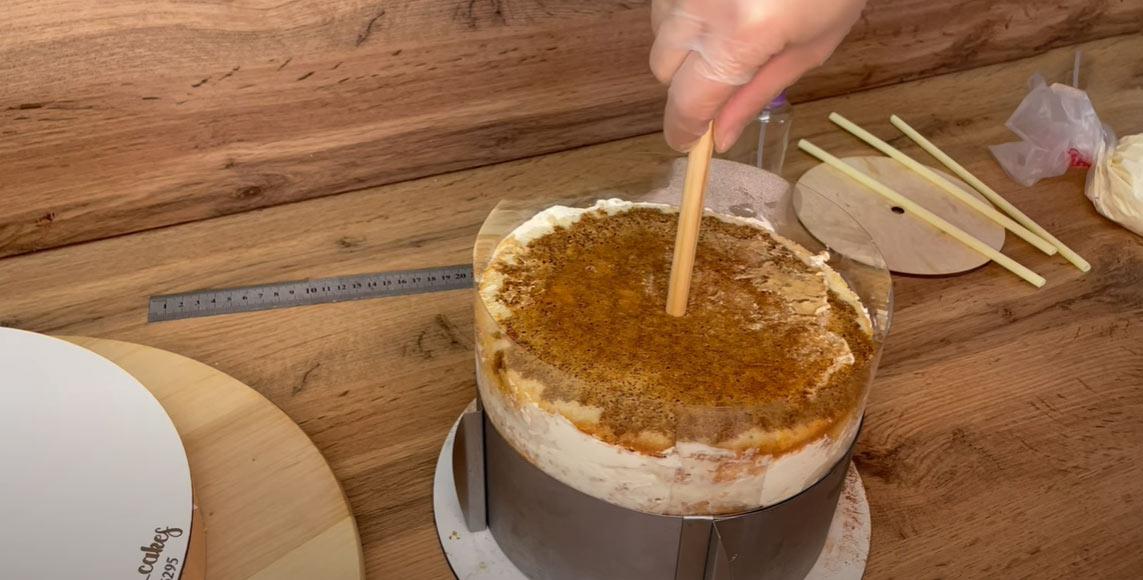
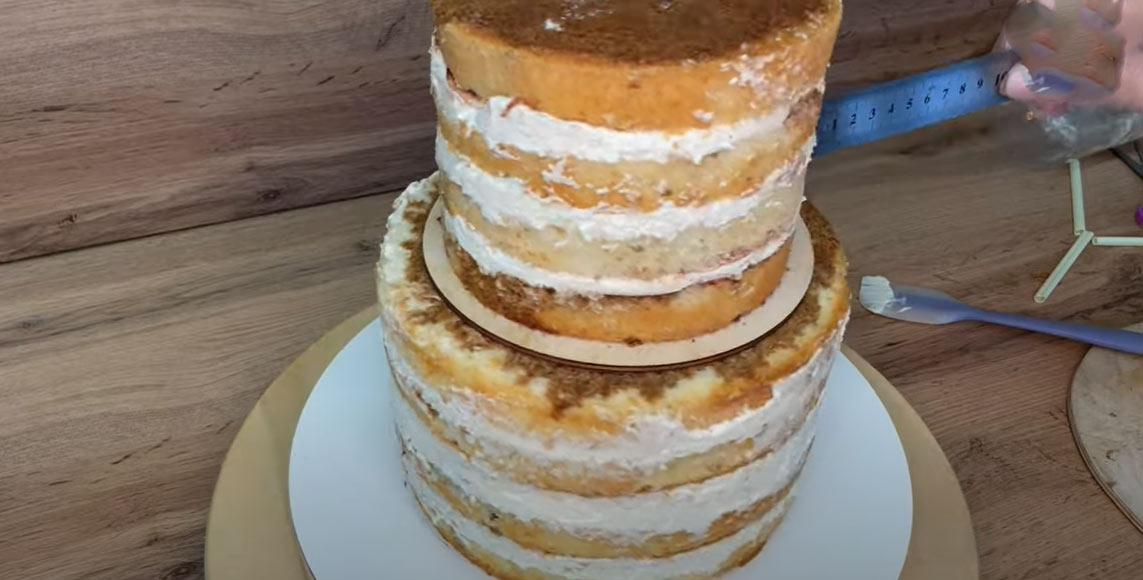
- The next step is to clearly define the center of our large (bottom) cake. A regular ruler will help with this. For clarity, mark the center with a skewer.
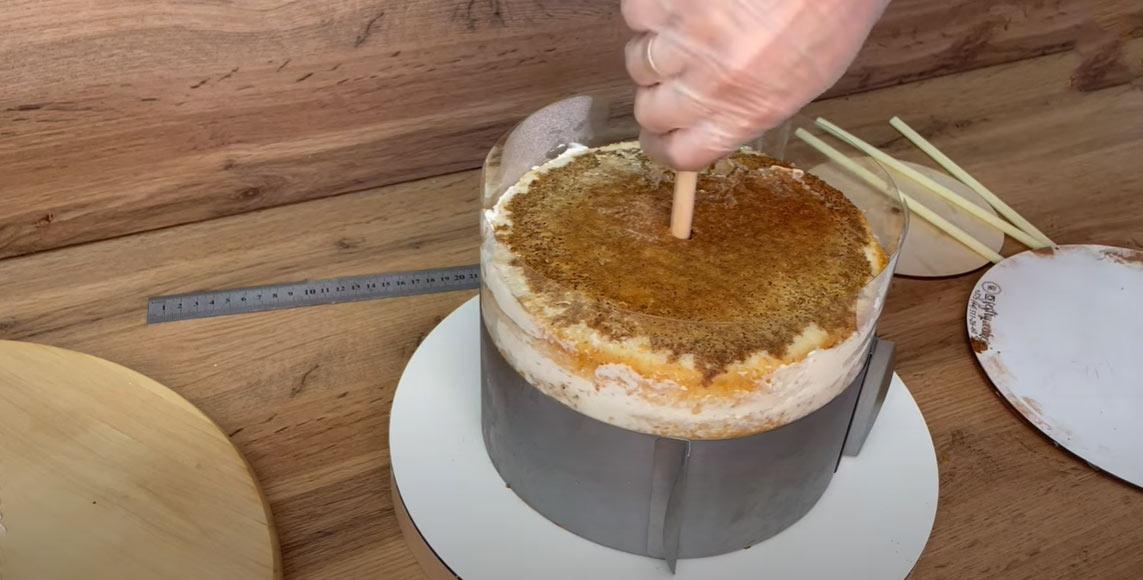
- Insert the wooden axis from the cake assembly kit precisely into the center (it should come out precisely into the hole in the base).
- Next, we place the cake on the foam base and screw in the central axis until it stops.
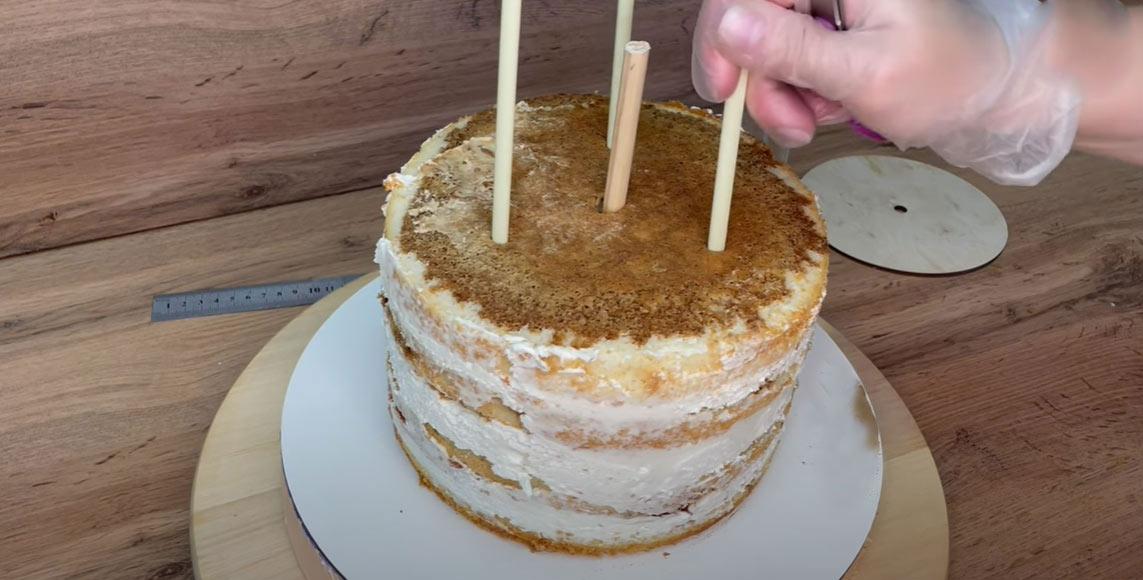
- Remove the ring and acetate film, then add three more reinforcing rods. They can be plastic (like ours) or wooden.
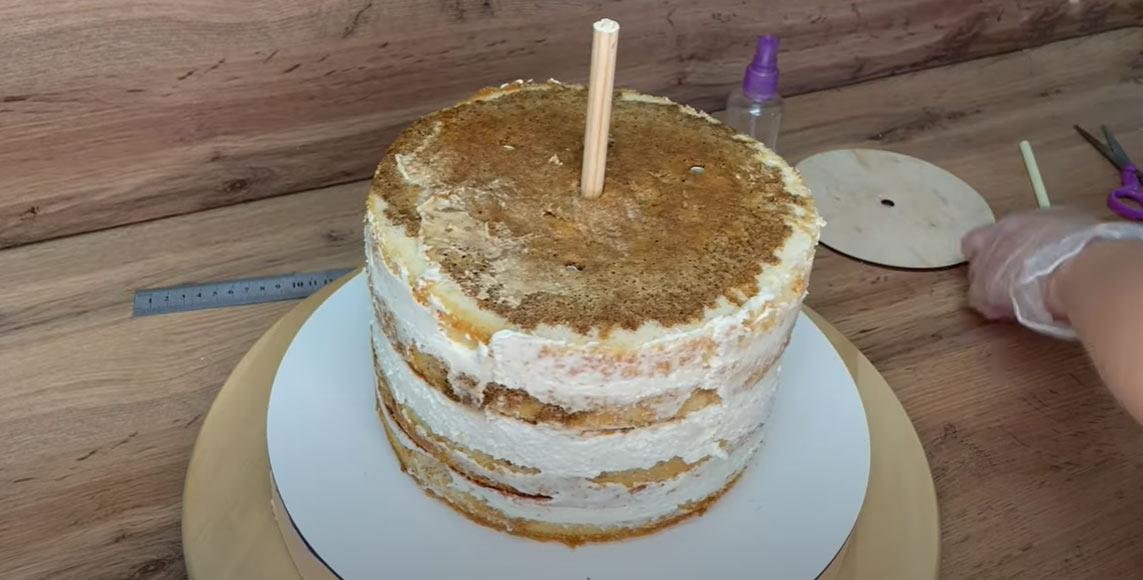
- We cut the additional reinforcement flush with the height of the cake (if the sticks are made of wood, this must be done before installation).
- We coat the bottom tier with cream and position the top tier so that the central axis passes through the hole in its base. We check that the top tier is positioned not only beautifully but also geometrically correctly.
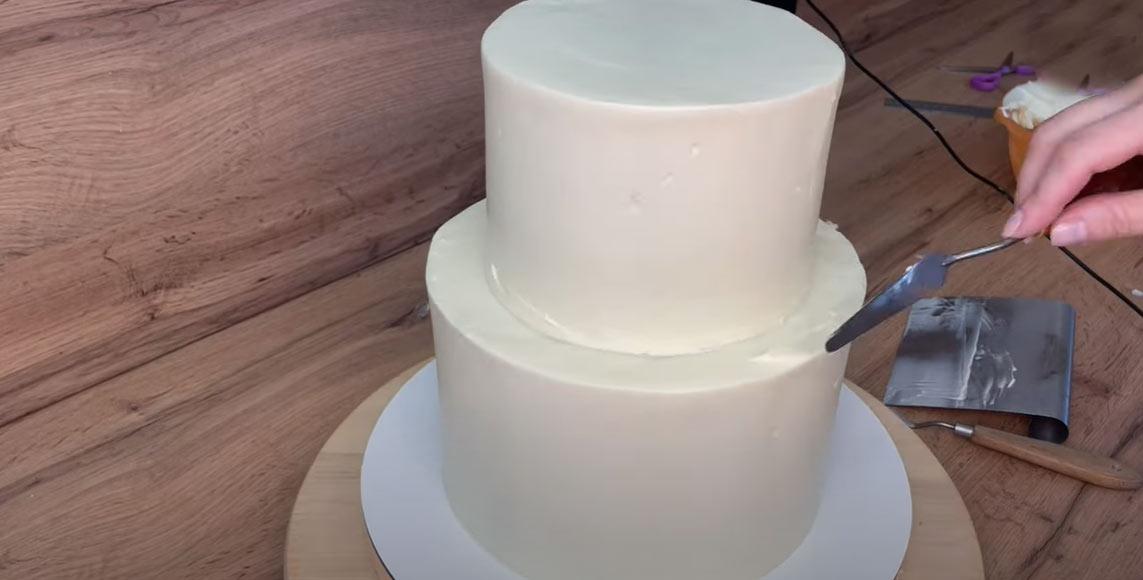
- We level the cake with a thick, stable cream.

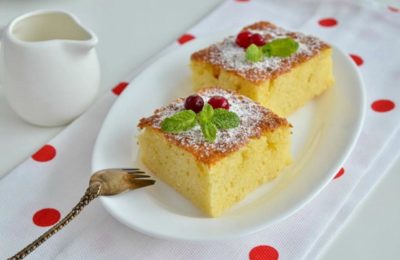
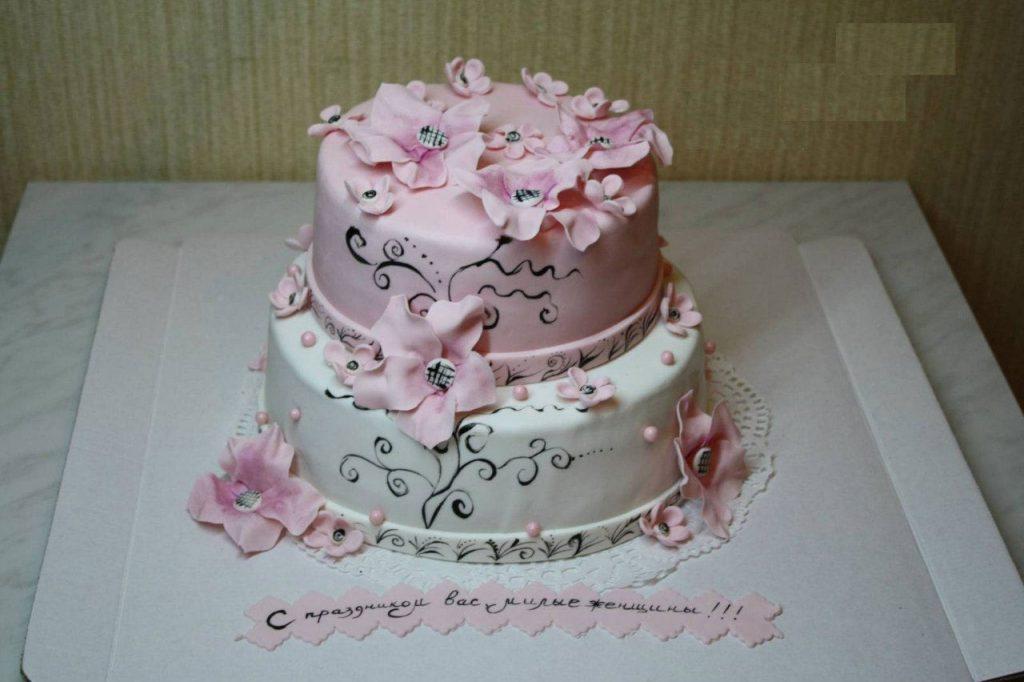
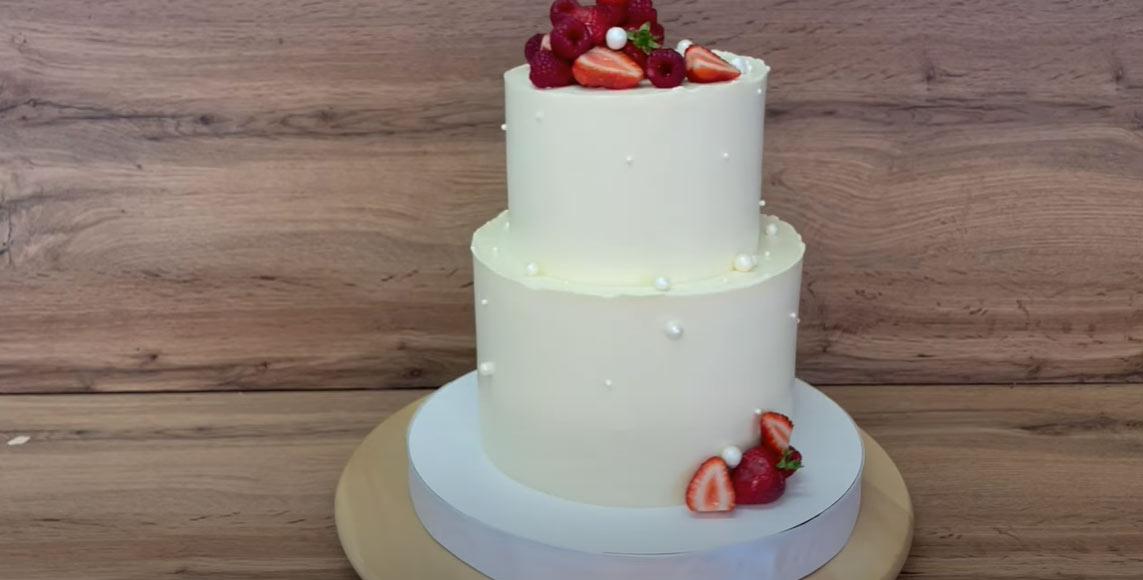
After decorating, we got this beautiful and durable two-tier cake.
Assembling a tiered cake
From the previous section, you learned how to quickly make a two-tier cake yourself, but what if you need to build a three- or four-tier version, or even a taller structure?
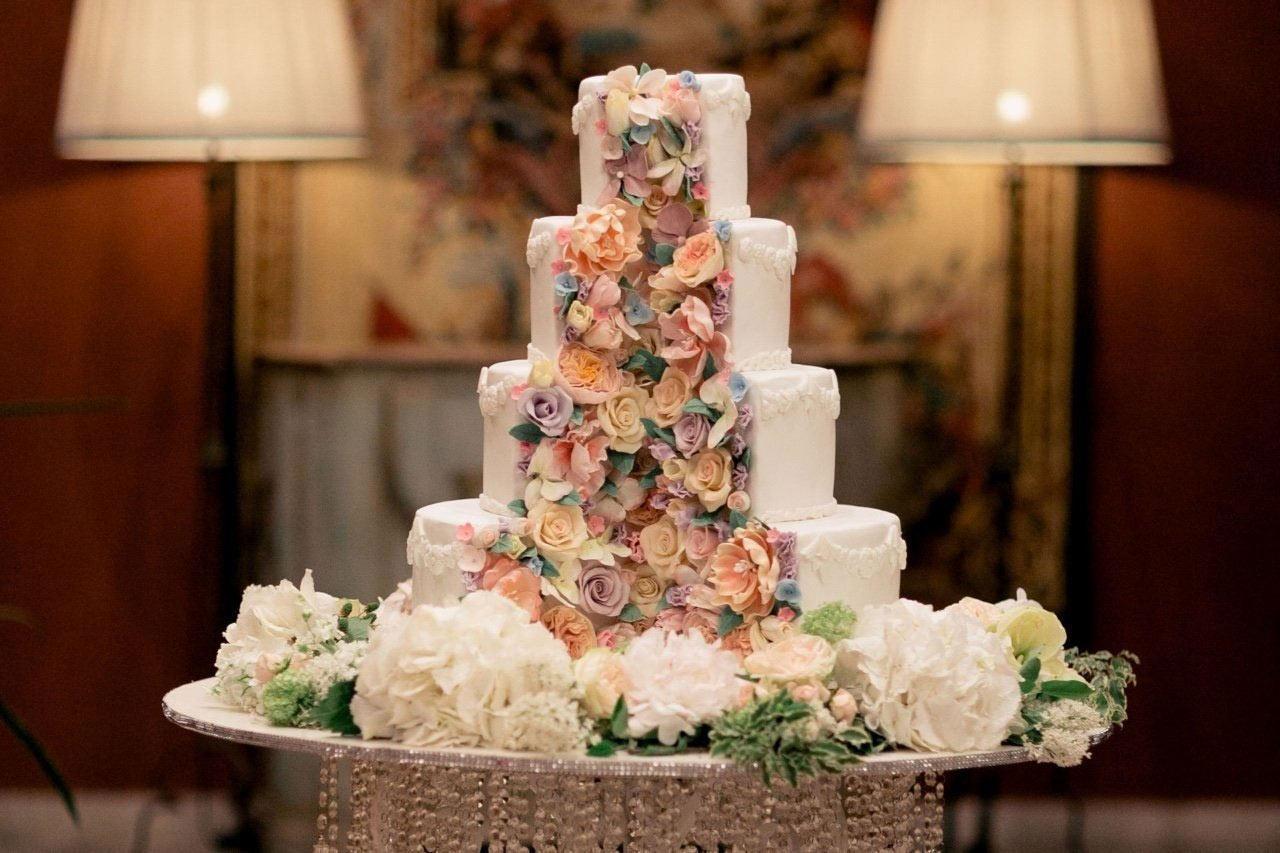
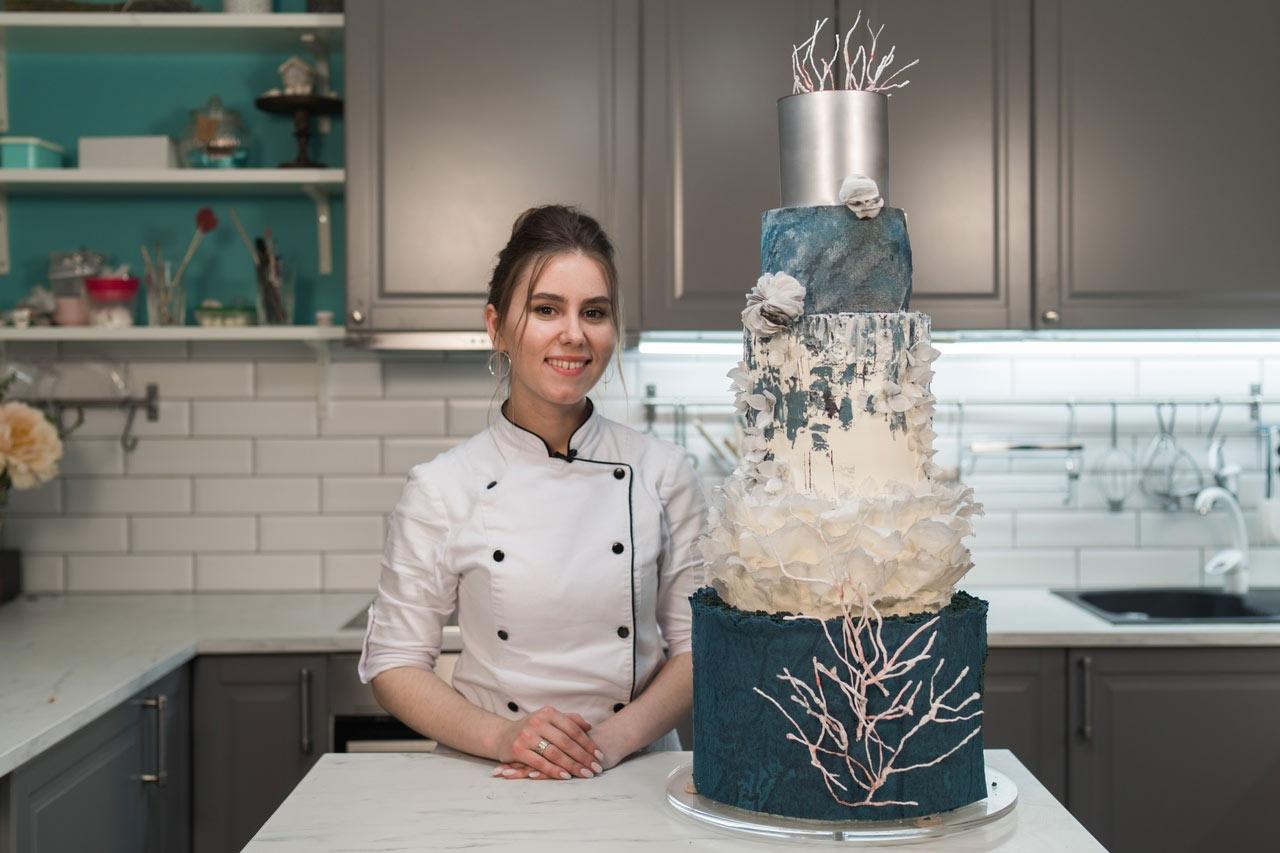
The taller the cake, the more difficult it is to assemble correctly, and the more likely it is to fail during transportation. That's why many cake makers who create such custom masterpieces make the pieces for each tier at home and deliver them to the venue, where they perform the final assembly, alignment, and decoration.
This video master class will help you understand how to properly assemble a 16-kilogram, 4-tier cake for a wedding or anniversary with approximately 100 guests.