How to pour chocolate into a silicone mold and make a figurine

Content
Continuing the theme of creating signature chocolate creations, today we'll tell you how to properly pour chocolate into a silicone mold and create a three-dimensional figurine for decorating a cake or as a standalone treat.
Molds and their features

Chocolate molds available for sale vary in the materials they are made from. When choosing a mold, consider the following factors:
- V plastic form The chocolate figurine will turn out matte due to the properties of the material itself, and many confectioners also note that it is difficult to remove the figurine from such molds without it breaking;
- V polycarbonate form the decor will turn out shiny and smooth, it is easy and pleasant to work with such forms, but just like in the first case there is the problem of extraction + a fairly high price;
- V silicone mold The surface of the figurine will be shiny and smooth, and thanks to the softness of the material, it will be much easier to remove the finished product without damage.
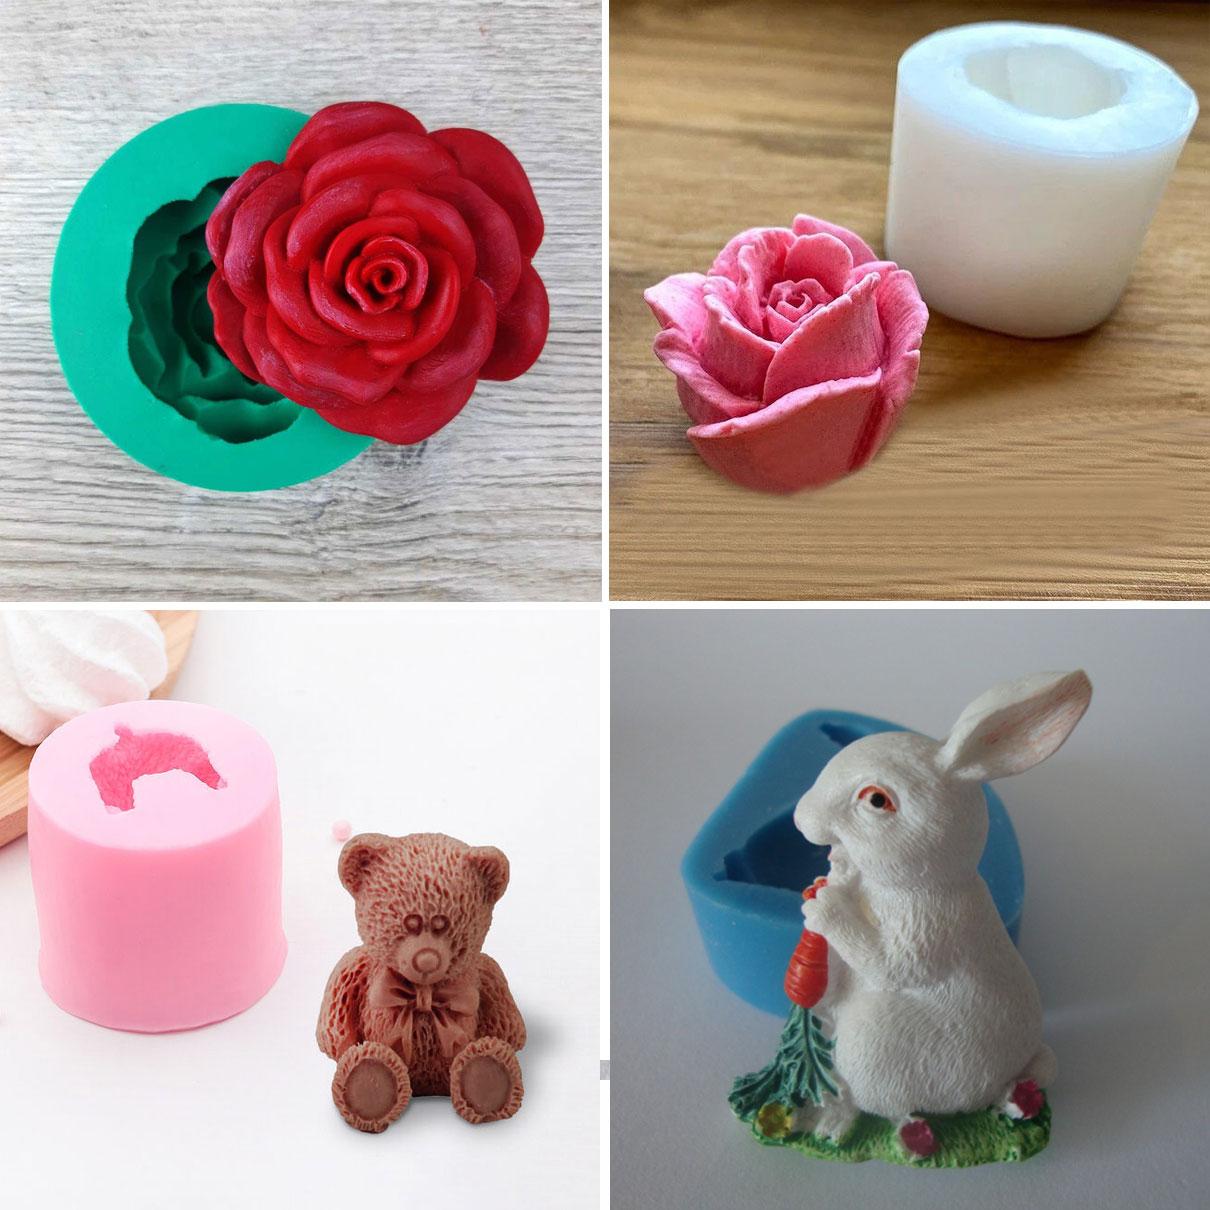
How many of these molds should a pastry chef have? There's no answer to this question, since each specially shaped piece requires its own mold. You'll use some frequently (for example, molds with 3D letters and numbers), while others will be used very rarely. In general, it's a good idea to have several different types of chocolate molds at home, based on your most frequent orders or your personal preferences.
Selecting ingredients
The decor recipe can be implemented based on:
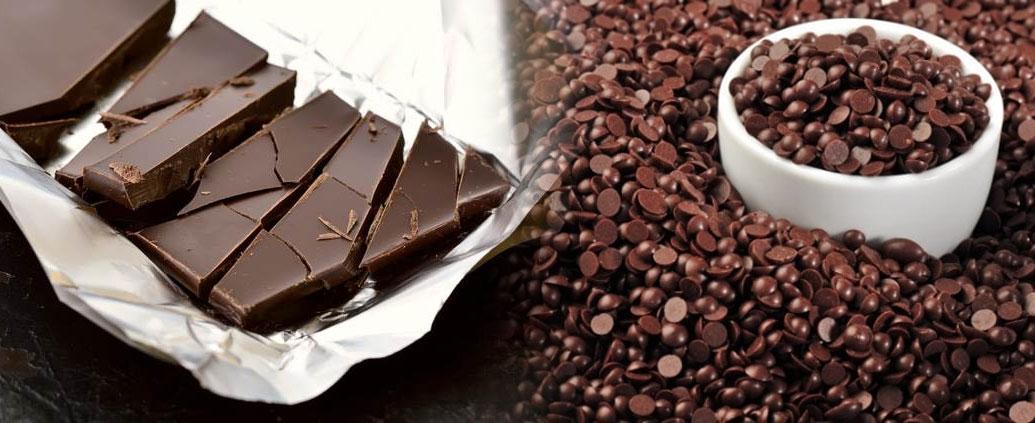
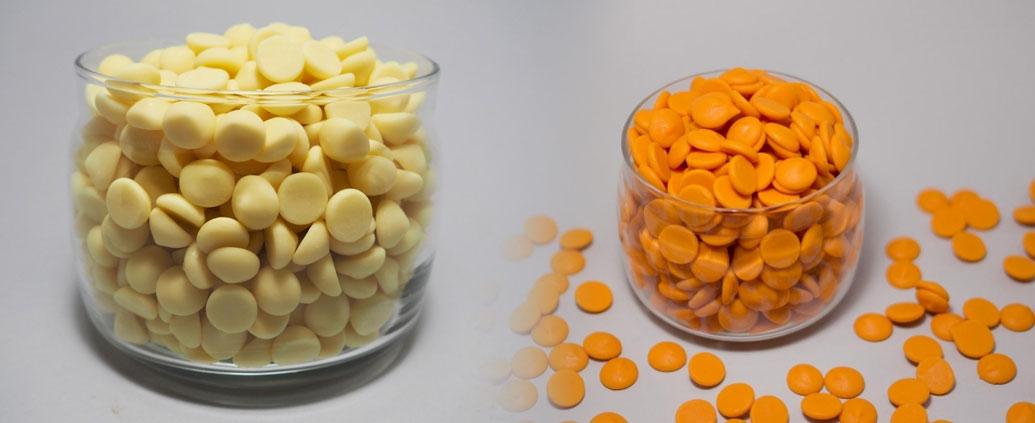
- high-quality natural chocolate, which contains cocoa butter;
- confectionery callets (drops), created especially for such occasions.
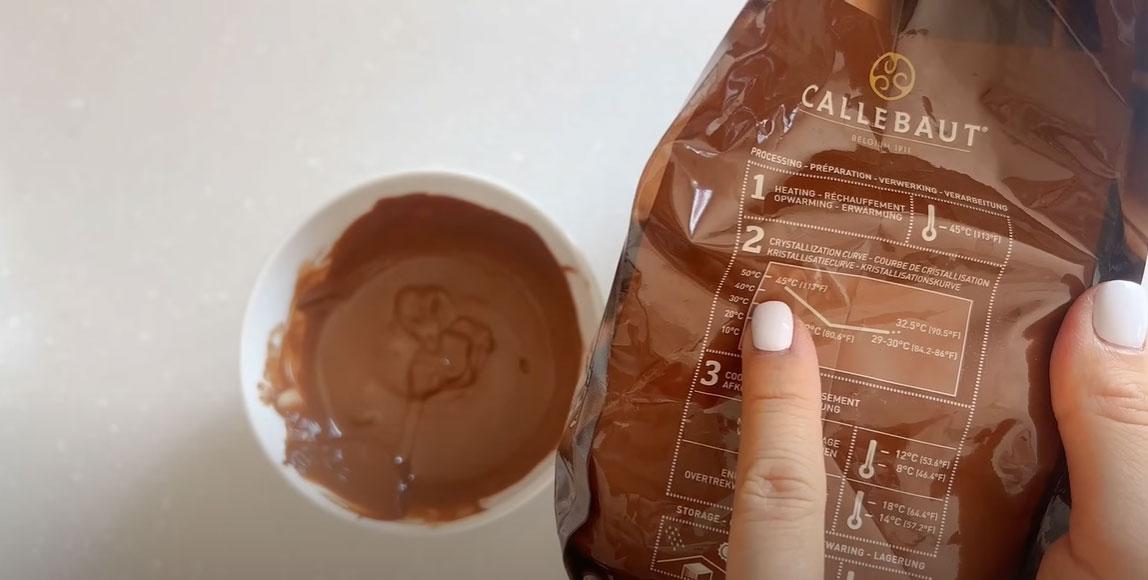
It's also worth remembering that before properly filling the figurine, the chocolate must be prepared (tempered). During the heating and cooling process, the crystal lattice of the chocolate mass changes, resulting in the figurine acquiring special properties when it hardens:
- acquires a beautiful glossy surface with a characteristic shine;
- does not melt immediately if you take it in your hands;
- does not crumble if you try to cut or break the product;
- easily removed from the mold.
Accordingly, if the tile is melted incorrectly (not brought to the required temperature), the product will turn out matte, uneven, crumbly and melt very quickly (even when in contact with hands).
Our website already contains articles about:
Today we'll add another article to this collection, explaining step-by-step how to pour chocolate into a silicone mold and remove the finished product without damaging it during the process.
Step-by-step instructions on how to pour chocolate into silicone molds
We'll tell you how to properly pour chocolate into a silicone mold, and also reveal some secrets from experienced pastry chefs that ensure perfect figurines every time.
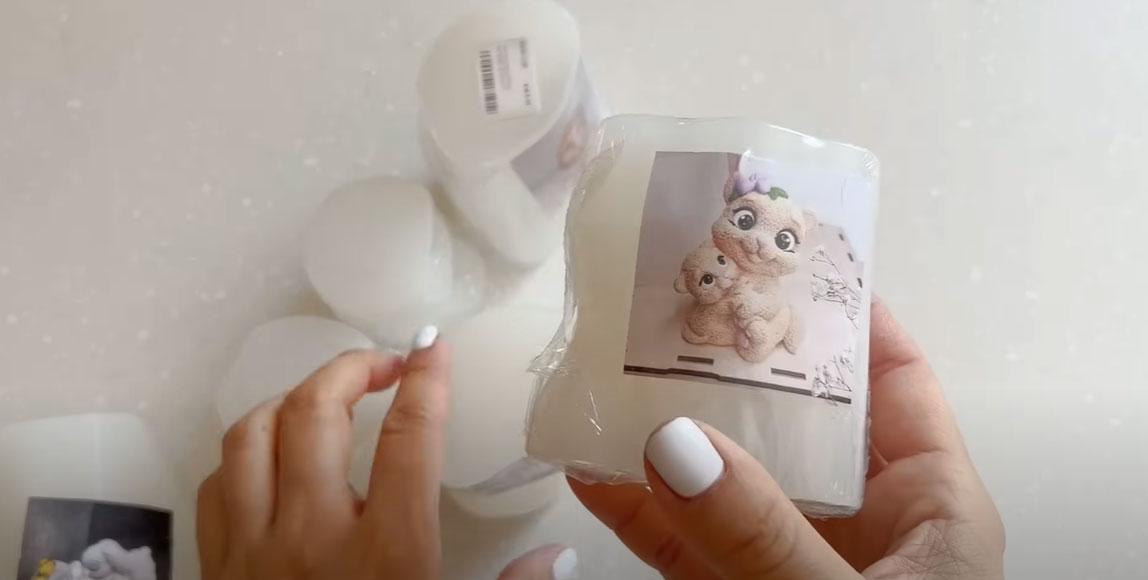
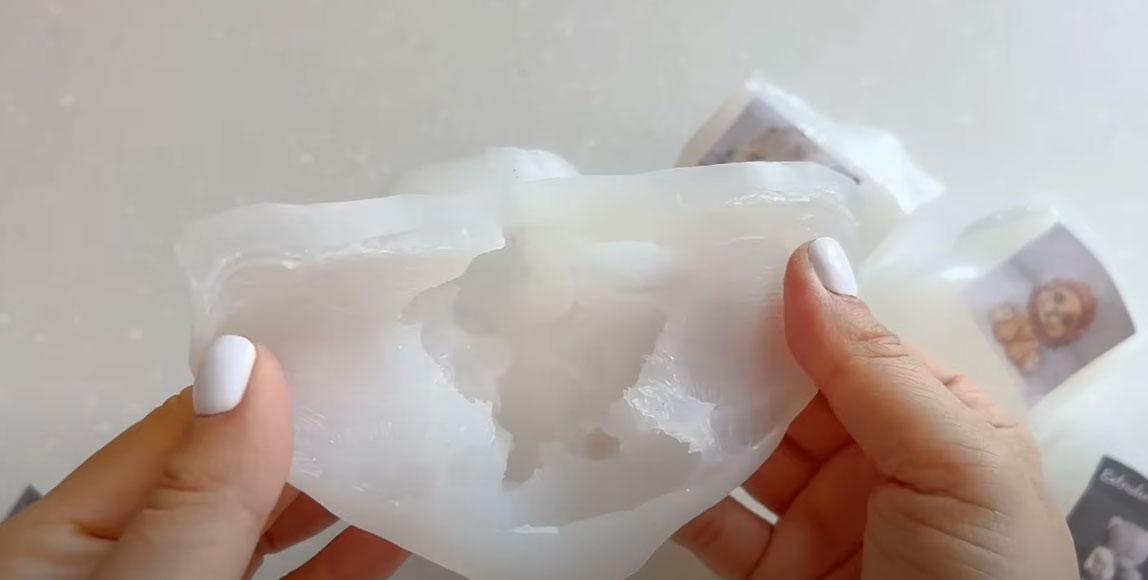
Step 1: Prepare the form
Before using a store-bought mold, be sure to thoroughly wash it with warm water and detergent. Don't throw away the photo of the finished product that usually comes with the mold; it might come in handy later.
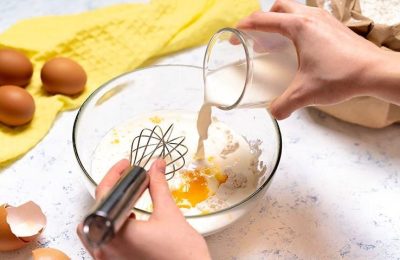
Step 2: Melt the chocolate
The easiest way to melt chocolate or culets is to microwave them in short bursts and stir with a spatula.
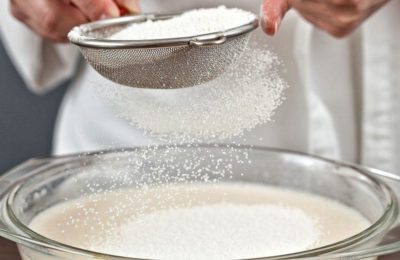
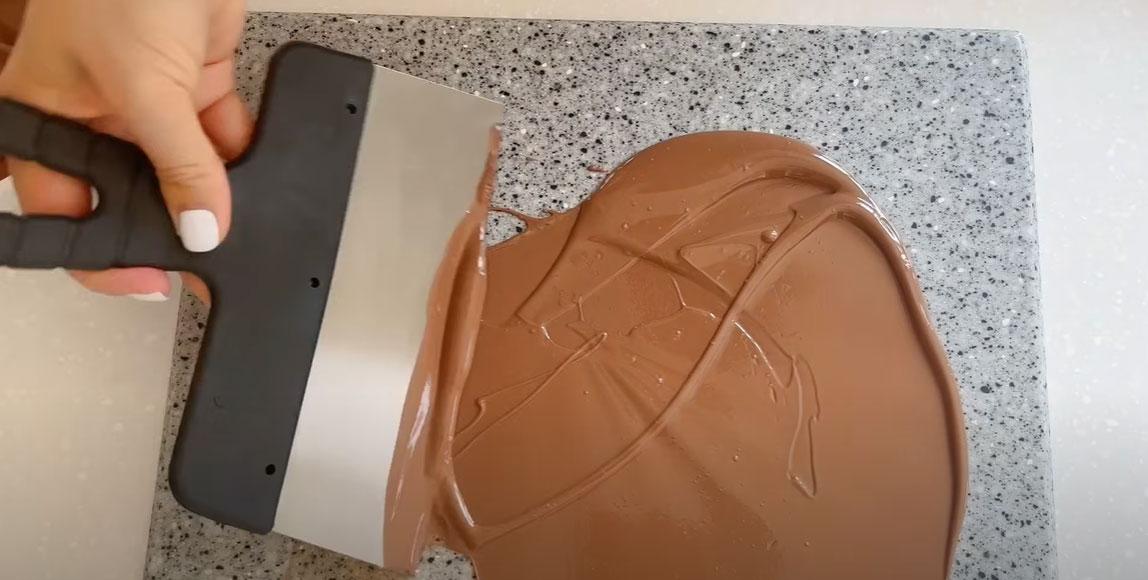
Step 3. Tempering the chocolate
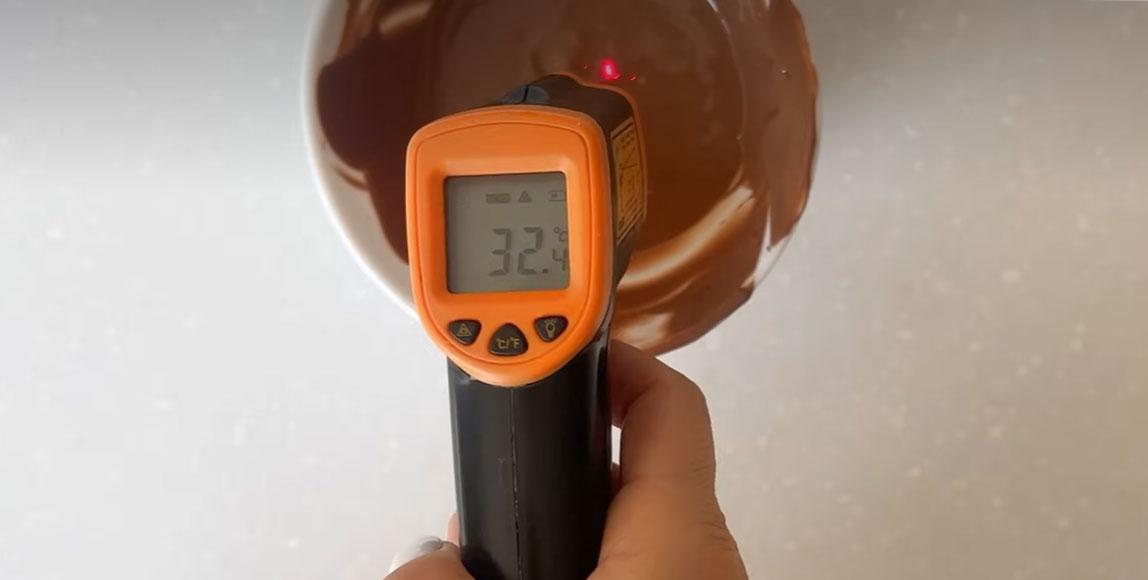
Recrystallization of the mass occurs during the heating and cooling process. We cool 75-80% of the chocolate on marble, but you can choose any available method.
After returning the cooled portion to the total mass, we obtain chocolate at working temperature, as shown in the photo.
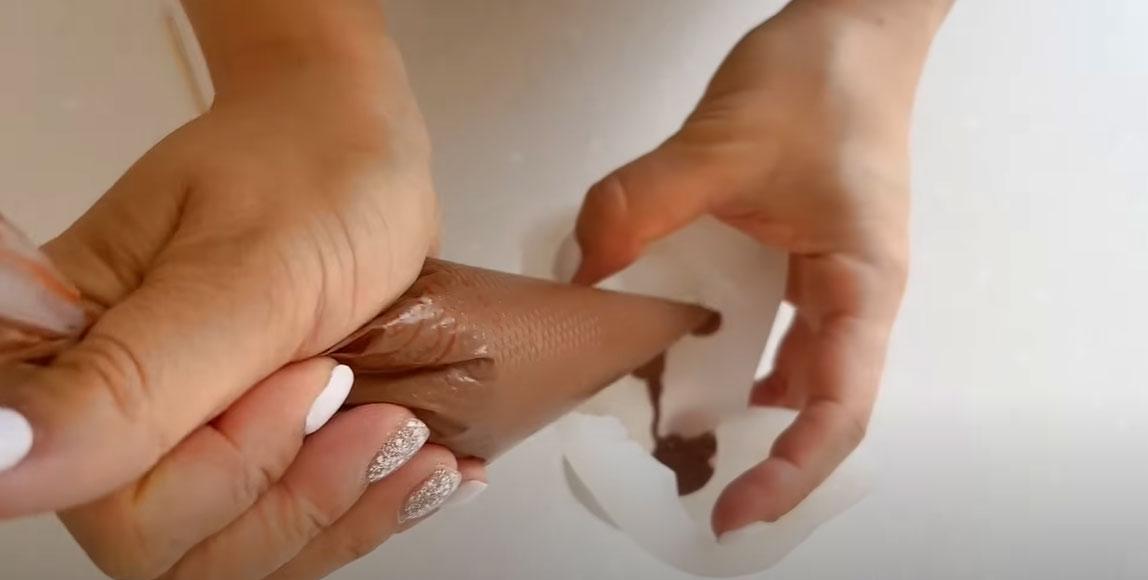
Step 4. Fill out the form
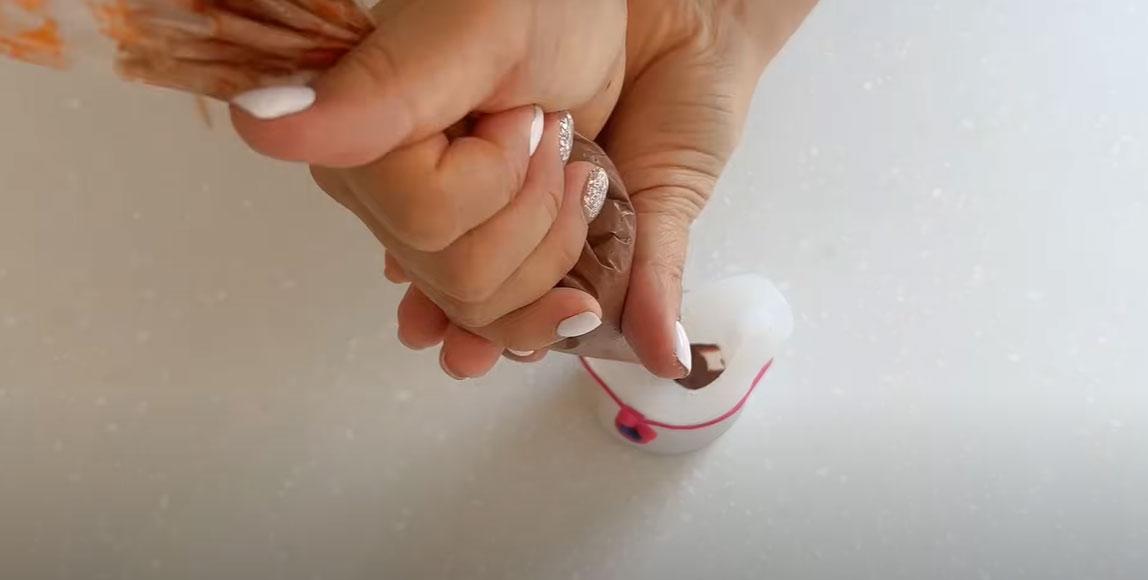
Place the prepared tempered chocolate into a culinary bag (you can use a regular one, widely used in cooking). Next, open the mold well and fill the hard-to-reach areas (paws, tail, muzzle parts, ears) with a small amount of chocolate mixture. If you skip this step, air may remain in the far corners of the mold, resulting in a defective figurine. This defect will be impossible to remove after it hardens.
Next, secure the mold with a rubber band and fill it in several stages, each time tapping it well on the table to release any air bubbles that may be in the mold.
Step 5. Cool the figurine
The mold filled with chocolate mass should be kept in the refrigerator for approximately 2-3 hours.
How long it takes for chocolate to harden in a silicone mold depends on many factors:
- recipes and qualities of chocolate;
- the size of the figurine (the thickness of the chocolate layer);
- temperature in your refrigerator.
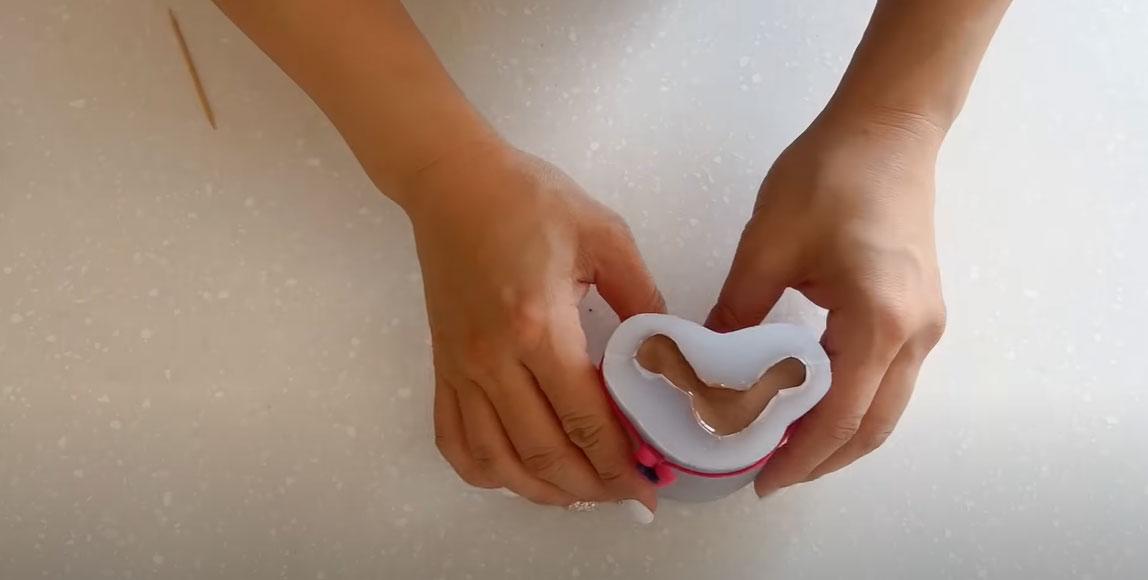
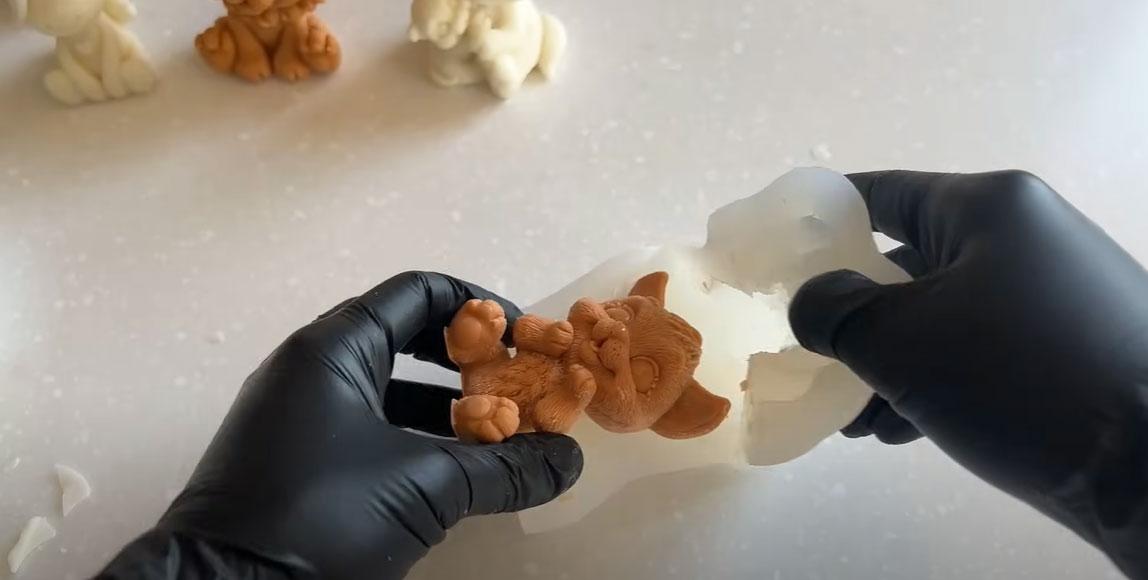
Step 6. Removing the product
When the chocolate has completely hardened and stabilized, put on gloves and carefully remove the product from the mold.
Step 7. Designing the figurine
For coloring use:
- food coloring diluted in a small amount of alcohol;
- candurin (edible gold and silver);
- food markers.
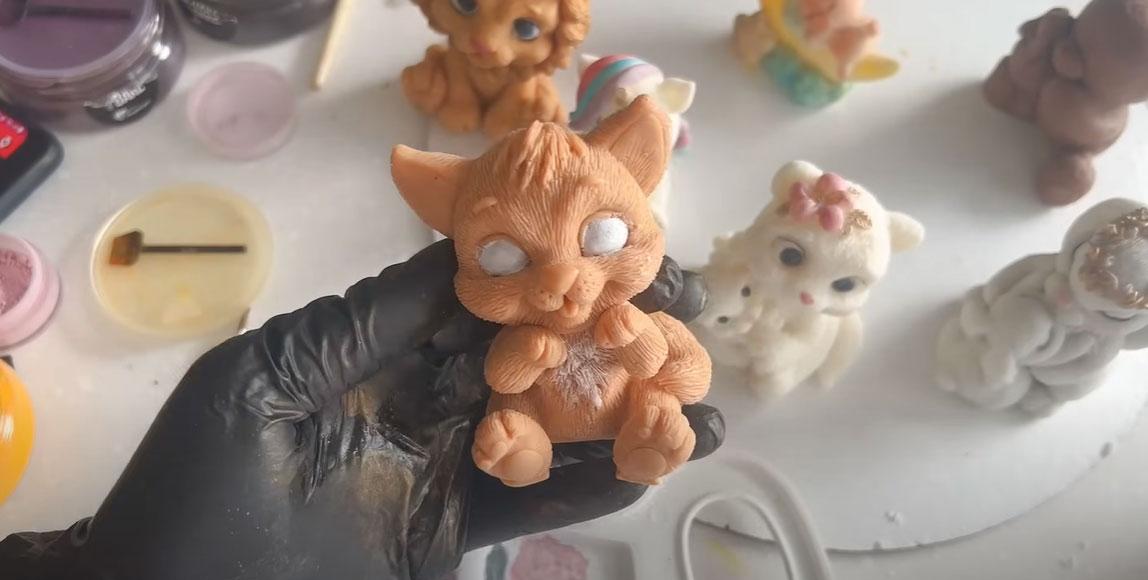
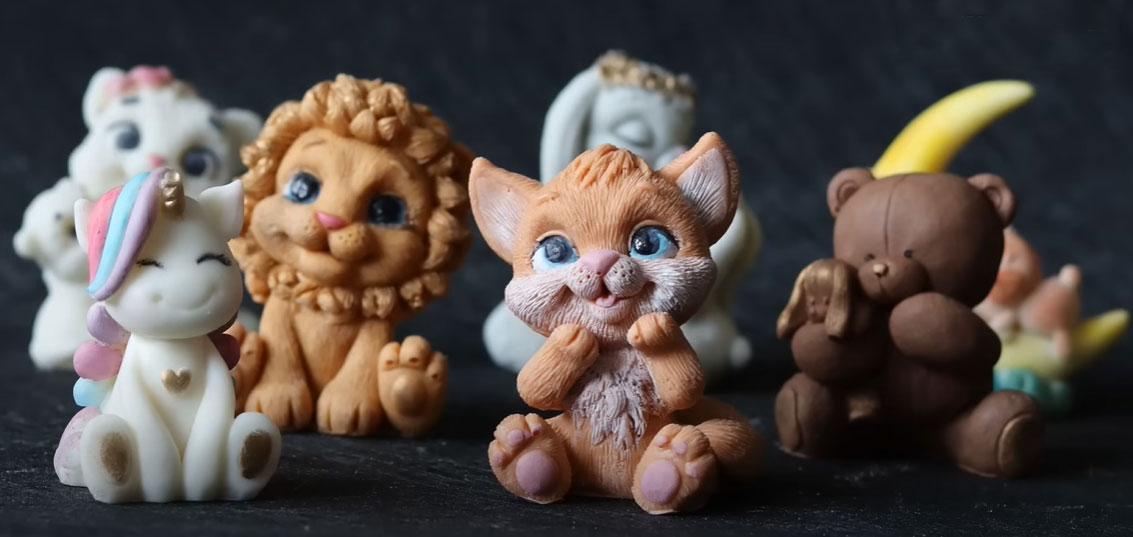
As a result, you can get these gorgeous chocolate animals. This decoration for a children's party is simply stunning! And now you can make it yourself at home.